文章目录
- 系統:win10
一、安装
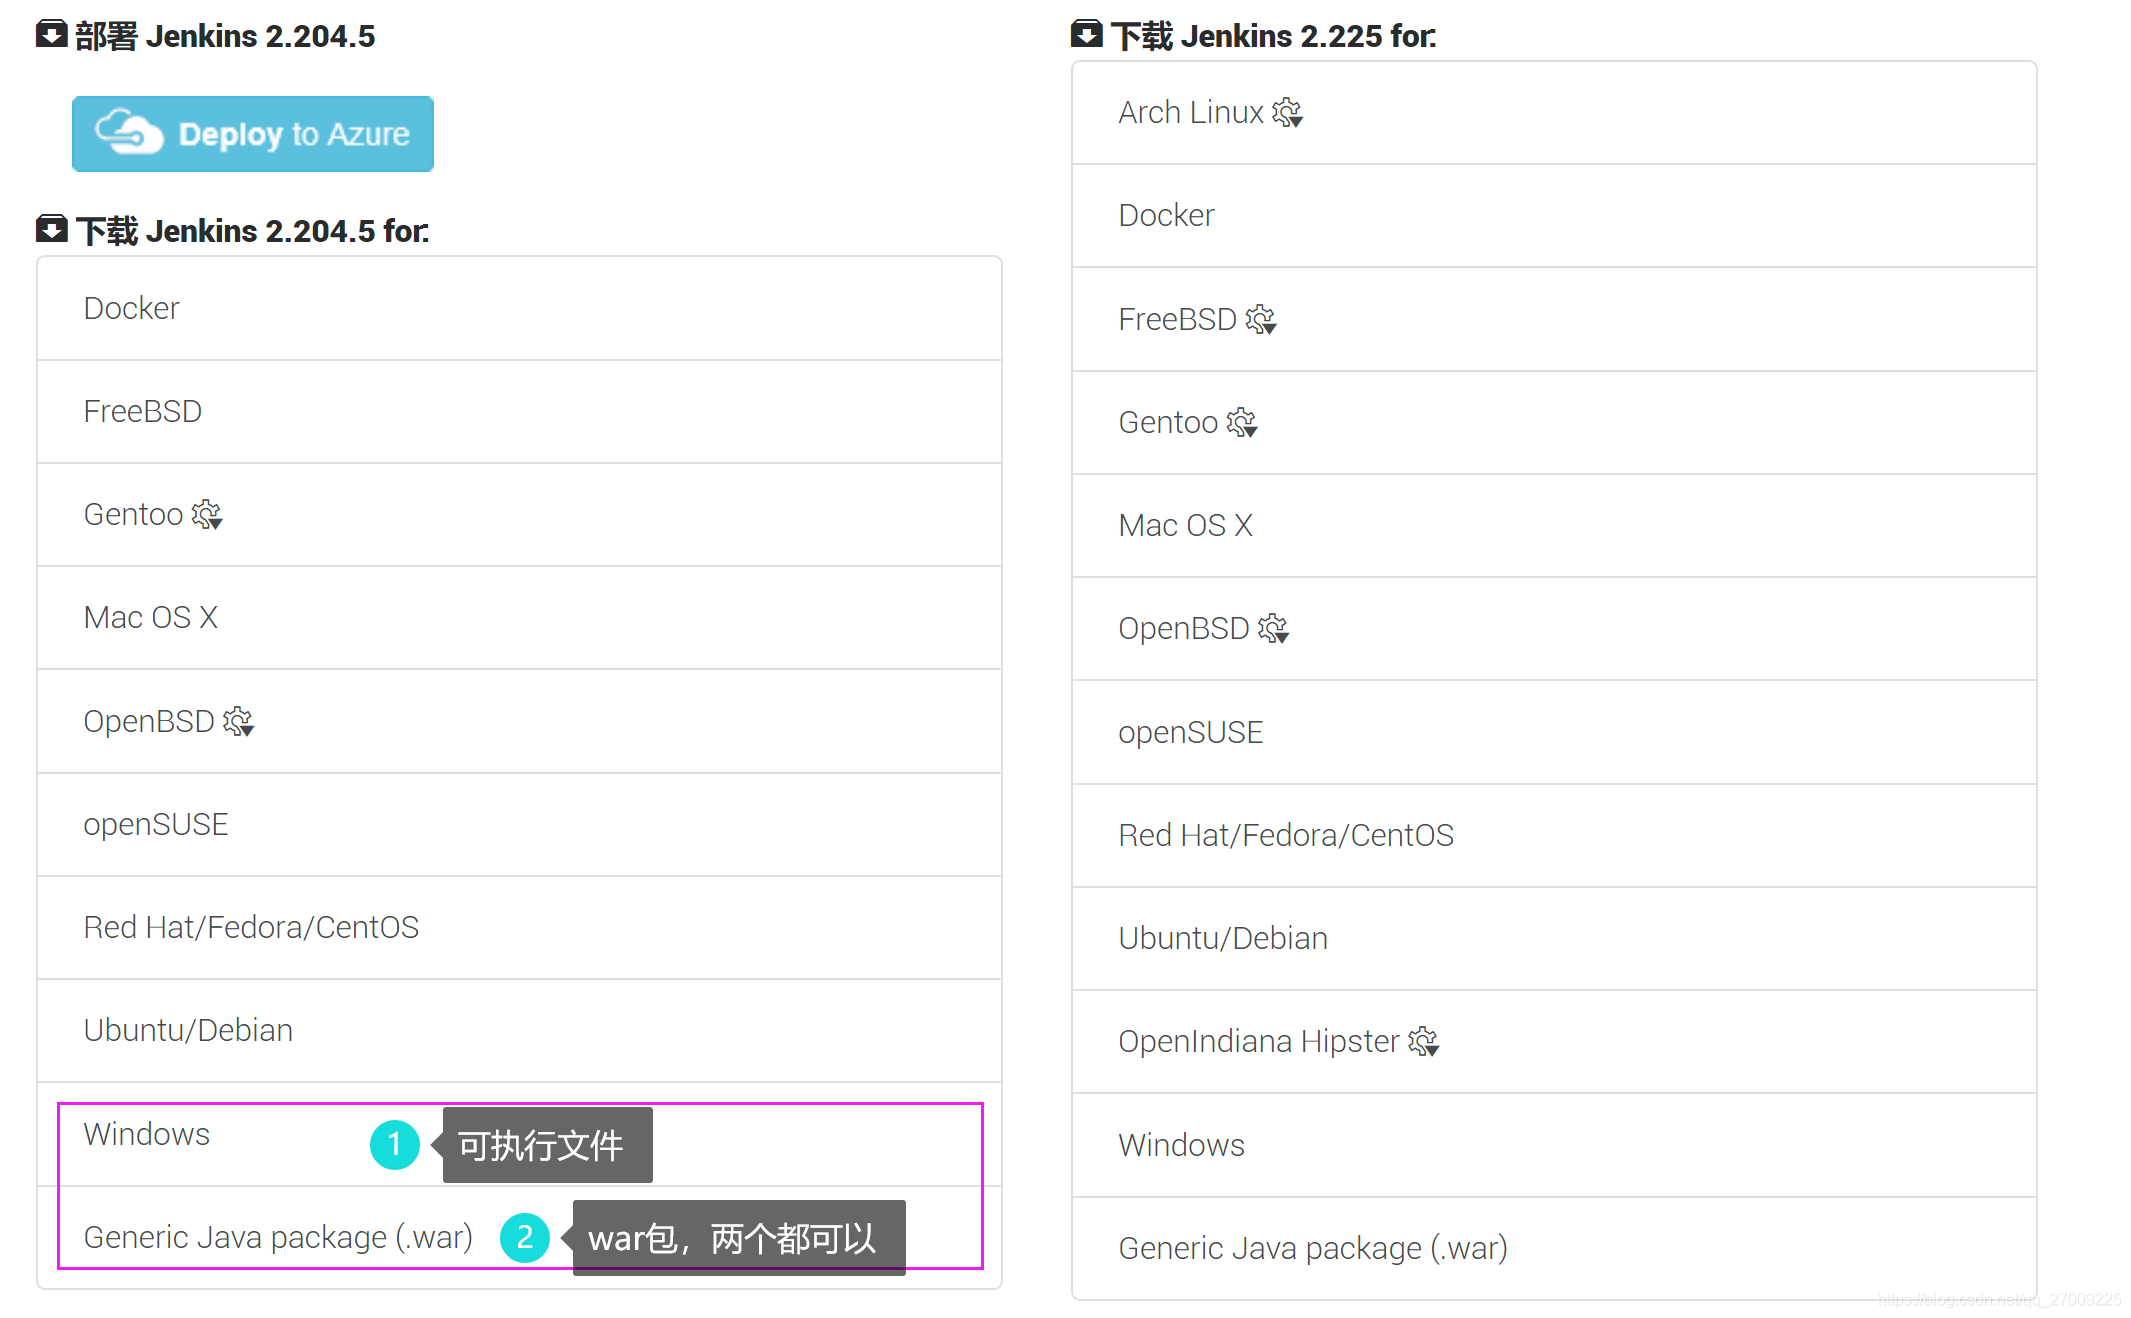
1、下载
2、安装
这里只介绍war包的安装方式
1、或者你可以用其他方法在命令行进入Jenkins的存放目录
2、命令行输入
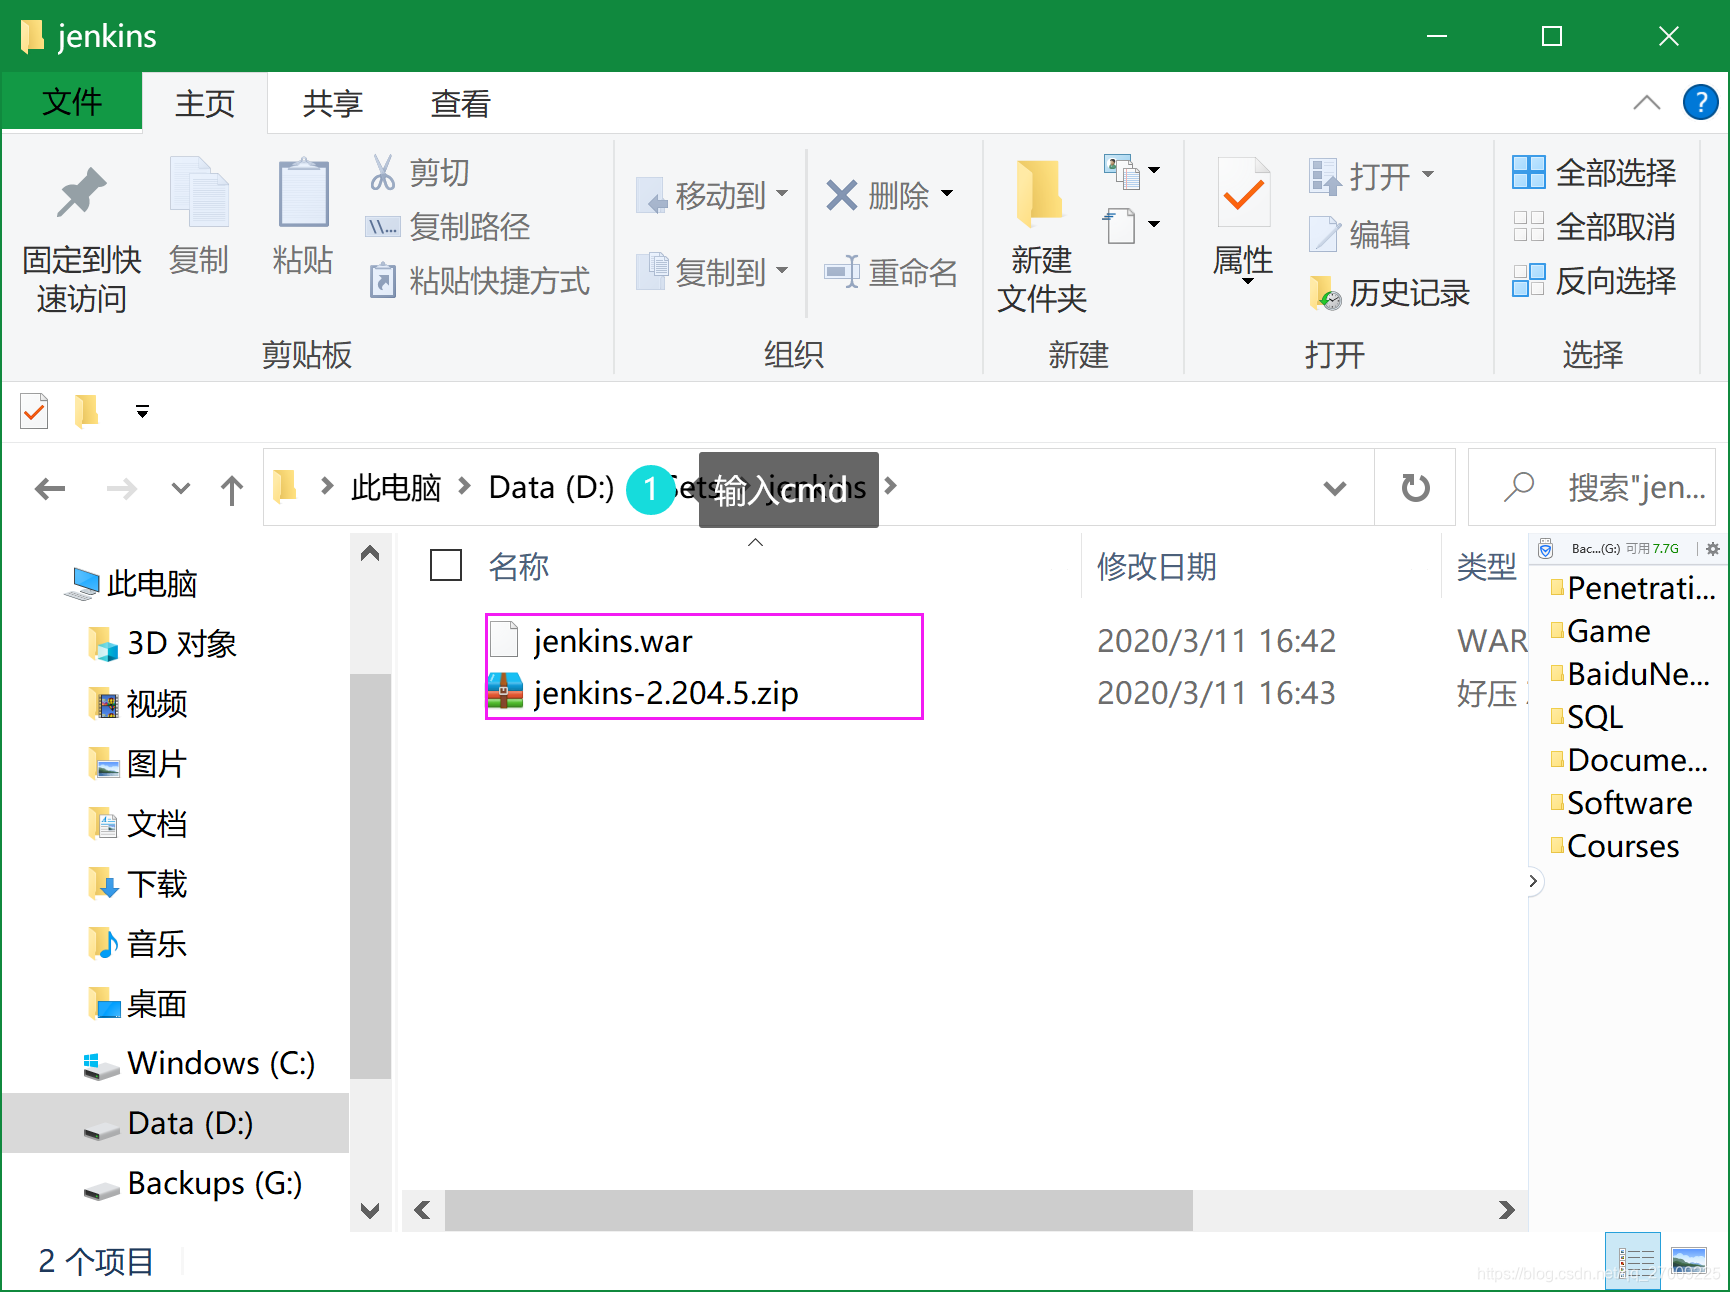
java -jar jenkins.war
3、启动成功

4、直接打开浏览器输入http://localhost:8080
3、简单使用
- 启动:
java -jar jenkins.war - 启动时设置端口:
java -jar jenkins.war --httpPort=9090 - 退出:http://localhost:8080/exit
- 重启:http://localhost:8080/restart
- 刷新:http://localhost:8080/reload
二、问题排查
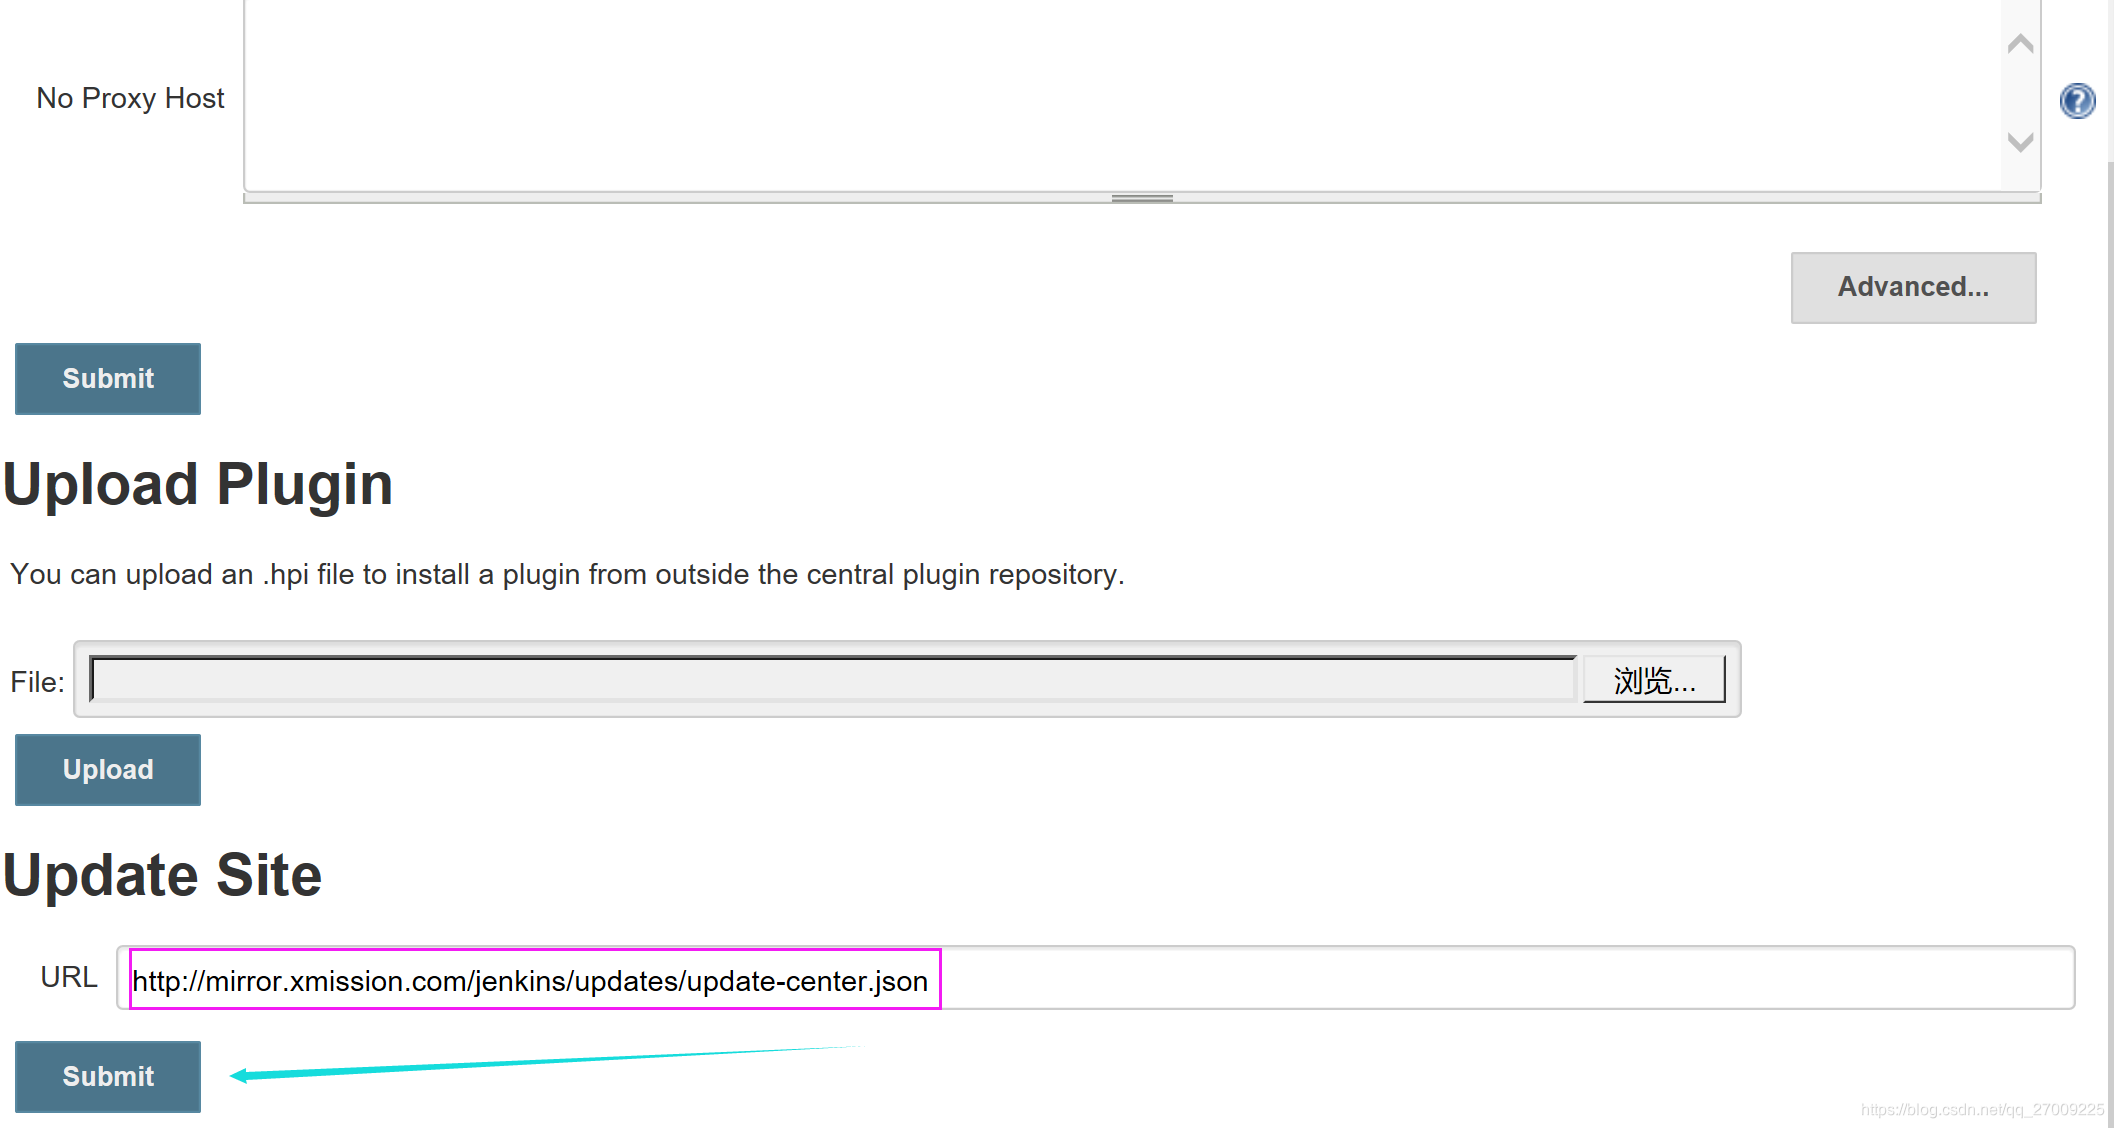
1、安装插件慢且失败率高
选择安装插件站点,任选其一
http://mirror.xmission.com/jenkins/updates/update-center.json   # 推荐
http://mirrors.shu.edu.cn/jenkins/updates/current/update-center.json
https://mirrors.tuna.tsinghua.edu.cn/jenkins/updates/update-center.json
http://updates.jenkins.io/update-center.json
修改下面地址,重启即可
2、无法重启
当你在浏览器中输入:http://localhost:8080/restart会出现下面的提示信息。
Jenkins cannot restart itself as currently configured
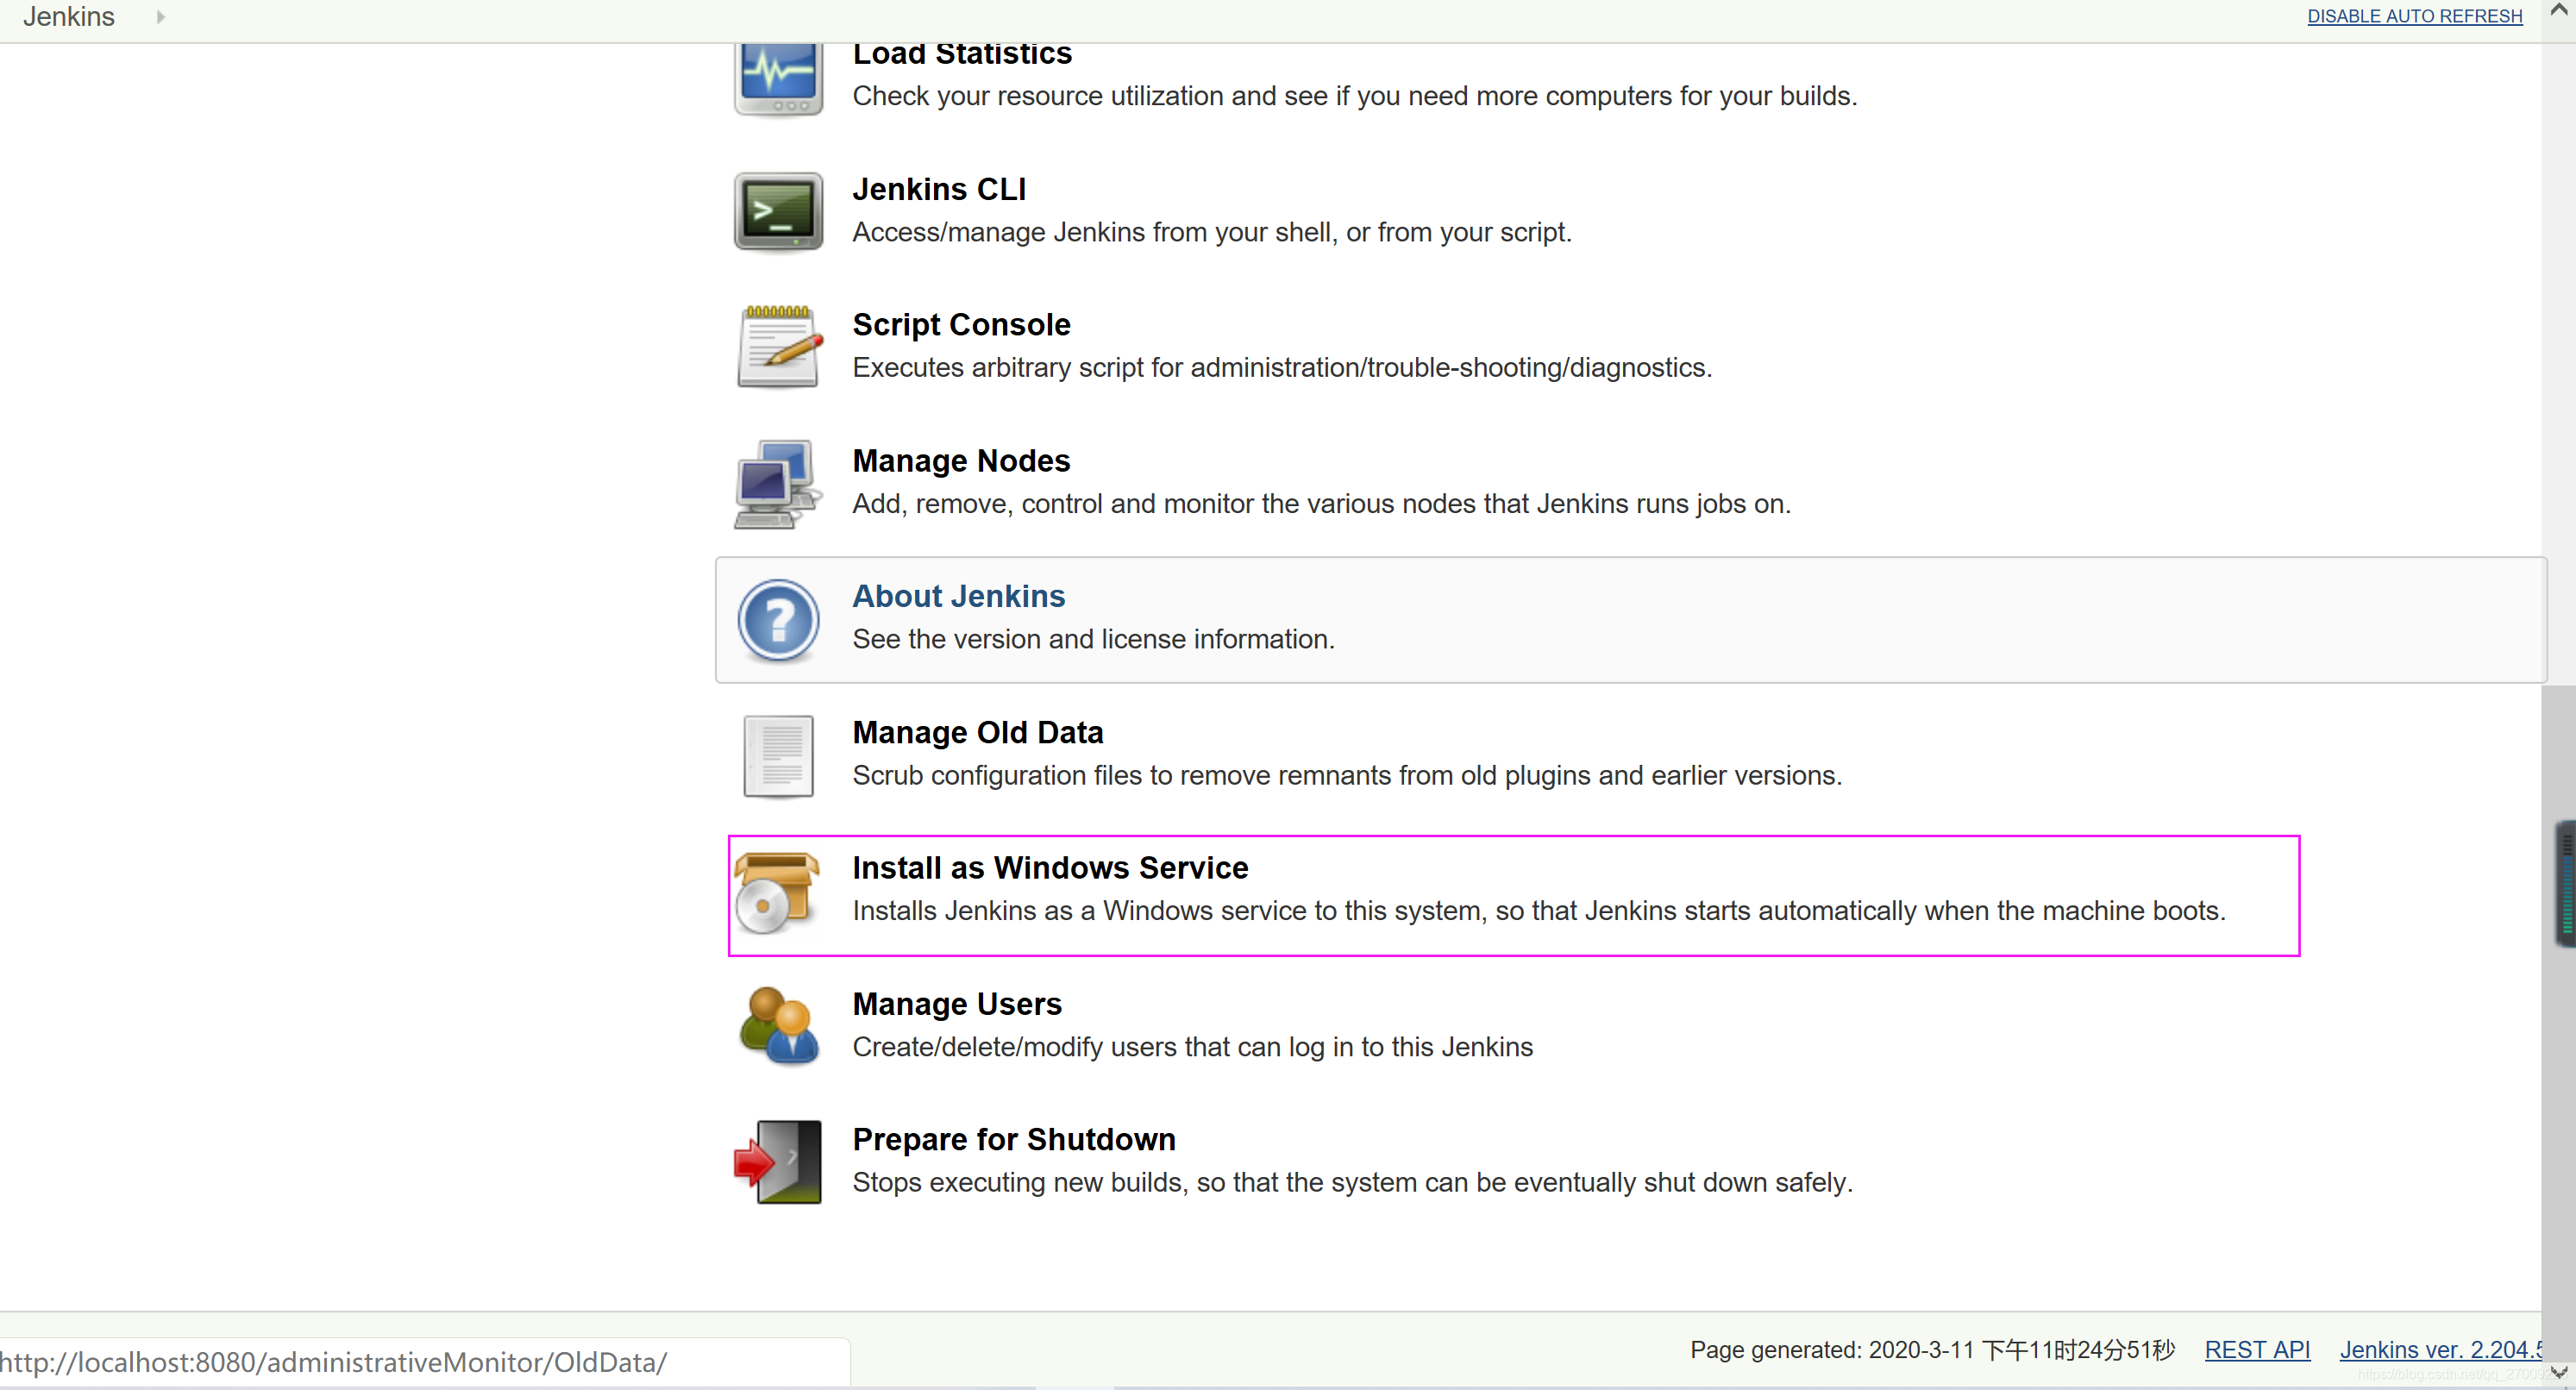
(3)此时你需要“ Install as Windows service”
1、 系统设置:
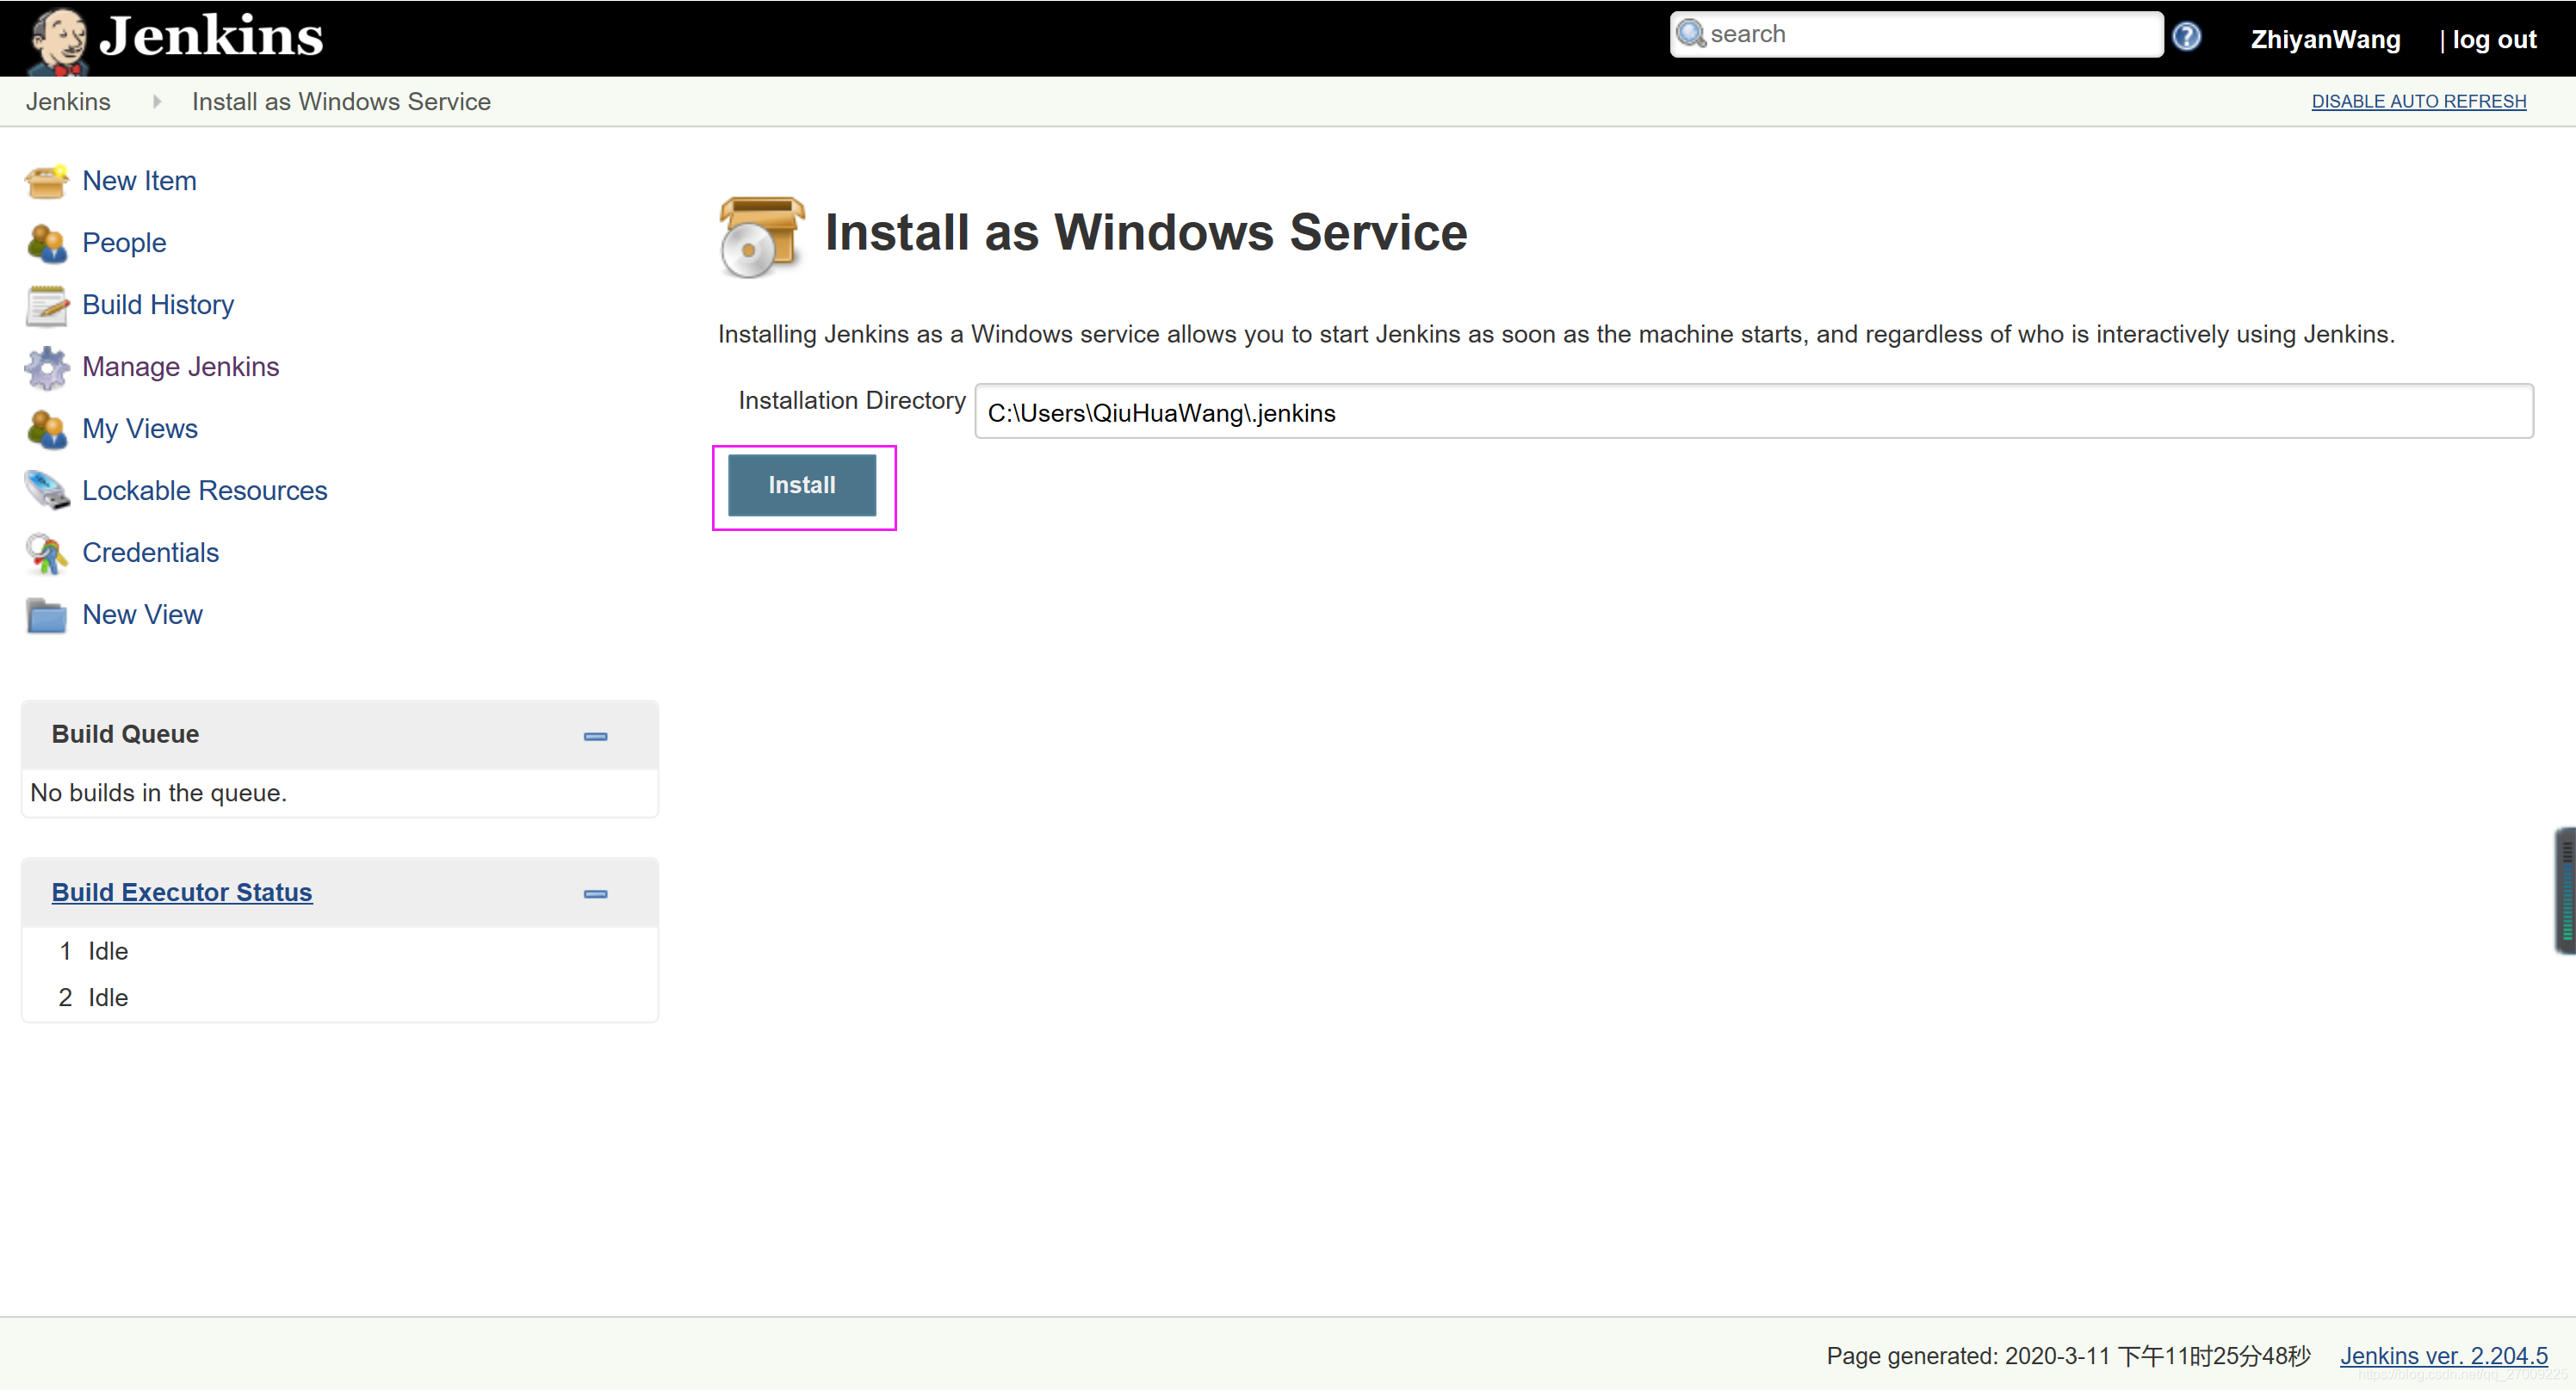
2、点击:Install as Windows service
3、点击:install
设置好后重启Jenkins
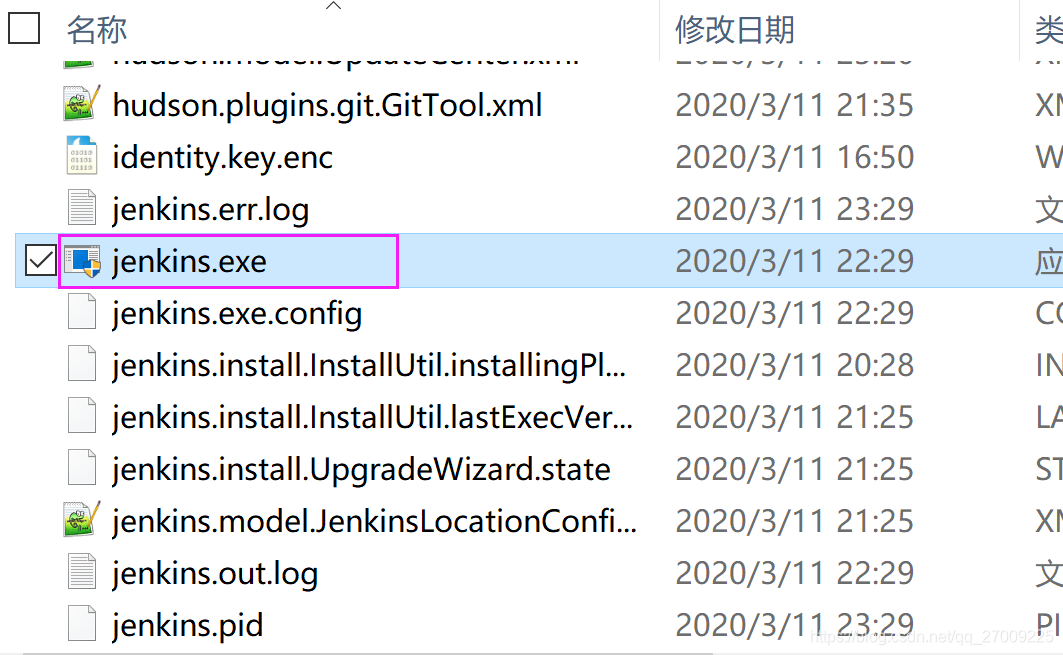
3、Install as Windows service:失败
1、出现提示信息
AccessDenied
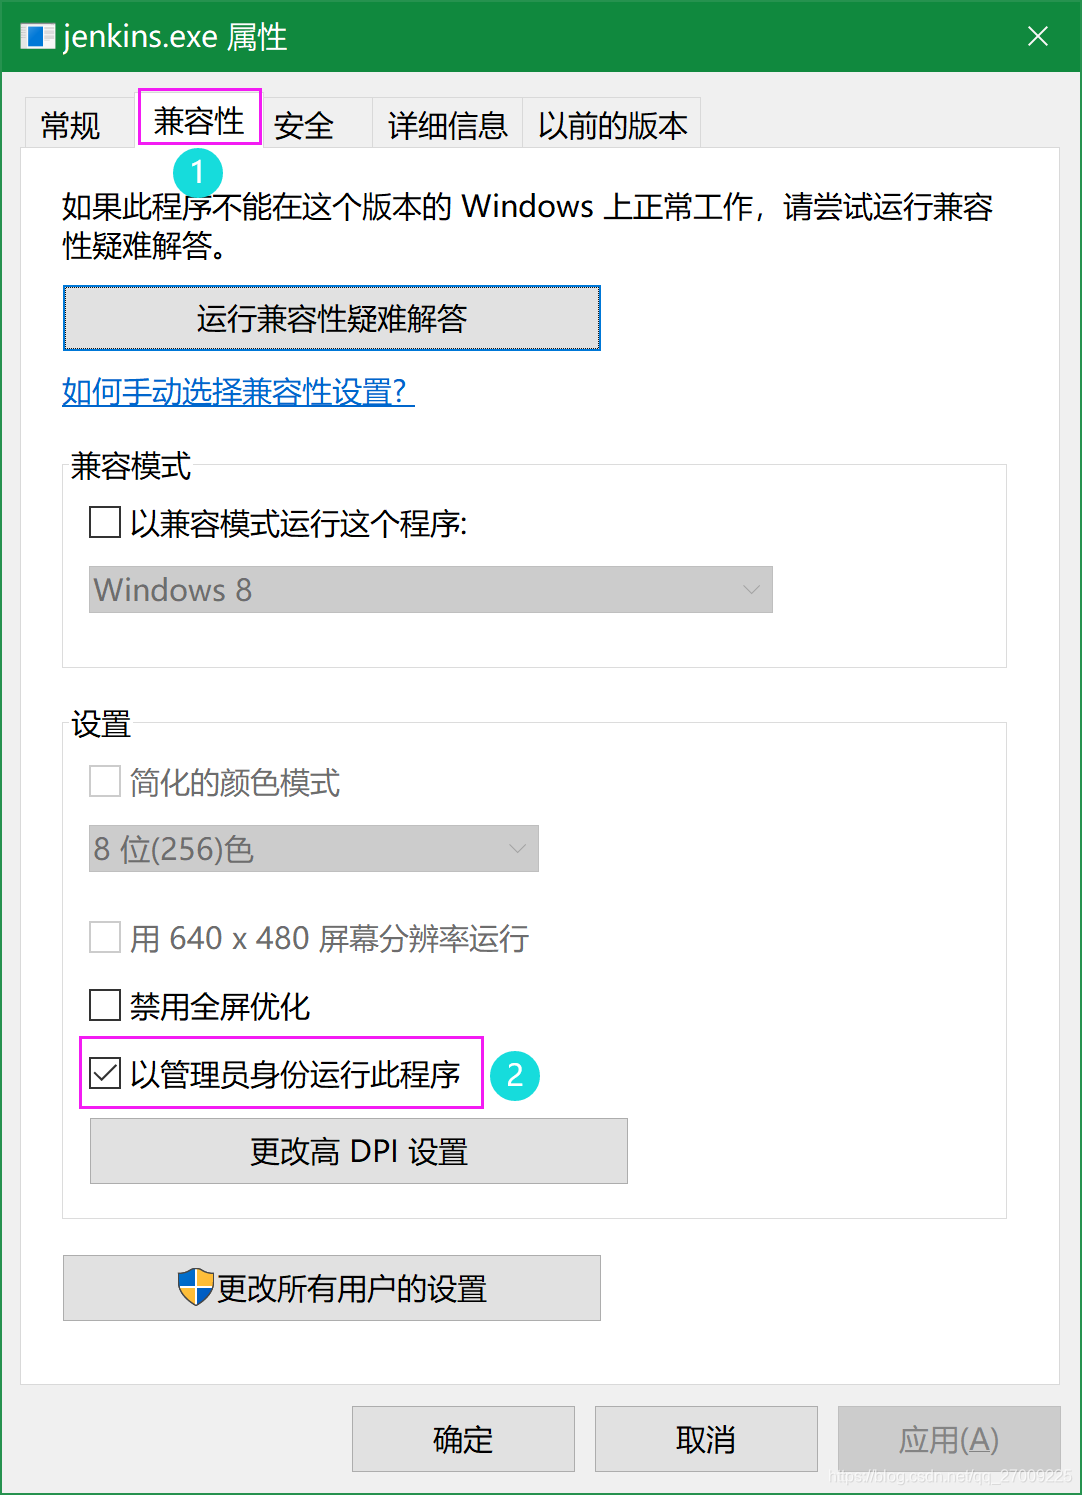
2、鼠标右键,选择属性
3、兼容性:以管理员身份运行
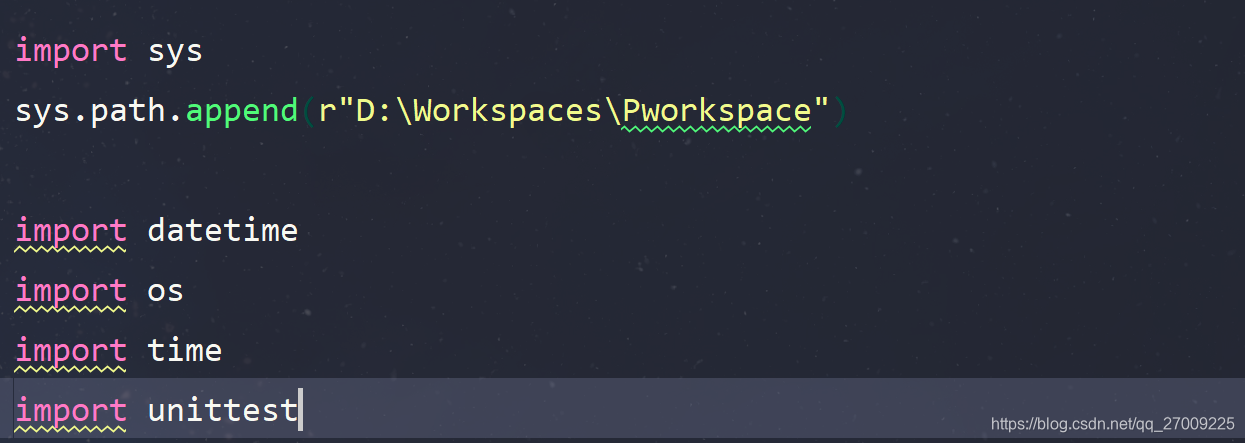
3、ModuleNotFoundError: No module named ‘XXX’
(1)、在脚本文件最上方添加如下代码
import sys
sys.path.append(r"D:\Workspaces\Pworkspace")
(2)、但是它不符合PEP8的代码规范,使用autopep8会将这两行代码放在所有引用的最下方,试过了不好使,会导致运行报错
4、configparser.NoSectionError: No section: ‘xxx’
(1)、类似这样使用相对路径的代码,也会报错,需要改成绝对路径
path = "../config/LocalElement.ini"
path = "D:/Workspaces/Pworkspace/config/LocalElement.ini"
