前言
今天使用rpm包的形式搭建个网站页面,我们要去nginx官网提前下载要用到的包,这里把链接写出来,http://nginx.org/en/linux_packages.html#RHEL-CentOS
打开链接是这样的
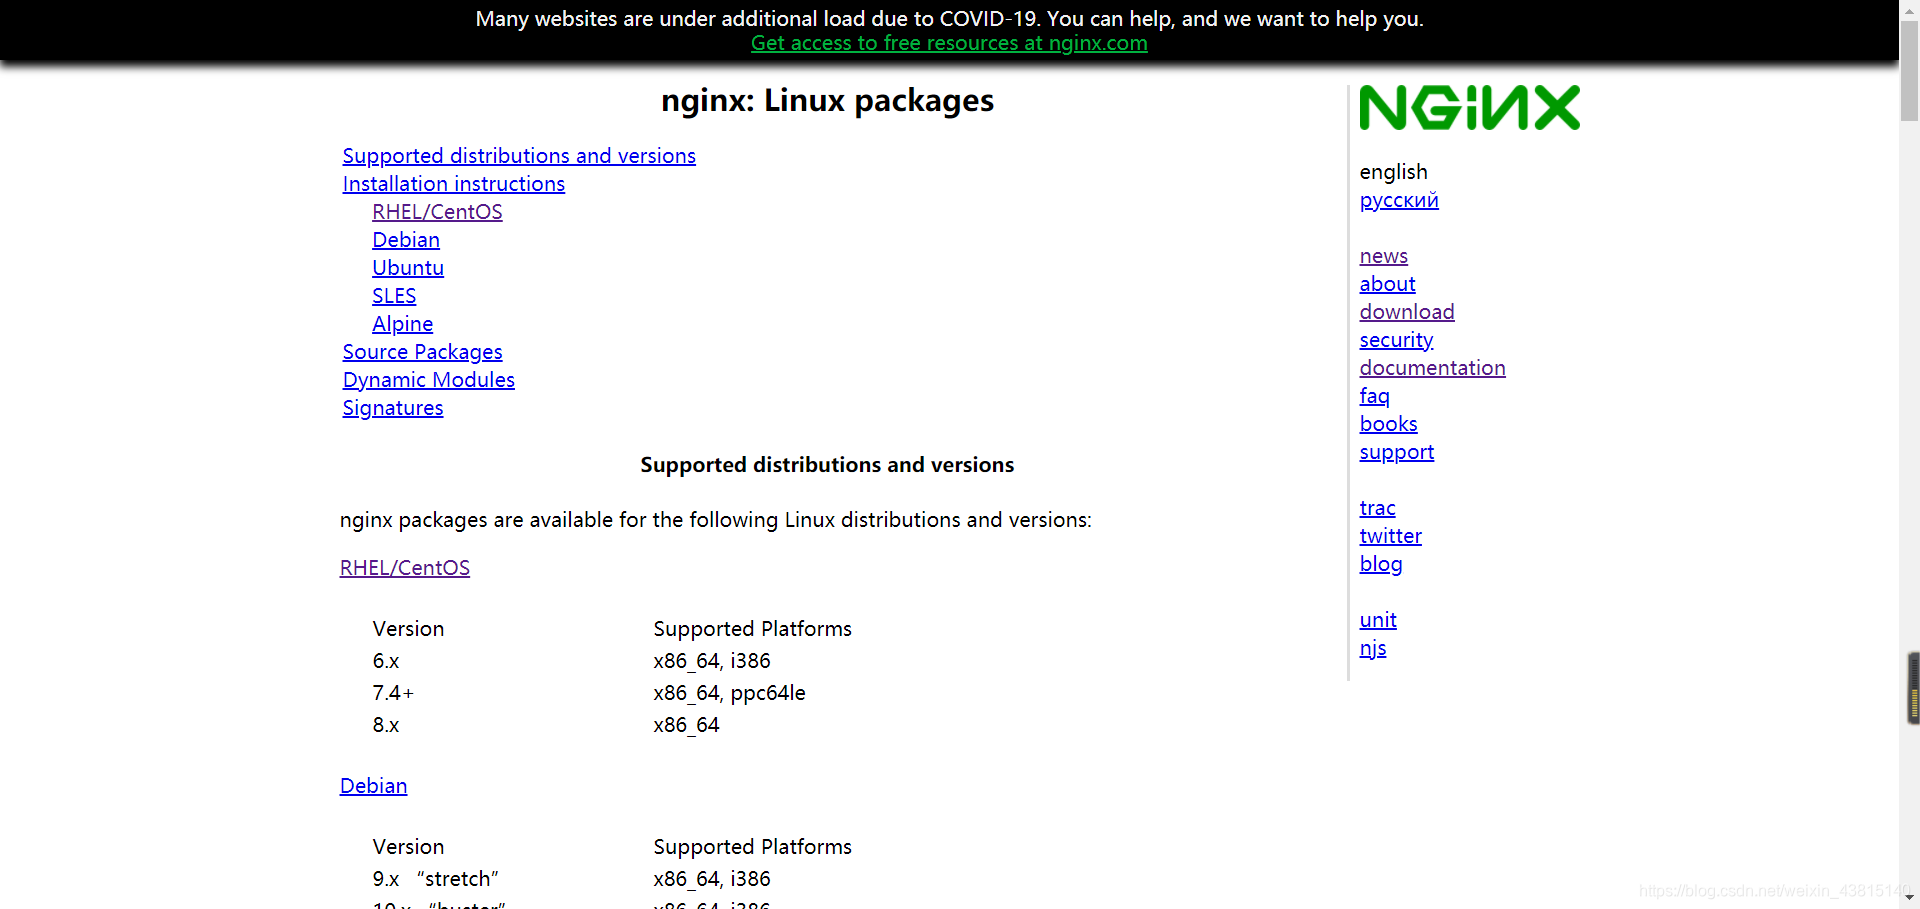
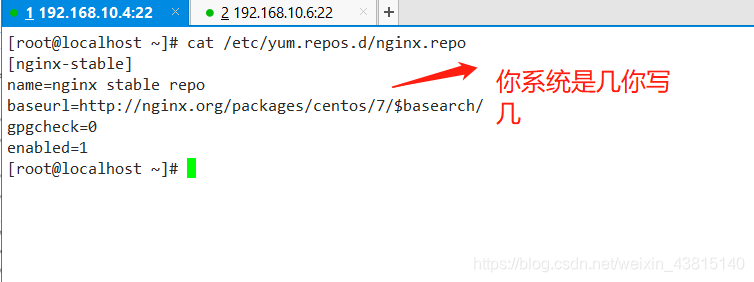
根据你的系统选择,我的是Centos7,
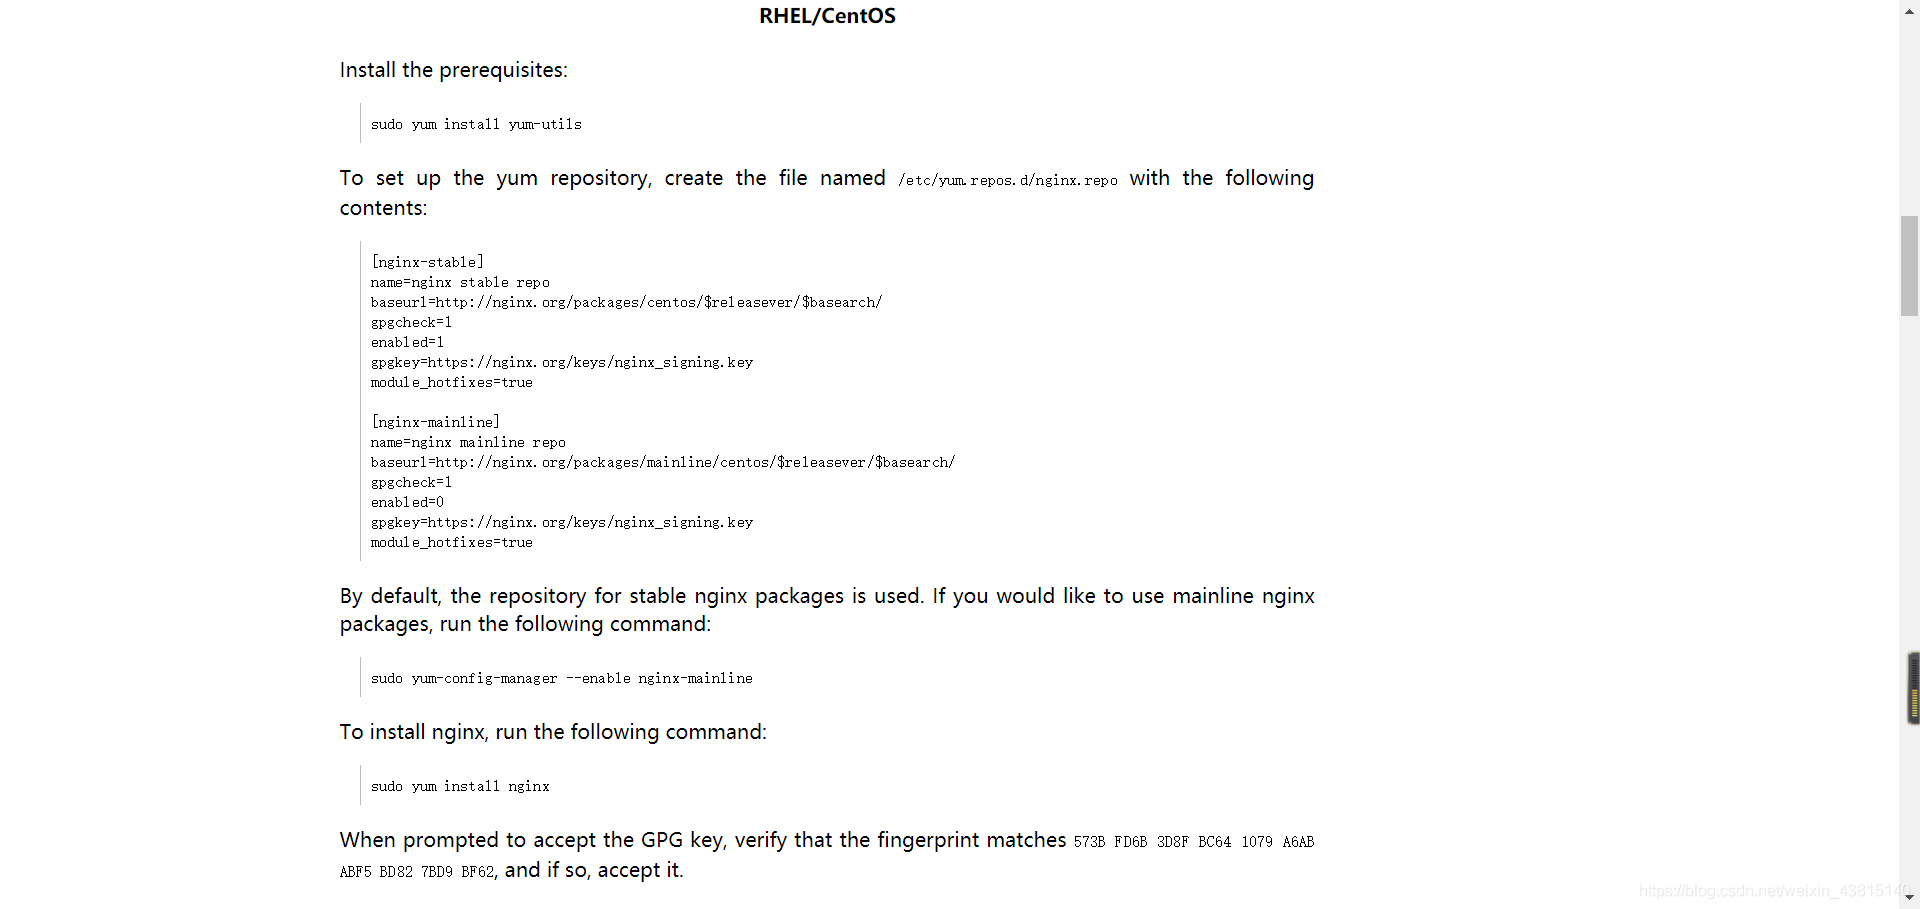
复制里面内容做好yum源,下载nginx。
也可以使用阿里云的epel源(方法很多,你自选),第二个比较更省事一点,而且阿里巴巴镜像站更新挺快的,超级赞!!
http://mirrors.aliyun.com
只需要你进入到/etc/yum.repos.d/里面:
wget -O /etc/yum.repos.d/epel.repo http://mirrors.aliyun.com/repo/epel-7.repo -O是指定好新的安装目录和名字
ok!都准备好了 开始yum -y install nginx
查看下安装的默认模块
[root@localhost ~]# nginx -V
nginx version: nginx/1.16.1
built by gcc 4.8.5 20150623 (Red Hat 4.8.5-36) (GCC)
built with OpenSSL 1.0.2k-fips  26 Jan 2017
TLS SNI support enabled
configure arguments: --prefix=/etc/nginx --sbin-path=/usr/sbin/nginx --modules-path=/usr/lib64/nginx/modules --conf-path=/etc/nginx/nginx.conf --error-log-path=/var/log/nginx/error.log --http-log-path=/var/log/nginx/access.log --pid-path=/var/run/nginx.pid --lock-path=/var/run/nginx.lock --http-client-body-temp-path=/var/cache/nginx/client_temp --http-proxy-temp-path=/var/cache/nginx/proxy_temp --http-fastcgi-temp-path=/var/cache/nginx/fastcgi_temp --http-uwsgi-temp-path=/var/cache/nginx/uwsgi_temp --http-scgi-temp-path=/var/cache/nginx/scgi_temp --user=nginx --group=nginx --with-compat --with-file-aio --with-threads --with-http_addition_module --with-http_auth_request_module --with-http_dav_module --with-http_flv_module --with-http_gunzip_module --with-http_gzip_static_module --with-http_mp4_module --with-http_random_index_module --with-http_realip_module --with-http_secure_link_module --with-http_slice_module --with-http_ssl_module --with-http_stub_status_module --with-http_sub_module --with-http_v2_module --with-mail --with-mail_ssl_module --with-stream --with-stream_realip_module --with-stream_ssl_module --with-stream_ssl_preread_module --with-cc-opt='-O2 -g -pipe -Wall -Wp,-D_FORTIFY_SOURCE=2 -fexceptions -fstack-protector-strong --param=ssp-buffer-size=4 -grecord-gcc-switches -m64 -mtune=generic -fPIC' --with-ld-opt='-Wl,-z,relro -Wl,-z,now -pie'
nginx新版本的配置文件
全局配置文件:/etc/nginx/nginx.conf
虚拟主机配置:/etc/nginx/conf.d/*.conf
ok,先来建立一个存放网页代码的目录
[root@localhost ~] mkdir  /wangzhan
[root@localhost ~] cd /wangzhan/
[root@localhost wangzhan] ls
about.html       clients.html  css       fonts   index.html  说明.htm
browse ads.html  contact.html  download  images  js
[root@localhost wangzhan]
复制网页代码到/wangzhan目录下,网页代码可以自己写,也可以去站长之家去下载一个,反正我不会写,我是网上找的。<0.0>
编辑虚拟主机配置文件:vim /etc/nginx/conf.d/wangzhan.conf,(自己建立一个.conf结尾的就行)
server {
    listen       80;
    server_name  www.wangzhan.com; #网站名字

    #charset koi8-r;
    #access_log  /var/log/nginx/host.access.log  main;

    location / {
        root   /wangzhan;  #网页根目录
        index  index.html index.htm;
       }
.....
}
保存退出
systemctl restart nginx #重启服务即可
客户端修改/etc/hosts、能域名解析到www.wangzhan.com,
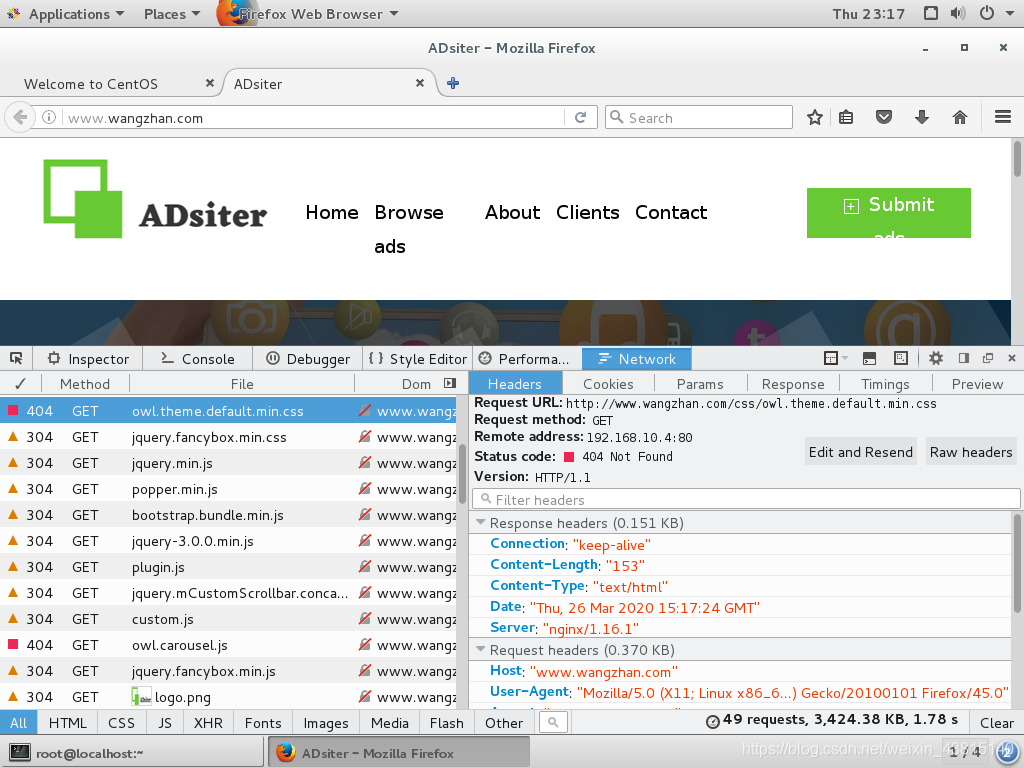
访问测试

nginx官网里有很多模块的介绍和说明,点进去往下翻,文章下面会继续讲几个常用的模块。

nginx目录索引(index模块)
nginx默认不起用目录索引,更不允许列出网站目录提供下载。就是我们所见的nginx网站也好,其他网站也好,都有索引提供URl路径。(模块作用就这些,说多了反而变味,看效果吧)
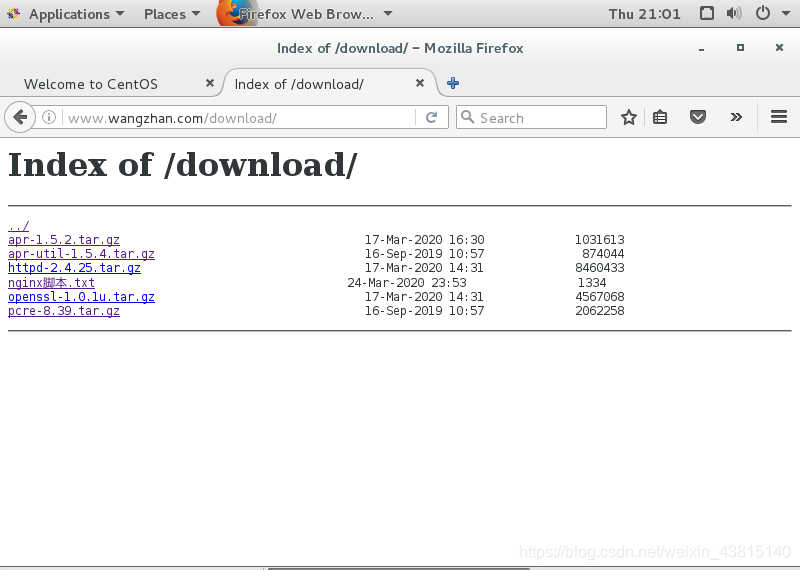
在wangzhan网站下,创建download下载目录,索引显示
mkdir /wangzhan/download
创建完以后自己拷贝文件到/wangzhan/download目录下
server {
......
location /download {
        root   /wangzhan;  #网站根目录
        autoindex on;      #启用索引显示
        charset utf-8,gbk; #支持中文显示
        autoindex_exact_size on; #显示文件大小
        autoindex_localtime on;  #显示文件创建时间
    }
......
}
保存退出
systemctl restart nginx
客户端测试访问:http://www.wangzhan.com/download
nginx状态监控(status模块)
Syntax: stub_status; 启用状态化追踪
Default: — 默认关闭
Context: server, location 场景:某个虚拟主机、某个虚拟主机的目录
针对www.wangzhan.com网站,启用状态化追踪
server {
......
location /status {
        stub_status;       #启用状态化追踪
        access_log off;    #关闭status日志记录
        }
......
}
保存退出
systemctl reload nginx
客户端访问:http://www.wangzhan.com/status
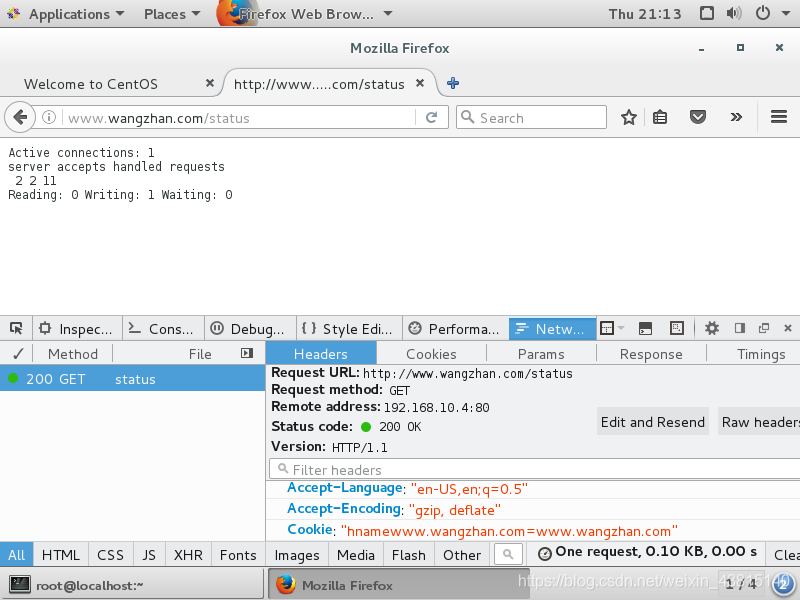
相关参数解释:
| Active connections | 当前活跃的连接数 |
|---|---|
| server accepts | 当前的总tcp连接数 |
| handled | 成功的连接数 |
| requests | 总HTTP请求数 |
nginx基于ip的访问控制(access模块)
仅允许内部网段或vpn访问status,只让内部人员或管理员才能看到这些信息,也是为了网站的安全。
vim  /etc/nginx/conf.d/wangzhan.conf
  修改为:
		 location /status {
			stub_status;
			access_log off;
			allow 192.168.1.0/24;	#仅允许1.0网段访问
			deny all;				#拒绝其他所有
		}
配置起来很简单
nginx基于用户的访问控制(auth模块)
为了进一步保证数据的安全性,使用这个模块,访问status时,提供用户密码验证。在修改配置文件前,需要做好前提准备、
[root@localhost ~] yum -y install httpd-tools
[root@localhost ~] htpasswd -b -c /etc/nginx/.auth_conf webadmin 123456
Adding password for user webadmin
[root@localhost ~]#
ok,现在改一下虚拟主机配置文件
server {
......
 location /status {
			stub_status;
			access_log off;
			auth_basic	"input your passwd:";	#用户验证启用描述
			auth_basic_user_file /etc/nginx/.auth_conf;	#用户验证文件路径
		}
......
}
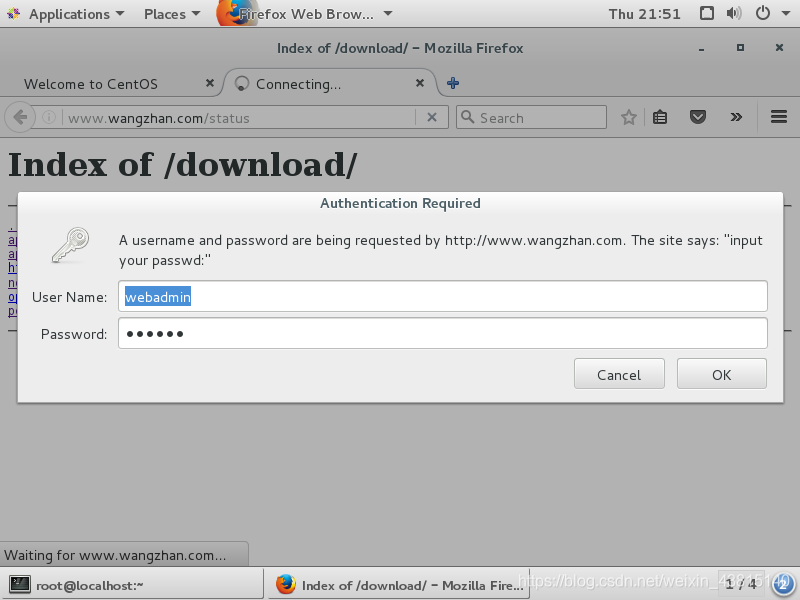
测试下效果,若下图,再次访问的时候开启了验证。
nginx的访问限制频率
优点是防止外来的恶意攻击,自己根据不同的公司情况来设置参数。灵活性强。降低服务器压力
limit_conn_module 连接频率限制
limit_req_module 请求频率限制
具体配置在下面
vim /etc/nginx/nginx.conf  #在全局文件配置,在虚拟文件里应用
 http {
.....
  limit_conn_zone $binary_remote_addr zone=addr:10m;#创建zone区域名为addr,大小10m,保存客户端的二进制ip
  limit_req_zone $binary_remote_addr zone=one:10m rate=1r/s;#一个ip同一时间点只允许建立一个连接
.....
保存退出
vim /etc/nginx/conf.d/wangzhan.conf #引用全局文件配置
 server {
   location /download {
   		......
        limit_conn addr 1; #创建zone区域名为one,大小10m,保存客户端的二进制ip,限制请求速率每秒1次
        limit_req zone=one burst=5; #调用请求速率区域,另外设置额外突发5次
		......
	 }
}
保存退出
systemctl restart nginx
测试连接请求
多次刷新页面来看,总有几个请求被拒绝的,但不影响正常访问
官方模块文档:http://nginx.org/en/docs/
。。。
拜拜。
