文章目录
一、环境准备
请先参考文章 Intellij IDEA 中使用 JUnit4 进行单元测试 配置好 JUnit 测试环境。
1.安装 Ant
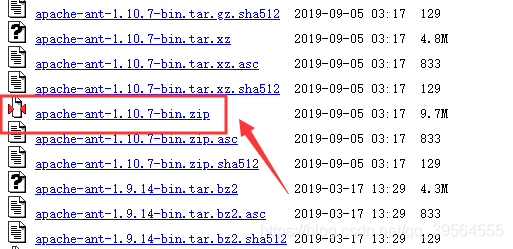
直接在官网下载最新的 Ant 即可,本次实验使用版本为 apache-ant-1.10.7
2.配置 Ant
在系统环境变量的 Path 中添加 Ant 路径。例如我的路径为 F:\apache-ant-1.10.7\bin
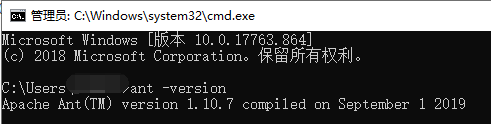
3.测试 Ant 是否配置成功
在 cmd 中输入 ant -version,显示版本信息即正确。
二、编写测试代码
1.在 src 目录下编写测试类
public class Item{

  private String itemId;
  private String itemPrice;
  private int quantity;

  public Item(String itemId, String itemPrice, int quantity){
    this.itemId = itemId.trim();
    this.itemPrice = itemPrice;
    this.quantity = quantity;
  }

  // 商品的 ID 获取
  public String getItemId() {
    System.out.println("itemId : " + itemId);
    return itemId;
  }

  // 商品的数量获取
  public int getQuantity() {
    System.out.println("quantity : " + quantity);
    return quantity;
  }

  // 商品的价格获取
  public String getItemPrice() {
    System.out.println("itemPrice : " + itemPrice);
    return itemPrice;
  }

}
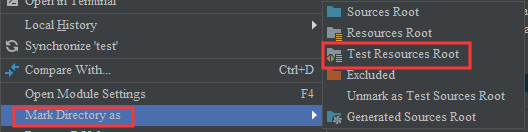
2.在 test 目录(如果没有则新建 Test ,并且将其设置为 Test Resources Root)下编写测试类
import org.junit.Assert;
import org.junit.Test;

public class TestJunit {
    private String itemId = "A02";
    private String itemPrice = "$8.88";
    private int quantity = 8;

    private Item item = new Item(itemId, itemPrice, quantity);

    @Test
    public void testGetItemId() {
        Assert.assertEquals(itemId, item.getItemId());
    }

    @Test
    public void testGetQuantity() {
        Assert.assertEquals(quantity, item.getQuantity());
    }

    @Test
    public void testGetItemPrice() {
        Assert.assertEquals(itemPrice, item.getItemPrice());
    }
}
三、编写 Ant 配置文件
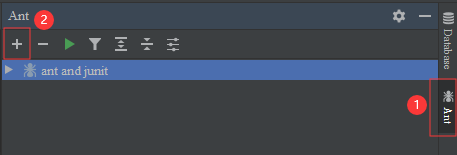
一般配置文件命名为 build.xml ,在项目根目录下创建配置文件 build.xml ,然后在界面右侧靠边处选择 【Ant】,点击后选择 【+】 添加该文件到 Ant 中。
<?xml version="1.0"?>

    <project name="ant and junit" default="test auot junit and report" basedir=".">

        <!-- 定义工程依赖的jar包存放的位置 -->
        <property name="lib.dir" value="lib"/>
        <path id="classpath">
            <fileset dir="${lib.dir}" includes="**/*.jar"/>
        </path>

        <property name="output folder" value="classes"/>
        <property name="src folder" value="src"/>
        <property name="test folder" value="test"/>
        <property name="report folder" value="report"/>

        <target name="clean">
            <delete dir="report"/>
            <echo>清除测试报告文件 成功!</echo>
        </target>

        <target name="compile init">
            <mkdir dir="${output folder}"/>
            <echo>创建编译文件夹 成功!</echo>
        </target>

        <target name="report init" depends="clean">
            <mkdir dir="${report folder}"/>
            <echo>创建测试报告文件夹 成功!</echo>
        </target>

        <target name="compile" depends="compile init">
            <javac srcdir="${src folder}" destdir="${output folder}" classpathref="classpath"/>
            <echo>项目源文件编译 成功!</echo>
        </target>

        <target name="test compile" depends="report init">
            <javac srcdir="${test folder}" destdir="${output folder}" classpathref="classpath"/>
            <echo>项目测试文件编译 成功!</echo>
        </target>

        <target name="all compile" depends="compile, test compile">
        </target>

        <target name="test auot junit and report" depends="all compile">
            <junit printsummary="on" fork="true" showoutput="true">
                <classpath>
                    <fileset dir="${lib.dir}" includes="**/*.jar"/>
                    <pathelement path="${output folder}"/>
                </classpath>
                <formatter type="xml"/>
                <batchtest todir="${report folder}">
                    <fileset dir="${output folder}">
                        <include name="**/Test*.*"/>
                    </fileset>
                </batchtest>
            </junit>
            <junitreport todir="${report folder}">
                <fileset dir="${report folder}">
                    <include name="TEST-*.xml"/>
                </fileset>
                <report format="frames" todir="${report folder}"/>
            </junitreport>
        </target>

    </project>
四、运行结果
1.项目目录结构
在项目运行时需要单独的 JUnit.jar ,所以需要先在项目根目录下创建 lib 文件夹,并将 JUnit.jar 放入其中。

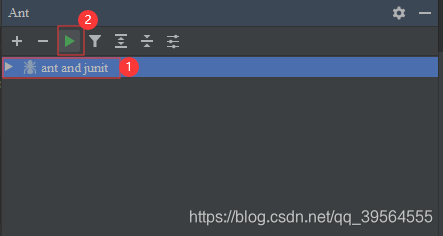
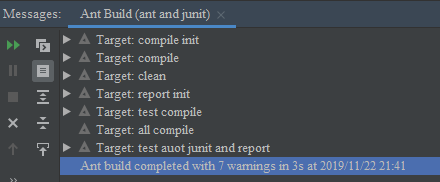
2.选择该 Ant 类,点击运行即可,如果测试正确会在终端显示正常编译结果。
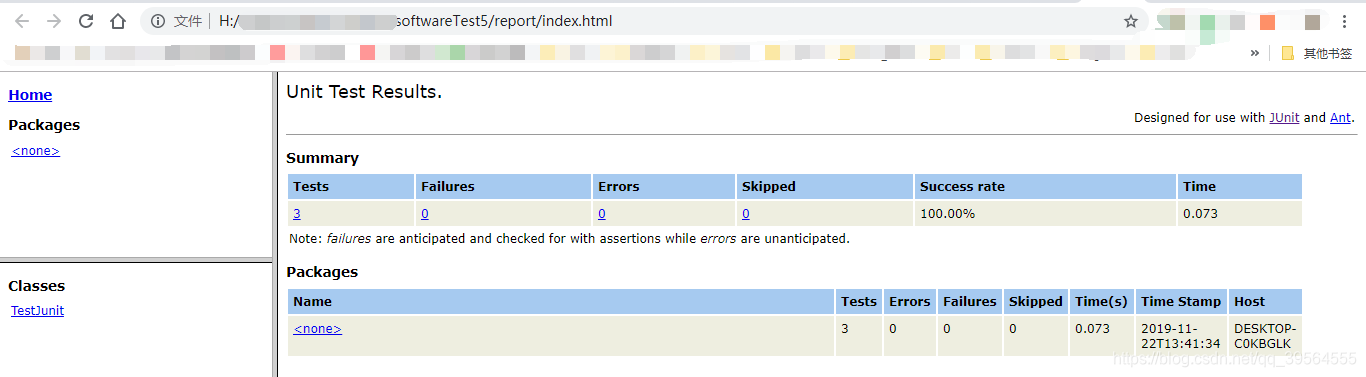
3.在浏览器中输入 项目的路径/report/index.html 可以查看 Ant 自动化测试的报告结果。