一、安装nexus私服并启动
1、下载nexus软件
windows:http://www.sonatype.org/nexus/archived/
2、安装nexus
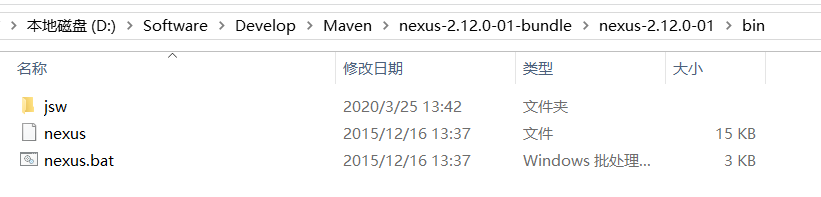
进入 bin 目录:
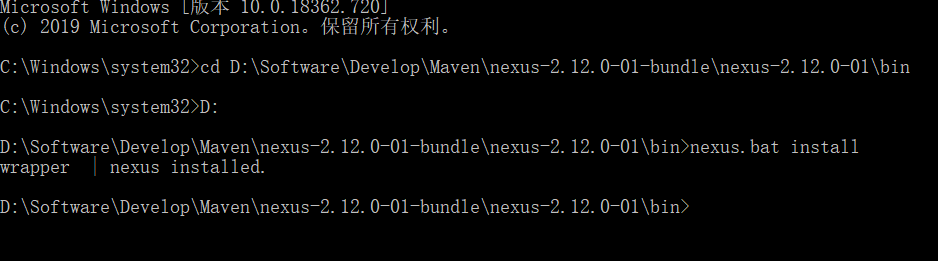
cmd (管理员)进入 bin 目录,执行 nexus.bat install
如果卸载,即cmd (管理员)进入 nexus 的 bin 目录,执行: nexus.bat uninstall
安装成功在服务中查看有 nexus 服务

3、启动nexus服务
cmd (管理员)进入 bin 目录,执行 nexus.bat start

访问:http://localhost:8081/nexus/
使用 Nexus 内置账户 admin/admin123 登陆:点击右上角的 Log in,输入账号和密码 登陆
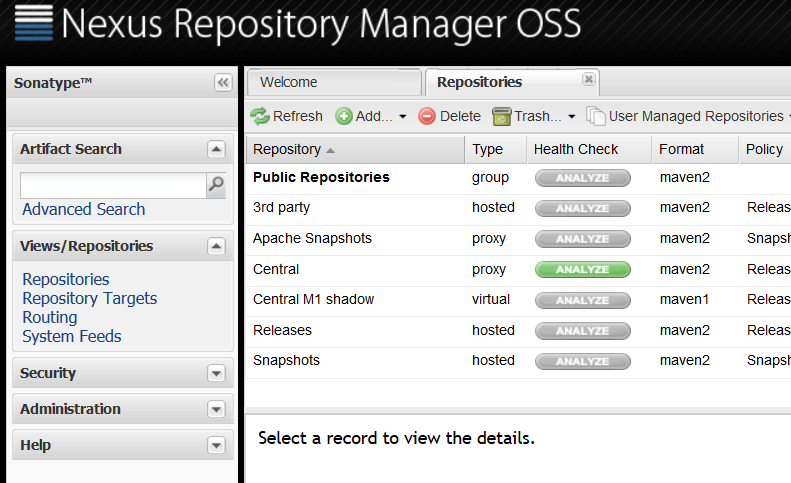
4、仓库类型
nexus 的仓库有 4 种类型:
1. hosted,宿主仓库, 部署自己的 jar 到这个类型的仓库,包括 releases 和 snapshot 两部分, Releases 公司内部发布版本仓库、 Snapshots 公司内部测试版本仓库
2. proxy,代理仓库, 用于代理远程的公共仓库,如 maven 中央仓库,用户连接私服,私服自动去中央仓库下载 jar 包或者插件。
3. group,仓库组,用来合并多个 hosted/proxy 仓库,通常我们配置自己的 maven 连接仓库组。
4. virtual(虚拟):兼容 Maven1 版本的 jar 或者插件
5、nexus仓库地址
nexus 仓库默认在 sonatype-work 目录中:

二、私服连接
1、两种方法:
1.在单个项目的pom.xml中使用 私服的连接地址,这样只对该项目起作用。
2.在maven的setting.xml配置中添加私服的连接地址。这样对所有项目起作用。
第一步: 需要在客户端配置 maven环境,并修改 settings.xml文件, 配置连接私服的用户和密码 。此用户名和密码用于私服校验,因为私服需要知道上传的账号和密码是否和私服中的账号和密码一致
由于 setting.xml 中没有 repositories 的配置标签需要使用 profile 定义仓库
<server>
<--发布-->
<id>releases</id>
<username>admin</username>
<password>admin123</password>
</server>
<server>
<--测试-->
<id>snapshots</id>
<username>admin</username>
<password>admin123</password>
</server>
<profile>
<!--profile 的 id-->
<id>dev</id>
<repositories>
<repository>
<!--仓库 id, repositories 可以配置多个仓库,保证 id 不重复-->
<id>nexus</id>
<!--仓库地址,即 nexus 仓库组的地址-->
<url>http://localhost:8081/nexus/content/groups/public/</url>
<!--是否下载 releases 构件-->
<releases>
<enabled>true</enabled>
</releases>
<!--是否下载 snapshots 构件-->
<snapshots>
<enabled>true</enabled>
</snapshots>
</repository>
</repositories>
<pluginRepositories>
<!-- 插件仓库, maven 的运行依赖插件,也需要从私服下载插件 -->
<pluginRepository>
<!-- 插件仓库的 id 不允许重复,如果重复后边配置会覆盖前边 -->
<id>public</id>
<name>Public Repositories</name>
<url>http://localhost:8081/nexus/content/groups/public/</url>
</pluginRepository>
</pluginRepositories>
</profile>
使用 profile 定义仓库需要激活才可生效。
<activeProfiles>
<activeProfile>dev</activeProfile>
</activeProfiles>
第二步: 配置项目 pom.xml
配置私服仓库的地址,本公司的自己的 jar 包会上传到私服的宿主仓库,根据工程的版本号决定上传到哪个宿主仓库,如果版本为 release 则上传到私服的 release 仓库,如果版本为snapshot 则上传私服的 snapshot 仓库
<distributionManagement>
<repository>
<id>releases</id>
<--私服地址-->
<url>http://localhost:8081/nexus/content/repositories/releases/</url>
</repository>
<snapshotRepository>
<id>snapshots</id>
<url>http://localhost:8081/nexus/content/repositories/snapshots/</url>
</snapshotRepository>
</distributionManagement>