1 为什么要使用分布式配置中心?
当一个系统中的配置文件发生改变的时候,我们需要重新启动该服务,才能使得新的配置文件生效,spring cloud config 可以实现微服务中的所有系统的配置文件的统一管理,而且还可以实现当配置文件发生变化的时候,系统会自动更新获取新的配置。
与热部署的区别?
热部署适用于开发环境,因为还是会重启服务器。
热部署不适合与生产环境。
2 分布式配置中心框架设计原理
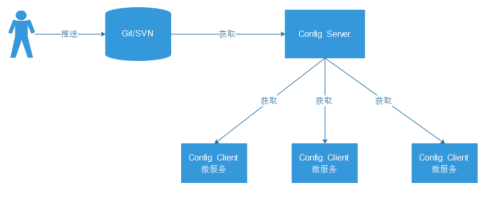
为什么要设计一层
ConfigServer?
ConfigServer 获取 git 环境上配置文件信息。
目的是缓存 git 上面的配置文件信息。
3 公司项目环境区分
搭建
git环境目的:持久化存储配置文件信息(采用码云)。
git环境上文件夹以什么区分?
git 环境上文件夹以 项目 区分。
member_config:会员服务配置文件order_config:订单服务配置文件
公司项目中环境如何区分?
dev:开发环境sit:测试环境pre:预发布环境prd:准生产环境
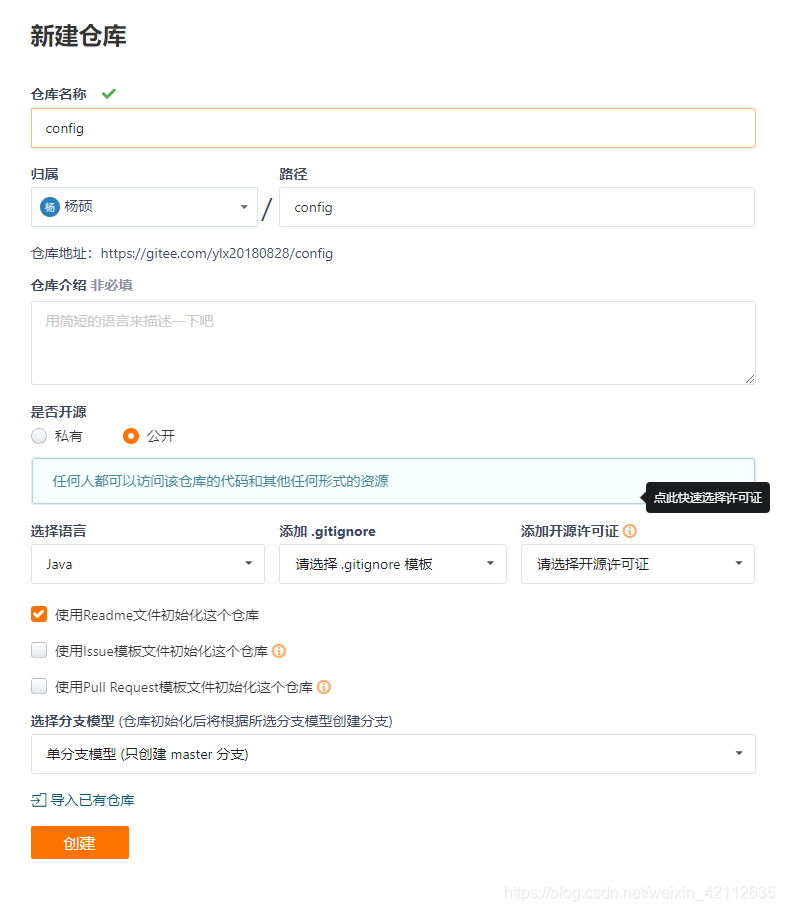
4 码云环境搭建
使用码云环境搭建
git服务器端:
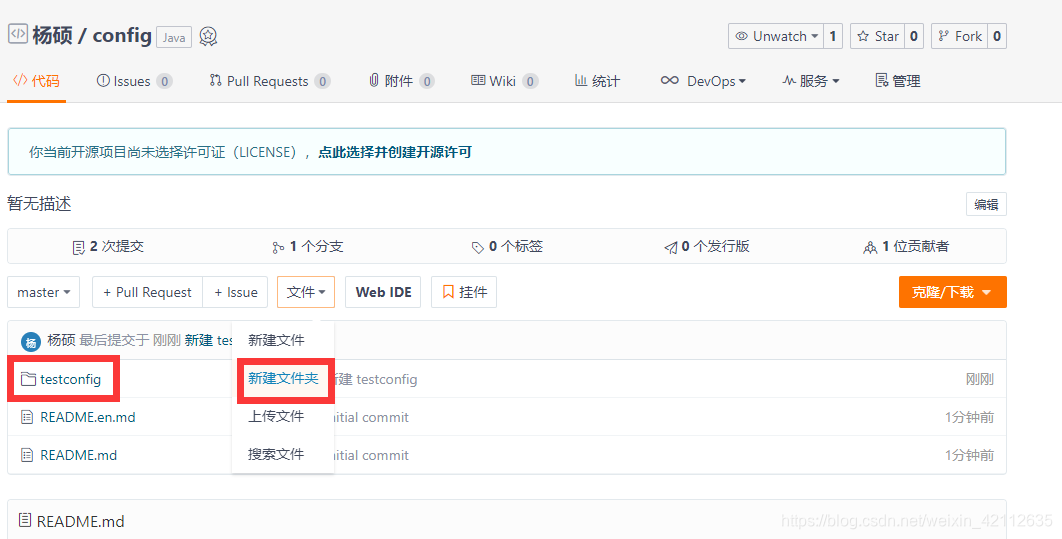
新建
testconfig文件夹
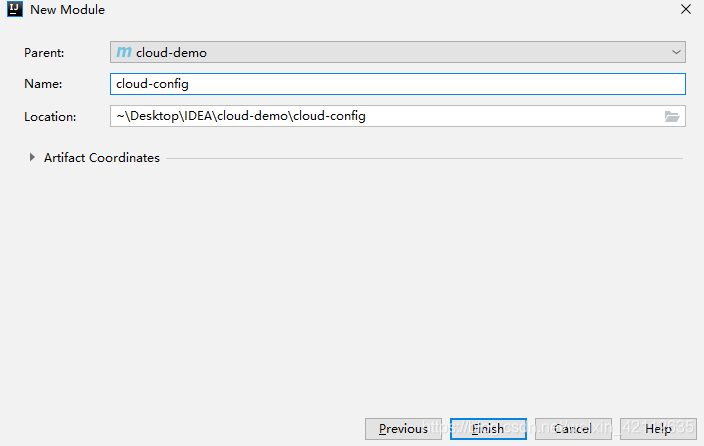
5 创建服务器端
新建一个项目:
引入依赖:
<dependencies>
    <!--spring-cloud 整合 config-server -->
    <dependency>
        <groupId>org.springframework.cloud</groupId>
        <artifactId>spring-cloud-config-server</artifactId>
    </dependency>
    <!-- SpringBoot整合eureka客户端 -->
    <dependency>
        <groupId>org.springframework.cloud</groupId>
        <artifactId>spring-cloud-starter-netflix-eureka-client</artifactId>
    </dependency>
</dependencies>
application.yml
### 服务注册到eureka地址
eureka:
  client:
    service-url:
      defaultZone: http://localhost:8100/eureka
spring:
  application:
    #### 注册中心应用名称
    name: config-server
  cloud:
    config:
      server:
        git:
          ### git环境地址
          uri: https://gitee.com/ylx20180828/config.git
          #### 搜索目录
          search-paths:
            - testconfig
      #### 读取分支
      label: master
#### 端口号
server:
  port: 8888
启动项
package com.snow.config;

import org.springframework.boot.SpringApplication;
import org.springframework.boot.autoconfigure.SpringBootApplication;
import org.springframework.cloud.config.server.EnableConfigServer;
import org.springframework.cloud.netflix.eureka.EnableEurekaClient;

@EnableConfigServer // 开启configserver服务端
@EnableEurekaClient
@SpringBootApplication
public class ConfigApp {

    public static void main(String[] args) {
        SpringApplication.run(ConfigApp.class, args);
    }
}
@EnableConfigServer:开启分布式配置中心服务器端
6 码云上创建配置文件
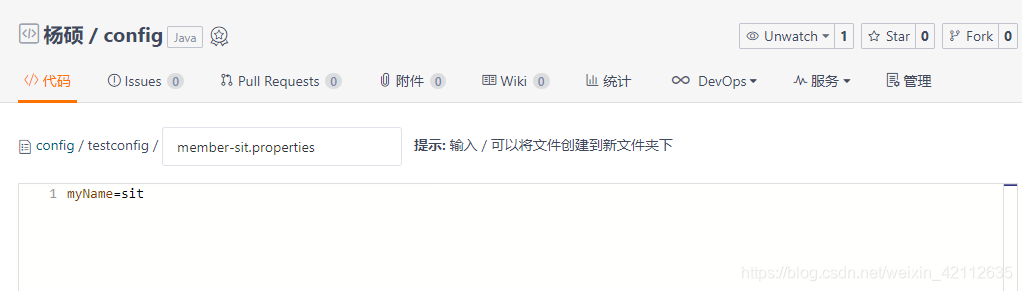
在 git 上面创建配置文件命名规范:
服务名称-环境.properties
例如:会员服务
member-dev.properties
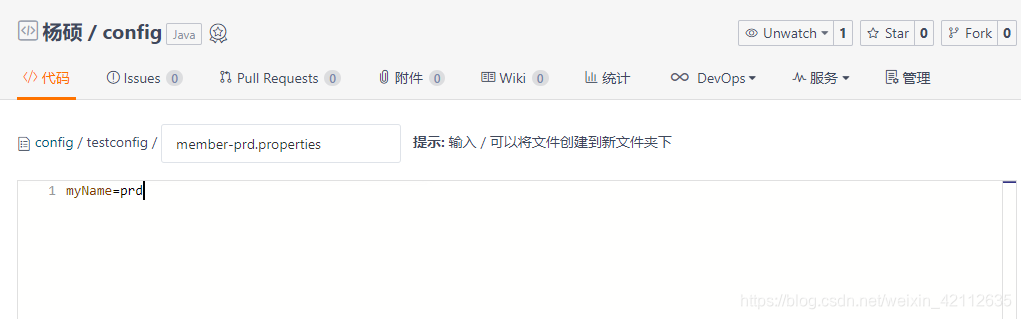
创建文件
测试环境:
生产环境:
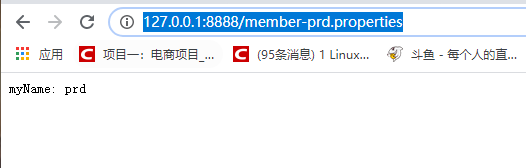
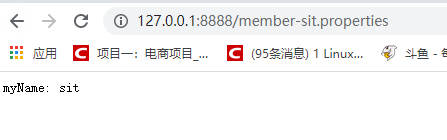
测试服务端能够拿到配置文件
启动 cloud-config 服务:
浏览器访问:http://127.0.0.1:8888/member-prd.properties
7 客户端读取 cloud-config 配置文件
cloud-member添加依赖
<dependency>
    <groupId>org.springframework.cloud</groupId>
    <artifactId>spring-cloud-config-client</artifactId>
</dependency>
修改配置文件为:
bootstrap.yml
### 服务启动端口号
server:
  port: 8000

### 服务名称(服务注册到eureka名称)
spring:
  application:
    ### 服务名称需要与git创建的配置文件的名称前缀相同,member-sit.properties
    name: member
  cloud:
    config:
      #### 读取后缀
      profile: sit
      #### 读取config-server注册地址
      discovery:
        service-id: config-server
        enabled: true

### 服务注册到eureka地址
eureka:
  client:
    service-url: # EurekaServer地址
      defaultZone: http://127.0.0.1:8100/eureka
创建一个 controller 测试
package com.snow.member.controller;

import org.springframework.beans.factory.annotation.Value;
import org.springframework.web.bind.annotation.RequestMapping;
import org.springframework.web.bind.annotation.RestController;

@RestController
public class TestController {

    @Value("${myName}")
    private String name;

    @RequestMapping("/name")
    private String name() {
        return name;
    }

}
创建启动项
package com.snow.member;

import org.springframework.boot.SpringApplication;
import org.springframework.boot.autoconfigure.SpringBootApplication;
import org.springframework.cloud.client.discovery.EnableDiscoveryClient;

@SpringBootApplication
@EnableDiscoveryClient
public class MemberApp {

    public static void main(String[] args) {
        SpringApplication.run(MemberApp.class);
    }
}
测试
启动服务,浏览器访问:http://127.0.0.1:8000/name

8 动态刷新数据
默认情况下是不能实时刷新配置文件信息的。
在
SpringCloud中有手动刷新配置文件和实时刷新配置文件两种方式。
- 手动方式采用
actuator端点刷新数据 - 实时刷新采用
SpringCloud Bus消息总线
手动刷新和自动刷新都不需要重启服务器。一般公司建议使用手动刷新,因为自动刷新对性能不好。
8.1 actuator 端点刷新数据
添加依赖
<!-- actuator监控中心 -->
<dependency>
    <groupId>org.springframework.boot</groupId>
    <artifactId>spring-boot-starter-actuator</artifactId>
</dependency>
bootstrap.yml新增
### 开启监控端点
management:
  endpoints:
    web:
      exposure:
        include: "*"
生效前提:在需要刷新的
Bean上添加@RefreshScope注解
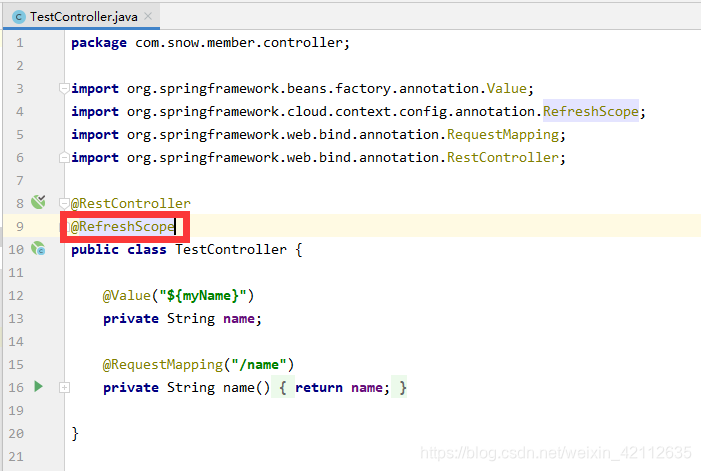
当配置更改时,标有 @RefreshScope 的 Bean 将得到特殊处理来生效配置。
手动刷新接口
Post 请求手动刷新
http://127.0.0.1:8000/actuator/refresh 启动刷新器 从cofnig server读取
