1 Nacos 入门-配置中心-集群
2 Sentinel 入门-限流-降级(一)
3 Sentinel 热点规则-@SentinelResource-熔断-持久化(二)
4 Seata从入门到实战
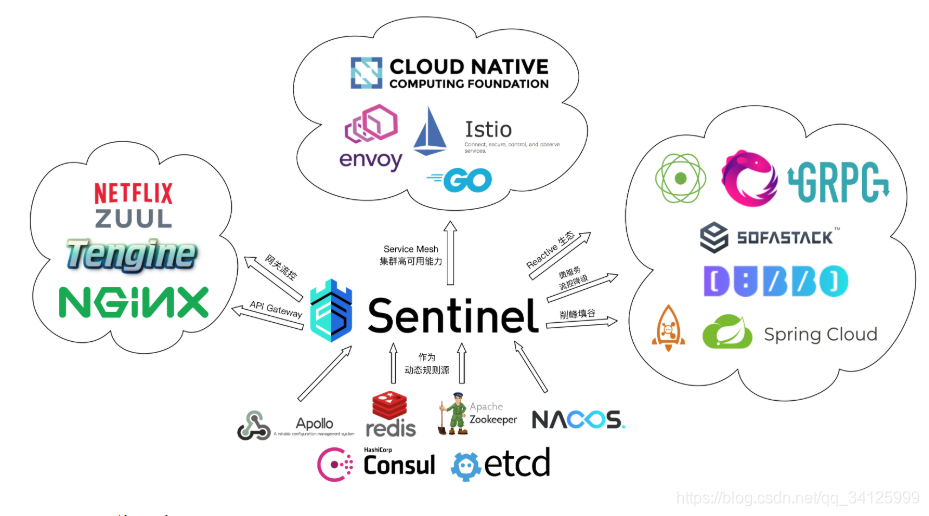
1 Sentinel 简介
随着微服务的流行,服务和服务之间的稳定性变得越来越重要。Sentinel 以流量为切入点,从流量控制、熔断降级、系统负载保护等多个维度保护服务的稳定性。
Sentinel 具有以下特征:
- 丰富的应用场景:Sentinel 承接了阿里巴巴近 10 年的双十一大促流量的核心场景,例如秒杀(即突发流量控制在系统容量可以承受的范围)、消息削峰填谷、集群流量控制、实时熔断下游不可用应用等。
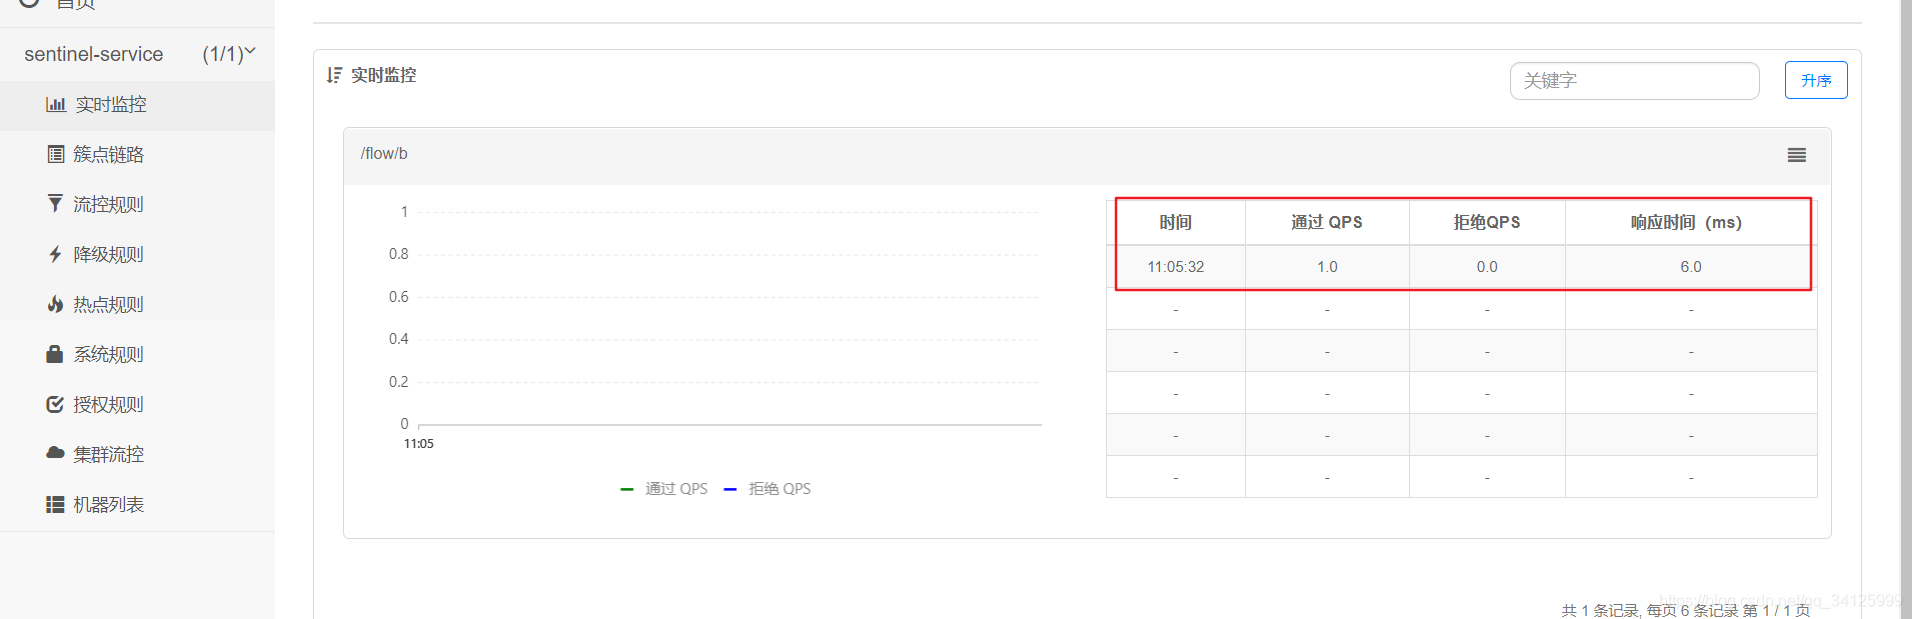
- 完备的实时监控:Sentinel 同时提供实时的监控功能。您可以在控制台中看到接入应用的单台机器秒级数据,甚至 500 台以下规模的集群的汇总运行情况。
- 广泛的开源生态:Sentinel 提供开箱即用的与其它开源框架/库的整合模块,例如与 Spring Cloud、Dubbo、gRPC 的整合。您只需要引入相应的依赖并进行简单的配置即可快速地接入 Sentinel。
- 完善的 SPI 扩展点:Sentinel 提供简单易用、完善的 SPI 扩展接口。您可以通过实现扩展接口来快速地定制逻辑。例如定制规则管理、适配动态数据源等。
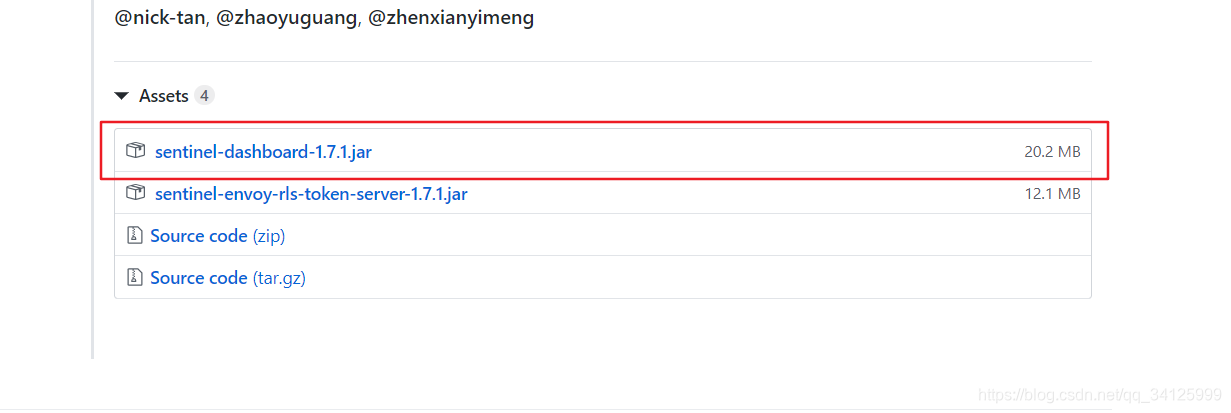
1.1 下载
https://github.com/alibaba/Sentinel/releases/tag/1.7.1
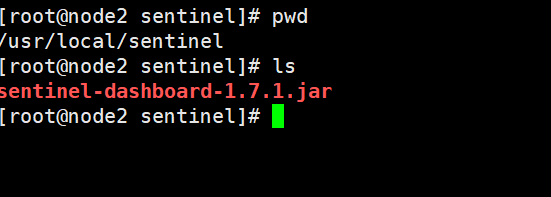
1.2 安装
#上传到linux服务器
nohup java -jar sentinel-dashboard-1.7.1.jar >sentinel.log 2>&1 &
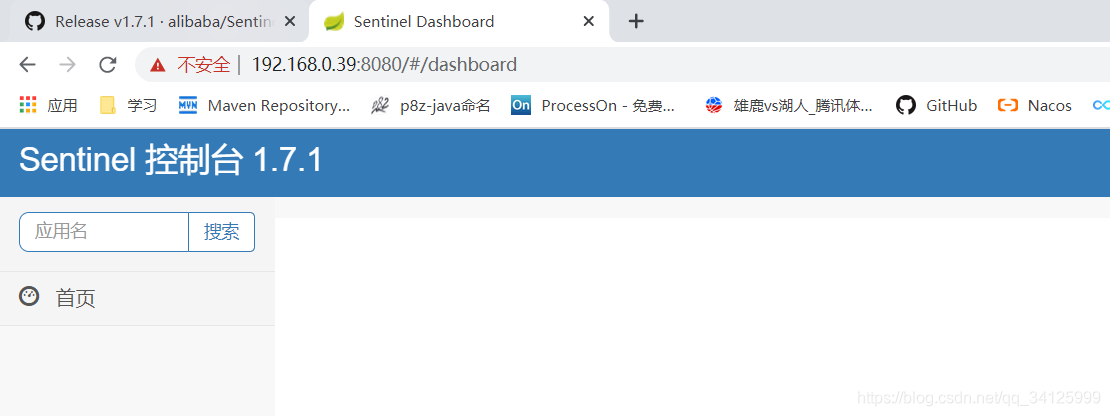
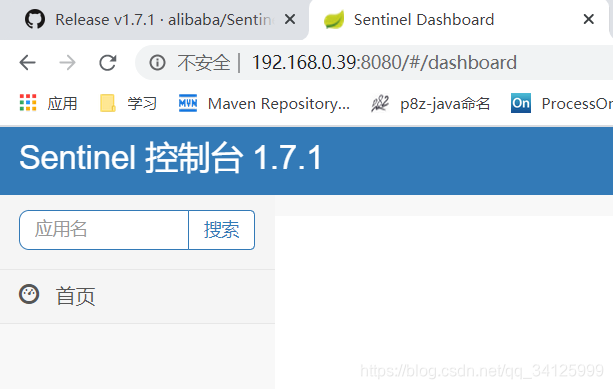
#访问端口8080
http://192.168.0.39:8080
#账号密码
sentinel sentinel
2 代码
2.1 环境准备
192.168.0.39 sentinel nacos
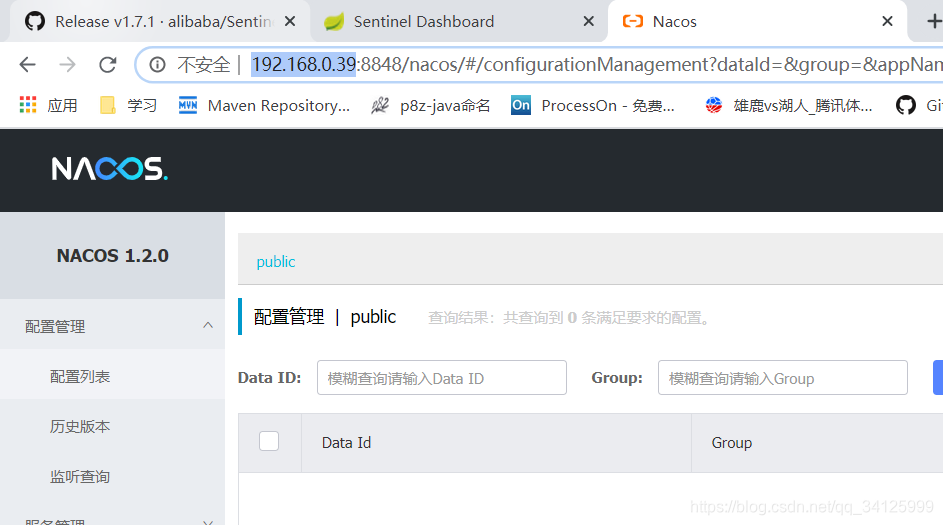
2.2 创建工程
2.3 pom
<dependencies>
    <!--sentinel nacos-->
    <dependency>
        <groupId>com.alibaba.cloud</groupId>
        <artifactId>sentinel-datasource-nacos</artifactId>
    </dependency>
    <!--sentinel-->
    <dependency>
        <groupId>com.alibaba.cloud</groupId>
        <artifactId>spring-cloud-starter-alibaba-sentinel</artifactId>
    </dependency>
    <!--spring cloud alibaba-->
    <dependency>
        <groupId>com.alibaba.cloud</groupId>
        <artifactId>spring-cloud-starter-alibaba-nacos-discovery</artifactId>
    </dependency>
    <dependency>
        <groupId>org.springframework.cloud</groupId>
        <artifactId>spring-cloud-starter-openfeign</artifactId>
    </dependency>
    <dependency>
        <groupId>org.springframework.boot</groupId>
        <artifactId>spring-boot-starter-web</artifactId>
    </dependency>
    <dependency>
        <groupId>org.springframework.boot</groupId>
        <artifactId>spring-boot-starter-actuator</artifactId>
    </dependency>
    <dependency>
        <groupId>org.springframework.boot</groupId>
        <artifactId>spring-boot-starter-test</artifactId>
    </dependency>
    <!--devtools热部署-->
    <dependency>
        <groupId>org.springframework.boot</groupId>
        <artifactId>spring-boot-devtools</artifactId>
        <optional>true</optional>
        <scope>true</scope>
    </dependency>
</dependencies>
2.4 application.yml
server:
  port: 9004
spring:
  application:
    name: sentinel
  cloud:
    nacos:
      discovery:
        server-addr: 192.168.0.39:8848
    sentinel:
      transport:
        #配置sentinel地址,端口
        dashboard: 192.168.0.39:8080
        port: 8719
        #客户端IP
        client-ip: 192.168.0.100

#暴露自己的端点
management:
  endpoints:
    web:
      exposure:
        include: '*'
2.5 controller
@RestController
@RequestMapping("/flow")
public class FlowLimitController {
    @GetMapping("/a")
    public String a(){
        return "Hello a";
    }
    @GetMapping("/b")
    public String b(){
        return "Hello b";
    }
}
2.6 主启动类
@EnableDiscoveryClient
@SpringBootApplication
public class SentinelApplication {
    public static void main(String[] args) {
        SpringApplication.run(SentinelApplication.class);
    }
}
2.7 查看结果
(1) 什么都没有,sentinel采用懒加载需要访问接口
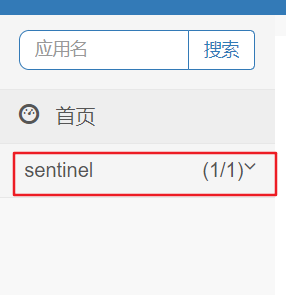
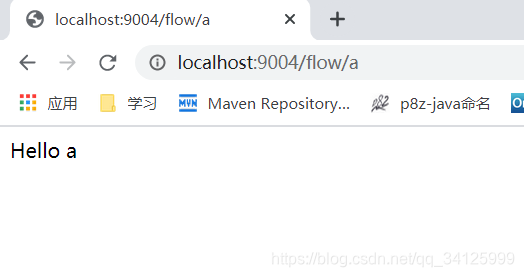
(2) 访问接口
http://localhost:9004/flow/a
http://localhost:9004/flow/b
3 流量控制
流量控制(flow control),其原理是监控应用流量的 QPS 或并发线程数等指标,当达到指定的阈值时对流量进行控制,以避免被瞬时的流量高峰冲垮,从而保障应用的高可用性。
FlowSlot 会根据预设的规则,结合前面 NodeSelectorSlot、ClusterNodeBuilderSlot、StatisticSlot 统计出来的实时信息进行流量控制。
限流的直接表现是在执行 Entry nodeA = SphU.entry(resourceName) 的时候抛出 FlowException 异常。FlowException 是 BlockException 的子类,您可以捕捉 BlockException 来自定义被限流之后的处理逻辑。
同一个资源可以创建多条限流规则。FlowSlot 会对该资源的所有限流规则依次遍历,直到有规则触发限流或者所有规则遍历完毕。
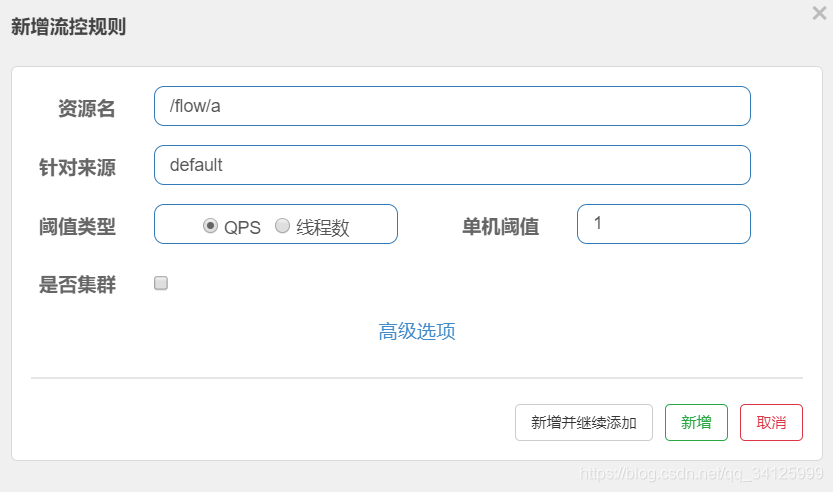
一条限流规则主要由下面几个因素组成,我们可以组合这些元素来实现不同的限流效果:
resource:资源名,即限流规则的作用对象
count: 限流阈值
grade: 限流阈值类型(QPS 或并发线程数)
limitApp: 流控针对的调用来源,若为 default 则不区分调用来源
strategy: 调用关系限流策略
controlBehavior: 流量控制效果(直接拒绝、Warm Up、匀速排队)
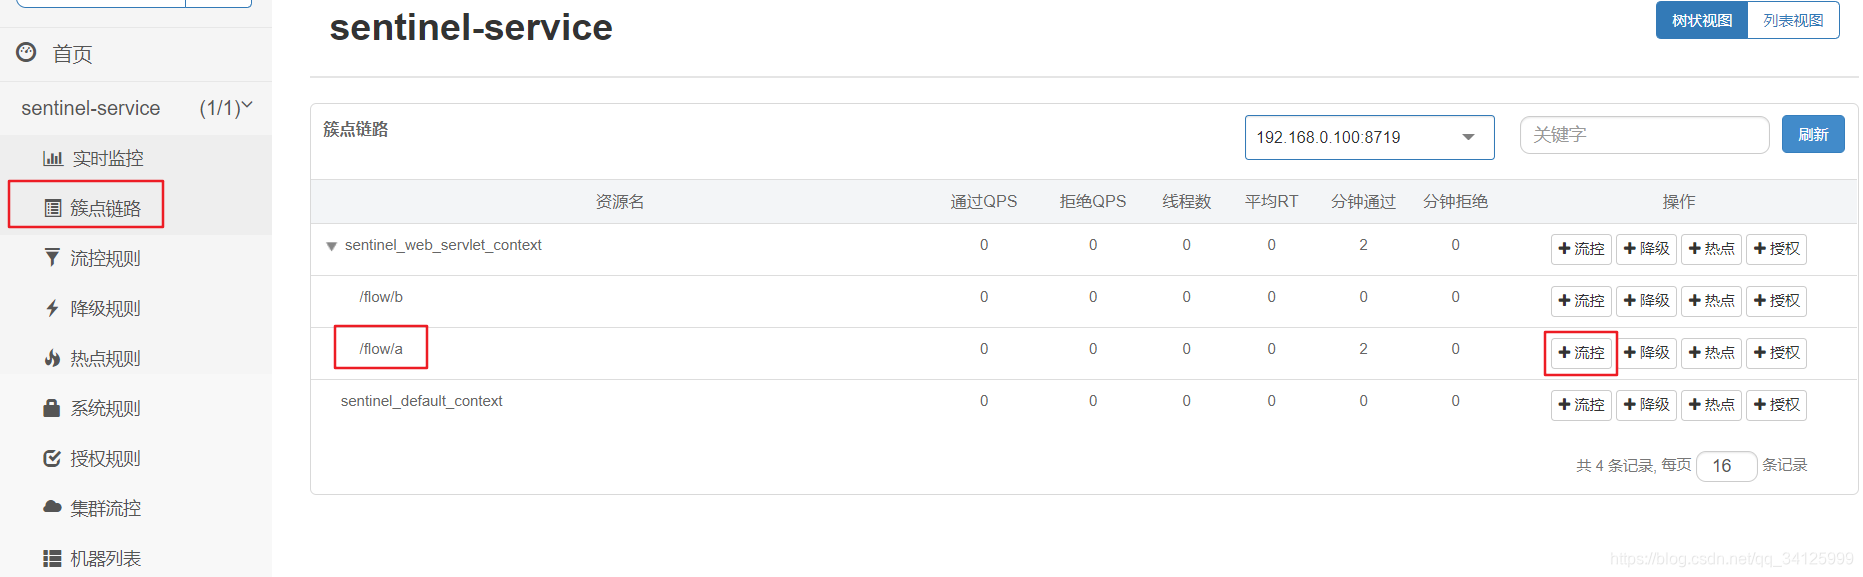
3.1 流控模式
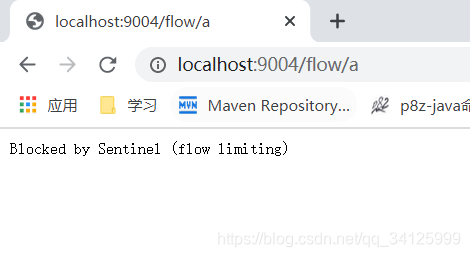
(1) 默认模式
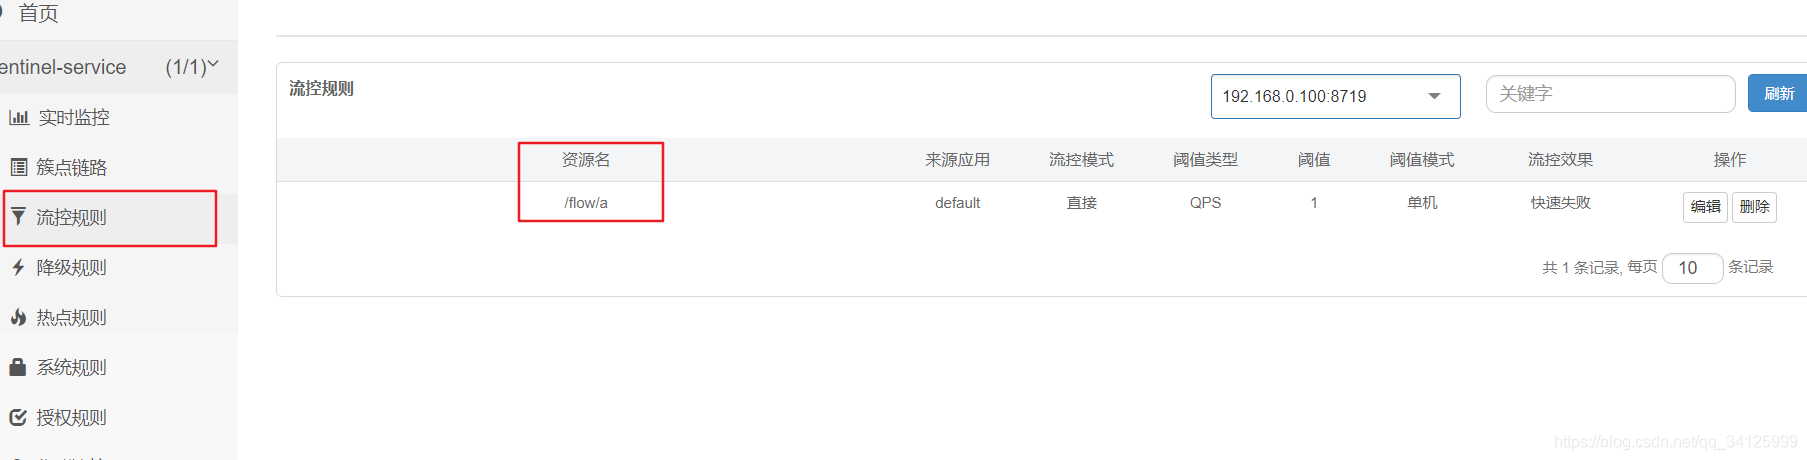
快速访问接口时:
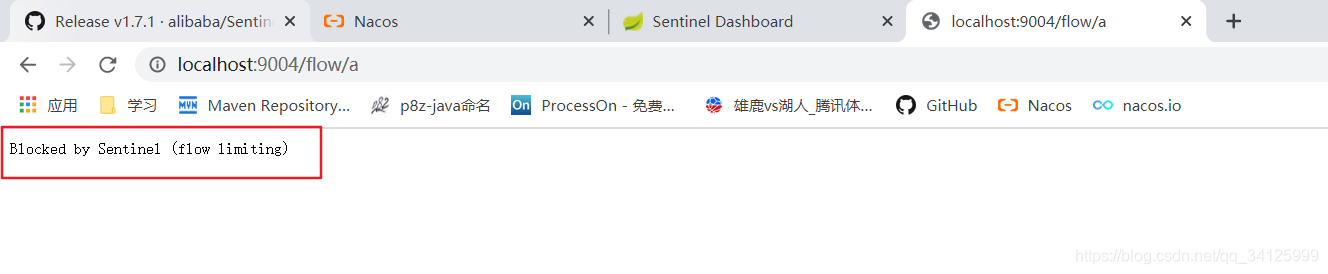
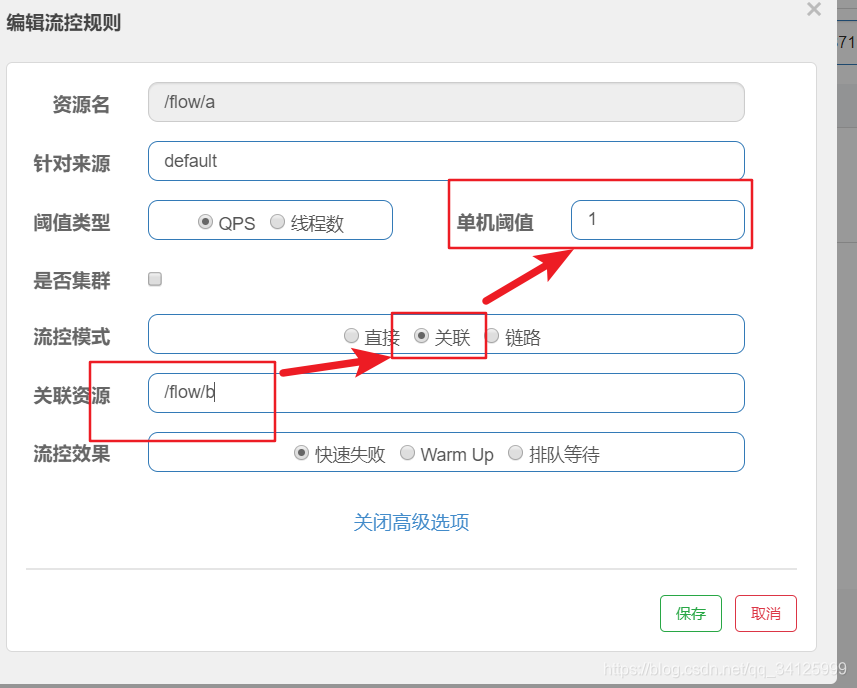
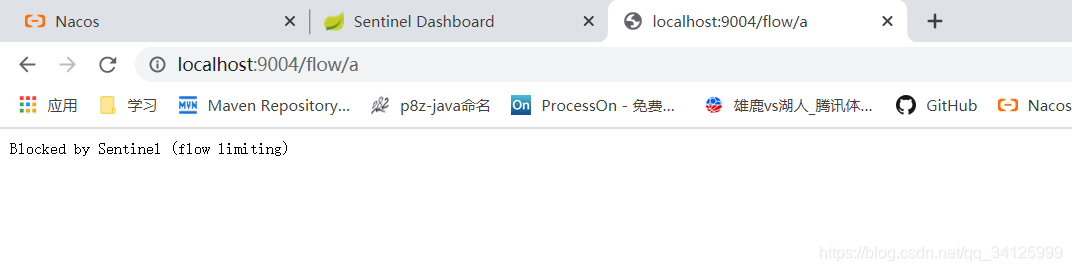
(2) 关联模式
当关联的资源达到阈值时,就限流自己
例:当接口b达到qps时会使a无法访问
postman测试:
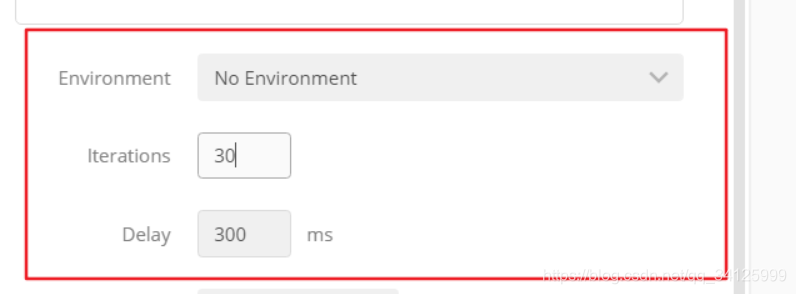
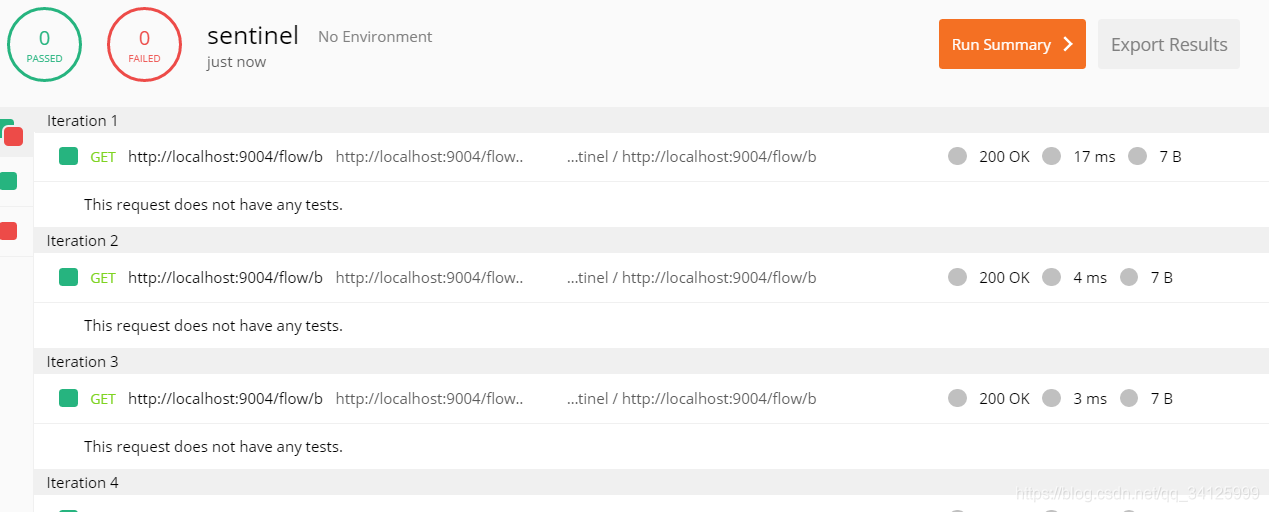
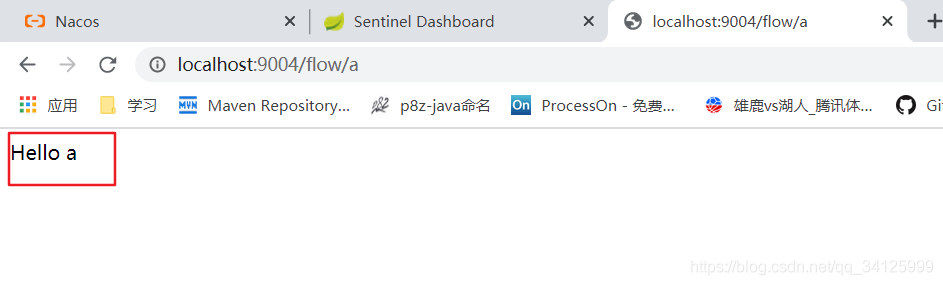
在postman测试期间访问a接口:
当postman测试完:
(3) Warm Up
Sentinel的Warm Up(RuleConstant.CONTROL_BEHAVIOR_WARM_UP)方式,即预热/冷启动方式。当系统长期处于低水位的情况下,当流量突然增加时,直接把系统拉升到高水位可能瞬间把系统压垮。通过"冷启动",让通过的流量缓慢增加,在一定时间内逐渐增加到阈值上限,给冷系统一个预热的时间,避免冷系统被压垮。warm up冷启动主要用于启动需要额外开销的场景,例如建立数据库连接等。
默认 coldFactor为3,即请求QPS从 threshold/3开始,经预热时长逐渐升至设定的QPS阈值。
配置:a接口5秒后qps会达到10,开始qps为3 (10/3)

开始快速访问:
后续快速访问:
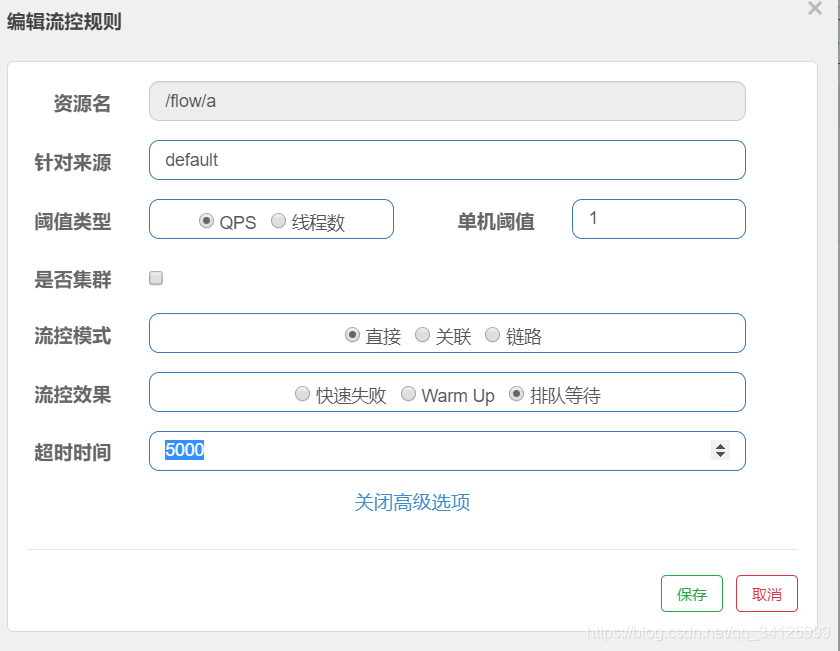
(4) 排队等待
匀速排队,让请求以均匀的速度通过,阀值类型必须设成QPS,否则无效。
设置含义: a接口每秒1次请求,超过的话就排队等待,等待的超时时间为5毫秒。
4 降级
4.1 降级规则介绍
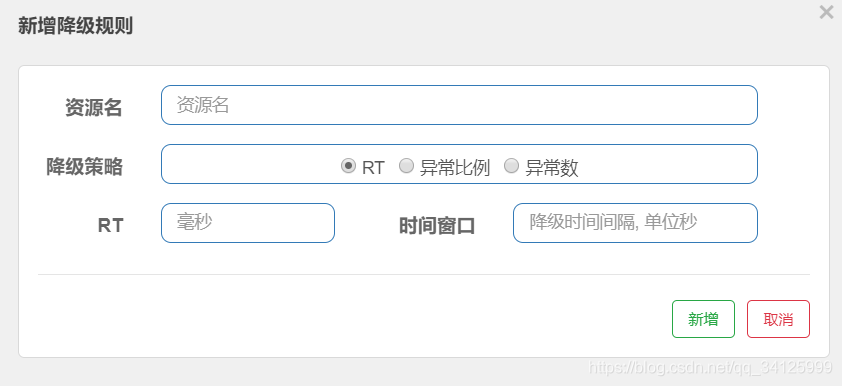
(1) RT(平均响应时间,秒级)
平均响应时间,超出阈值且在时间窗口内通过的请求>=5,两个条件同时满足后触发降级,窗口期过后关闭断路器,RT最大4900(更大的需要通过- Dcspsentinel statistic maxrt=XX才能生效)。
(2) 异常比列(秒级)
QPS>=5且异常比例(秒级统计)超过阈值时,触发降级;时间窗口结束后,关闭降级
(3)异常数(分钟级)
异常数(分钟统计)超过阈值时,触发降级;时间窗口结束后,关闭降级
4.2 RT
(1) 在controller新建接口
@GetMapping("/c")
public String c(){
    try {
        Thread.sleep(1000);
    } catch (InterruptedException e) {
        e.printStackTrace();
    }
    return "Hello c";
}
(2) sentinel配置

平均响应时间为200ms,如果200ms没有响应并且qps>=5,在未来的1s内,保护该系统。

快速访问接口c会出现下图。
解释:如果超过200ms还未处理完,在未来的1s内请求数大于5个,断路器打开,服务不可用

1秒后访问:

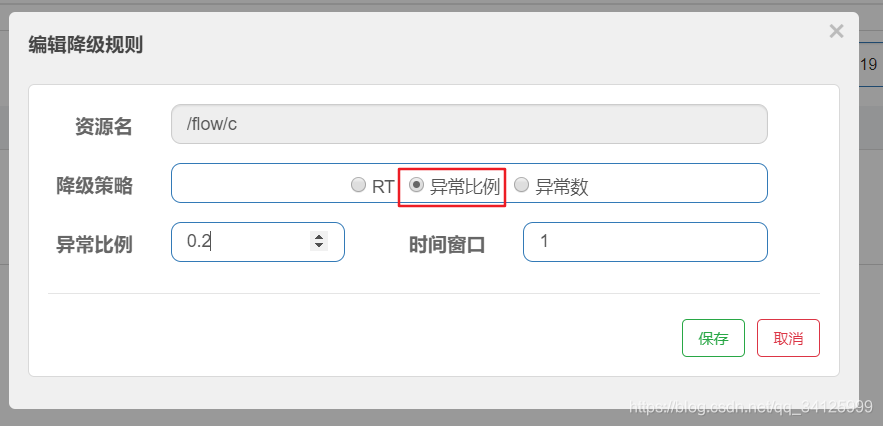
4.3 异常比例
(1) 修改controller
@GetMapping("/c")
public String c(){
    int a=5/0;
    return "Hello c";
}
(2) 修改sentinel,要求异常比例只能占20%并且qps>=5保护该系统。
(3) 测试
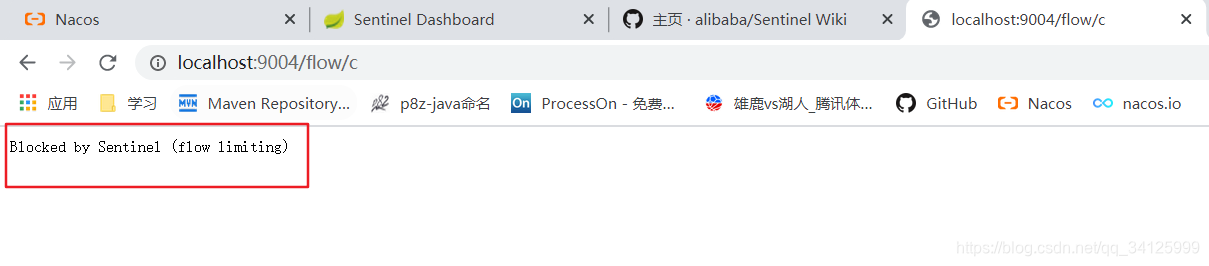
4.4 异常数
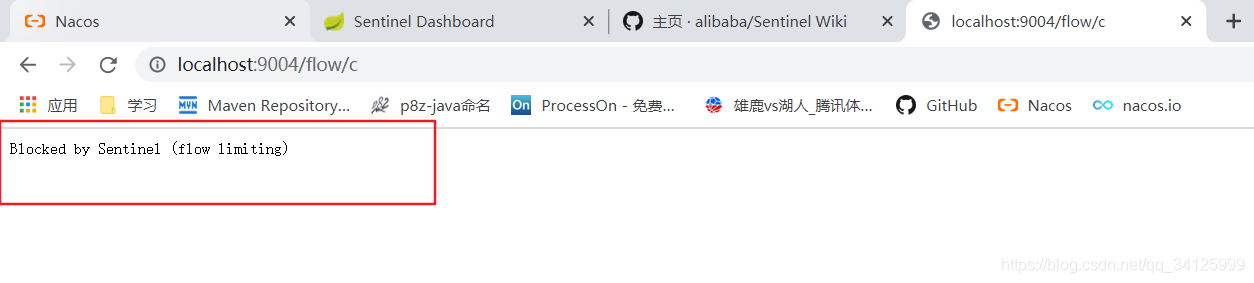
(1) sentinel修改配置,一分钟出现5次异常,70s后才能恢复。
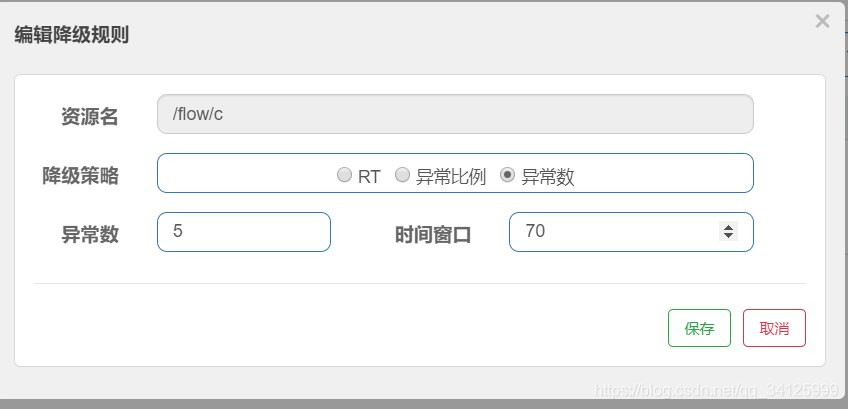
(2) 5次后访问
GITHUB
#分支:Sentinel-release-v1.0
https://github.com/zhurongsheng666/spring-cloud-alibaba
