一、搭建eureka server
(1) 创建shop_eureka_server子模块
在 shop_parent 下创建子模块 shop_eureka_server
(2) 引入maven坐标
<dependency>
<groupId>org.springframework.cloud</groupId>
<artifactId>spring-cloud-starter-netflix-eureka-server</artifactId>
</dependency>
(3) 配置application.yml
server:
  port: 9000
eureka:
  instance:
    hostname: localhost
  client:
    registerWithEureka: false
    fetchRegistry: false
    serviceUrl:
defaultZone: http://${eureka.instance.hostname}:${server.port}/eureka/
registerWithEureka: 是否将自己注册到Eureka服务中,本身就是所有无需注册
fetchRegistry : 是否从Eureka中获取注册信息
serviceUrlEureka: 客户端与Eureka服务端进行交互的地址
(4) 配置启动类
在 cn.itcast.eureka 下创建启动类 EurekaServerApplication
@SpringBootApplication
@EnableEurekaServer
public class EurekaServerApplication {
public static void main(String[] args) { SpringApplication.run(EurekaServerApplication.class, args);
} }
EnableEurekaServer : 激活Eureka Server端配置
服务注册中心管理后台
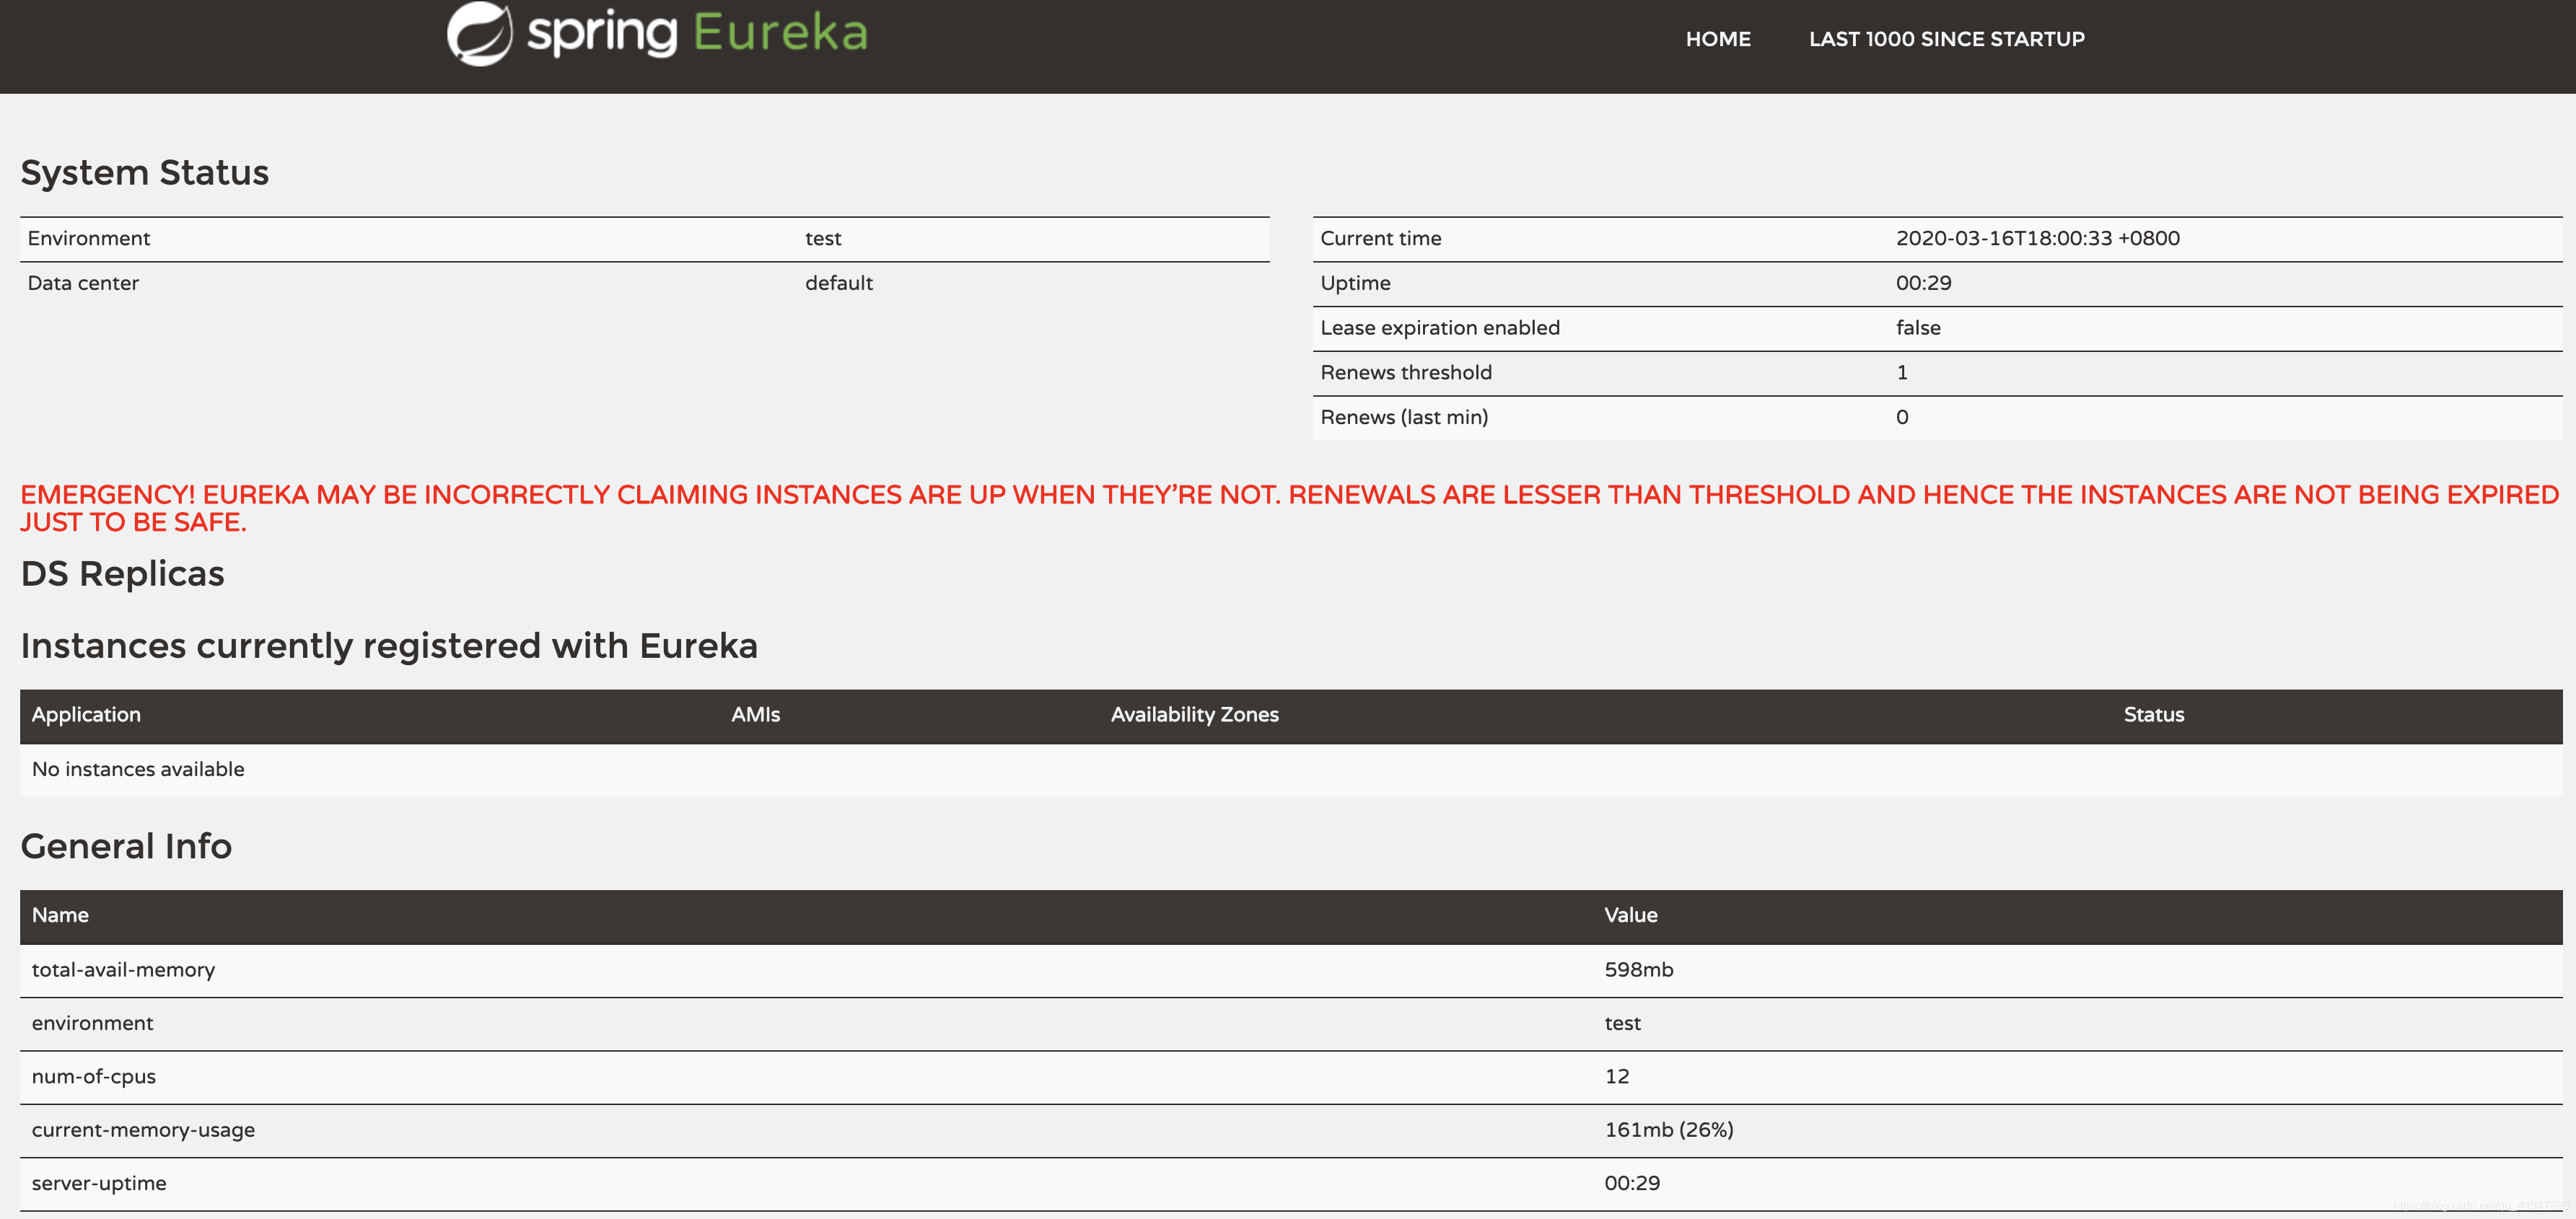
打开浏览器访问http://localhost:9000即可进入EurekaServer内置的管理控制台,显示效果如下
二、商品服务注册到Eureka注册中心
(1) 商品模块中引入坐标
在 shop_service_product 的pom文件中添加eureka client的相关坐标
<dependencies>
    <dependency>
		<groupId>org.springframework.cloud</groupId>
		<artifactId>spring-cloud-commons</artifactId>
	</dependency>
	<dependency>
		<groupId>org.springframework.cloud</groupId>
		<artifactId>spring-cloud-starter-netflix-eureka-client</artifactId>
    </dependency>
<dependencies>
(2) 配置application.yml文件
在工程的 application.yml 中添加Eureka Server的主机地址
eureka:
  client:
    serviceUrl: # eureka server的路径
      defaultZone: http://localhost:9000/eureka/
  instance:
    prefer-ip-address: true #使用ip注册
(3) 修改启动类添加服务注册注解
@SpringBootApplication
//@EnableDiscoveryClient
//@EnableEurekaClient
public class UserApplication {
	public static void main(String[] args) { SpringApplication.run(UserApplication.class, args);
} }
从Spring Cloud Edgware版本开始, @EnableDiscoveryClient 或 @EnableEurekaClient 可 省略。只需加上相关依赖,并进行相应配置,即可将微服务注册到服务发现组件上。
三、订单服务通过注册中心获取服务列表,并调用
(一)模块中引入坐标
和商品微服务一样,只需要引入坐标依赖
<dependencies>
    <dependency>
		<groupId>org.springframework.cloud</groupId>
		<artifactId>spring-cloud-commons</artifactId>
	</dependency>
	<dependency>
		<groupId>org.springframework.cloud</groupId>
		<artifactId>spring-cloud-starter-netflix-eureka-client</artifactId>
    </dependency>
<dependencies>
(二) 配置application.yml文件
在工程的 application.yml 中添加Eureka Server的主机地址
即可。
#配置Eureka
eureka:
  client:
    service-url:
      defaultZone: http://localhost:9000/eureka/
  instance:
    prefer-ip-address: true #使用ip地址注册
(三) 修改启动类添加服务注册注解
@SpringBootApplication
//@EnableDiscoveryClient
//@EnableEurekaClient
public class UserApplication {
	public static void main(String[] args) { SpringApplication.run(UserApplication.class, args);
} }
(四)订单服务调用商品服务,可以通过商品服务元数据调用商品服务,不需要将商品服务ip硬编码到java代码中。
	 * 注入DiscoveryClient :
	 *  springcloud提供的获取原数组的工具类
	 *      调用方法获取服务的元数据信息
	 *
	 */
	@Autowired
	private DiscoveryClient discoveryClient;

	@RequestMapping(value = "/buy/{id}",method = RequestMethod.GET)
	public Product findById(@PathVariable Long id) {
		//调用discoveryClient方法
		//已调用服务名称获取所有的元数据
		List<ServiceInstance> instances = discoveryClient.getInstances("service-product");
		//获取唯一的一个元数据
		ServiceInstance instance = instances.get(0);
		//根据元数据中的主机地址和端口号拼接请求微服务的URL
		Product product = null;
		//如何调用商品服务?
		product = restTemplate.getForObject("http://"+instance.getHost()+":"+instance.getPort()+"/product/1",Product.class);
		return product;

	}
(五)访问订单服务请求路径,同样可以调用商品服务
http://127.0.0.1:9002/order/buy/1
