This year there is the fire of the open source platform, followed by practice site to learn a bit about the record on the installation of windows
table of Contents
1, the basic environment ready
2, Configuration
3, installation
1, the basic environment ready
The software platform installation are mysql5.7, python3.6,
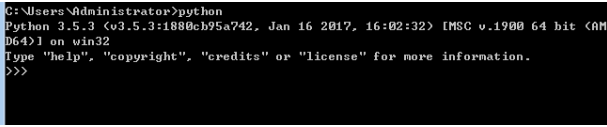
Step 2: Install Python3.6
The third step:

Step Four:

安装完成并启动后,可以测试下是否可正常访问
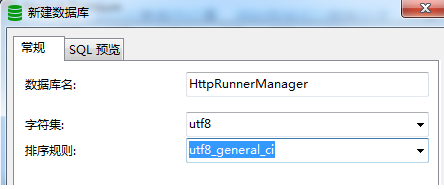
2、配置
if DEBUG:
    DATABASES = {
        'default': {
            'ENGINE': 'django.db.backends.mysql',
            'NAME': 'HttpRunnerManager',  # 新建数据库名
            'USER': 'root',  # 数据库登录名
            'PASSWORD': '',  # 数据库登录密码
            'HOST': '127.0.0.1',  # 数据库所在服务器ip地址
            'PORT': '3306',  # 监听端口 默认3306即可
        }
    }
    STATICFILES_DIRS = (
        os.path.join(BASE_DIR, 'static'),  # 静态文件额外目录
    )
else:
    DATABASES = {
        'default': {
            'ENGINE': 'django.db.backends.mysql',
            'NAME': 'HttpRunnerManager',  # 新建数据库名
            'USER': 'root',  # 数据库登录名
            'PASSWORD': '',  # 数据库登录密码
            'HOST': '127.0.0.1',  # 数据库所在服务器ip地址
            'PORT': '3306',  # 监听端口 默认3306即可
        }
    }
    STATIC_ROOT = os.path.join(BASE_DIR, 'static')
第三步:
djcelery.setup_loader()

CELERY_ENABLE_UTC = True

CELERY_TIMEZONE = 'Asia/Shanghai'

BROKER_URL = 'amqp://guest:[email protected]:5672//' if DEBUG else 'amqp://guest:[email protected]:5672//'

CELERYBEAT_SCHEDULER = 'djcelery.schedulers.DatabaseScheduler'

CELERY_RESULT_BACKEND = 'djcelery.backends.database:DatabaseBackend'

CELERY_ACCEPT_CONTENT = ['application/json']

CELERY_TASK_SERIALIZER = 'json'

CELERY_RESULT_SERIALIZER = 'json'


CELERY_TASK_RESULT_EXPIRES = 7200 # celery任务执行结果的超时时间,

CELERYD_CONCURRENCY = 1 if DEBUG else 10 # celery worker的并发数 也是命令行-c指定的数目 根据服务器配置实际更改 一般25即可

CELERYD_MAX_TASKS_PER_CHILD = 100 # 每个worker执行了多少任务就会死掉,我建议数量可以大一些,比如200


EMAIL_SEND_USERNAME = '[email protected]' # 定时任务报告发送邮箱,支持163,qq,sina,企业qq邮箱等,注意需要开通smtp服务

EMAIL_SEND_PASSWORD = 'XXX' # 邮箱密码
第六步:
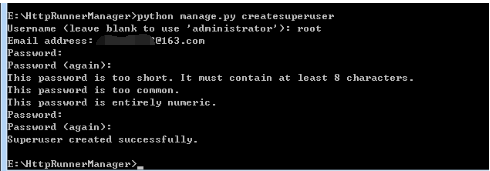
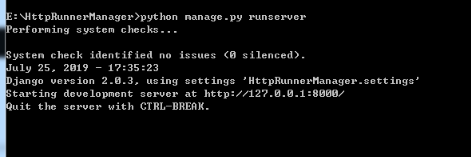
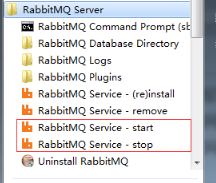
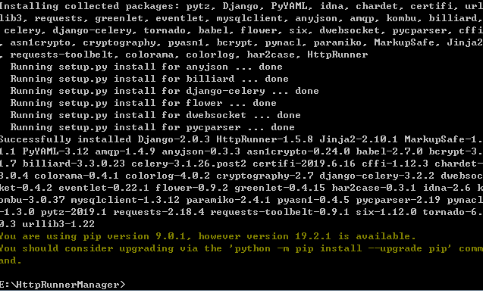
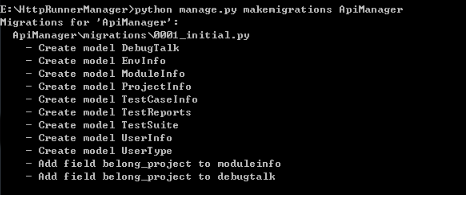
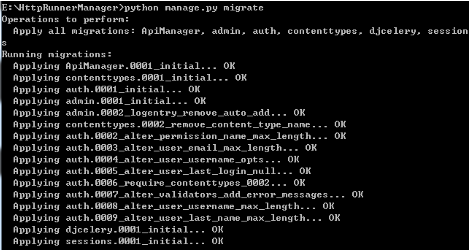
3、安装
第一步:
http://127.0.0.1:8000/api/login/
其他:1、后台数据库系统http://127.0.0.1:8000/admin/ 2、