OpenCV (Open Source Computer Vision Library) is an open source computer vision library, provides many functions, computer vision algorithms can be efficiently implemented, for example covered both from the most basic to advanced object detection filter. OpenCV using C / C ++ development, but also provides an interface to other languages Python, Java, MATLAB, etc. OpenCV is cross-platform, it can run on Windows, Linux, Mac OS, Android, iOS and other operating systems. At present its broad range of applications, including image stitching, image noise reduction, product quality control, human-computer interaction, face recognition, motion recognition, motion tracking, and other unmanned. Meanwhile, OpenCV also provide machine learning module, you can use normal Bayes, K nearest neighbors, support vector machines, decision trees, random forest, artificial neural networks, machine learning algorithms.
A scanned image
函数:cv2.imread(filename, flags=None)
Parameters :
filename : picture address
 the flags : read mode, '0' indicates the read grayscale image (color image into a grayscale image), ' 1' is represented as a color image (default) read
Example :
#    Import packages
Import CV2
 Import numpy NP AS

#    read image
IMG = cv2.imread ( ' ./image/Rose.jpg ' )
 #    image size
Print (np.shape (IMG))
 #    image essence matrix
Print (IMG)
The results :
(597, 900, 3)
[[[ 93 144 170]
  [ 93 144 170]
  [ 93 144 170]
  ...
  [ 38 109  59]
  [ 36 107  57]
  [ 35 106  56]]

 [[ 93 144 170]
  [ 93 144 170]
  [ 93 144 170]
  ...
  [ 37 109  57]
  [ 36 107  57]
  [ 35 107  55]]

 [[ 93 144 170]
  [ 93 144 170]
  [ 93 144 170]
  ...
  [ 39 109  56]
  [ 38 107  56]
  [ 37 107  54]]

 ...

 [[115 133 120]
  [118 136 123]
  [122 140 127]
  ...
  [  3   9  16]
  [  3   9  16]
  [  4  10  17]]

 [[112 130 117]
  [115 133 120]
  [119 137 124]
  ...
  [  3   9  16]
  [  3   9  16]
  [  3   9  16]]

 [[110 128 115]
  [113 131 118]
  [118 136 123]
  ...
  [  2   8  15]
  [  3   9  16]
  [  3   9  16]]]
Note : Python OpenCV reads the RGB image stored in the matrix, color channel order is B, G, R
Second, the display image
Function : cv2.imshow (winname, mat)
Parameters :
winName : display window
 MAT : image matrix
Example :
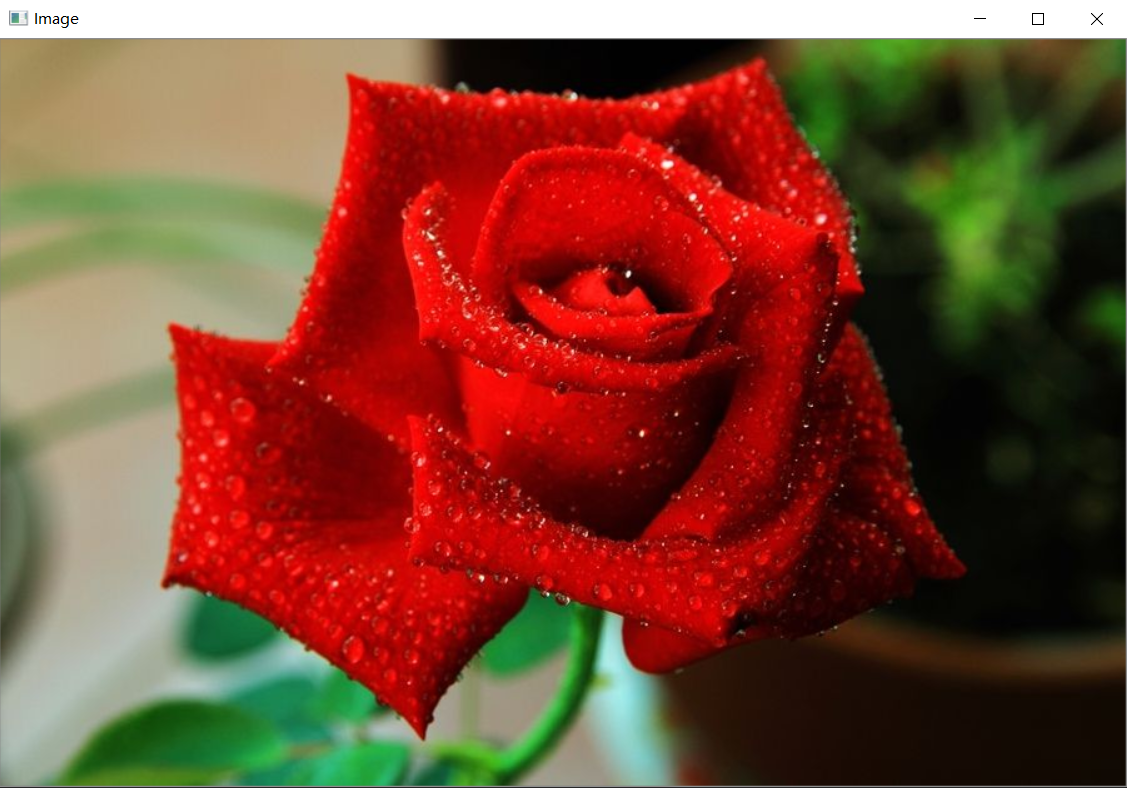
Import CV2
 Import numpy NP AS

# read image
IMG = cv2.imread ( ' ./image/Rose.jpg ' )
 # Create Window
cv2.namedWindow ( ' Image ' )
 # display image in the window
cv2.imshow ( ' Image ' , img)
 # settings window remains
cv2.waitKey (0)
 #    final release window
cv2.destroyAllWindows ()
The results :
Third, the copy image
Function : .copy ()
Example :
Import CV2

#    read image
IMG = cv2.imread ( ' ./image/Rose.jpg ' )
 #    copy image
img_copy = img.copy ()
Fourth, save the image
函数:cv2.imwrite(filename, img, params=None)
Parameters :
filename : Save the image address
 img : image matrix
 params :
Example :
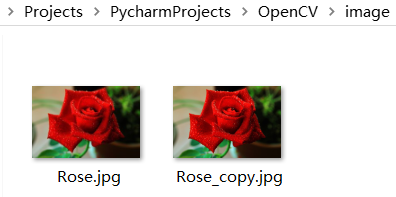
Import CV2

#    read image
IMG = cv2.imread ( ' ./image/Rose.jpg ' )
 #    copy image
img_copy = img.copy ()
 #    save the image
cv2.imwrite ( ' ./image/Rose_copy.jpg ' , img_copy )
The results :