# . A read image data
Import   CV2

IMG = cv2.imread ( " D: /image0.JPG " )    # reading the image data
Print (IMG)
cv2.imshow ( ' Image ' , IMG)        # display window data
cv2.waitKey (0)                 # wait for a delay
cv2.destroyAllWindows ()
print (img) # print pixel value of the channel
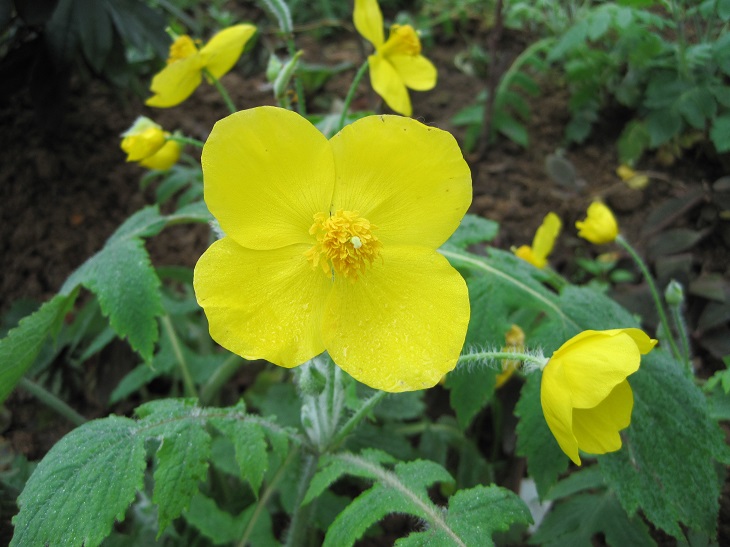
From the results shown: In each pixel represented by a group of three elements, and each integer (integer) vector
Represent a B, G, R channel. Other color spaces (e.g. hsv) are also ways to represent a pixel in the same manner, but in different ranges and number of channels
(e.g., hsv)
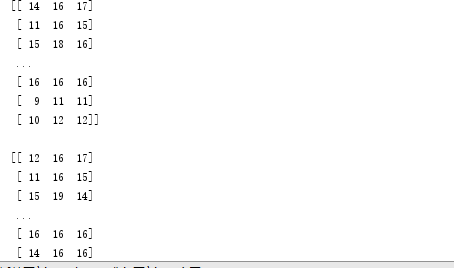
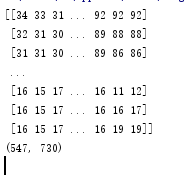
print (img.shape) # print path

Read image processing
cv2.IMREAD_COLOR: color image
cv2.IMREAD_GRAYSCALE: grayscale image
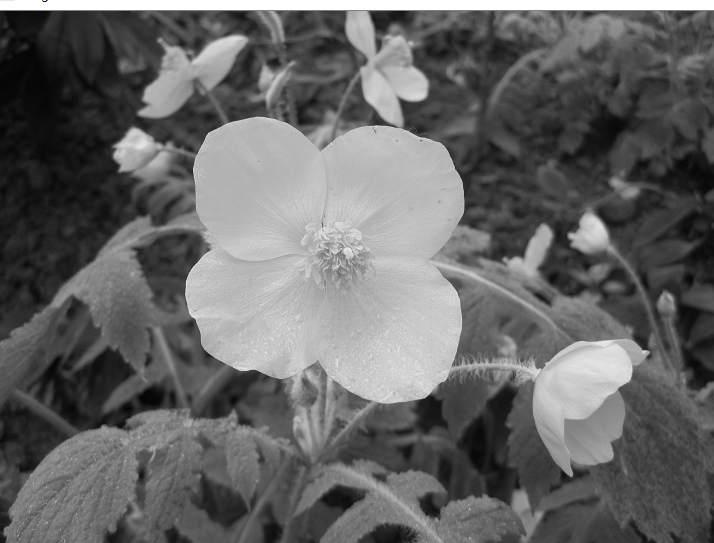
The image processing gradation
Import   CV2 AS CV
 Import numpy AS NP

IMG1 = cv.imread ( " D: /image0.JPG " , cv.IMREAD_GRAYSCALE)    # read image data gray
Print (IMG1)
 Print (img1.shape)
cv.imshow ( ' Image ' , IMG1)        # display window data
cv.waitKey (0)                 # wait for a delay
cv.destroyAllWindows ()
Contrast and color images can result
Second, data read - Video
cv2.VideoCapture can capture camera to control various digital devices, such as 0,1.
If it is video file directly to specify the path to the good.
import cv2
cv2.VideoCapture = VC (0)   # open the camera
IF vc.isOpened ():              # Analyzing camera status
    Open, Frame = vc.read ()
 the else :
    Open = False
 the while Open:
    RET, Frame = vc.read ()     # Frame frame rate
    IF Frame IS None:
         BREAK
    IF RET == True:
        gray = cv2.cvtColor (Frame, cv2.COLOR_BGR2GRAY) # gray handle
        cv2.imshow ( " the Result " , gray)
    if cv2.waitKey(10)& 0xFF==27:
       break

vc.release()
cv2.destroyAllWindows()
And read the camera mode is set to gray
Cut image
Import CV2
IMG = cv2.imread ( " D: /image0.JPG " )
Flower = IMG [0: 200,0: 200 is]            # cutout image
cv2.imshow ( ' Image ' , Flower)        # display window data
cv2.waitKey (0)                 # wait for a delay
cv2.destroyAllWindows ()

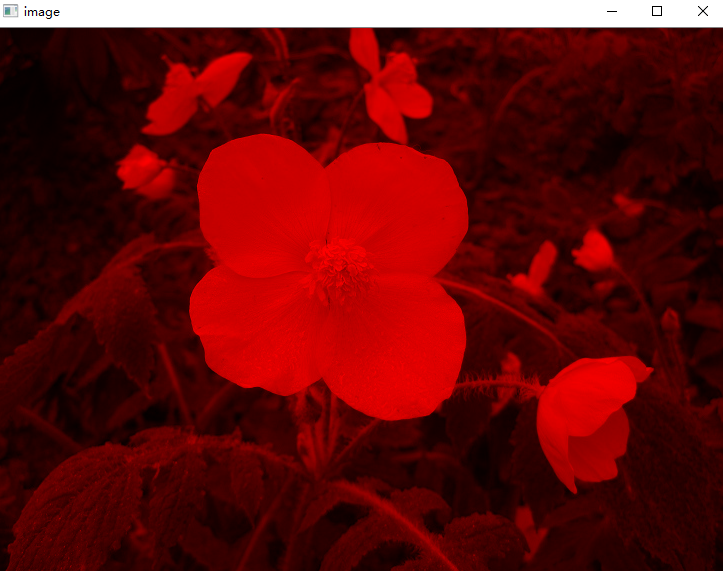
Extracting color channel to retain only the channel r
Import CV2
IMG = cv2.imread ( " D: /image0.JPG " )
b, G, R & lt = cv2.split (IMG)
 Print (b)
 # retain only result b
cur_img = img.copy ()
cur_img [:,: , 0] = 0
cur_img [:,:, . 1] = 0
cv2.imshow ( ' Image ' , cur_img)        # display window data
cv2.waitKey (0)                 # wait for a delay
cv2.destroyAllWindows ()
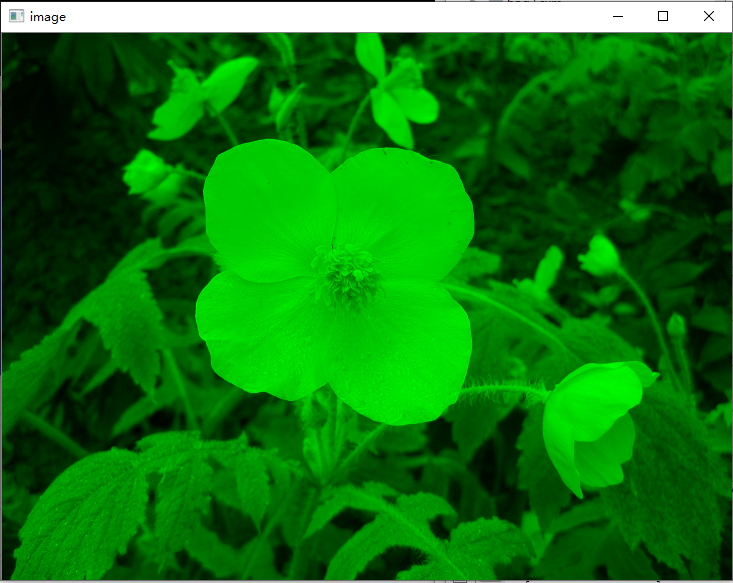
Extracting color channel to retain only the channel g
import cv2
img=cv2.imread("d:/image0.JPG")
b,g,r=cv2.split(img)
print(b)
#只保留b结果
cur_img=img.copy()
cur_img[:,:,0]=0
cur_img[:,:,2]=0
cv2.imshow('image',cur_img)       #显示窗口数据
cv2.waitKey(0)                #等待延迟
cv2.destroyAllWindows()
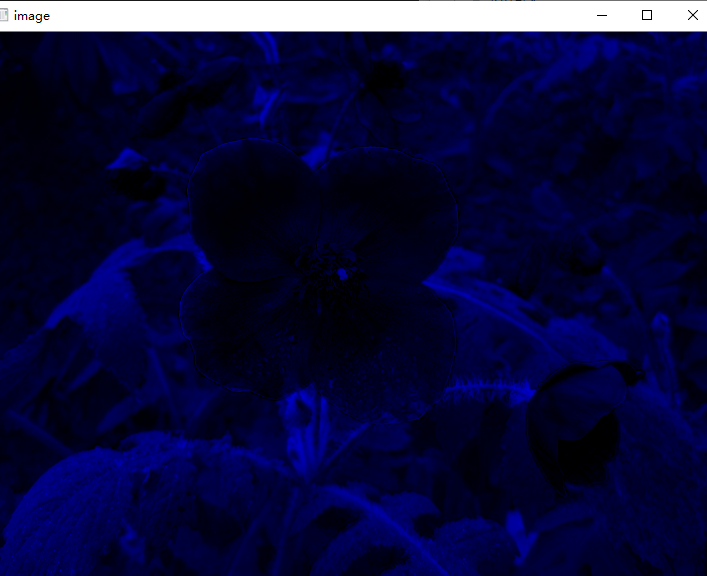
颜色通道地提取只保留b通道
import  cv2
img=cv2.imread("d:/image0.JPG")
b,g,r=cv2.split(img)
print(b)
#只保留b结果
cur_img=img.copy()
cur_img[:,:,1]=0
cur_img[:,:,2]=0
cv2.imshow('image',cur_img)       #显示窗口数据
cv2.waitKey(0)                #等待延迟
cv2.destroyAllWindows()
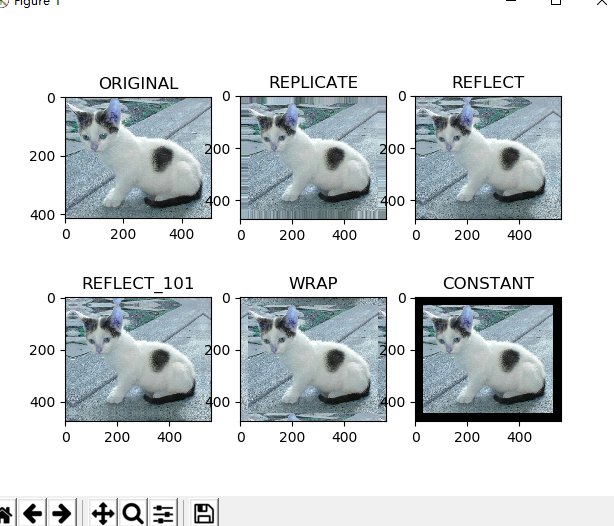
边界填充
BORDER_REPLICATE:复制法,也就是复制最边缘像素。
BORDER_REFLECT:反射法,对感兴趣的图像中的像素在两边进行复制例如:fedcba|abcdefgh|hgfedcb
BORDER_REFLECT_101:反射法,也就是以最边缘像素为轴,对称,gfedcb|abcdefgh|gfedcba
BORDER_WRAP:外包装法cdefgh|abcdefgh|abcdefg
BORDER_CONSTANT:常量法,常数值填充。
import cv2
import matplotlib.pyplot as plt
img=cv2.imread("d:/cat.JPG")
top_size,bottom_size,left_size,right_size = (50,50,50,50)

replicate = cv2.copyMakeBorder(img, top_size, bottom_size, left_size, right_size, borderType=cv2.BORDER_REPLICATE)
reflect = cv2.copyMakeBorder(img, top_size, bottom_size, left_size, right_size,cv2.BORDER_REFLECT)
reflect101 = cv2.copyMakeBorder(img, top_size, bottom_size, left_size, right_size, cv2.BORDER_REFLECT_101)
wrap = cv2.copyMakeBorder(img, top_size, bottom_size, left_size, right_size, cv2.BORDER_WRAP)
constant = cv2.copyMakeBorder(img, top_size, bottom_size, left_size, right_size,cv2.BORDER_CONSTANT, value=0)
plt.subplot(231), plt.imshow(img, 'gray'), plt.title('ORIGINAL')
plt.subplot(232), plt.imshow(replicate, 'gray'), plt.title('REPLICATE')
plt.subplot(233), plt.imshow(reflect, 'gray'), plt.title('REFLECT')
plt.subplot(234), plt.imshow(reflect101, 'gray'), plt.title('REFLECT_101')
plt.subplot(235), plt.imshow(wrap, 'gray'), plt.title('WRAP')
plt.subplot(236), plt.imshow(constant, 'gray'), plt.title('CONSTANT')

plt.show()
数值计算
import cv2
img=cv2.imread("d:/image0.JPG")
img_flower=img+10 #所有通道数值+10
print(img[:5,:,0])
print(".........................")
print(img_flower[:5,:,0])

当数值超过256时会以%256地形式展示通道数据
print(".........................")
print((img_flower+img)[:5,:,0])
