I divided two ways to download and install for everyone to see, pay attention to this thing database is not the latest version does not care, care about is stable enough, and now the company is commonly used version mysql5.5 and mysql5.6, I now use mysql5 .6 version to you to demonstrate this:
The first method of installation download:
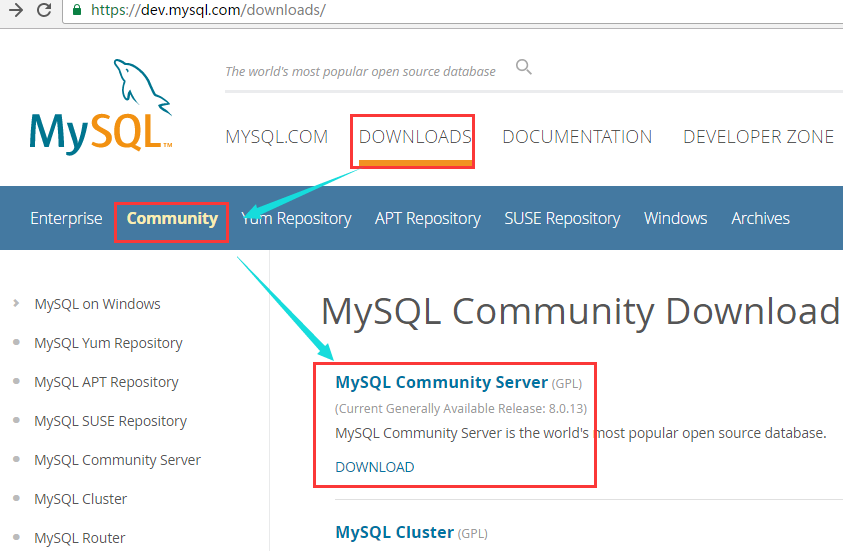
mysql Download: https: //dev.mysql.com/downloads, if you are there to download, see the operation:
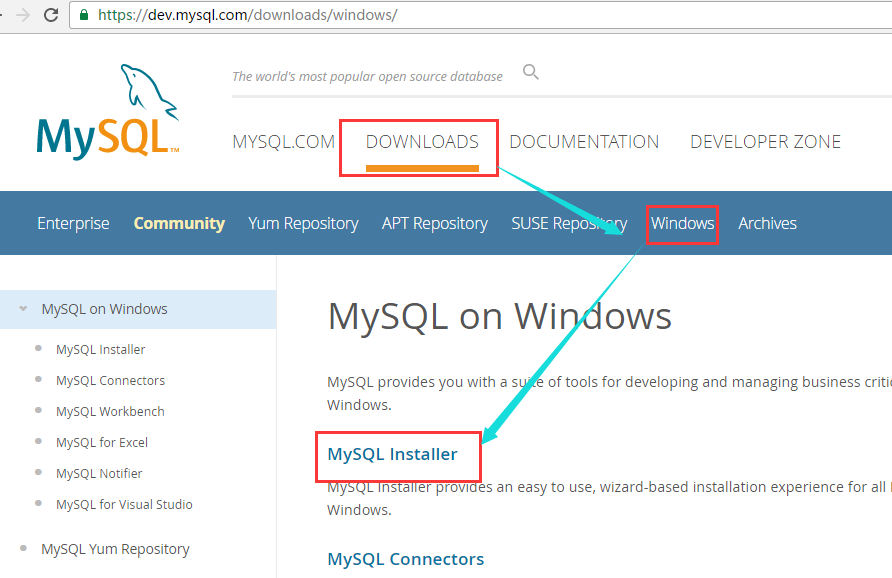
And selection in the following manner:
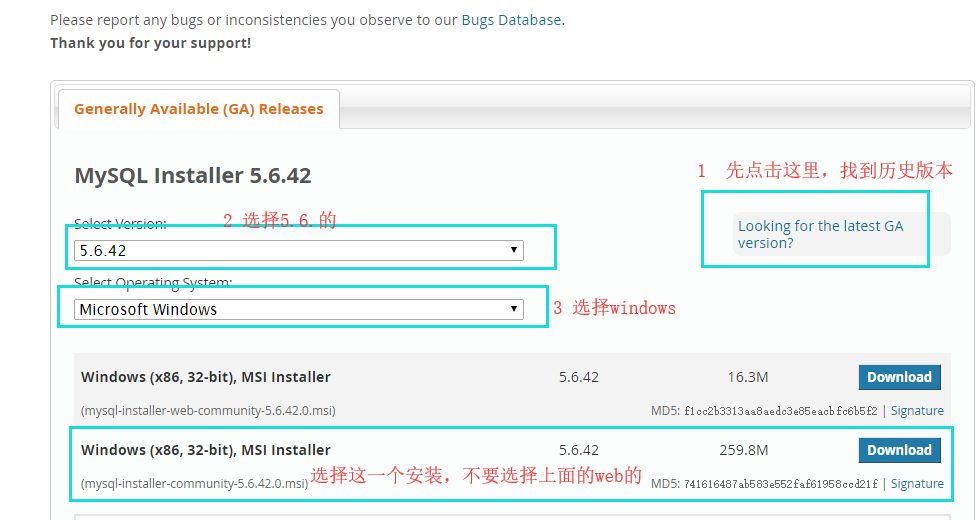
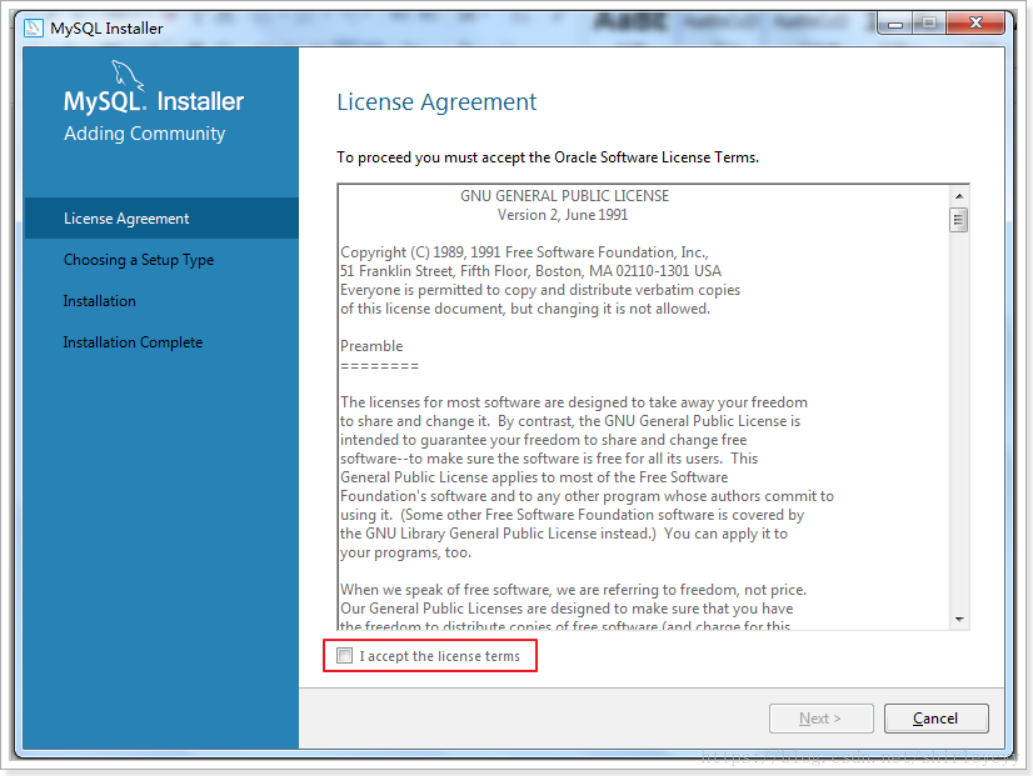
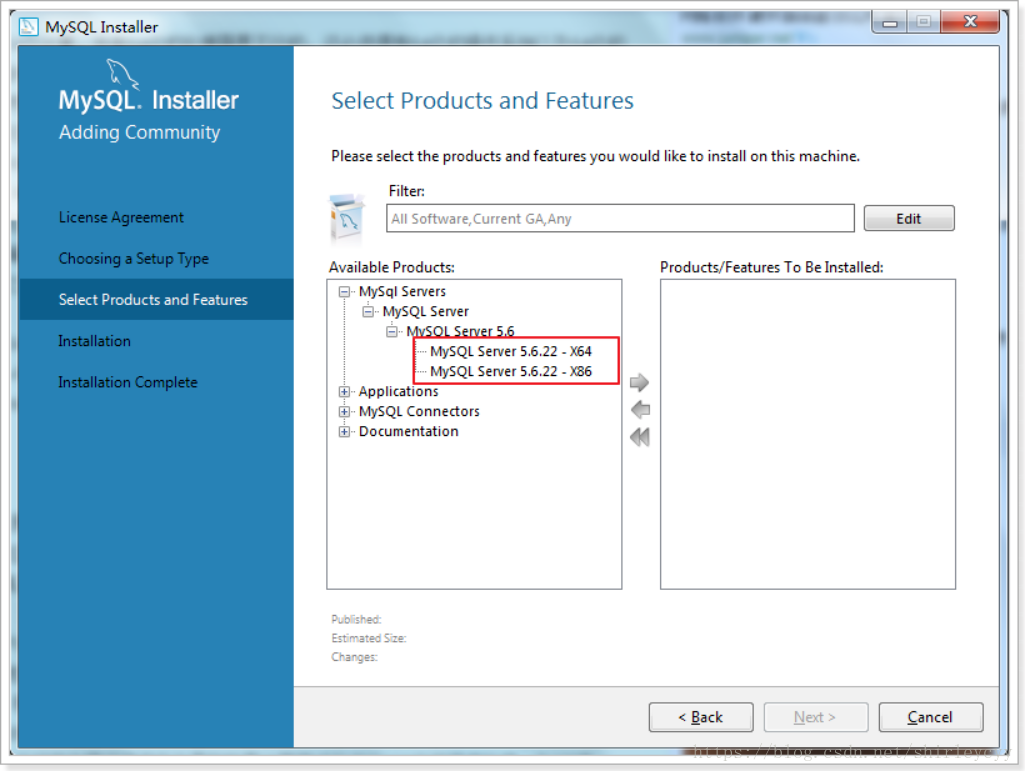
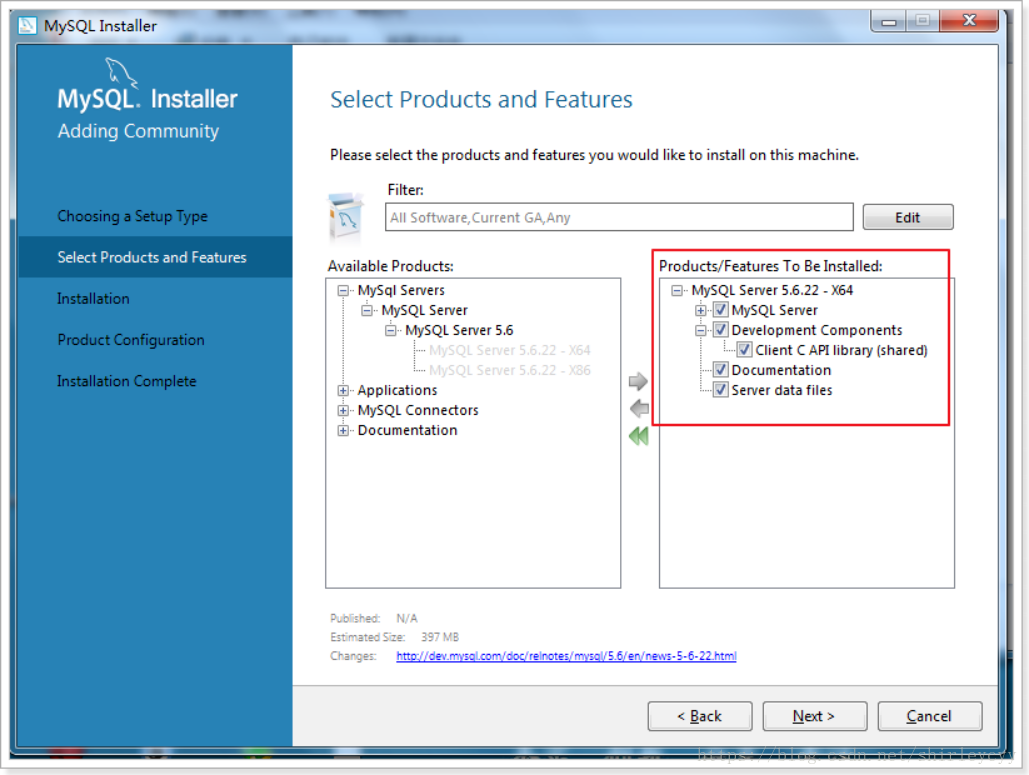
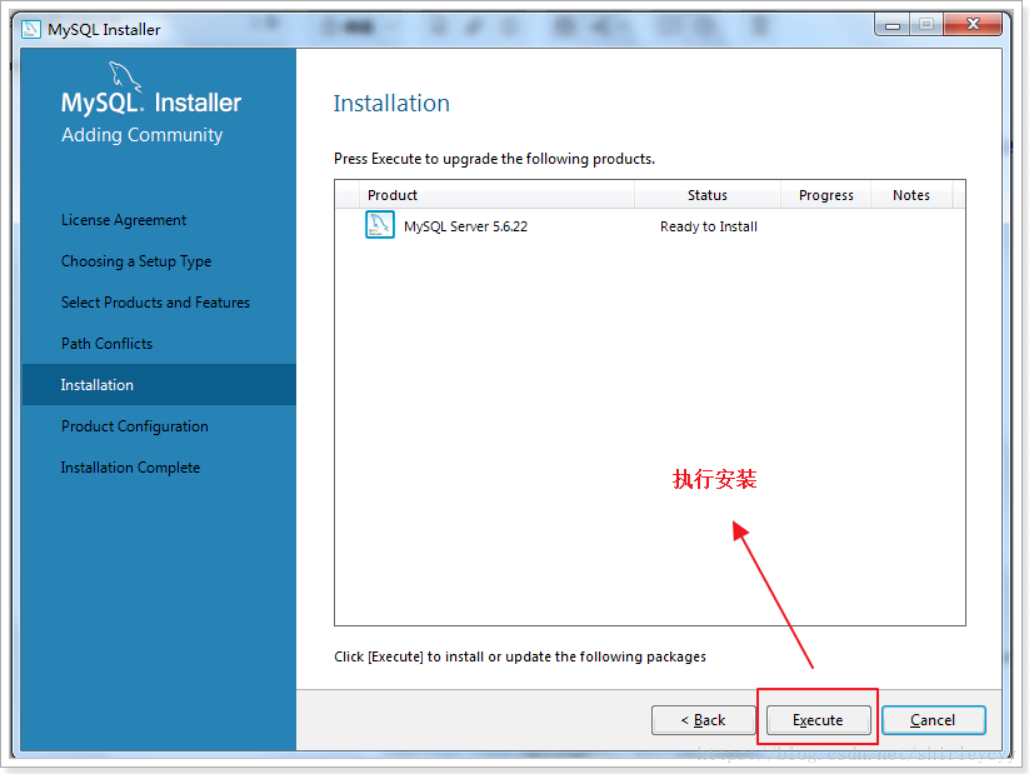
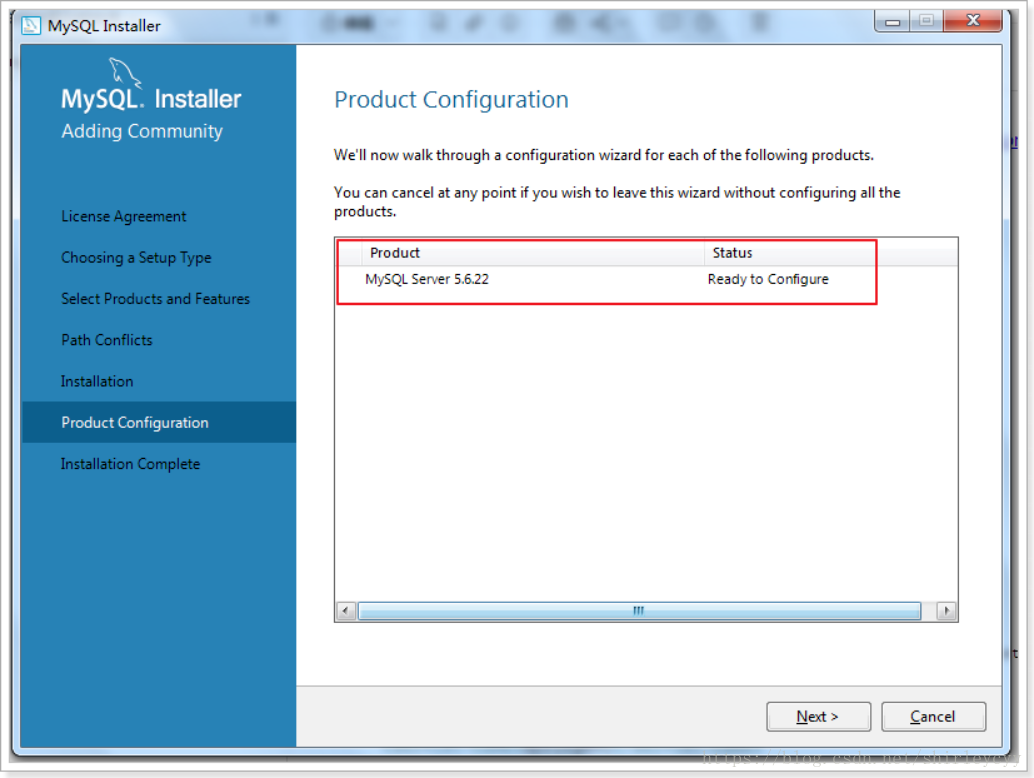
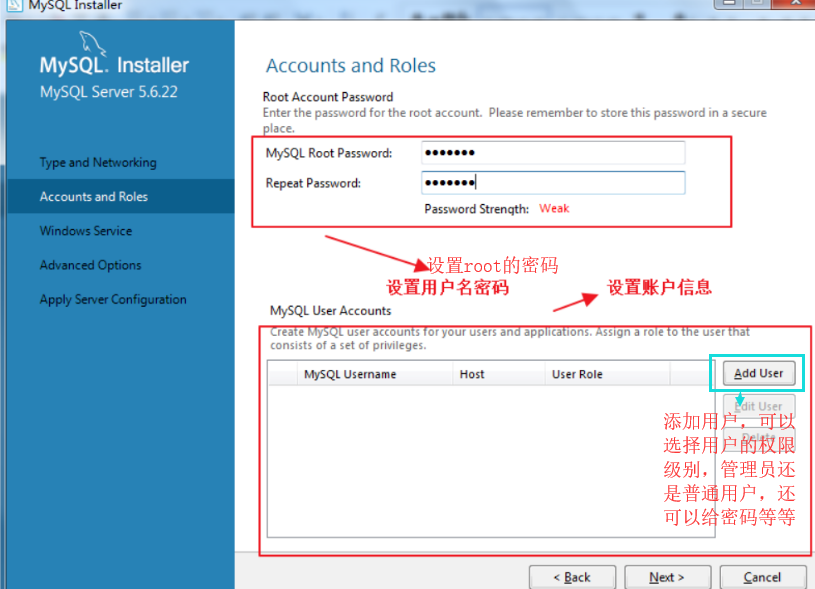
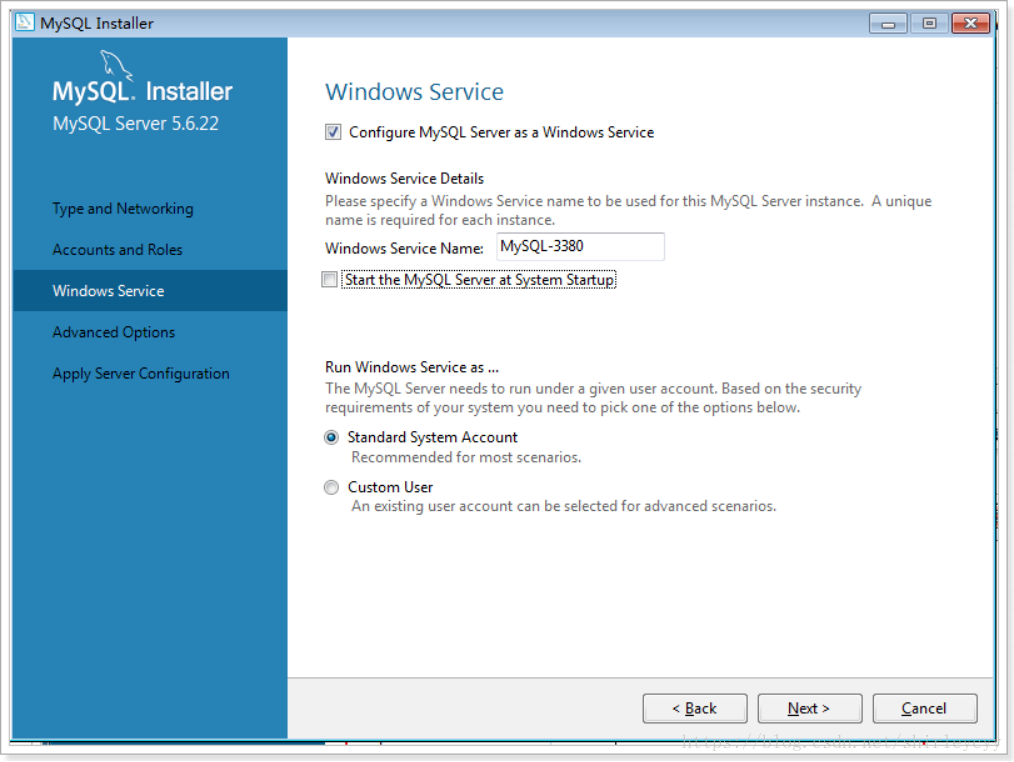
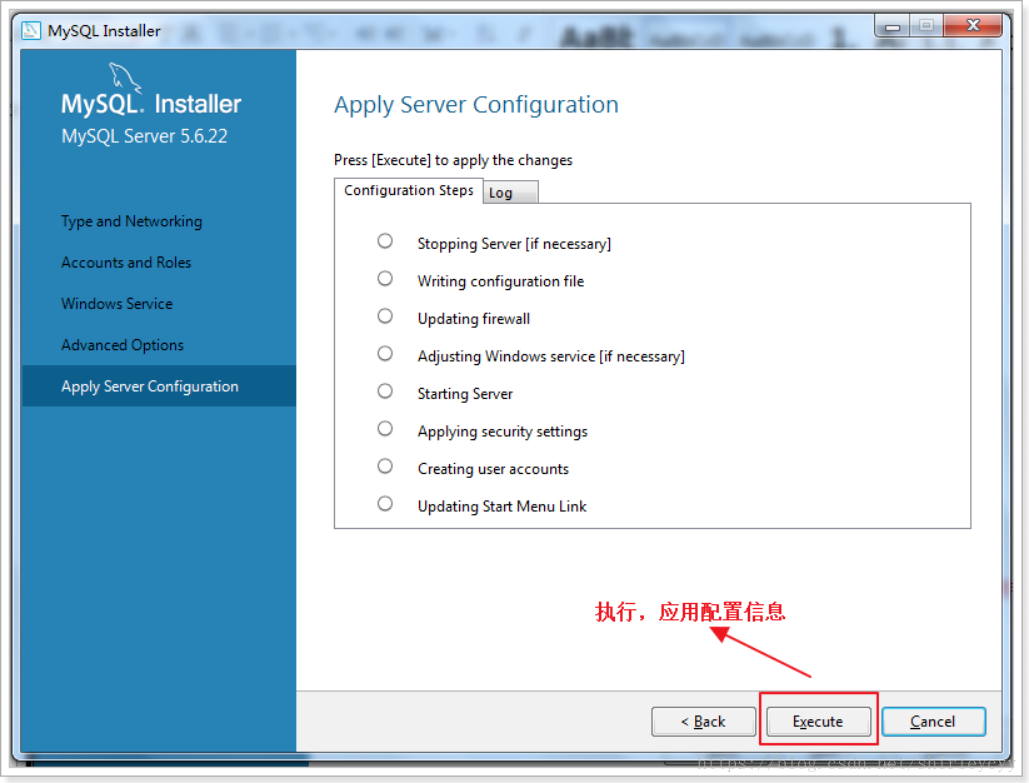
If you download the mysql installation program, which is called the end of the expansion .msi file, then when you install on the installation of such a graphic manner the following tutorial.
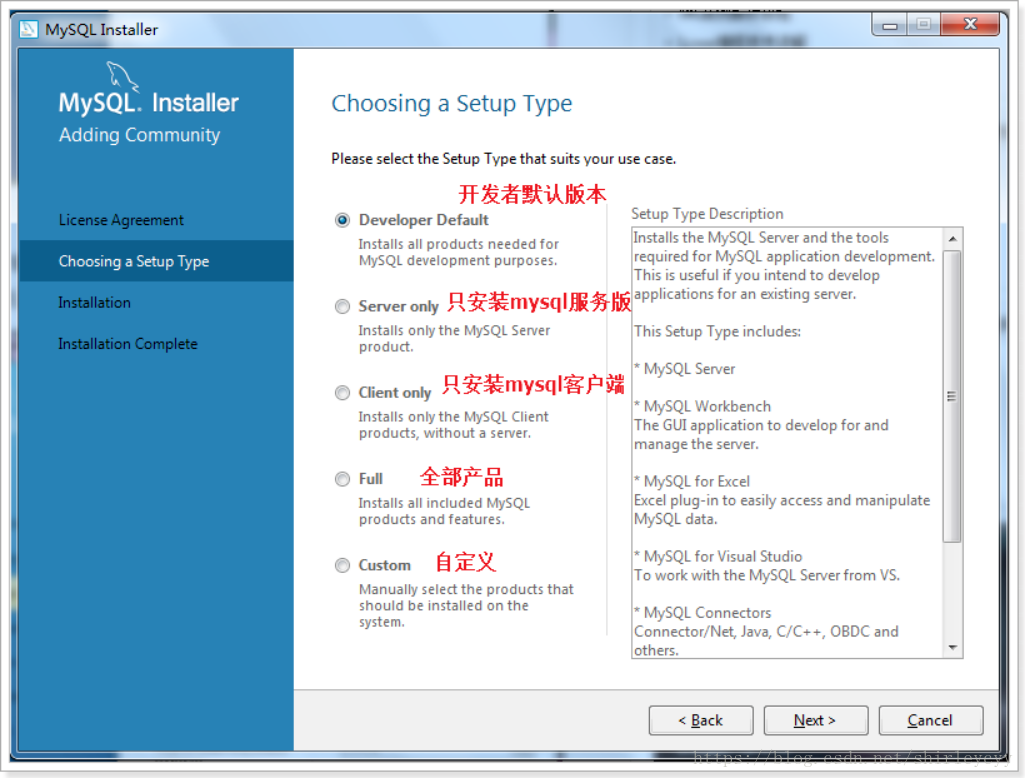
Select Custom mode here, because my computer is 64-bit, x64 choice
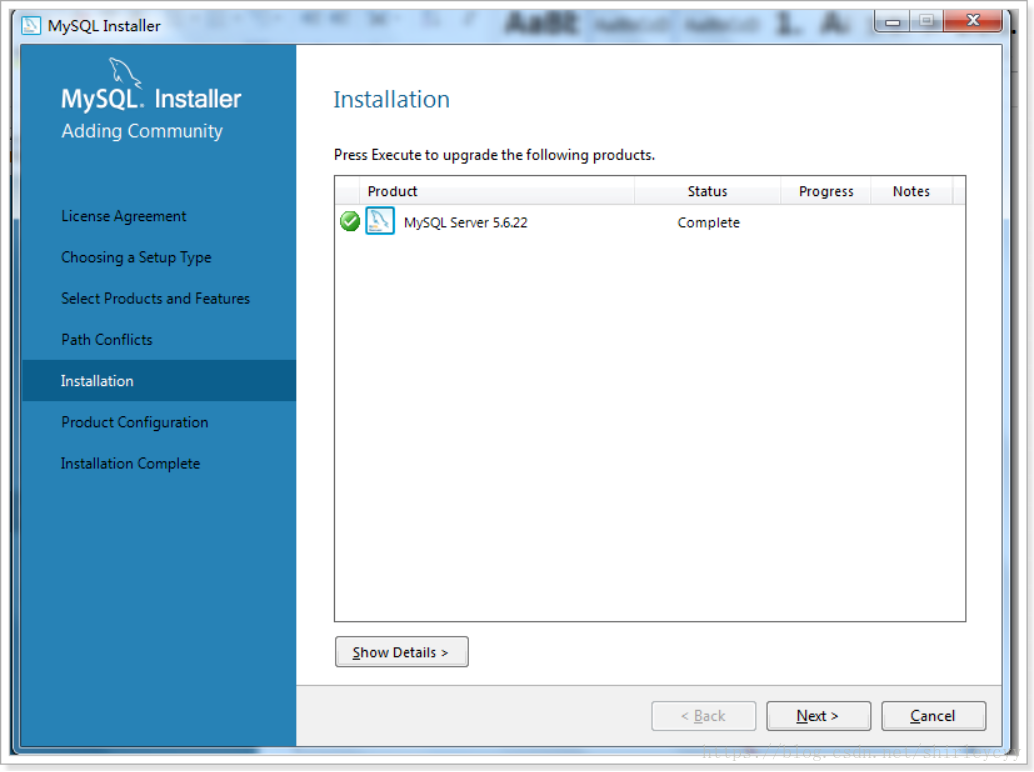

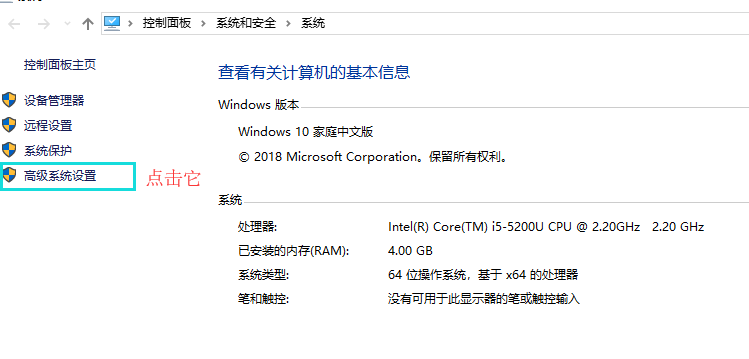
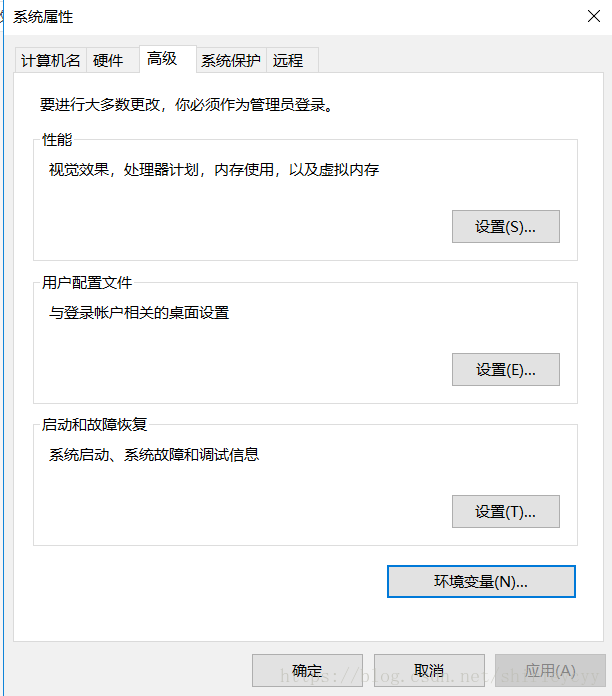
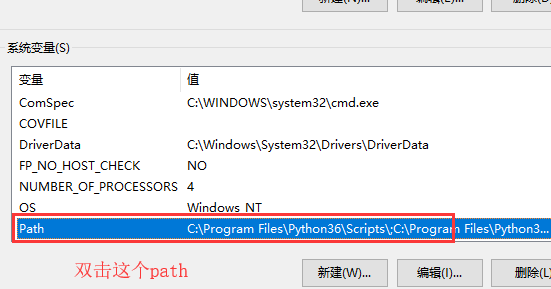
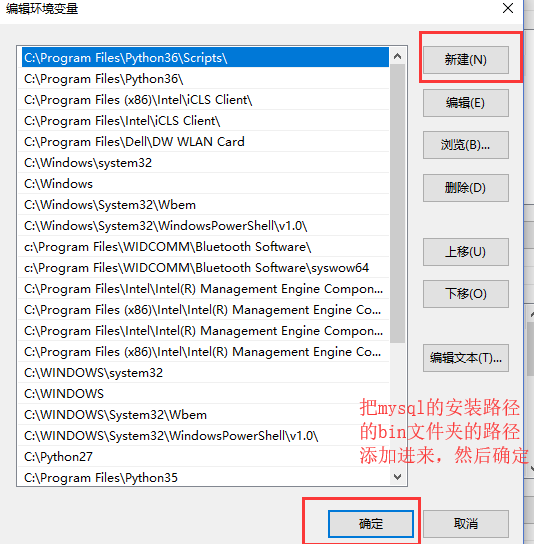
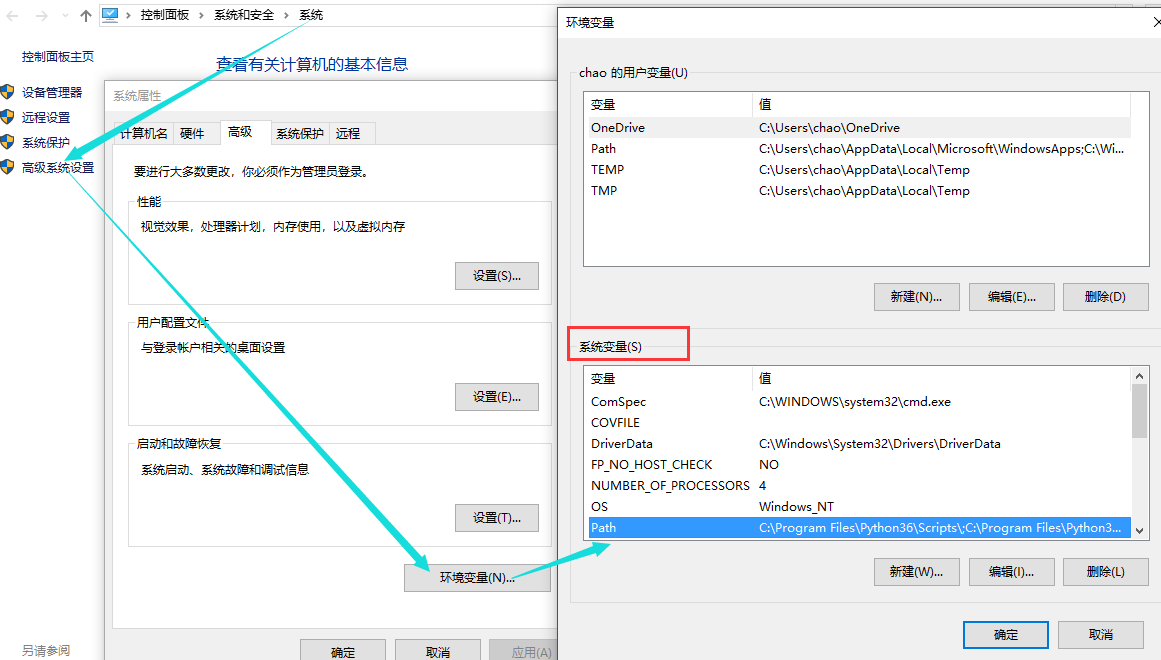
At this point, the installation is complete. To add the path C: \ Program Files \ MySQL \ MySQL Server 5.7 \ bin system variables into the environment variable "Path"
Right-click on My Computer -> Click Properties
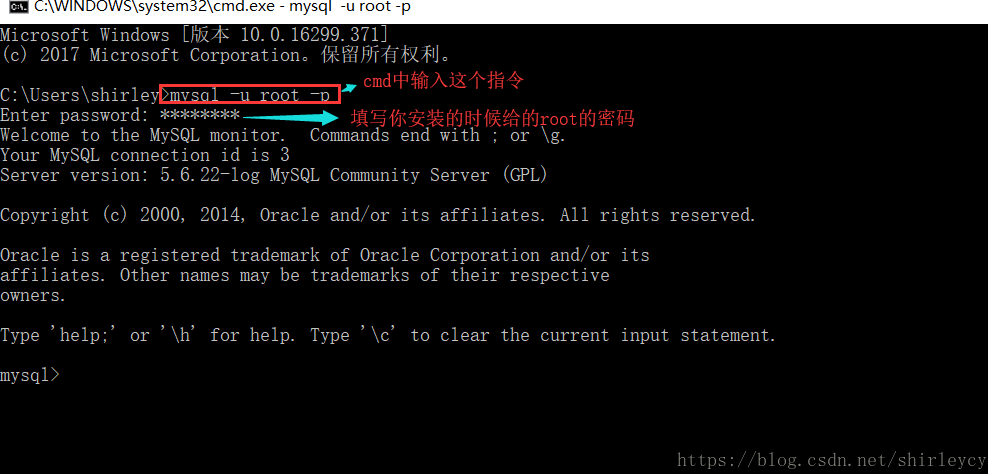
Finally, open cmd, enter mysql -u root -p, and press Enter, if Welcome words appear, indicating that mysql installation was successful.
The second download installation methods:
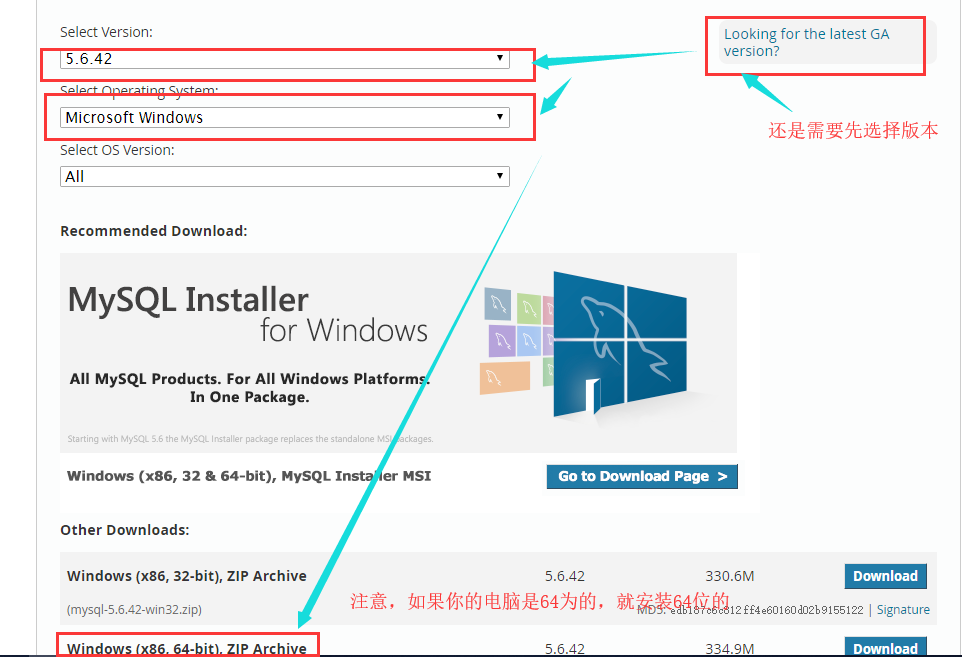
mysql Download: https: //dev.mysql.com/downloads, if you downloaded mysql official website zip archive, see the operation, pay attention to and download site of the first method different from above :
Then the following options to download, discover a zip archive right, zip compression after decompression can be used, the above msi also need to install it, the installation can be selected with a lot depends on the installation environment:
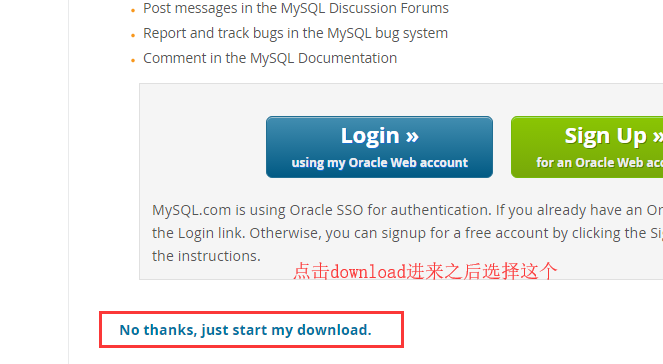
Click download to come:
Installed after the download is complete:
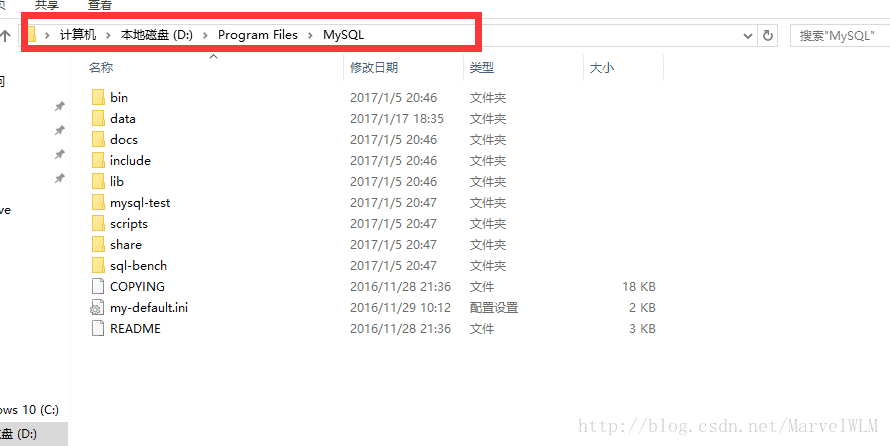
1. Extract the archive MySQL, MySQL will be downloaded to the archive decompression in custom directory. I put D: \ Program Files \ MySQL \
2. 解压完成之后其实就可以用了,但是为了方便使用,也就是在cmd启动mysql的时候,就不用加上全路径了,所以添加一下环境变量,将bin这个文件夹添加到环境变量,bin这个文件夹中有mysqld服务端,有mysql自带的一个客户端,所以添加了环境变量之后,在cmd中直接就可以使用了。
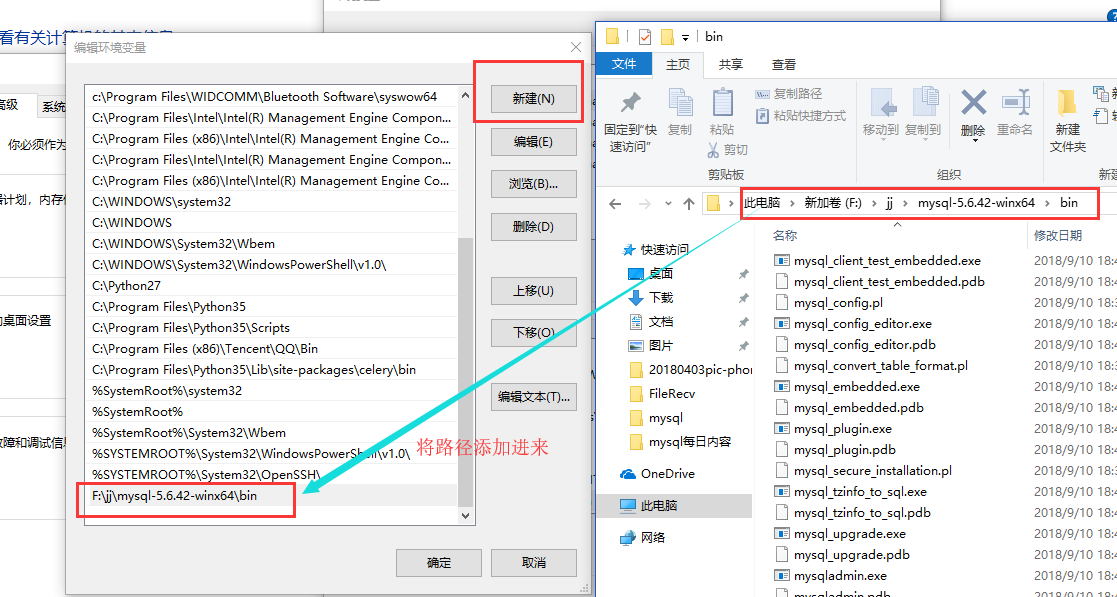
这样就将我们的mysql服务端(mysqld)和mysql自带的一个客户端(供用户在本机测试用的,也是cmd窗口下使用的,客户端叫做mysql,后面操作的时候会使用到)
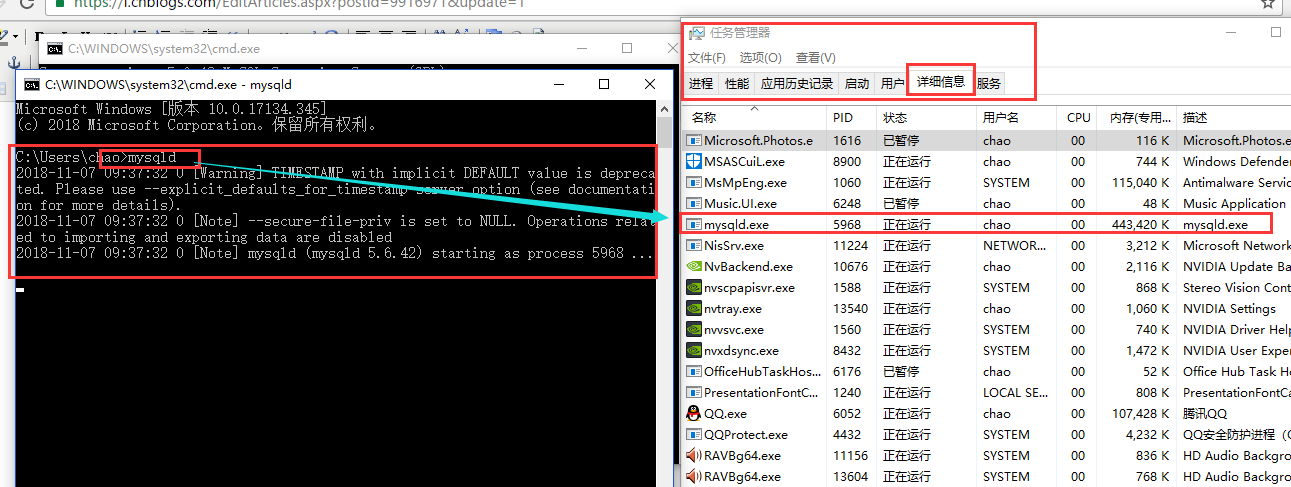
然后我们直接在cmd窗口就可以启动mysql服务端了,并且可以在任务管理起里面查看。
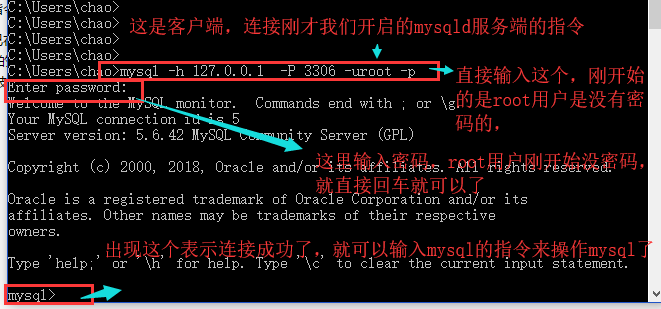
然后我们再启动一个cmd窗口来使用一下mysql客户端,然后连接一下我们开启的服务端,就可以成功了。
连接指令是:mysql -h 服务端IP地址 -P(大写) 3306(mysql服务端默认端口) -uroot(用户,这里我使用root用户来测了) -p密码 。注意:如果这样直接输入密码的话,密码和前面的-p中间不要有空格。
我自己在本机进行测试的,所以我写的mysql服务端的IP地址为我本机的回环地址127.0.0.1,其实如果是自己测试本机的mysql服务端,我们可以不用写ip地址和端口的,直接写mysql -uroot -p,但是连接别的电脑的mysql的时候一定要写IP地址和端口,并且不能用root用户去远程连接别的电脑的mysql服务端,并且要注意mysql服务器上的防火墙是否允许3306能够被外人连接,如果想让别人连,要更改防火墙设置,让他允许3306端口被连接,或者直接关闭防火墙(不建议直接关闭,测试的时候可以用),否则会报错。
ip地址除了写127.0.0.1之外,还可以写localhost,或者自己本机的ip地址,但是写本机的ip地址的时候,服务端会将你的客户端视为外部设备,不允许你这样登陆。
自己本机测试连接的时候,完全可以不用写ip地址和端口
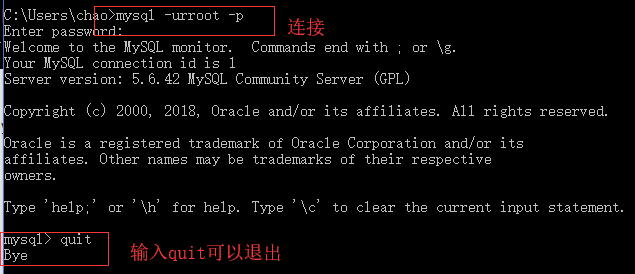
到目前为止,我们就已经可以连接并使用mysql数据库了,但是你发现,关闭mysql服务端比较麻烦,启动的时候我们直接输入的mysqld回车就启动了
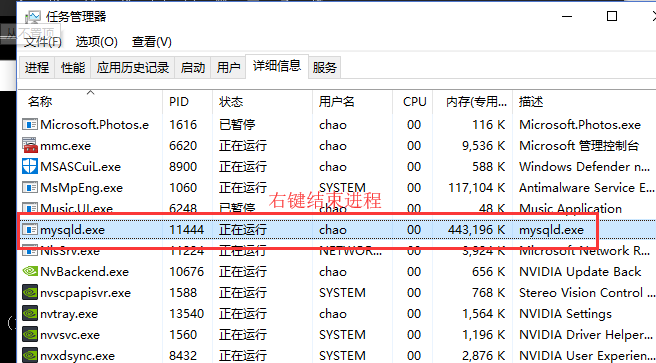
关闭的方式有两种:
1.通过任务管理器来关闭服务端:
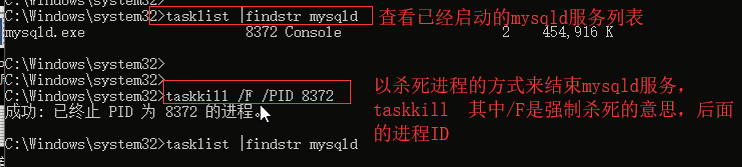
2.通过cmd指令来关闭mysql服务端

所以我们可以通过系统服务的方式来控制mysql服务的开启或者关闭,那么就需要将mysql服务加入到系统服务中,来看一下怎么制作成系统服务:
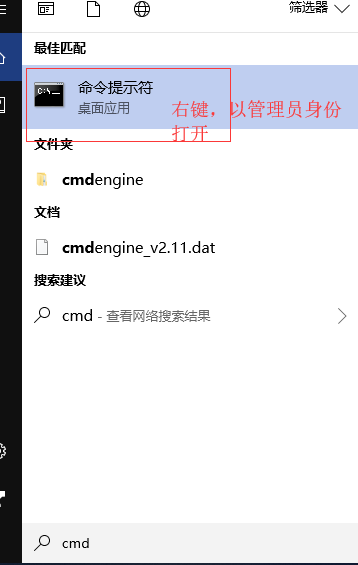
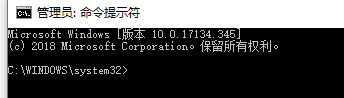
打开cmd窗口,注意:必须以管理员身份打开cmd窗口,在左下角的地方找到这个圆圈,点击,然后输入cmd,匹配出来命令提示符,然后右键点击,以管理员身份打开
然后输入 mysqld --install 服务名(可以给这个服务一个名字,直接跟在这个指令的后面,不写也可以,会默认有一个,后面可以查看到)
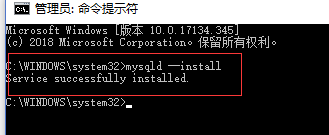
这样就添加系统服务了
然后win键+r 打开运行窗口,里面输入services.msc来打开系统服务列表
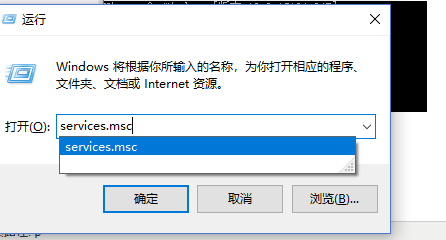
就可以看到mysqld服务了,如果没有就点击上面的刷新按钮
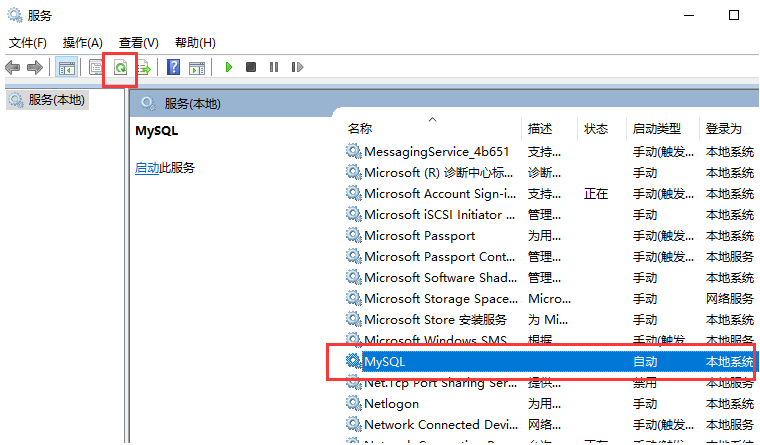
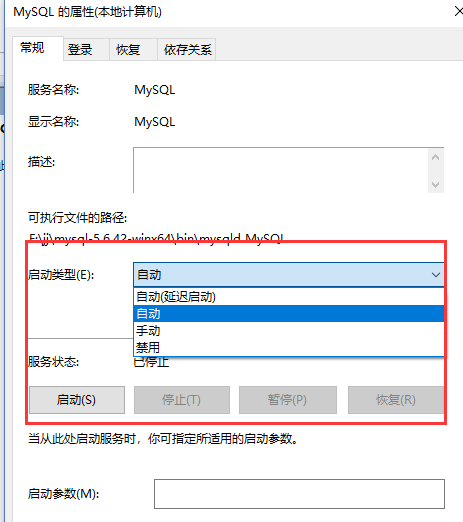
选中MySQL服务这一项,我们就可以直接右键查看功能,功能里面有启动和关闭,就可以通过系统服务的形式来启动和关闭MySQL服务了,这个服务是默认开启的,我们也可以自行设置是否自动开机启动等等的行为,左键双击一下这个服务你就看到下面的窗口了。
添加了系统服务以后,我们在启动和关闭这个mysql服务,就可以在cmd窗口下使用两个指令就搞定了:
启动指令:net start mysql
关闭指令:net stop mysql
并且不能再使用 mysqld指令直接启动了。

还可以通过指令来移除刚才添加的系统服务:
cmd下移除服务命令为:mysqld remove
到目前为止,我们的安装就结束了,下面我们就开始学习使用sql了~