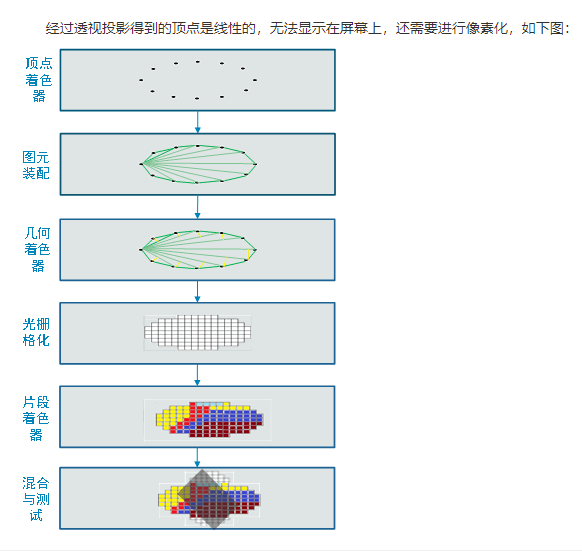
Shader Vertex (vertex shader): After realize the operation of vertices programmatically, such as space conversion, color, texture coordinates, the vertex data to obtain the final light output to the fragment shader
Vertex shader may be used to specify a range of completely generic (e.g., coordinates, lighting, color, texture), and the operation applied on relevant data and the respective vertex.
Shader Fragment (fragment shader): before the pixel is not displayed on the screen, to perform a series of operations that may be modified or even discarded fragments. All these operations can be enabled or disabled. A texture processing operation may be performed first. Generating texture memory for each fragment a texture unit (Texel, i.e. texels, i.e. UV), and applied to this piece. Then possible to calculate the fog, and then cut test, alpha test, stencil test and depth test buffer (depth buffer for hidden surface elimination). If a piece can not be enabled by a test, it's a continuous process may be interrupted. Then, to be performed may be mixed, jitter, logical operations, and a masking operation according to a bit mask. Finally, after complete treatment fragment was drawn to the appropriate buffer, eventually becoming a pixel and reaches its final habitat.
Coordinate of the object gripping change: the local coordinates (origin itself for its own axial direction) -> inertial coordinate - (axial direction thereof is coincident with the origin of the world coordinate system) -> world coordinates (world coordinates coincides with the origin of the local shaft is then rotated to) -> camera coordinate (I personally prefer to call the camera coordinate, also known as the written statement of the view frustum coordinates, in fact, is the view of the camera is a four-sided pyramid or cuboid) -> dimensionality reduction operation on the three-dimensional coordinates in the camera view in ( https://www.bilibili.com/video/av37614073?from=search&seid=2402871598313506313 1:09 to find out) ->
Next on the introduction of the three tests under Shader:
Depth test:
Depth: refers to the distance of the pixel from the camera. The farther away from the camera, the greater the depth.
Depth buffer: stores a depth value corresponding to each pixel.
Color buffer: storing the color values corresponding to each pixel.
Test Depth: a depth with the pixel depth buffer are compared. If it passes the depth test, you have the opportunity to rewrite the corresponding value of the depth buffer; otherwise the pixel will be discarded
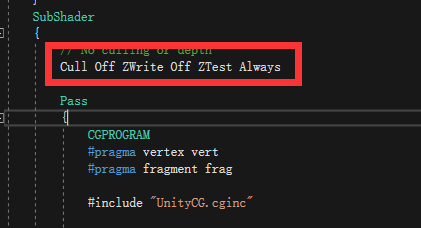
Zwrite
Parameters On / Off On / Off depth write
ZText
Greater GEqual Equal Less LEqual NotEqual Always Never
Respectively
>> = = = <<=! = Always Never
GBuffer pixel comparison of the pixels, replacement condition is satisfied. Otherwise reject, object rendering pixels to the screen is not directly need to be calculated, in line with the conditions the test is passed, eventually to the screen.
Alpha test:
Alpha Test, Chinese is the transparency test. Briefly this point is the color value V & F shader function of the output of the last fragment (i.e., the output of a speaking half4 frag) of the alpha value is compared with a fixed value. AlphaTest statements are in the starting position of Pass {}.
模板测试:
模版测试较为复杂,它不像Alpha测试一样,单单通过简单的大于小于等运算符来比较,但是和Alpha测试一样,都是测试像素点,符合要求的就渲染,不符合要求的就不渲染。了解模版测试,需要理解较多术语:
1.GBuffer:几何缓冲,相当于一个容器
2.RefenceValue:模版值,Guffer中的像素点就是与这个值按位与后进行比较
3.stencilOperation:比较后进行的操作
4.ReadMask|WriteMask:读遮罩|写遮罩
理解了以上的术语,那么模版测试的公式就差不多可以理解了:其公式为:
referenceValue&readMask comparisonFunction stencilBufferValue&readMask
转:https://blog.csdn.net/coolbeliever/article/details/81979089