There are many online about django project release uwsgi module download and installation process on the winddows,
But they are not really in use to this module (at least for now the Internet have not seen) on windows,
And most people that is achieved each terminal within a local LAN server that comes with Django to visit this site
Process is as follows:
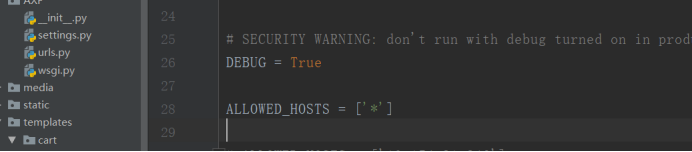
1. In the project settings.py go Configuration
DEBUG = True
# ALLOWED_HOSTS = ['*']
ALLOWED_HOSTS = [ 'IP'] # IP their computer ipv4
How to view your ip?
Press and hold the keyboard ( win + R & lt) Input: cmd
Into the command prompt interface: enter ipconfig Enter
IPv4 Address:............ IP
2. Then run Django comes with the server:
Command: Python manage.py the runserver IP: 8000 (or 80)

You can then access using a browser and can access the site at all terminals within the machine where the LAN
PC side of the Firefox browser can access
End mobile phone can also access

Note: The above can be carried out only within a local area network
Is there a way that allows us to develop java web projects that achieve real network penetration (port mapping) it? ?
The answer is: Yes! We can use to penetrate java web development within the network to achieve port mapping between the tool and Django comes with the server! ! !
Specific process is as follows:
Because more network penetration tools for our students free and easy to use ngrok is a better choice
ngrok是一个反向代理,通过在公共的端点和本地运行的Web服务器之间建立一个安全的通道。ngrok可捕获和分析所有通道上的流量,便于后期分析与响应。
开源免费
源码:https://github.com/inconshreveable/ngrok
2.使用ngrok
在这里注册账号,https://www.ngrok.cc/login
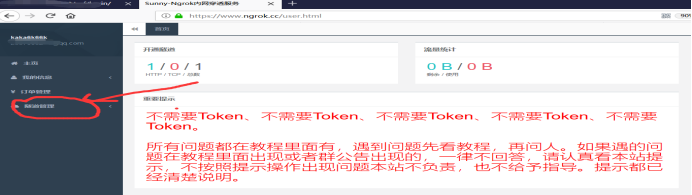
注册成功:进入主页
点击隧道管理-->开启隧道:
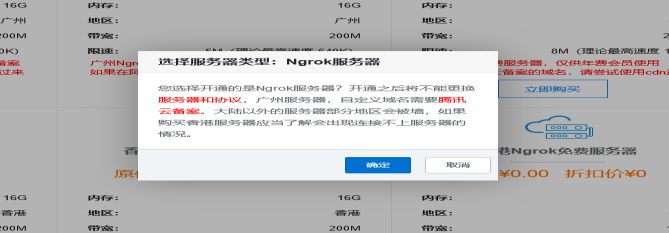
点击原价0元,立即购买(每一个QQ号注册的只有一次0元购买机会)

点击确定
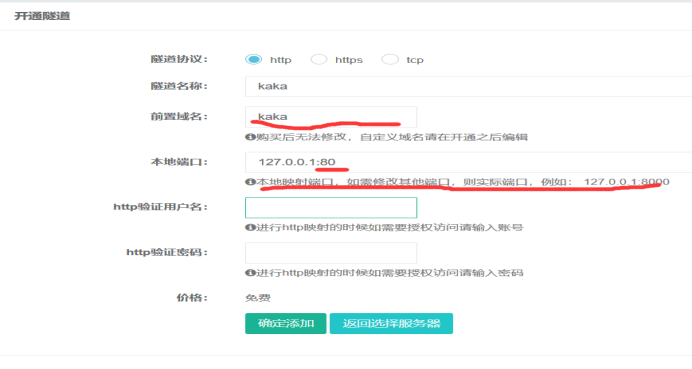
填写你想要的的域名(免费赠送的一个域名)填写你要映射的端口,这个端口一定要记住,而且你的这个端口没有被占用;还有就是需要记住http验证的用户名和密码;填好之后就点击确定添加
然后点击隧道管理:
- 记住隧道id(一定要记住后续端口映射需要);
- 隧道协议;
- 本地端口等。

3.ngrok本地客户端的使用
下载地址https://www.ngrok.cc/download.html
选择你所需要的版本下载即可。

下载完成之后解压缩即可使用

点击箭头所指的bat文件,输入第二步的隧道ID,回车即可。

开启成功

成功开启之后,我们可以看到有域名指向了我们本地的服务器
内网穿透工具我们已经准备就绪:
现在我们需要配置Django项目中的settings.py文件
DEBUG一定要等于TRUE
然后我们启动Django自带的服务器:(可能你会有疑问,为啥不是:python manage.py runserver 127.0.0.1:80这个命令,后面有说明,请看说明! )

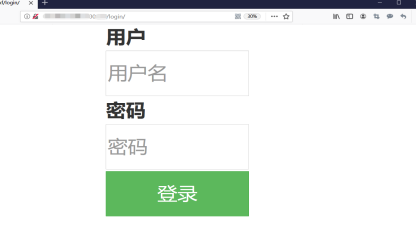
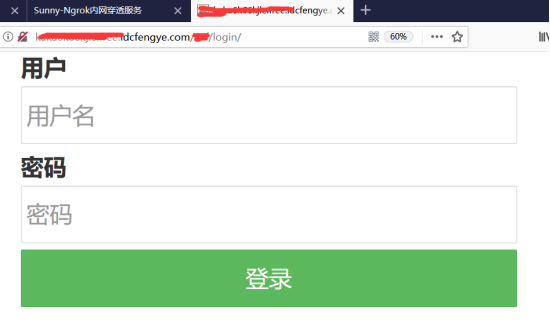
此时我们的后端已近都准备好了,我们需要在浏览器中输入127.0.0.1:80所对应的域名就可以从外网访问到我们的网站了:

使用所给域名来访问这个网站,但是刚开始访问的会有个http验证,这时就需要开通隧道时的http验证用户名和密码了,输入之后就可以访问这个网站了!
注意:
listen(127.0.0.1:80) 与 listen(0.0.0.0:80)的区别
127.0.0.1 环回测试地址,代表本机IP地址,访问127.0.0.1:80表示本机的80号端口,且仅表示内网访问
0.0.0.0 网络地址,0.0.0.0:80也表示本机IP地址,以外网的方式访问
这两种表示法用以对计算机端口进行权限设置
如果listen(0.0.0.0:XX),则这个可以被外部网络访问
而 listen(127.0.0.1:XX) 则这个端口只能被本机访问