JavaWeb user login
Reference: from station b
0. General idea and complete code
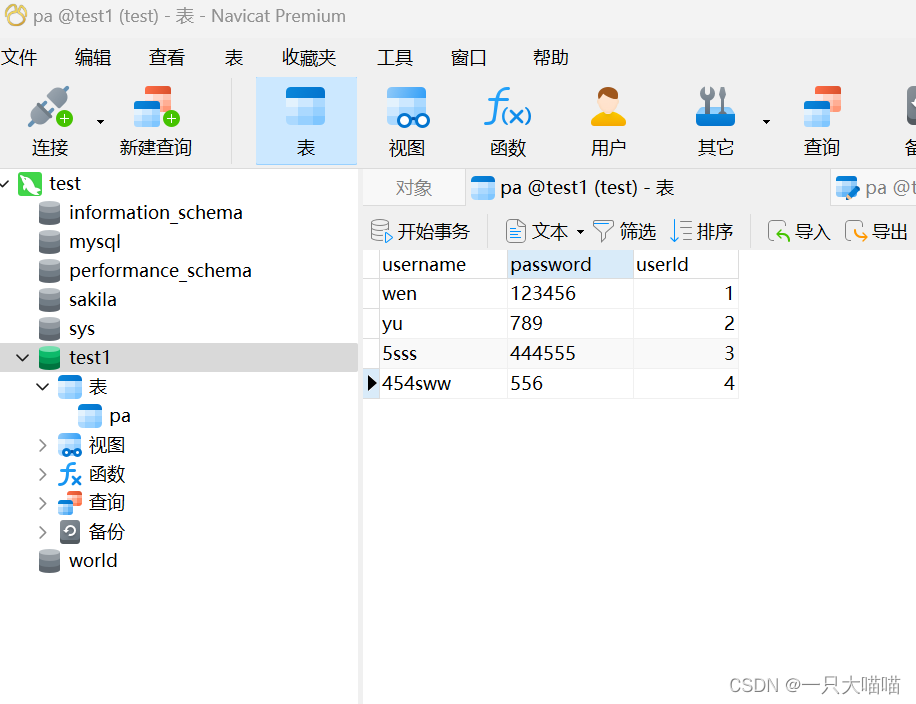
1. Create the corresponding user table in the database
2. Front page - login page
3. Backend implementation - login function
Code: https://github.com/wangwyForNewTime/JavaWeb-login-JSP-MySQL/tree/main
1. Database establishment
Just create such a simple database
2. Front page
In fact, the up master example is very good, simple and clear.
But after all, when I was an undergraduate, I relied on front-end technology to get into the lap of the back-end boss, so here is a code I used to include form verification: Login and registration front-end page
Then what I simply use is:
<%--
Created by IntelliJ IDEA.
User: 大喵喵
Date: 2023/2/24
Time: 23:28
To change this template use File | Settings | File Templates.
--%>
<%@ page contentType="text/html;charset=UTF-8" language="java" %>
<!DOCTYPE html>
<html lang="en">
<head>
<meta charset="UTF-8">
<title>index</title>
<link rel="stylesheet" href="css/bootstrap.min.css">
<link rel="stylesheet" href="css/index.css">
</head>
<body>
<div class="mainbac">
<h1>MayBe Something System </h1>
<!-- <div class="lii">Please Choose Your Operation</div> -->
<div class="duzi" >
<ul class="nav nav-tabs nav-justified">
<li style="border-top: 3px solid lightgray;border-right: 3px solid lightgray;border-bottom: none;font-size: 17px;"><a href="#" style="border-bottom: none;">登 录</a></li>
</ul>
<div class="one" id="one">
<form action="index" method="post" id="loginForm" class="bs-example bs-example-form">
<div class="input-group" style="margin-top: 20px;">
<span class="input-group-addon"> ID </span>
<input type="text" class="form-control" name="uname" value="${messageModel.object.userName}">
</div>
<br>
<div class="input-group" style="margin-top: 20px;">
<span class="input-group-addon" value="${messageModel.object.userPwd}">密码</span>
<input type="password" class="form-control" name="upwd">
</div>
<span id="msg" >${
messageModel.msg}</span>
<div class="input-group" style="margin-top: 50px;">
<button type="submit" class="btn btn-primary" style="width: 240px;position: relative;left: 50%;margin-left: -20px;" id="loginBtn">登 录</button>
</div>
</form>
</div>
</div>
</div>
</body>
</html>
3.Integrate mybatis
I don’t know what mybatis does. Anyway, the java code must use it to connect to the database.
3.1 Prepare the jar package
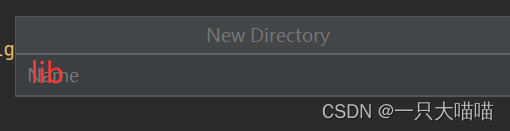
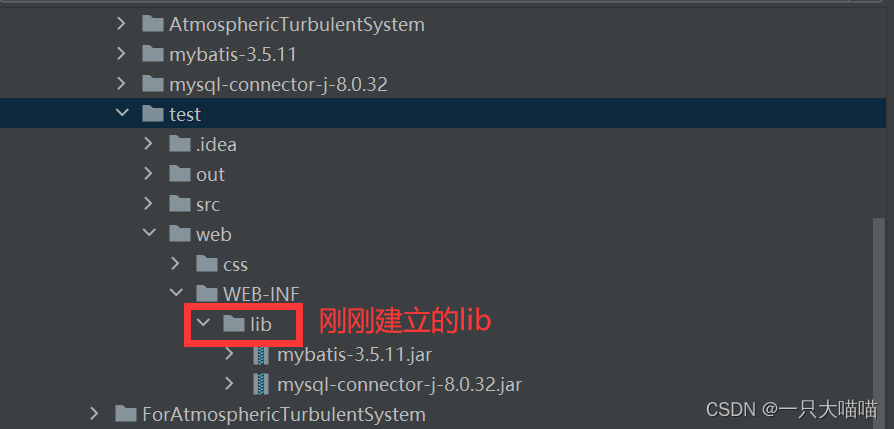
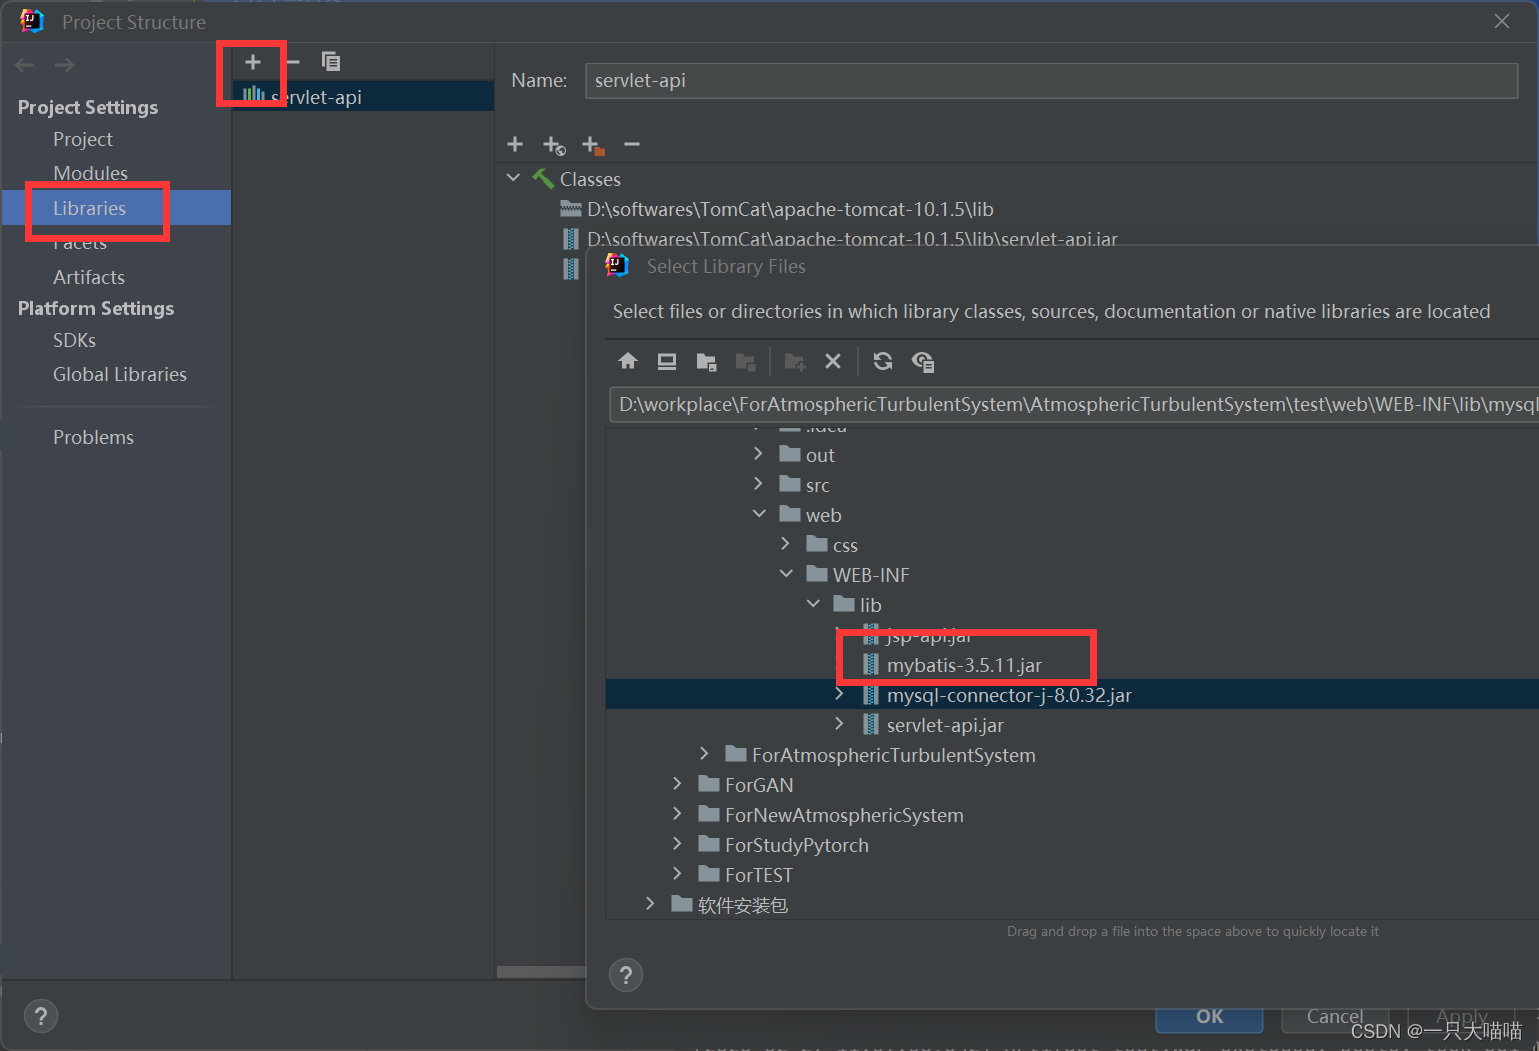
①Create a folder to store the jar package
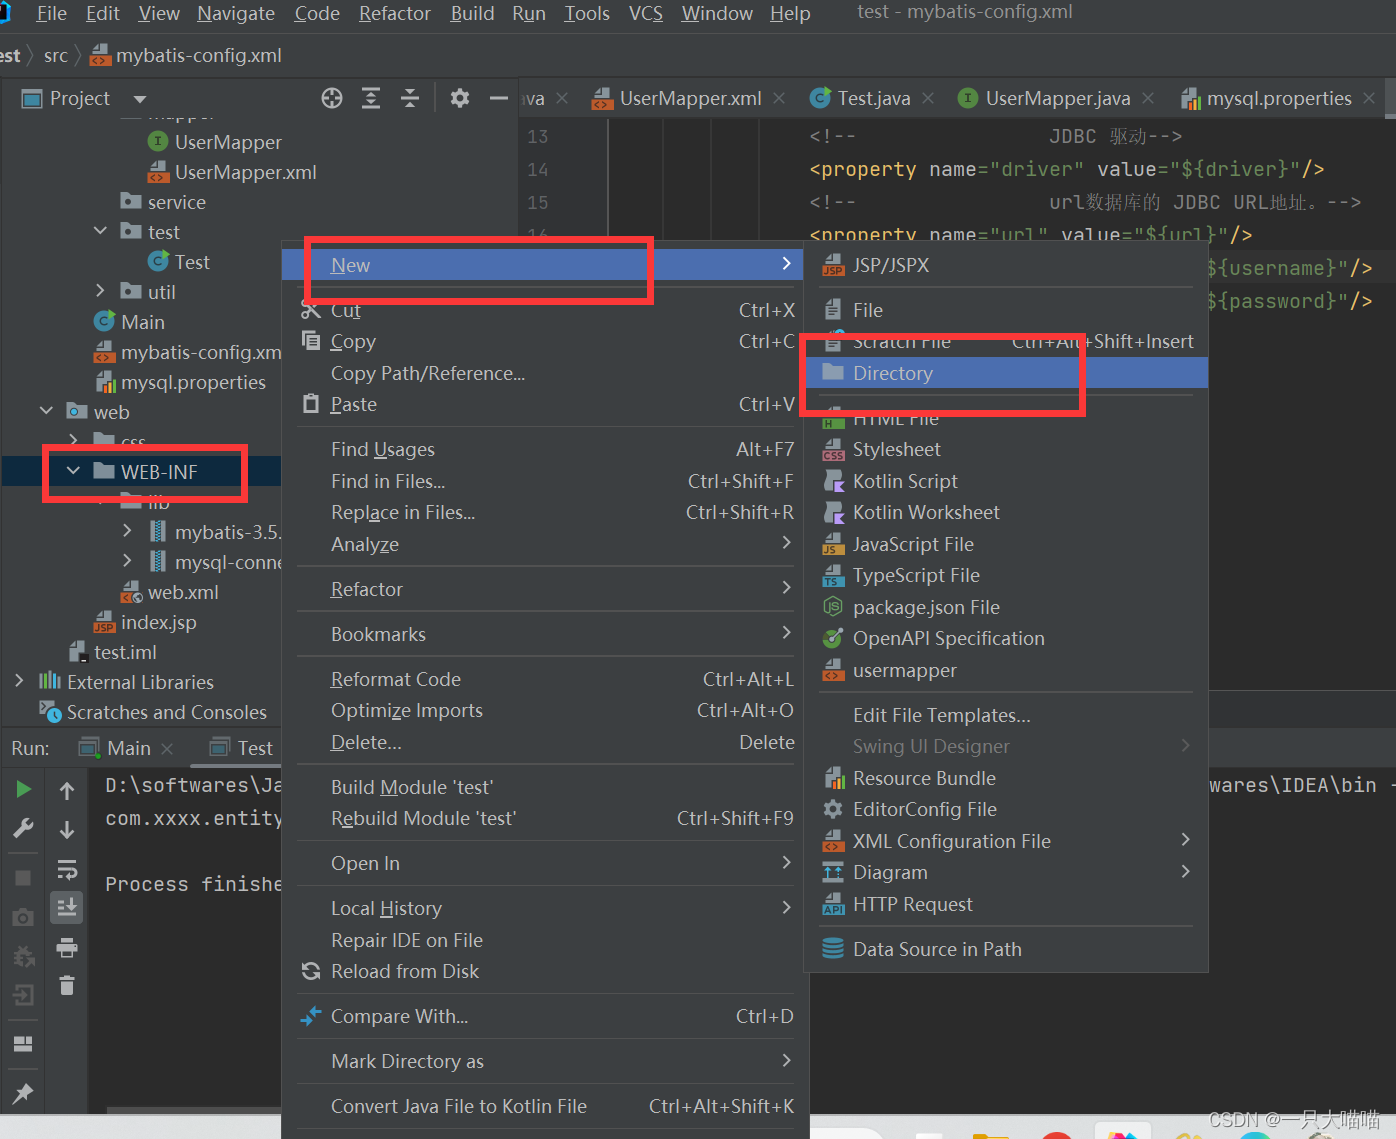
②Prepare the required jar packages
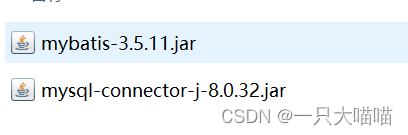
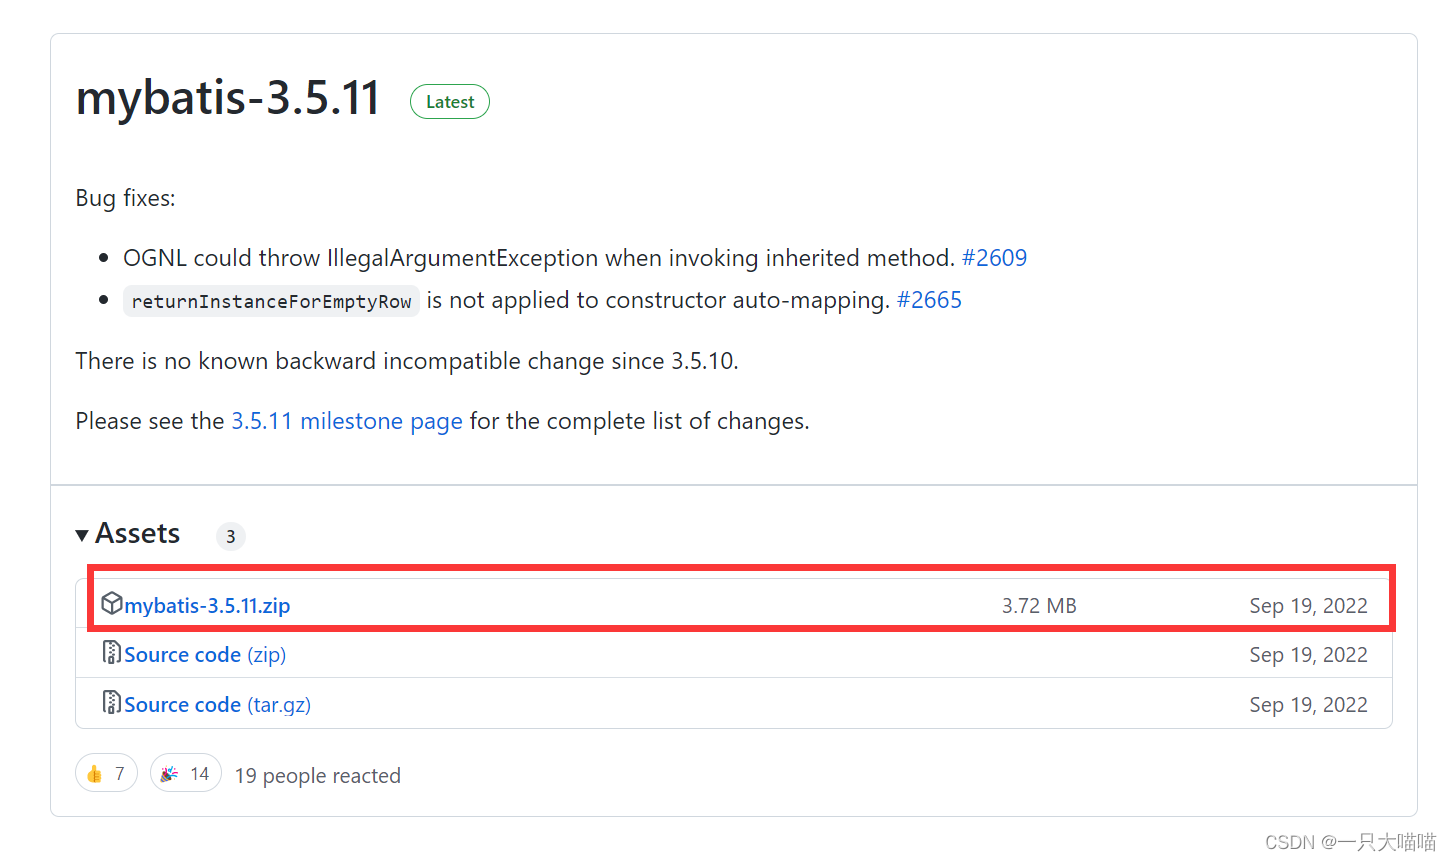
Prepare mybatis.jar, reference: [1]
Github official website: official download
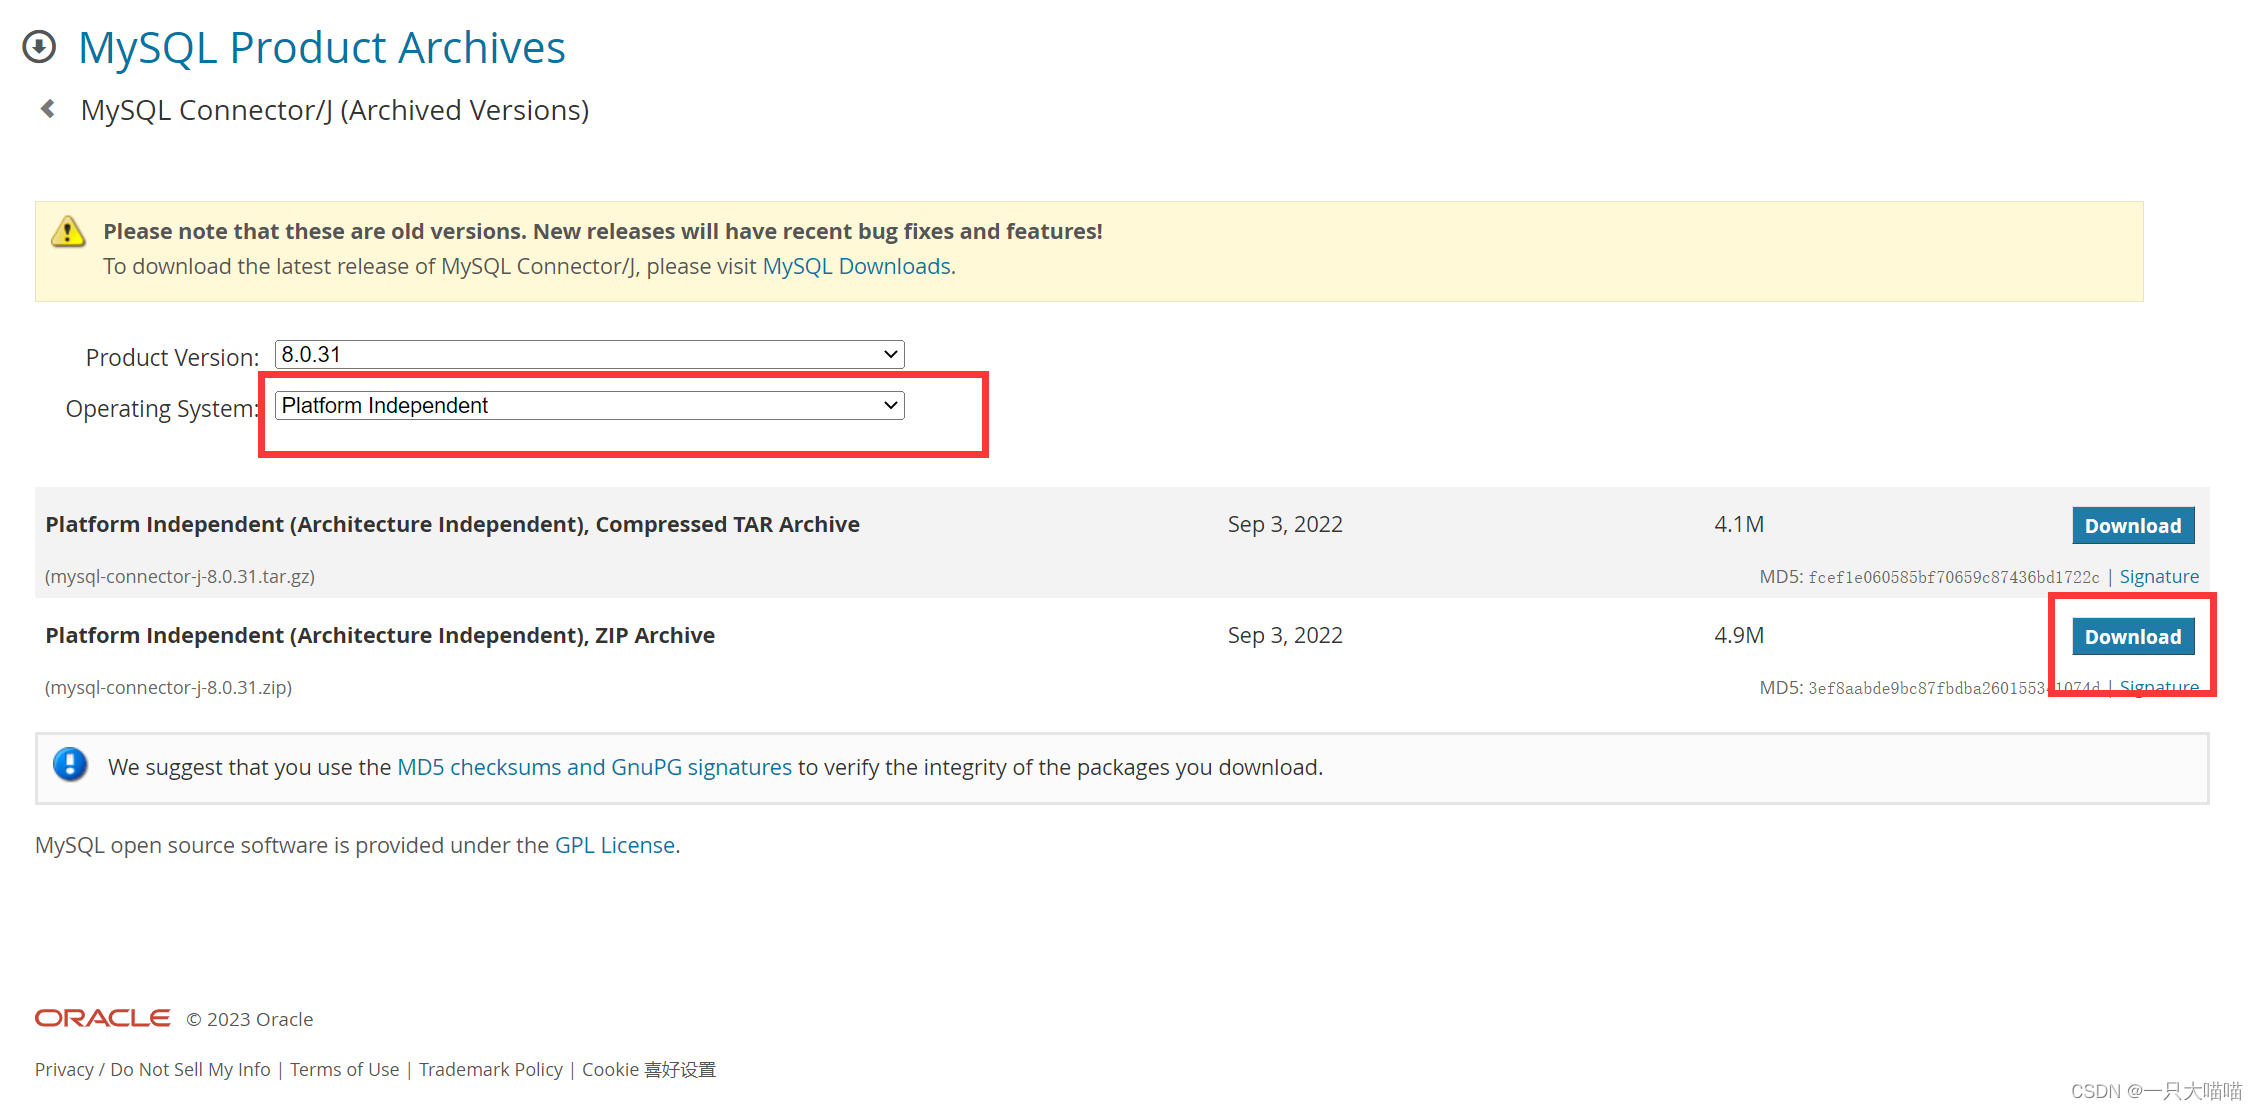
. Prepare mysql-connector-j.jar, reference: [2]
official website: official download
. Then put the two files shown in the picture just under the lib folder you just created. That’s it.
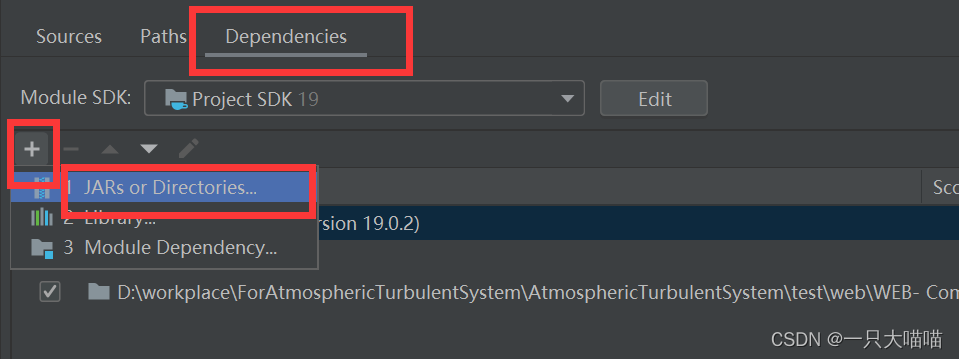
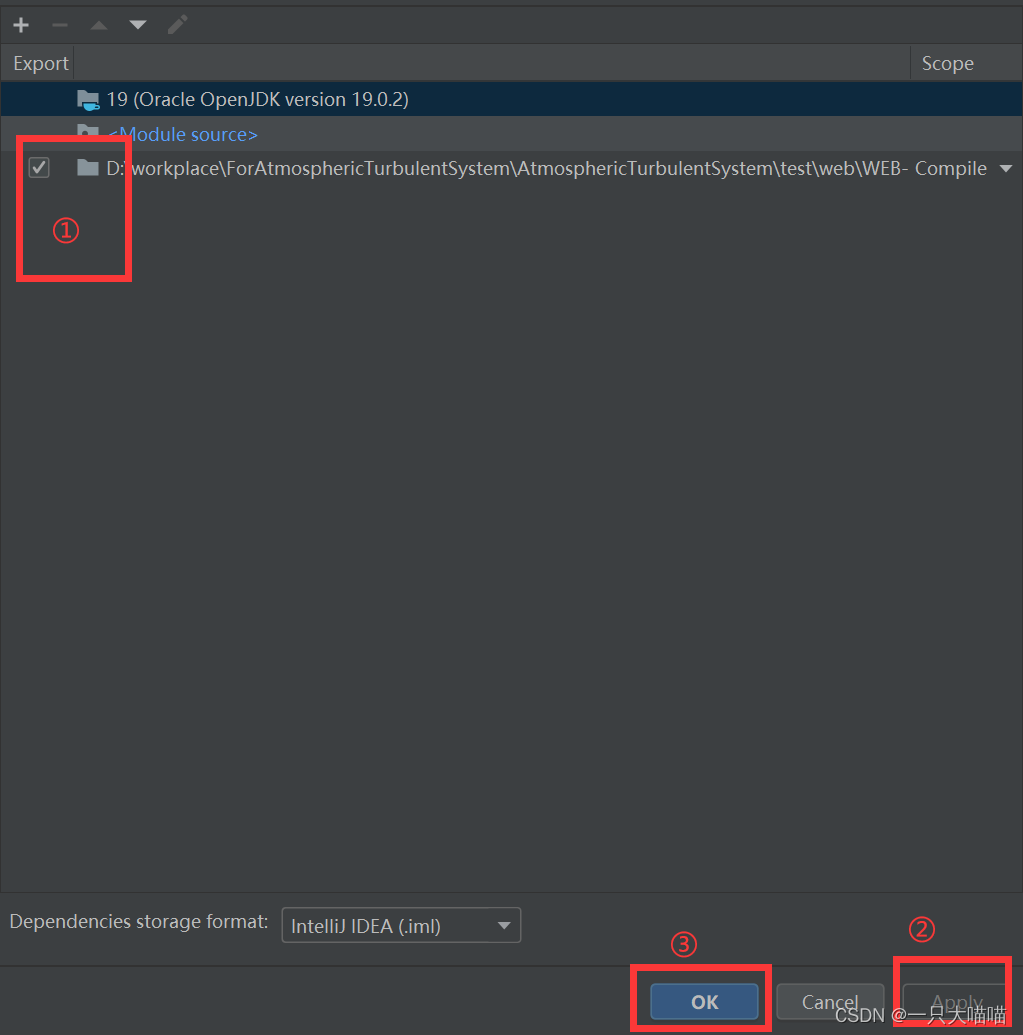
③ Add dependencies
and select module
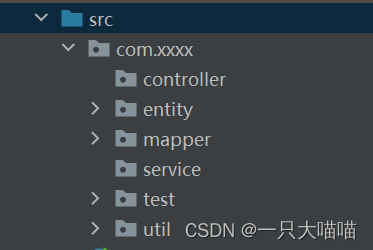
3.2 Preparation layer
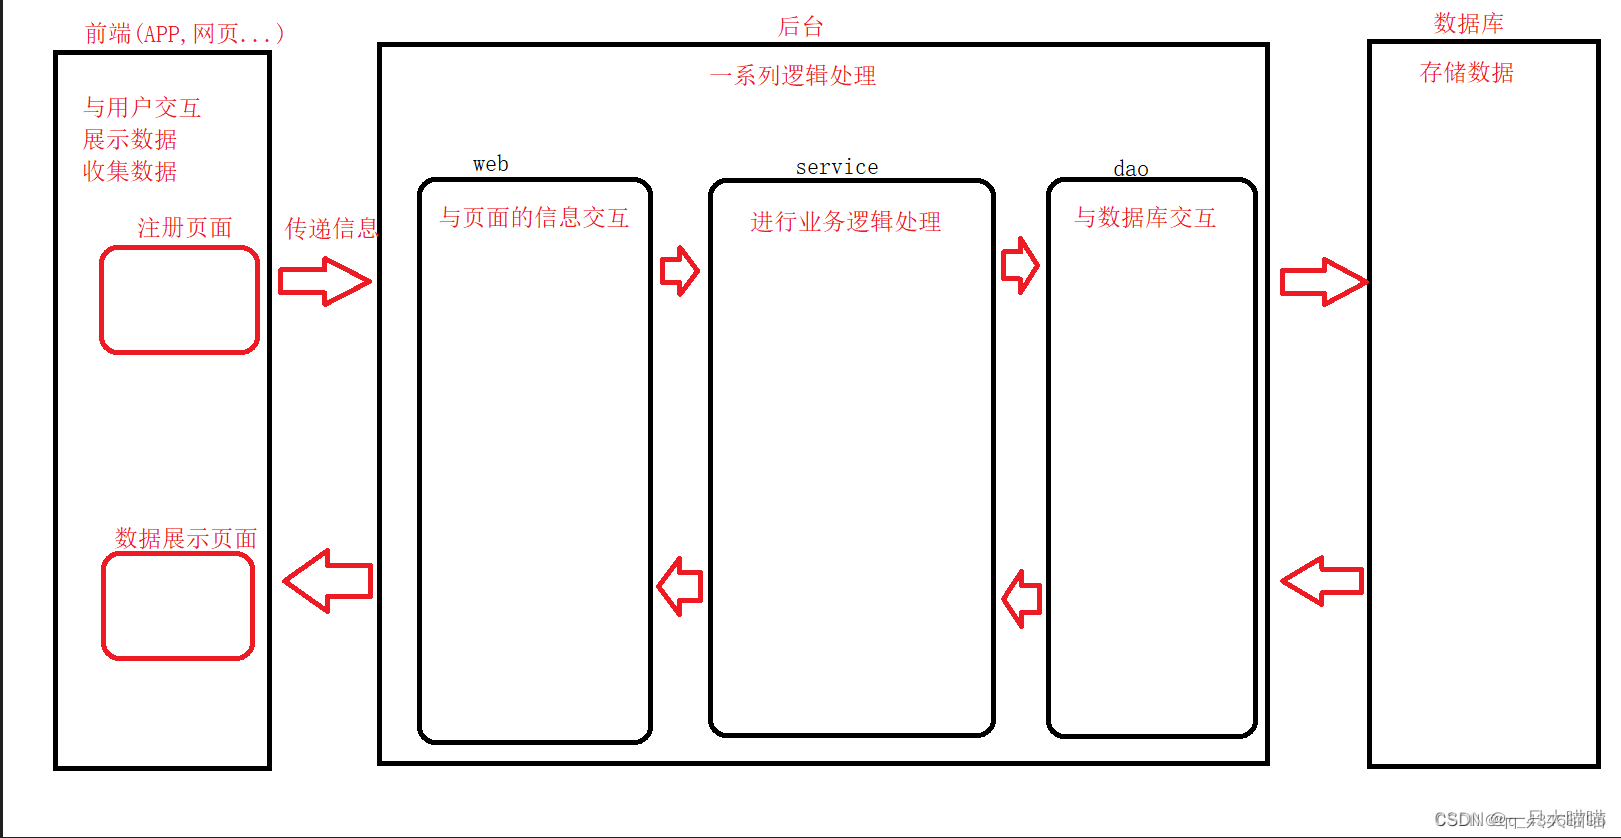
Although I don’t understand the core of the idea of layering, I can always draw a picture based on it.
Layered thinking (decoupling: high cohesion and low coupling)
1. The controller layer receives the request (calls the service layer and returns the result) response result
2. Service layer business logic judgment
3. Mapper interface class
4. Mapper .xml mybatis and database Related operations
5.entity (po, model) JavaBean entity
6.util tool class (general method/class)
7.test test class/method

Finally built so many
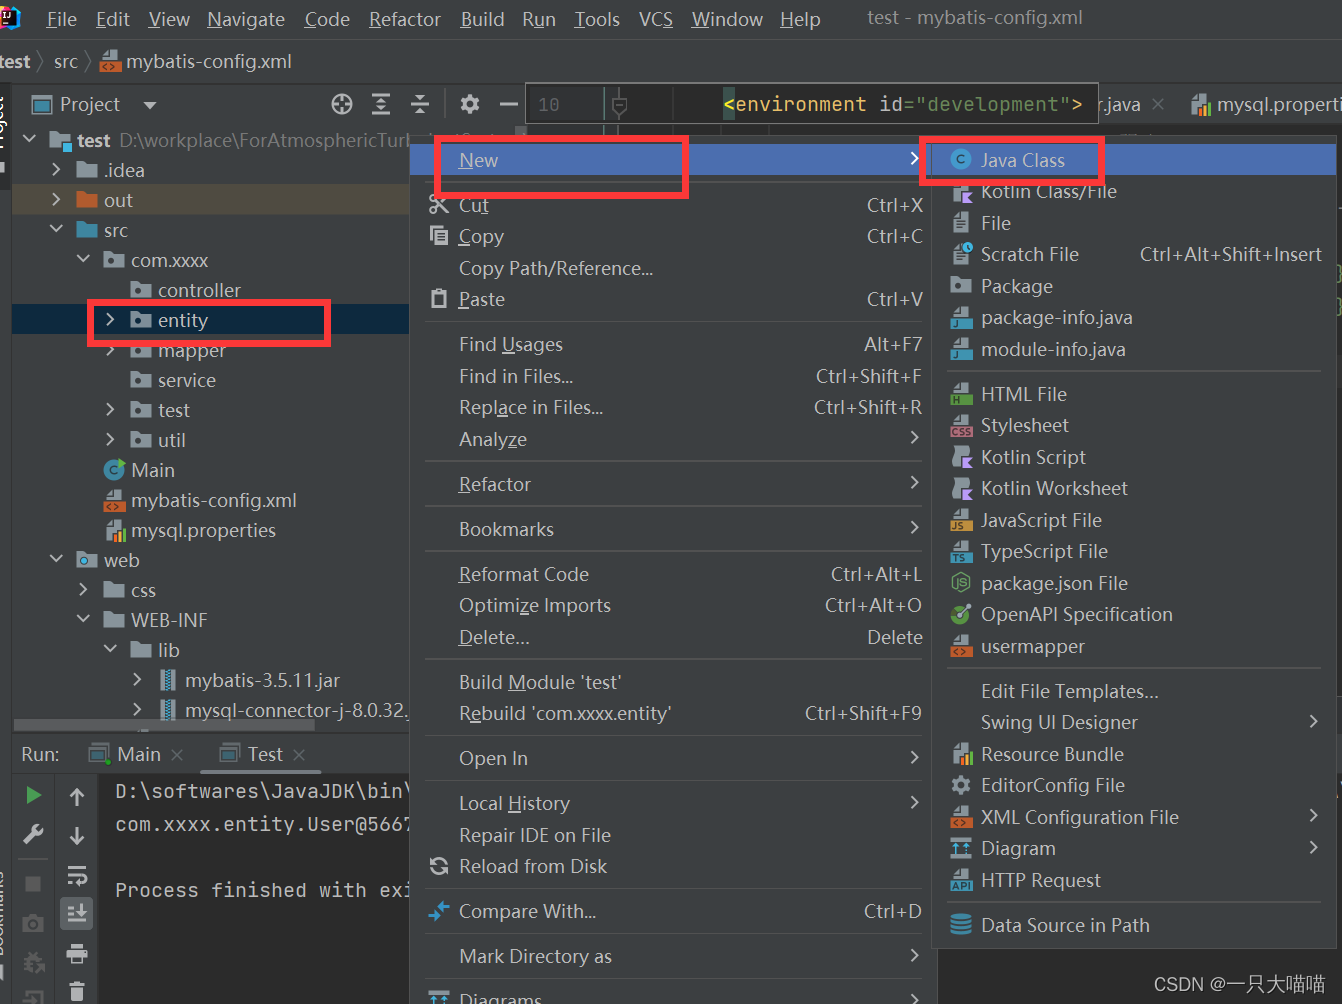
3.3 entity entity class
Create an entity class and name it User
idea. Use the technique alt+insert to quickly write the getset function.
package com.xxxx.entity;

public class User {


    private Integer userId;
    private String userName;
    private String userPwd;

    public Integer getUserId() {


        return userId;
    }

    public void setUserId(Integer userId) {


        this.userId = userId;
    }

    public String getUserName() {


        return userName;
    }

    public void setUserName(String userName) {


        this.userName = userName;
    }

    public String getUserPwd() {


        return userPwd;
    }

    public void setUserPwd(String userPwd) {


        this.userPwd = userPwd;
    }
}
3.4 mapper
Reference: [1]
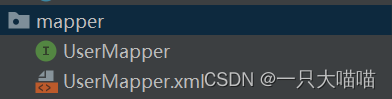
UserMapper.xml
<?xml version="1.0" encoding="UTF-8" ?>
<!-- 引入dtd -->
<!DOCTYPE mapper PUBLIC "-//mybatis.org//DTD Mapper 3.0//EN" "http://mybatis.org/dtd/mybatis-3-mapper.dtd">

<!-- namespace就是接口的包名加类名 -->
<mapper namespace="com.xxxx.mapper.UserMapper">
    <select id="queryUserByName" resultType="com.xxxx.entity.User" parameterType="String">
        <!-- 写SQL语句 -->
        select * from pa where username = #{

    username}
    </select>
</mapper>
UserMapper.java
package com.xxxx.mapper;
import com.xxxx.entity.User;
/*
 * 用户接口类
 * */
public interface UserMapper {


   public User queryUserByName(String username);
}
3.5 mybatis configuration file
Note that two files are created in the src root directory.
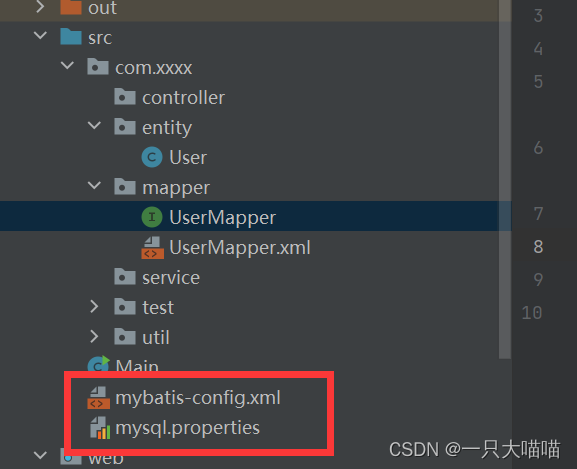
mysql.properties, note that test1 is the database name, change it as needed, the password is the MySQL password:
Reference: [1]
driver = com.mysql.cj.jdbc.Driver
url = jdbc:mysql://localhost:3306/test1?useUnicode=true&characterEncoding=UTF-8
username = root
password = 1234
mybatis-config.xml, note that mysql.properties is equivalent to storing the parameters of mybatis-config.xml. When mybatis-config.xml is present property name="keyword", the keyword needs to correspond. For example, if mysql.properties uses usernamethis spelling, then mybatis-config.xml needs to be written accordingly instead property name="username"ofproperty name="uname"
mybatis-config.xml:
Reference: [1]
<?xml version="1.0" encoding="UTF-8" ?>
<!DOCTYPE configuration PUBLIC "-//mybatis.org//DTD Config 3.0//EN"
        "http://mybatis.org/dtd/mybatis-3-config.dtd">
<configuration>

    <properties resource="mysql.properties"/>
    <!-- 默认使用的环境 ID(比如:default="development")
    也就是说我们可以配置多套<environment>环境-->
    <environments default="development">
        <environment id="development">
            <transactionManager type="JDBC"/>
            <dataSource type="POOLED">
                <!--                JDBC 驱动-->
                <property name="driver" value="${driver}"/>
                <!--                url数据库的 JDBC URL地址。-->
                <property name="url" value="${url}"/>
                <property name="username" value="${username}"/>
                <property name="password" value="${password}"/>
            </dataSource>
        </environment>
    </environments>

    <mappers>
        <package name="com.xxxx.mapper"/>
    </mappers>

</configuration>
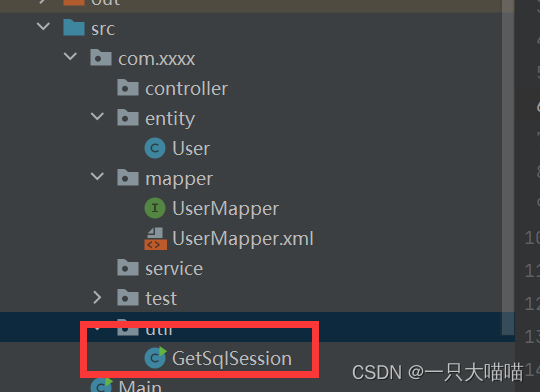
3.6 util
Create a GetSqlSession.java
/**
 *
 */
package com.xxxx.util;

import java.io.IOException;
import java.io.InputStream;

import org.apache.ibatis.io.Resources;
import org.apache.ibatis.session.SqlSession;
import org.apache.ibatis.session.SqlSessionFactory;
import org.apache.ibatis.session.SqlSessionFactoryBuilder;


public class GetSqlSession {


   public static SqlSession createSqlSession(){


       SqlSessionFactory sqlSessionFactory = null;
       InputStream input = null;
       SqlSession session = null;

       try{


           //获取mybatis的环境配置文件
           String resource ="mybatis-config.xml";
           //以流的方式获取resourse
           input = Resources.getResourceAsStream(resource);
           //创建会话工厂
           sqlSessionFactory=new SqlSessionFactoryBuilder().build(input);
           //通过工厂得到SqlSession
           session=sqlSessionFactory.openSession();
           return session;
       } catch (IOException e) {


           e.printStackTrace();
           return null;
       }
   }

   public static void main(String[] args){


       System.out.println(createSqlSession());
   }


}
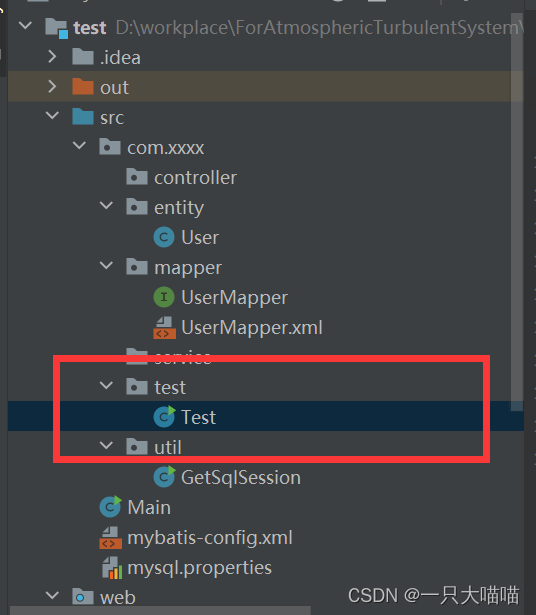
3.7 Testing
Create new test.java
package com.xxxx.test;

import com.xxxx.entity.User;
import com.xxxx.mapper.UserMapper;
import com.xxxx.util.GetSqlSession;
import org.apache.ibatis.session.SqlSession;

public class Test {


    public static void  main(String[] args){


        //获取sqlSession对象
        SqlSession session = GetSqlSession.createSqlSession();
        //得到对应的Mapper
        UserMapper userMapper = session.getMapper(UserMapper.class);
        //调用方法,返回用户对象
        User user = userMapper.queryUserByName( "wen");
        System.out.println(user);
    }
}
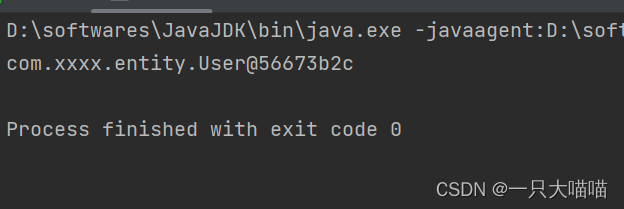
operation result
4.Backend functions
4.1 General idea
Layered thinking:
Ideas:
1. 接收客户端的请求(接收参数:姓名、密码)
2. 参数的非空判断
If the parameter is empty
, return the result through the message model object (set status, set prompt information, echo data),
set the message model object to the request scope,
forward the request and jump to the login page return
3. 通过用户姓名查询用户对象
4. 判断用户对象是否为空
If it is empty
, return the result through the message model object (set status, set prompt information, echo data).
Set the message model object to the request scope.
Request forwarding and jump to the login page. Return
5. 将数据库中查询到的用户密码与前台传递的密码作比较
If they are not equal, return through the message model object. The result (setting status, setting prompt information, echoing data)
sets the message model object to the request scope.
The request is forwarded to jump to the login page
. If they are equal, the login is successful.
Set the user information to the session scope
and redirect to the login page. front page
Controller layer (receive request, response result)
1. Receive the request from the client (receive parameters: name, password)
2. Call the service layer method and return the message model object
3. Set the message model object to the request scope
4. Request Forward to jump to the login page
service layer (business logic)
1. Determine whether the parameter is not empty.
If the parameter is empty,
set the status code, prompt information, and echo data to the message model pair.
Return the message model object
2. Call the query method of the dao layer , query the user object through the user name
3. Determine whether the user object is empty
Set the status code, prompt information, and echo data into the message model object, and return the message model object
4. Set the success status, prompt information, and user object to the message model Object, and return
mapper layer (Dao layer)
defines the corresponding interface
4.2 Message model objects
In this directory, create the MessageModel.java file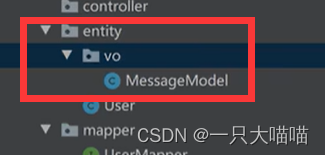
package com.xxxx.entity.vo;
/*
* 消息模型对象(数据响应)
*      状态码
*        1=成功,0=失败
*      提示信息
*        字符串
*      回显数据
*        object对象
* */
public class MessageModel {


    private Integer code=1; //状态码(1=成功,0=失败)
    private String msg="success!";//提示信息
    private Object object;//回显对象(基本数据类型、字符串类型、List、Map等)


    public Integer getCode() {


        return code;
    }

    public void setCode(Integer code) {


        this.code = code;
    }

    public String getMsg() {


        return msg;
    }

    public void setMsg(String msg) {


        this.msg = msg;
    }

    public Object getObject() {


        return object;
    }

    public void setObject(Object object) {


        this.object = object;
    }
}
4.3 Business logic
First write a widget code to determine if it is not empty
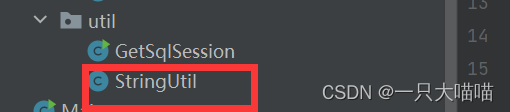
package com.xxxx.util;
/*
* 字符串工具类
* */
public class StringUtil {


    /*
    * 判断字符是否为空
    *      如果为空返回true
    * */
    public  static  boolean isEmpty(String str){


        if(str ==null || "".equals(str.trim())){


            return true;
        }
        return false;
    }
}
Then write the main business logic
package com.xxxx.service;
import com.xxxx.entity.User;
import com.xxxx.entity.vo.MessageModel;
import com.xxxx.mapper.UserMapper;
import com.xxxx.util.GetSqlSession;
import com.xxxx.util.StringUtil;
import org.apache.ibatis.session.SqlSession;
/*
* 业务逻辑
* */
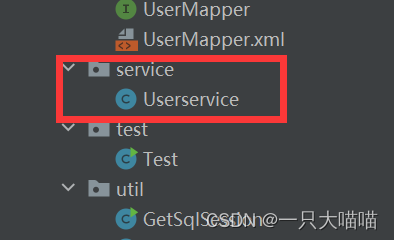
public class Userservice {
/**
* 用户登录
* 1.参数的非空判断
* 如果参数为空
* 将状态码、提示信息、回显数据设置到消息模型对象中,返回消息模型对象
* 2.调用dao层的查询方法,通过用户名查询用户对象
* 3.判断用户对象是否为空
* 将状态码、提示信息、回显数据设置到消息模型对象中,返回消息模型对象
* 4.将成功状态、提示信息、用户对象设置消息模型对象,并return
*/
public MessageModel userLogion(String uname, String upwd) {
MessageModel messageModel=new MessageModel();
//1.参数的非空判断
if(StringUtil.isEmpty(uname) || StringUtil.isEmpty(upwd)){
//将状态码、提示信息、回显数据设置到消息模型对象中,返回消息模型对象
messageModel.setCode(0);
messageModel.setMsg("UseName or PassWord cannot be null");
//回显数据
User u=new User();
u.setUserName(uname);
u.setUserPwd(upwd);
return messageModel;
}
// 2.调用dao层的查询方法,通过用户名查询用户对象
SqlSession session= GetSqlSession.createSqlSession();
UserMapper userMapper=session.getMapper(UserMapper.class);
User user= userMapper.queryUserByName(uname);
//3.判断用户对象是否为空
if(user==null){
//将状态码、提示信息、回显数据设置到消息模型对象中,返回消息模型对象
messageModel.setCode(0);
messageModel.setMsg("no this user");
//回显数据
User u=new User();
u.setUserName(uname);
u.setUserPwd(upwd);
return messageModel;
}
//4.比较密码
if(!upwd.equals(user.getUserPwd())){
System.out.println(user.getUserName()+" "+user.getUserPwd()+" "+user.getUserId());
messageModel.setCode(0);
messageModel.setMsg("the password wrong");
return messageModel;
}
//5.登录成功,将用户信息设置带消息模型中
messageModel.setObject(user);
return messageModel;
}
}
4.4 Servlet
package com.xxxx.controller;

import com.xxxx.entity.vo.MessageModel;
import com.xxxx.service.Userservice;
import jakarta.servlet.ServletException;
import jakarta.servlet.annotation.WebServlet;
import jakarta.servlet.http.HttpServlet;
import jakarta.servlet.http.HttpServletRequest;
import jakarta.servlet.http.HttpServletResponse;

import java.io.IOException;

@WebServlet("/index")//这个/很重要
public class UserServlet extends HttpServlet {


    //实例化UserService对象
    private  Userservice userService =new Userservice();
    /*
    * 用户登录
    1.接收客户端的请求(接收参数:姓名、密码)
    2.调用service层的方法 ,返回消息模型对象
    3.判断消息模型的状态码
       如果状态码是失败
           将消息模型对象设置到request作用城中,请求转发跳转到login.jsp
       如果状态码是成功
           将调息模型中的用户信息没置到session作用城中,重定向跳转到index. jsp
    * */
    @Override
    protected  void  service(HttpServletRequest request, HttpServletResponse response) throws ServletException, IOException{


       // 1.接收客户端的请求(接收参数:姓名、密码)
        String uname =request.getParameter("uname");
        String upwd=request.getParameter("upwd");
        //2.调用service层的方法 ,返回消息模型对象
        MessageModel messageModel=userService.userLogion(uname,upwd);
        //3.判断消息模型的状态码
        if(messageModel.getCode()==1){

    //成功
            //将调息模型中的用户信息没置到session作用城中,重定向跳转到index. jsp
            request.getSession().setAttribute("user",messageModel.getObject());
            response.sendRedirect("test.jsp");
        }else{

    //失败
            //将调息模型中的用户信息没置到session作用城中,重定向跳转到index. jsp
            request.setAttribute("messageModel",messageModel);
            request.getRequestDispatcher("index.jsp").forward(request,response);
        }
    }
}
When I was writing this part of the code, I kept getting errors 找不到javax.servlet.annotation.WebServlet. I searched online and learned about various configurations and importing jar packages. I struggled for a long time, but I kept getting errors, which made me really angry. Then something went wrong. Later, the csdn keyword link gave a possibility that it was the tomcat version. Sure enough, the statement has changed when importing the package for tomcat10 and above versions, and has become import jakarta.servlet.annotation.WebServlet;a specific reason and operation. Please refer to this blogger.
4.5 Problems with IDEA
Although it does not report red when writing, it can't be found when the server is running.
For example, java: 无法访问org.apache.ibatis.session.SqlSessionI directly searched for errors. How to solve the situation where MAVEN is all on the Internet? The key is that I don't use MAVEN. But I found that this function is in the jar package of mybatis. It reported that it could not be found, that is, the jar package was not added, so I added the jar package separately.
Then apply, done