
introduction
The model display effect of rendering the 3D model to the 2D interface
In game development , it is often necessary to display a 3D model on the UI interface , such as character change display in the fashion interface , boss selection display in the boss challenge interface , etc.
This article will introduce the model display effect of rendering the 3D model in Peace Elite to the 2D interface in Cocos game development .
The source project of this article is obtained at the end of the article, friends can go there on their own.
Knowledge points in this issue
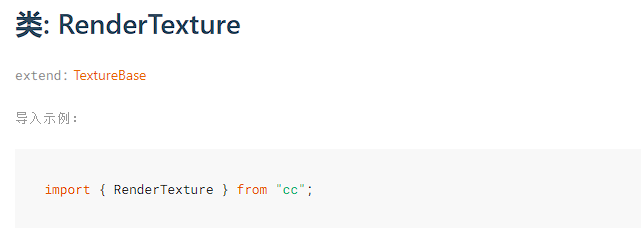
1.RenderTexture
The rendering map is the rendering target object of the Camera or Canvas component , and the rendering pipeline will use its RenderWindow as the rendering target window .
We can render the camera image onto it, and then set the sprite 's texture resource to it.
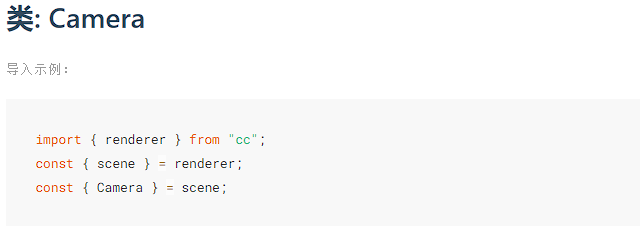
2.Camera
The camera object in the rendering scene is managed by the Camera at the project layer .
targetTextureWe can specify the rendering output target map of this camera through it . The default is empty and is rendered directly to the screen .
3.SpriteFrame
Sprite frame resource.
We set the texture object resource through SpriteFrame , which can be of type.textureTextureBase

Without further ado, let’s give an example.
3D model rendering to 2D interface example
Next, we will implement the model display effect of rendering the 3D model to the 2D interface in Peace Elite step by step .
1. Environment
Engine version : Cocos Creator 3.8.1
Programming language : TypeScript
2. Resource preparation
To create a new project , I used 3.8.2 to experience it, and everyone can use 3.8.1 to open the project .
Put together the UI according to the following structure . Cocos is the background image , ModelSprite is the target sprite that is rendered , and Camera is the camera that takes the model .
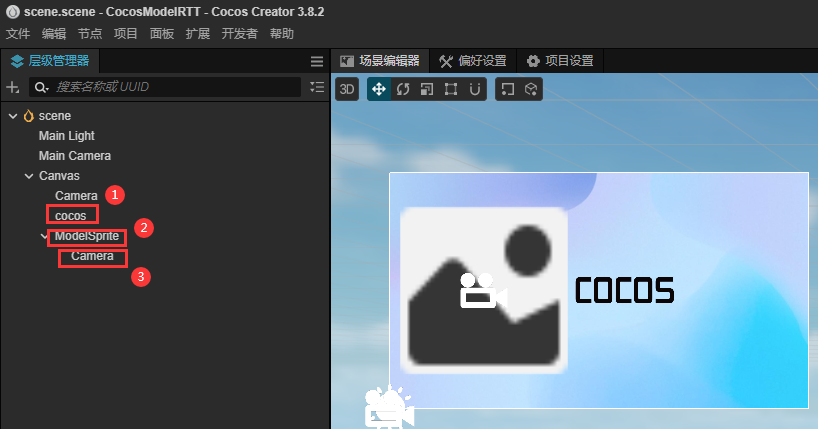
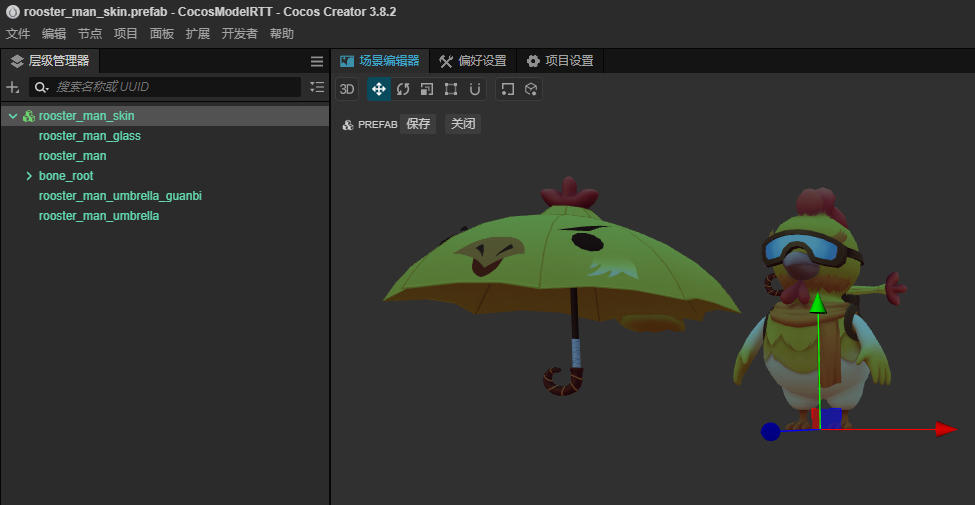
Then take the chickens from the mall and make them into prefabs to borrow.
3. Write code
Create a new ModelRttcomponent and drag it to ModelSprite . It contains several properties.
modelUrl,The path of the model is loaded directlyresources.load.modelOffsetY,The offset of the model is used to adjust the position of the model display.orthoHeight,The orthogonal view height of the camera is used to ,adjust the size of the model.modelSprite, target sprite.
export class ModelRtt extends Component {


    @property(CCString)
    modelUrl: string = "";
    @property(CCFloat)
    modelOffsetY: number = 0;
    @property(CCFloat)
    orthoHeight: number = 0;
    modelSprite: Sprite = null;
}
Then write loadPrefabthe method to resources.loadload the model.
loadPrefab() {


    if (!this.modelUrl || !this.modelSprite) {


        error('Please provide a valid prefab path and target sprite.');
        return;
    }

    resources.load(this.modelUrl, Prefab, (err, prefab) => {


        if (err) {


            error('Failed to load the prefab:', err);
            return;
        }

        this.createModel(prefab);
    });
}
Finally, the 3D model is rendered to the 2D interface through the following steps .
- Create
RenderTexture, the size is recommended to be 512 , 1024 or 2048 .
const size = this.node.getComponent(UITransform).contentSize;
const modelRtt = new RenderTexture();
modelRtt.reset({


    width: size.width,
    height: size.height
});
- Create the model and set the offset .
const newNode = new Node();
newNode.parent = find("/");
const modelNode: Node = instantiate(prefab);
modelNode.parent = newNode;
modelNode.setPosition(new Vec3(0, this.modelOffsetY, 0));
- Monitor drag events and implement model rotation .
let flag = false;
this.node.on(NodeEventType.TOUCH_START, () => {

     flag = true; }, this);
this.node.on(NodeEventType.TOUCH_END, () => {

     flag = true; }, this);
this.node.on(NodeEventType.TOUCH_MOVE, (event: EventTouch) => {


    if (flag) {


        modelNode.eulerAngles = new Vec3(0, modelNode.eulerAngles.y + event.getDeltaX(), 0);
    }
}, this);
- Get the camera we created in the scene and set some related parameters . (The dynamically added Camera will not be dynamically rendered, so we will not study it for the time being ).
// const camera = new Node("Camera").addComponent(Camera); //todo:动态添加的Camera模型不会动
const camera = this.node.getComponentInChildren(Camera);
camera.clearFlags = Camera.ClearFlag.SOLID_COLOR; //设置缓冲清楚标志位
camera.projection = renderer.scene.CameraProjection.ORTHO; //设置相机投影类型
camera.orthoHeight = this.orthoHeight; //设置正交视角高度
camera.clearColor = new Color(0, 0, 0, 0); //设置透明
camera.targetTexture = modelRtt; //设置目标RenderTexture
camera.node.parent = newNode;
camera.node.position = new Vec3(0, 0, 10);
- Sets the target sprite's sprite frame .
const spriteFrame = new SpriteFrame();
spriteFrame.texture = modelRtt;
spriteFrame.flipUVY = true;
this.modelSprite.spriteFrame = spriteFrame;
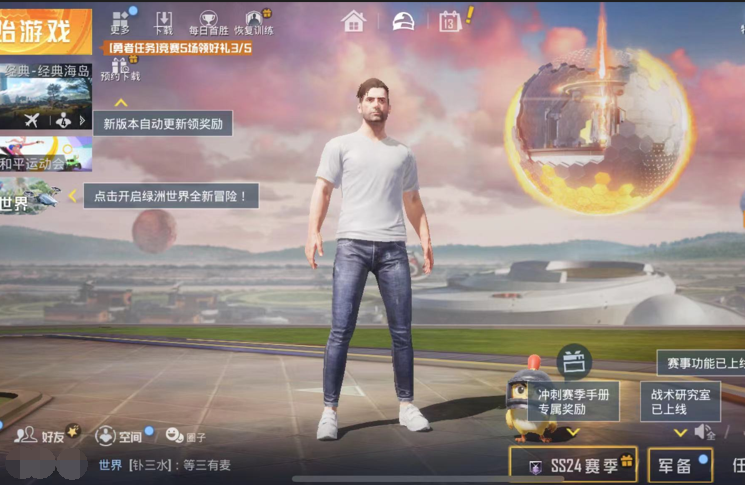
4. Effect demonstration
That concludes today's program. Please help forward the article. get out of class is over!
Conclusion
The source project of this article can be obtained by sending CocosModelRTT via private message .
More practical source codes have been put on the Cocos Store . You can read the original text to see. Paying is not only the acquisition of knowledge , but also the support and recognition of the author . Thank you!
I am a "Billion Dollar Programmer", a programmer with 8 years of experience in the game industry. In game development, I hope to be able to help you, and I hope that through you I can help everyone.
AD: You can click and search for the author's online mini-games "Snake Handheld Classic", "Gravity Maze Ball" and "Coloring Journey" by yourself.
To be honest, I want to like and watch ! Please share this article with other friends who you think need it. Thanks!
Recommended columns:
Do you know how Honor of Kings implements the skill range indicator?
8 years of experience in building Cocos independent game development framework step by step