0.Install mingw64
Official website link: mingw
- Install the red box mark to download the installation-free version, which can be decompressed.
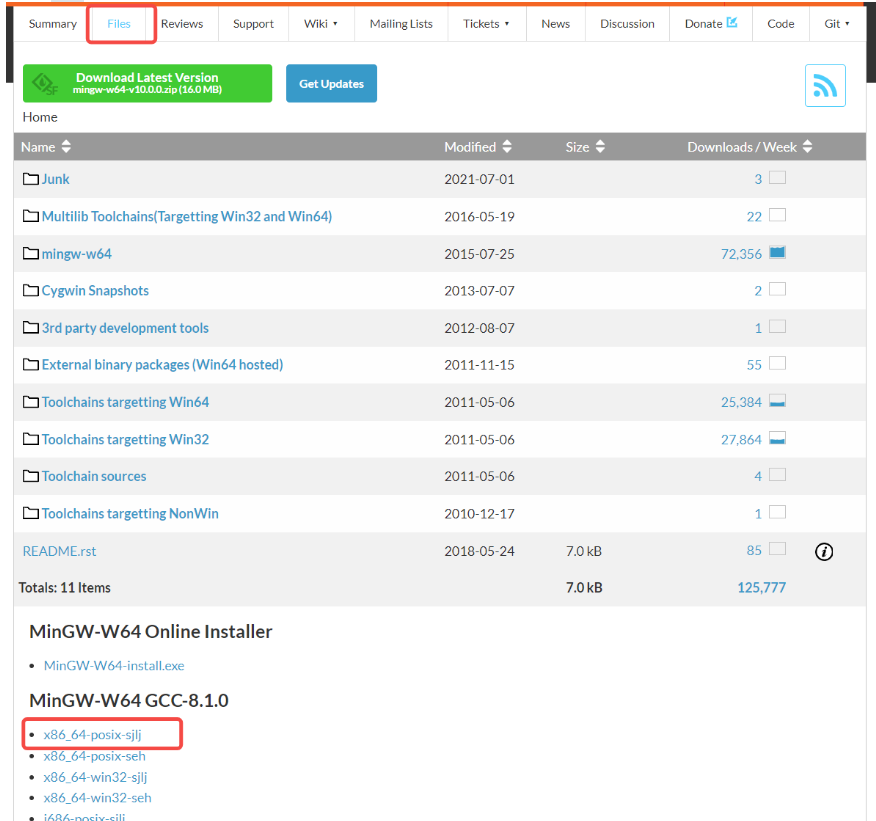
- Add the decompressed mingw64\bin to the path environment variable
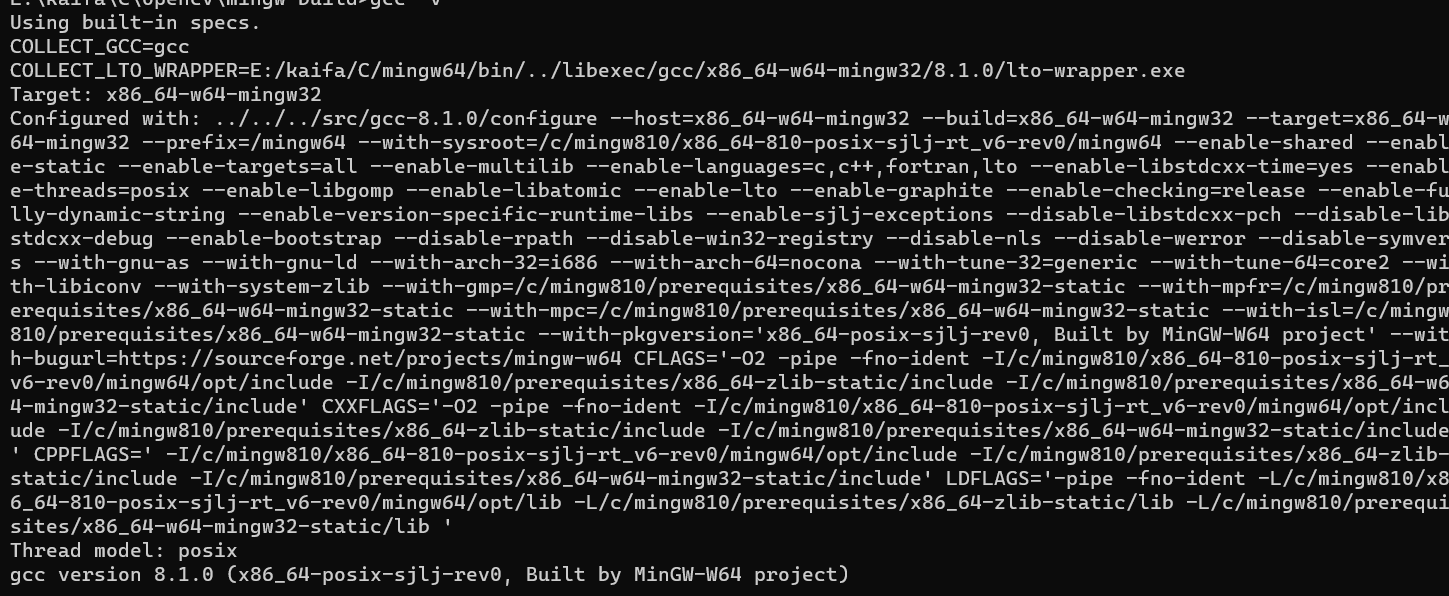
- Enter gcc -v in cmd, and the following figure appears, indicating that the configuration is successful.
1. Download the OpenCV source code
Source code download
Official website: Releases - OpenCV
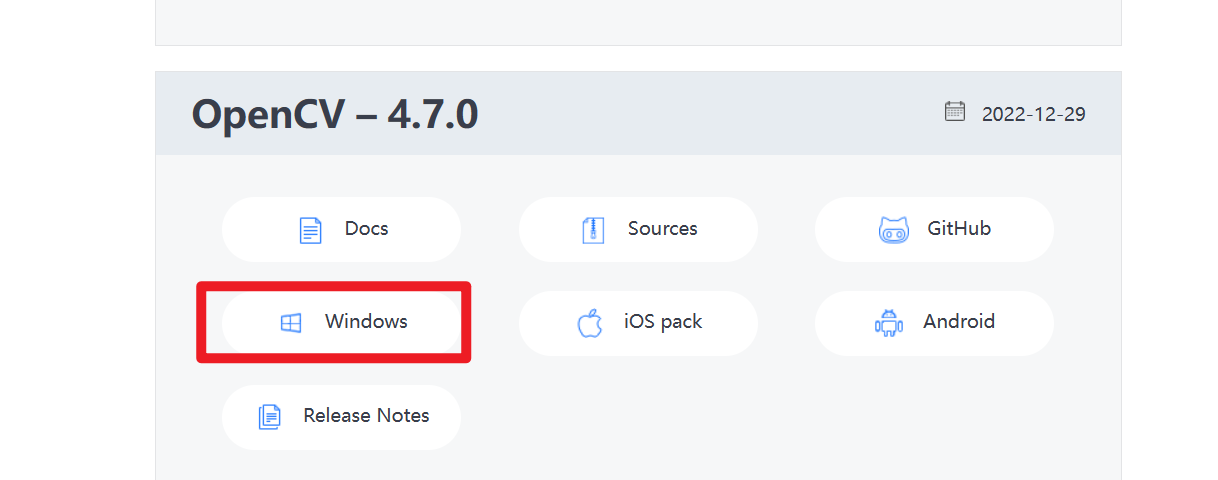
Run the downloaded exe file and specify the storage path of the source code.
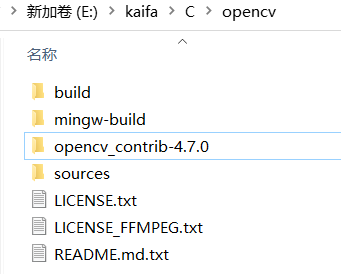
The downloaded source code is shown below

Extension file download
Download the official website: Tags · opencv/opencv_contrib (github.com)
After downloading, unzip and place it in the OpenCV path
2.Install CMAKE
Compiled OpenCV source code: https://pan.baidu.com/s/1NF5PElfjJT49pnpqgQy3zg?pwd=ksz0
If you use what I compiled, jump directly to 4.5, configure the environment variables, and then enter clion for testing.
The mingw-build folder is used, you can delete the VS-build folder.
The VS-build folder is built using VS. If you don’t use it, you can delete it (VS-build). The vsbuild file has more than ten G.
Official website: Download | CMake
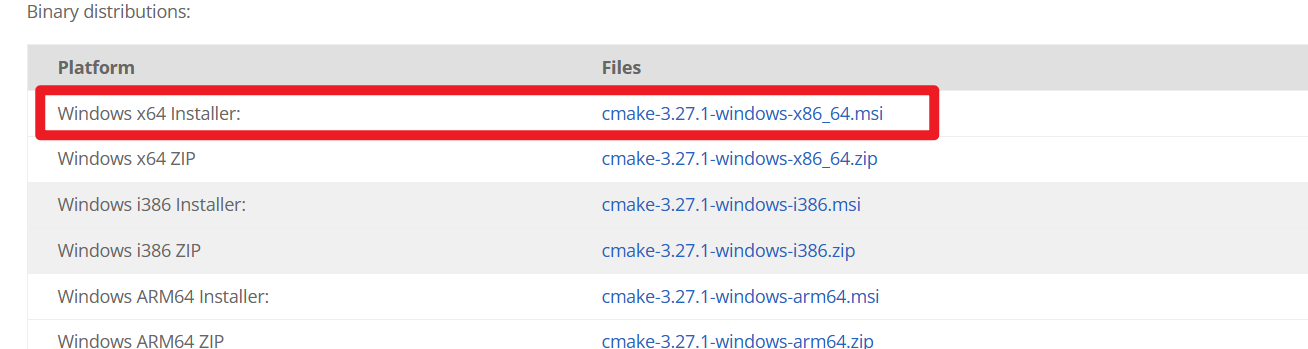
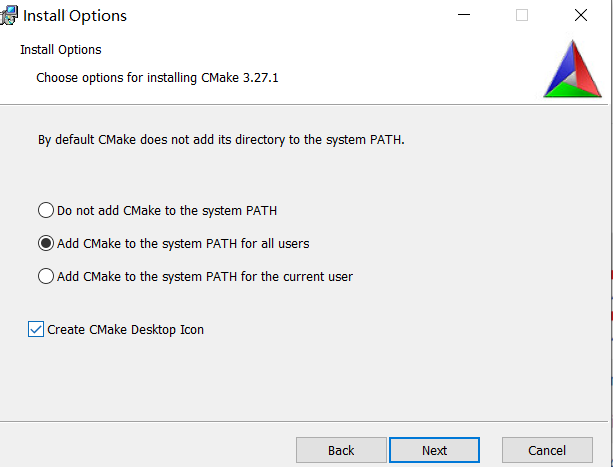
Run the installation file, and you need to check Add environment variables in the middle.
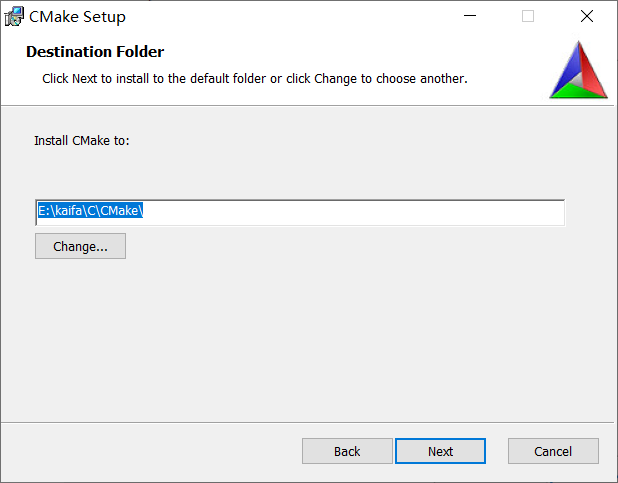
Change installation path
3.ckame compile OpenCV
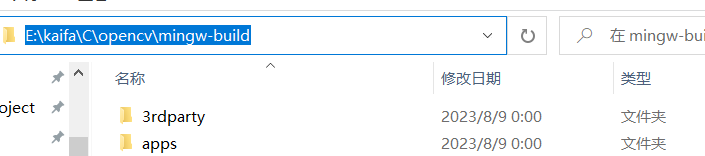
- Create a new mingw-build folder in the OpenCV source code path
- Copy the opencv_videoio_ffmpeg470_64.dll file in the build/bin directory to the sources/3rdparty/ffmpeg directory
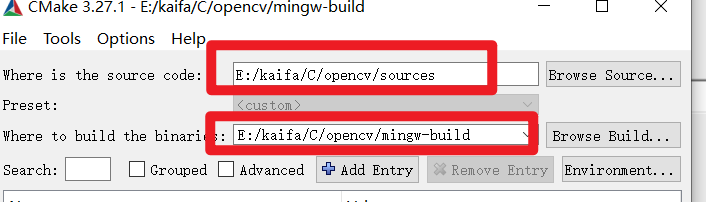
- Check in cmake, as shown in the figure below, select the file path
- Click configure, select Mingw Makefile in the pop-up window, the compiler default will be fine

- When the first compilation is completed, the content with a red background appears. Check the content shown in the picture below, and then continue to click configure.

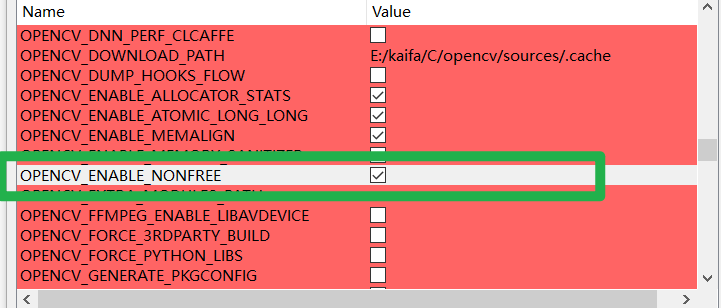

- Click configure multiple times until no more red appears.
An error may be reported during downloading.
FFMPEG: Download failed: 28;“Timeout was reached”
Solution:
Copy the download link and enter it into the browser to download
Open the .cache folder in the source folder of opencv
Copy the name of the file that was not downloaded successfully, and rename the file that was successfully downloaded on the webpage to the name you just copied.
Place the renamed files into each folder under the .cache folder, and replace the original files [How to confirm the location of the files: There is a corresponding folder name in the download link]
Click configure again
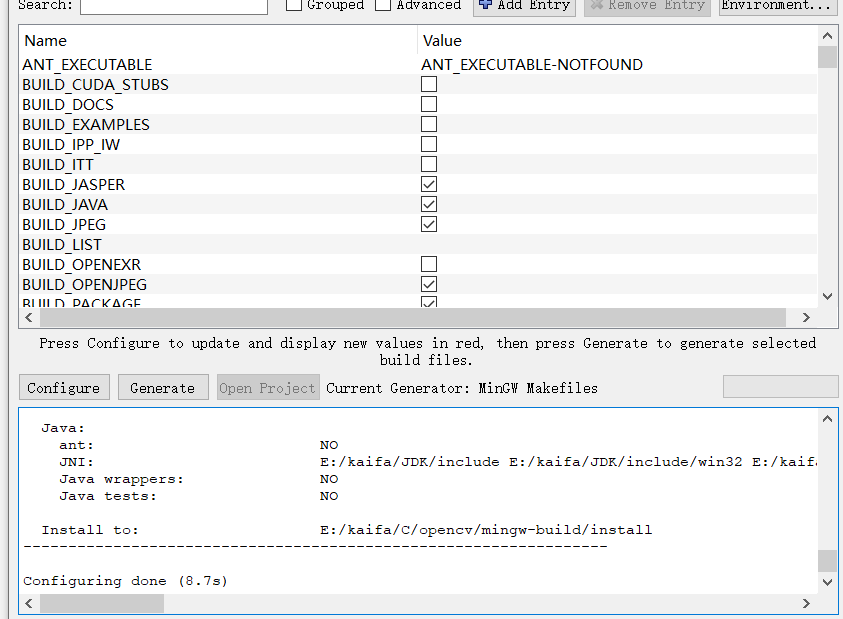
- Click generator

4. Install compiled files
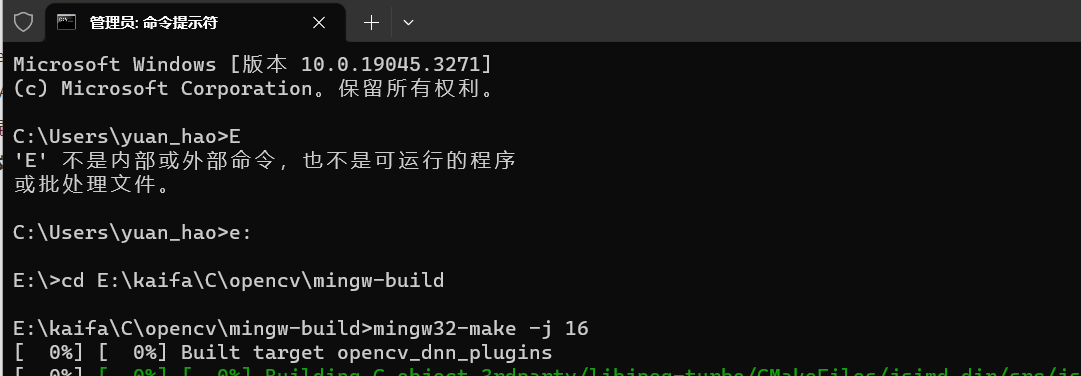
- Enter the mingw-build folder
- Enter cmd on the path and press Enter (it is recommended to run directly as an administrator, running in normal mode may cause some errors)
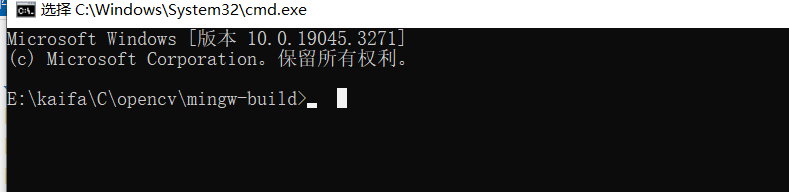
- enter
mingw32-make -j 16
Error resolution:
- If it appears
error: 'recursive_mutex' in namespace 'std' does not name a type, re-download the posix version of mingw64, and then recompile the OpenCV source code in cmake- If
undefined reference to _Unwind_Resume'something like this occurs, run cmd as administrator and recompile.
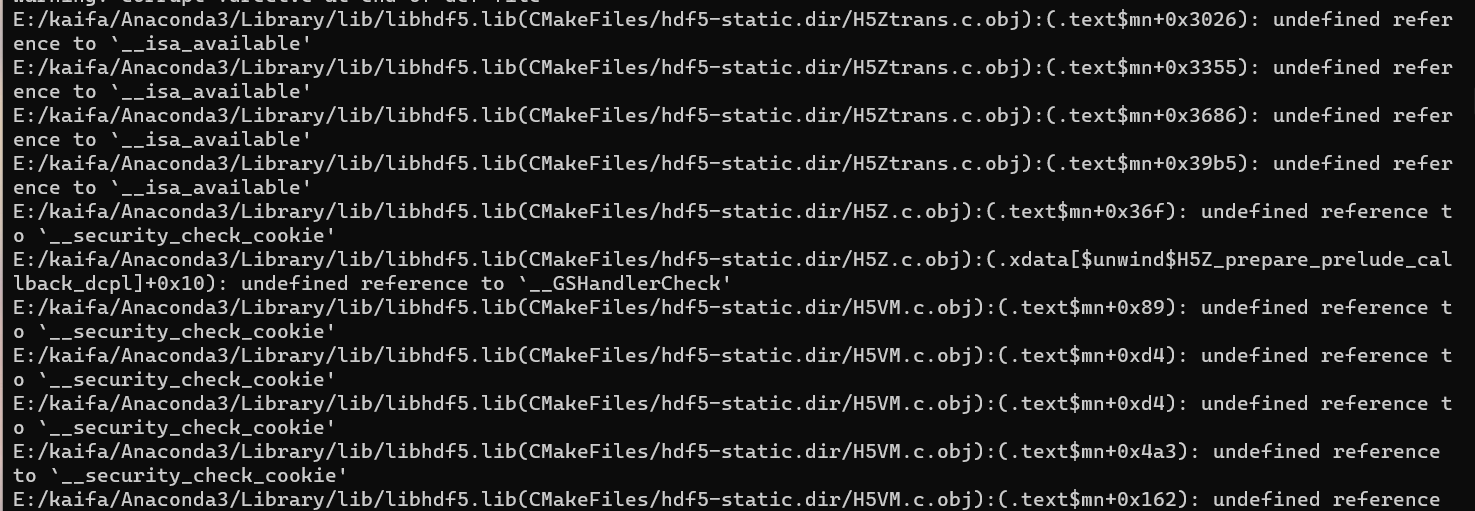
- If an error like this occurs
Anaconda3-/hdf5, do not use the Python environment of Anaconda3 and replace it with other Python environments or do not use the Python environment directly (directly delete the Python configuration of Anaconda in the path environment change, replace it with other Python or do not configure Python), and use cmake again. Compile and then run in cmd
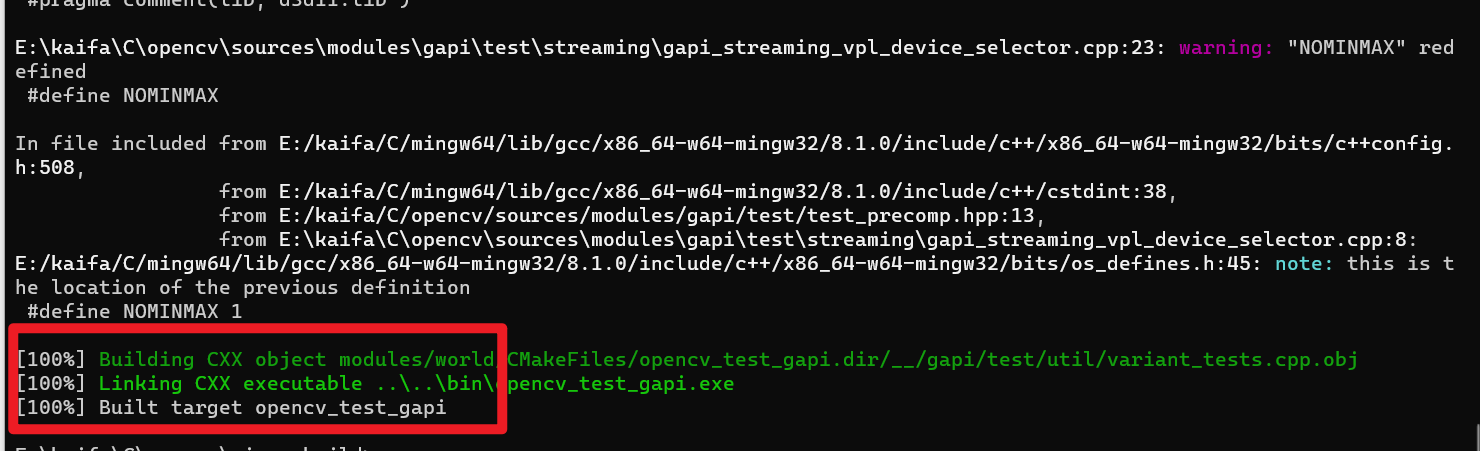
- enter
mingw32-make install
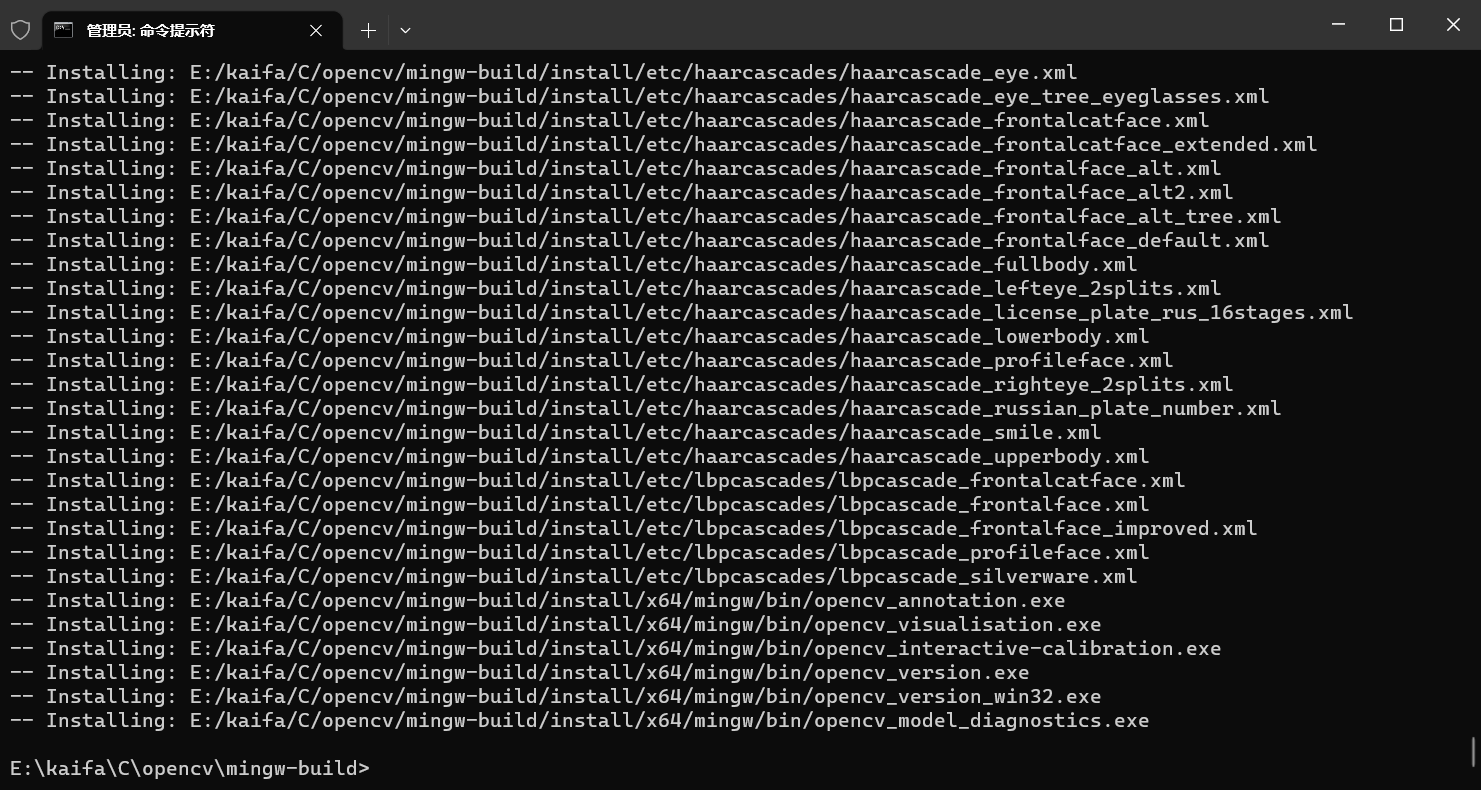
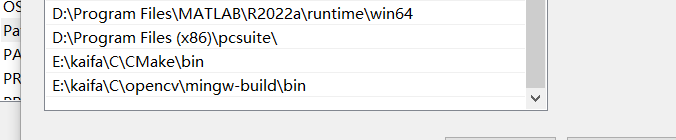
- Add environment variables and add the mingw-build\bin directory to the system environment variables
5.Clion configuration and use
- Create a new project
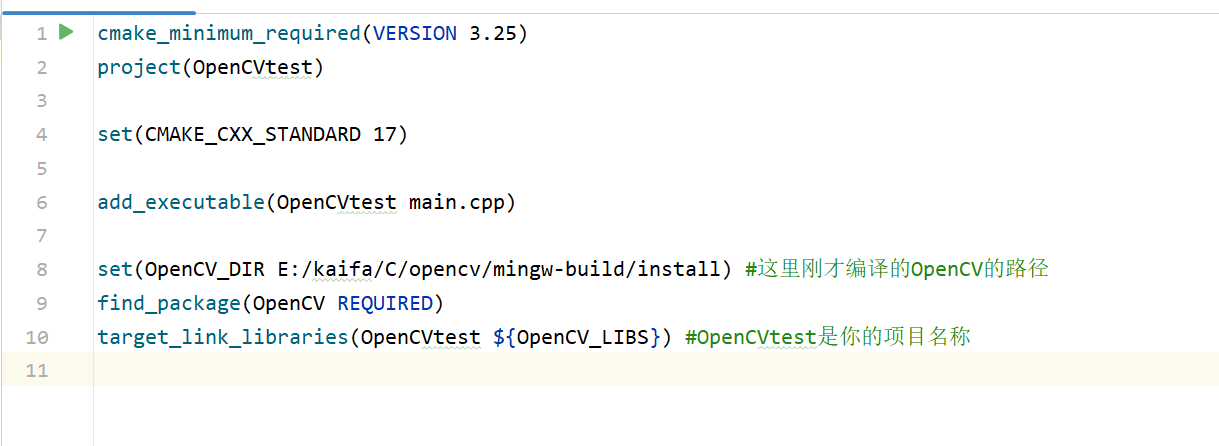
- Copy the following content
CMakeLists.txtinto
set(OpenCV_DIR E:/kaifa/C/opencv/mingw-build/install) #这里刚才编译的OpenCV的路径
find_package(OpenCV REQUIRED)
target_link_libraries(OpenCVtest ${OpenCV_LIBS}) #OpenCVtest是你的项目名称
- Run the main.cpp file
#include "iostream"
#include<opencv2/opencv.hpp>

using namespace std;
using namespace cv;

int main() {


    Mat img = imread("E:/C-Project/OpenCVtest/1.jpg");
    cout << img.type() << endl;
    if (img.empty()) {


        cout << "Error" << endl;
        return -1;
    }
    imshow("Lena", img);
    waitKey();
    return 0;

}
- A pop-up picture indicates that the environment configuration is successful.