Table of contents
1. Interface requirements analysis
2.2 Set the background of the window
3.2 "If you don't have an account, register now" button design
4.1 QstackWidget adds multiple pages
4.2 Implement conversion between login page and registration page
4.3 Implement the conversion between the login page and the settings page
Image files and source code links
1. Interface requirements analysis
Open the program and the interface displayed is as follows:
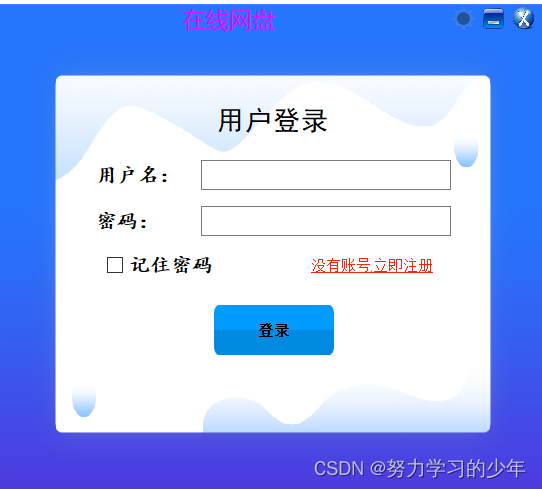
Login interface: Click the "No account, register now" button in the lower right corner to switch to the registration interface.
Registration interface: Click the "Already have an account, return to login" button in the lower left corner to switch to the login interface

Login interface: Click the origin button in the upper right corner to switch to the server settings interface
Server setting interface: Click the "Return to login interface" button to switch to the login interface

2. Design of main interface
The interface needs to select the QDialog window:

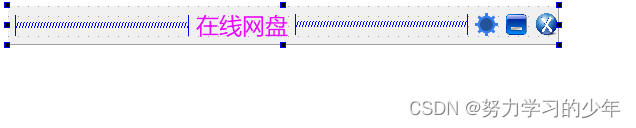
2.1 Customize the title bar
1. Create a new widget file in the project. The steps are as follows:

2. Design a custom title bar in the new UI interface
step:
1. Click on the window and set the width in the property sheet.

2. Drag and drop the control onto the window, lay it out horizontally, and delete the text of the button


3. Enter the style sheet of each button and set the image into the image;

4.Finally form a custom title box

5. Set the title box into the main interface

Set the class name of the customized title bar.

Select the corresponding category and finally click Boost.
Click to run the code and find that the original title bar still exists

Therefore, you need to add the code to remove the title bar in the constructor:
this->setWindowFlags(Qt::FramelessWindowHint | windowFlags()); 
2.2 Set the background of the window
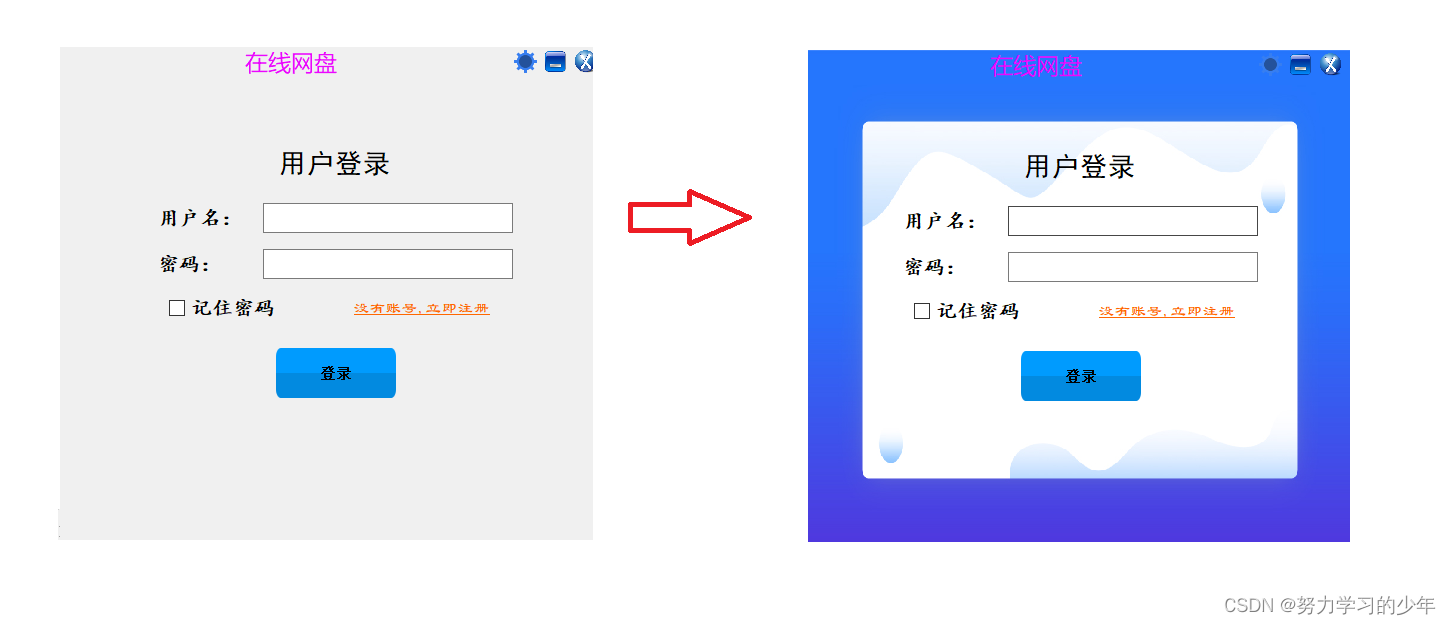 How to set a background color for a window
1. Overload the PaintEvent function, because PaintEvent will be triggered when the window is displayed.
2. Use QPainter to draw the corresponding picture on the window
void Dialog::paintEvent(QPaintEvent*)
{
    QPainter* painter=new QPainter(this);
    QPixmap pixmap;
    pixmap.load(":/res/login_bk.jpg");
    painter->drawPixmap(0,0,this->width(),this->height(),pixmap);
}
3. Design of login interface

3.1 Design of login button

The initial login button transforms into the situation above:
1. At the button, right-click the mouse to enter the change style sheet:

2. Select border-image in Add Resources , and then select the corresponding image resource:

3. Click the button's properties and set the minimum width and height of the button:

3.2 "If you don't have an account, register now" button design
Initial state: The button is also a Tool Button:

1. Click the button, enter the properties box in the right box, and find the autoRaise property:

2. Enter the button's style sheet and change the font color and shape


4 QstackWidget interface
4.1 QstackWidget adds multiple pages
The QStackWidget in the middle of the window can store multiple pages, including the login interface, registration interface, and server settings interface.

So how to add multiple pages to QstackWidget:

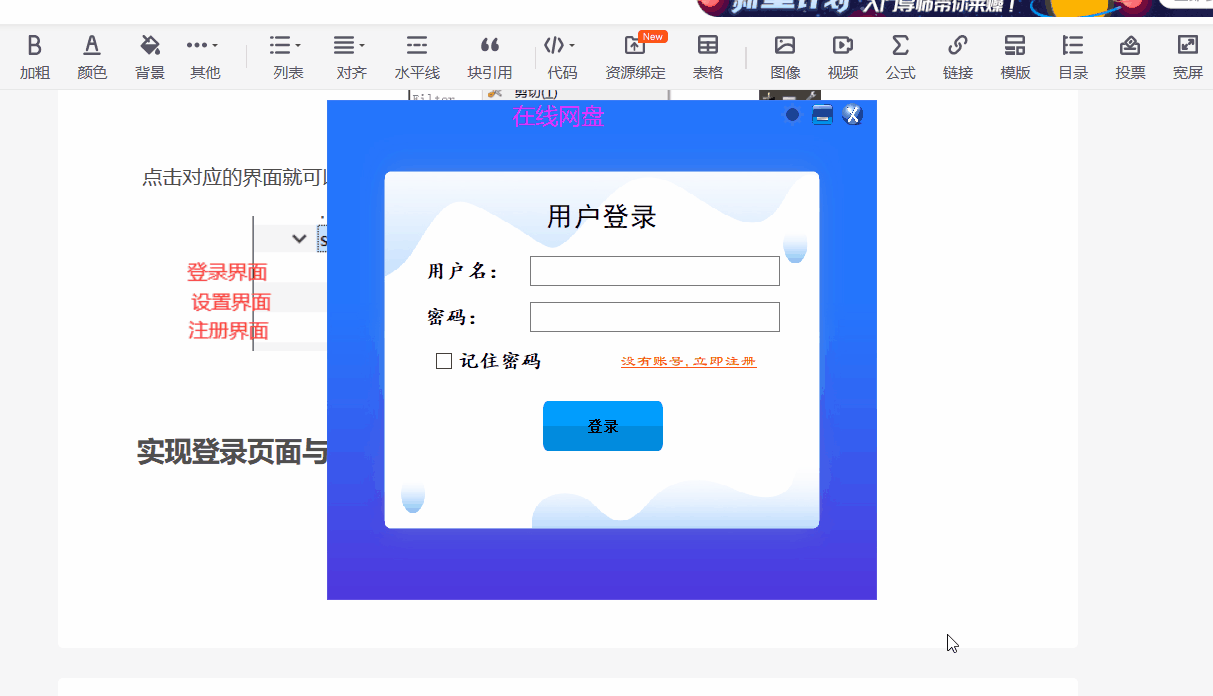
Click on the corresponding interface to perform the conversion.
4.2 Implement conversion between login page and registration page
The login interface, registration interface, and setting interface are all in stackedWidget.

We can set a signal and slot for the "No account, register now" button. When we click the button, the slot function will be triggered to call the setCurrentWidget function in stackedWidget to display the registration page.
The same principle applies when the registration interface is converted to the login interface.
void Dialog::on_register_toolButton_clicked()
{
    //显示注册页
    //setCurrentWidget设置当前页面
    ui->stackedWidget->setCurrentWidget(ui->register_page);
}
4.3 Implement the conversion between the login page and the settings page

Since the setting button is on the titleWidget window and is not the same window as the stackWidget , the stackWidget cannot switch windows directly.
So when the setting button is clicked, the titleWidget will send out a switchSetting signal , and the Dialog will receive this signal and call the corresponding slot function to switch the window.

Implementation steps:
//titleWidget.cpp函数

//点击按钮将switchSettingPage信号发送出去
void titleWidget::on_set_but_clicked()
{
    emit switchSettingPage();
}

//将titleWidget::switchSettingPage与Dialog::switchSettingPage关联起来
connect(ui->widget,&titleWidget::switchSettingPage,
          this,&Dialog::switchSettingPage);


//Dialog::switchSettingPage槽函数的实现
 void Dialog::switchSettingPage()
 {
     //切换到设置页
     ui->stackedWidget->setCurrentWidget(ui->set_page);
 }