Table of contents
Five, vscode integrated npm development vue project
1. Plug-ins required for vscode installation:
2. Build a small vue page (getting started with vue)
3. A general understanding of Vue design ideas
【1】If the component is newly created, how to use the component?
Solve the error: Component name "Hello" should always be multi-word
[2] How to reuse components? And how do components pass values?
5. element-ui: provide common components
Solve the error: Could not resolve dependency:npm ERR! peer vue@"^2.5.17" from [email protected]
tips: How to run the project code downloaded from the Internet?
Solve the error report: Vue introduces Element-ui error report
Five, vscode integrated npm development vue project
1. Plug-ins required for vscode installation:
- Vue development tool Vetur: a must-install for developing with vue, officially recommended, function: highlight
.vuefiles, with formatting function, and cooperate with the Eslint plug-in to format and check the code. - Code specification monitoring ESLint:
- Function: Check your js, html, css codes to make sure they conform to the specifications, and the code style is consistent, mandatory rules, you will be strictly pointed out if you write one less space or hit one more carriage return, obsessive-compulsive disorder Gospel, students who use it for the first time may be crazy, but you will thank it after getting familiar with it.
- Use: In order for the plug-in to take effect, your project has to do some complicated configuration. Fortunately, the project generated by vue-cli can help us generate all the configurations. You don’t need to modify any rules, just use it directly. When using vue - When the cli generates the webpack project, it will ask you whether to enable eslint and which set of specifications to use, just select the Standard specification.
- Code formatting plugin Prettier - Code formatter


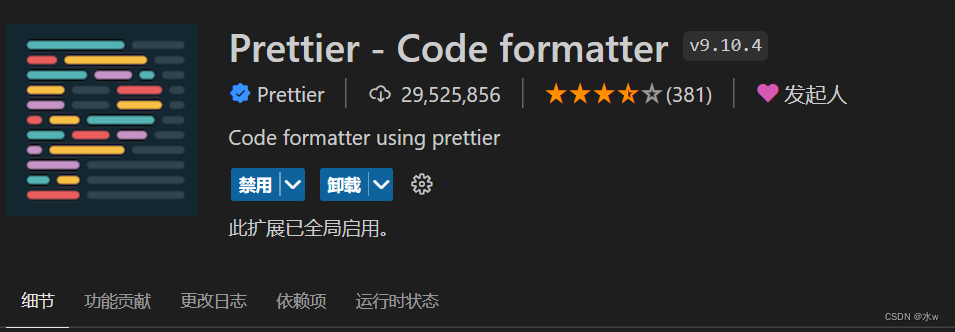
The above three plug-ins can automatically format the code when saving the file, and can detect irregularities in the code when running the project. The configurations for the above three plug-ins have been included in the source code, and you only need to code with peace of mind.
2. Build a small vue page (getting started with vue)
(1) Start vscode, click "open folder", and select the directory D:\my\vue-code\hello-vue where the vue project generated by webpack was packaged just now,
Of course, you can also control the startup of the vue project by entering commands in the Terminal console.
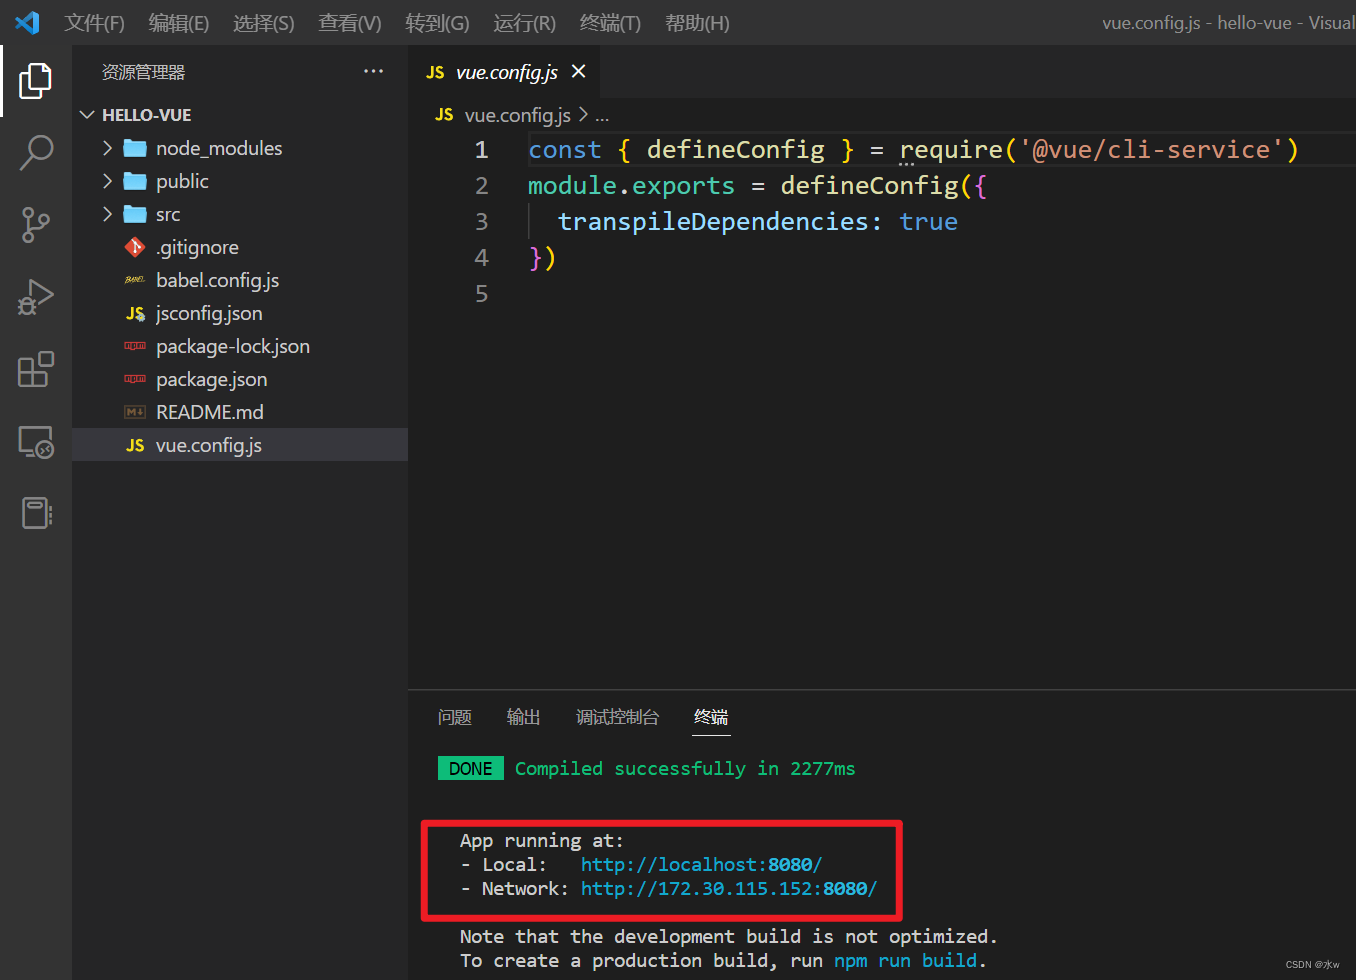
Vue.config.jsIt means that the files generated by the code generatorVue.config.jsare already configured and basically do not need to be adjusted.

(2) Put the terminal cd of vscode to hello-vue, and enter commands in the Terminal console to control the start of the vue project.
Enter the project directory [D:\my\vue-code\hello-vue] folder, after running the following command, start the project with the start command,
npm run serveA web server will be started locally. The advantage of this web server is that it can automatically refresh the page.
Ctrl+c: Close the web server
Copy any path and open it with a browser (the browser may not automatically pop up a page).
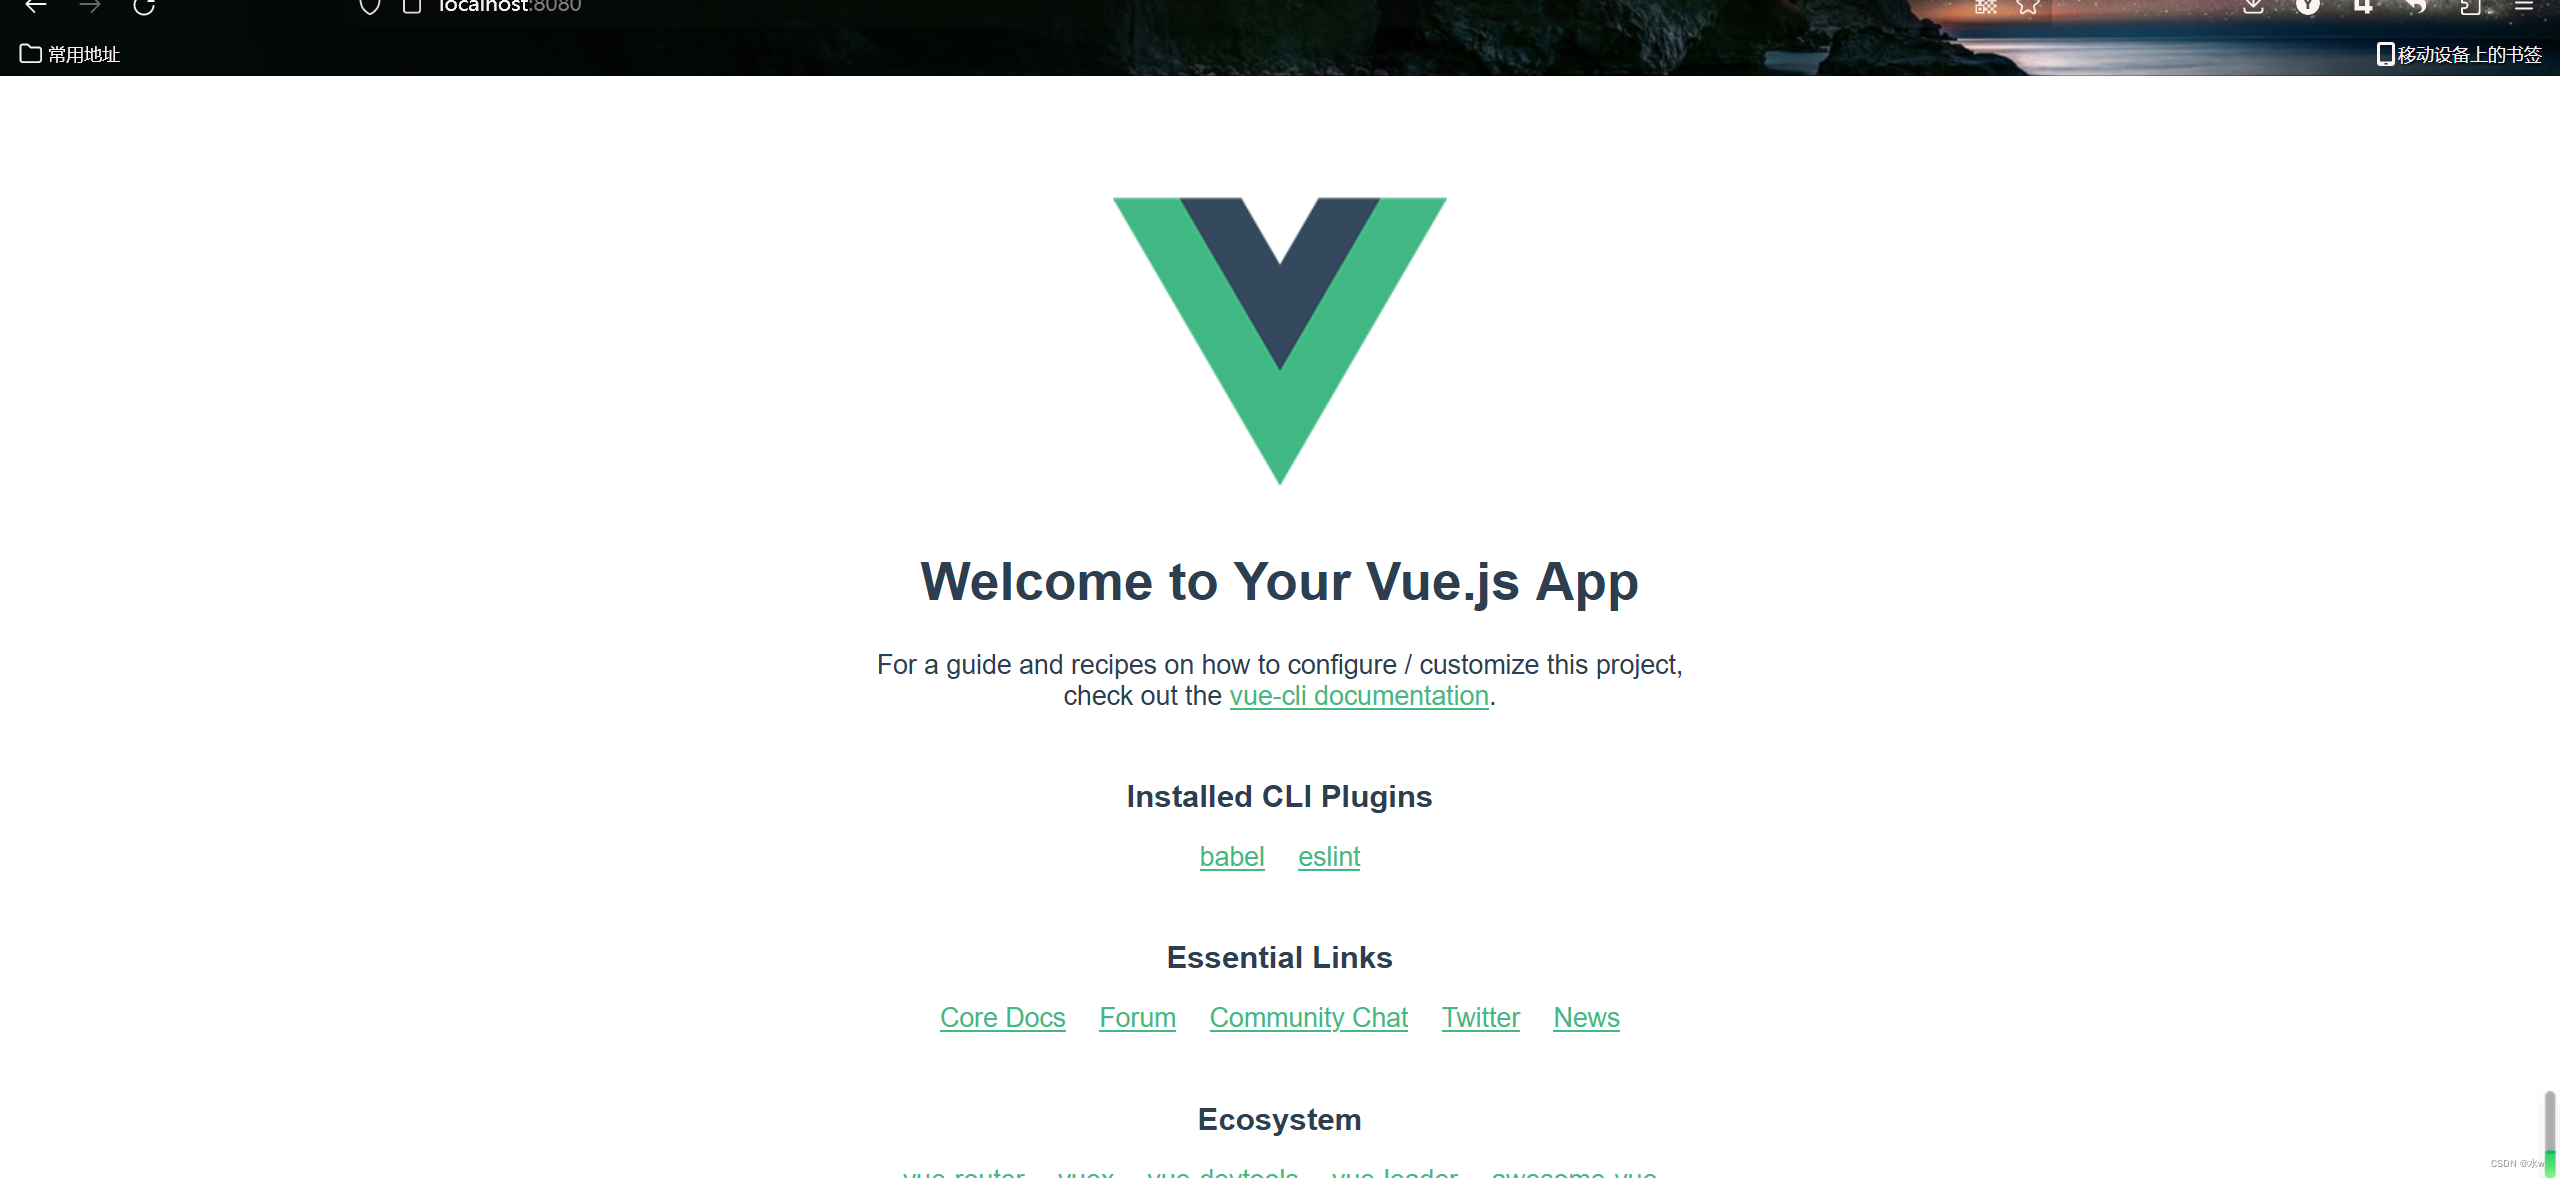
Open http://localhost:8080/ in the browser to access, the effect is as shown in the figure below:
3. A general understanding of Vue design ideas
For Vue, you need to understand the mode of adding and deleting pages in Vue, the jump mode of components and routes (that is, web page link URLs).
- First understand the design concept of vue. Componentization is one of the most successful aspects of vue. The feature of componentization breaks up an entire website into small parts one after another.
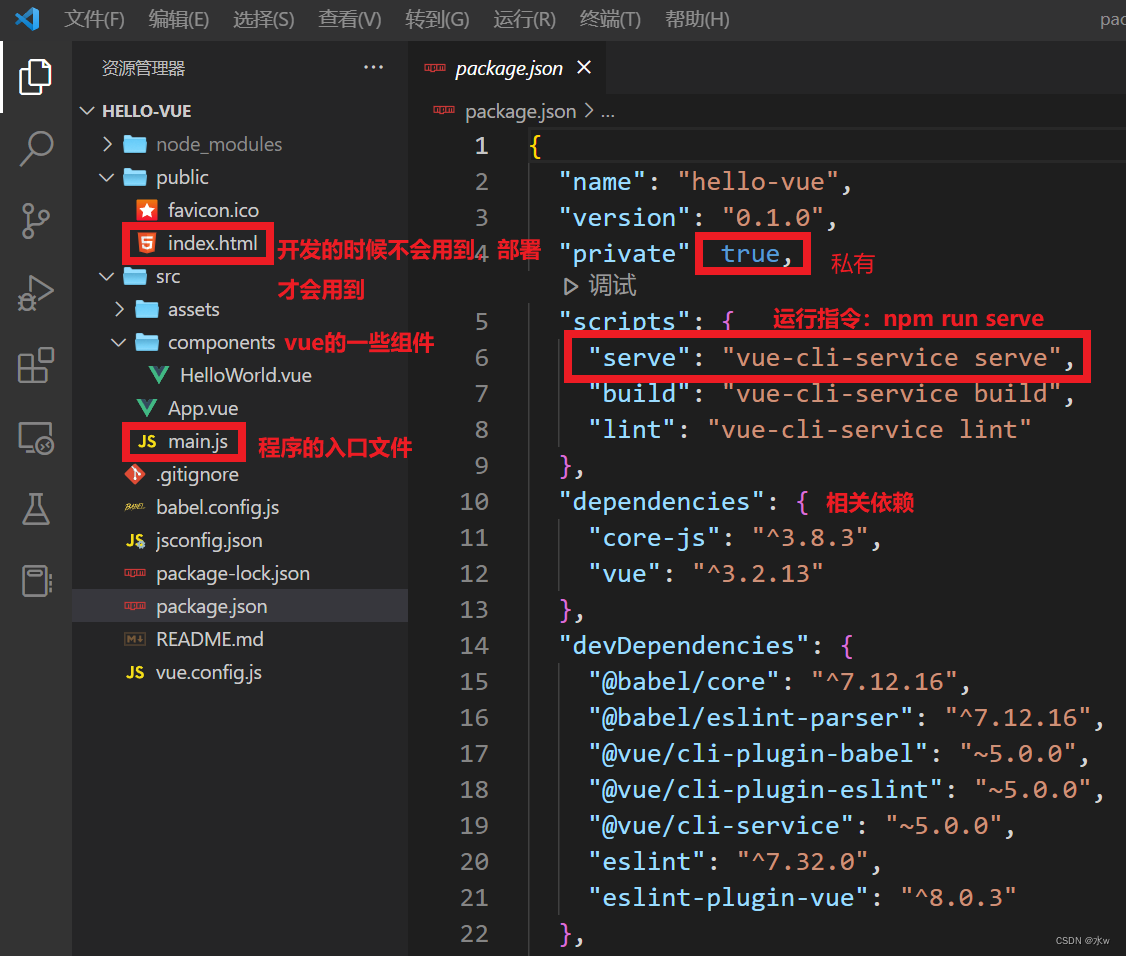
- For example: There are three files in the current project directory:
- index.html in the entire project directory;
- App.vue in the src directory;
- HelloWorld.vue under the components folder;
- It is important to understand the relationship between the three,
- Index: It is the outermost website framework. Some CSS can be defined in its head. Its body part is completely empty, and it only loads a vue module named app.
- App.vue : is nested in index.html,
The HelloWorld.vue component is used and displayed under the Logo, and the display is controlled by the router instead of directly inserting the component.
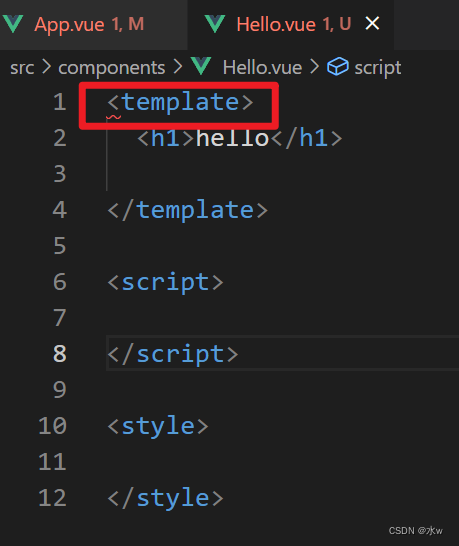
- Vue files are all in this mode, consisting of three parts:
- <template> above: the structure of the component;
- <img alt="Vue logo" src="./assets/logo.png">: A picture is inserted,
- <HelloWorld msg="Welcome to Your Vue.js App"/>: HelloWorld component.
- <script> in the middle: put the behavior code of the component, and define the data and functions used by this component;
- <style> behind: put the css style of the component;
4. Easy to use
【1】If the component is newly created, how to use the component?
(1) Analysis:
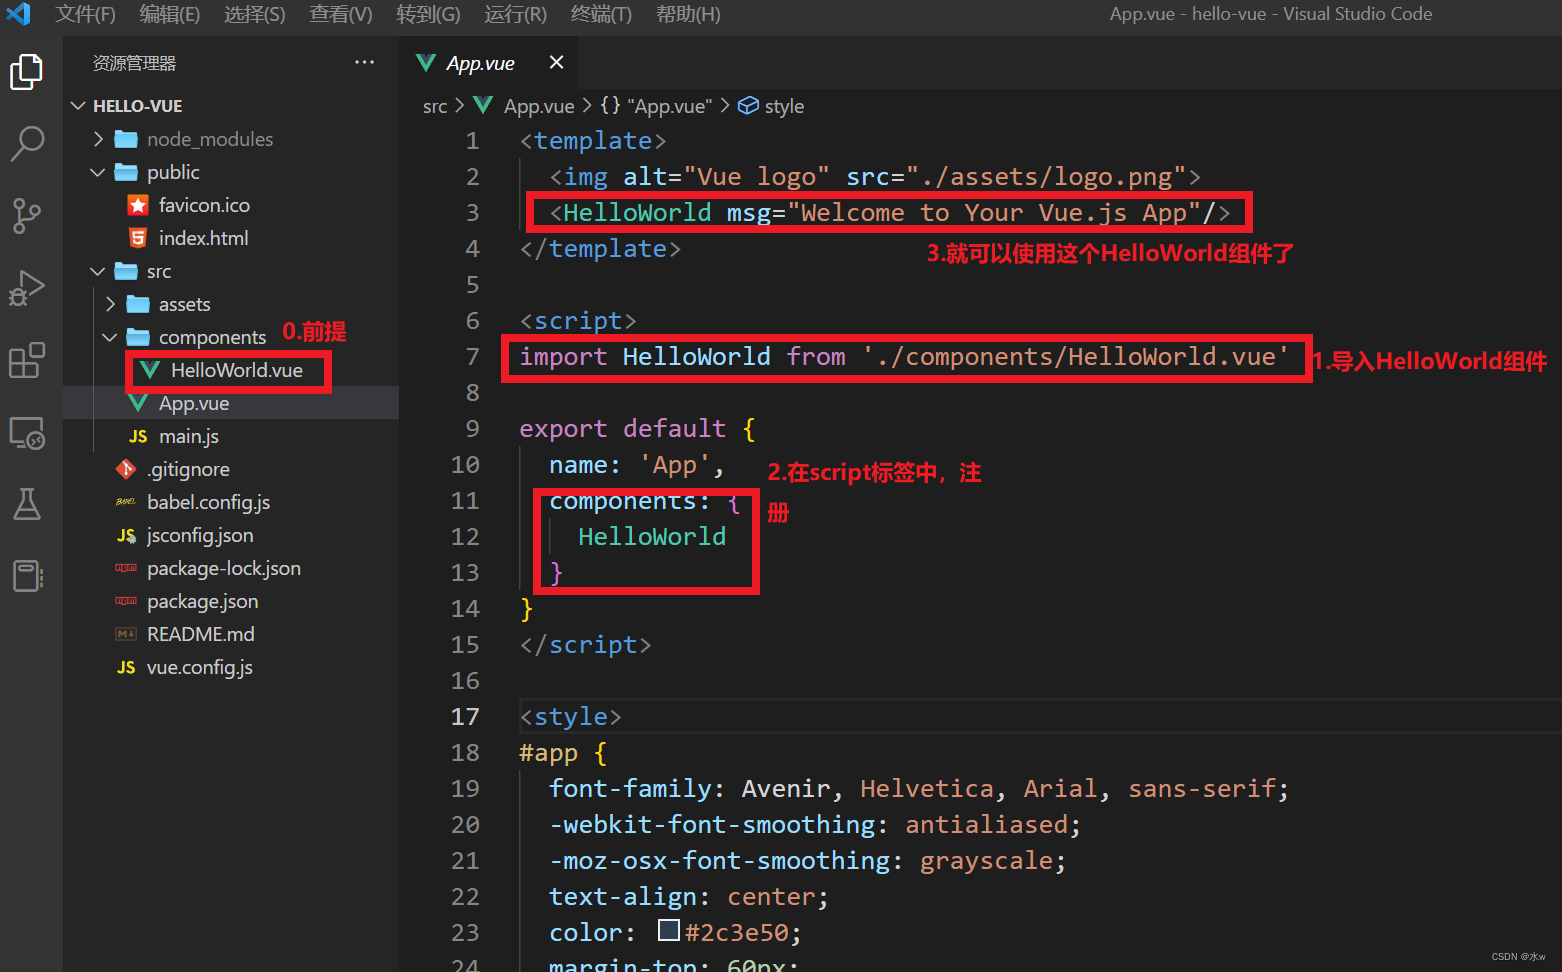
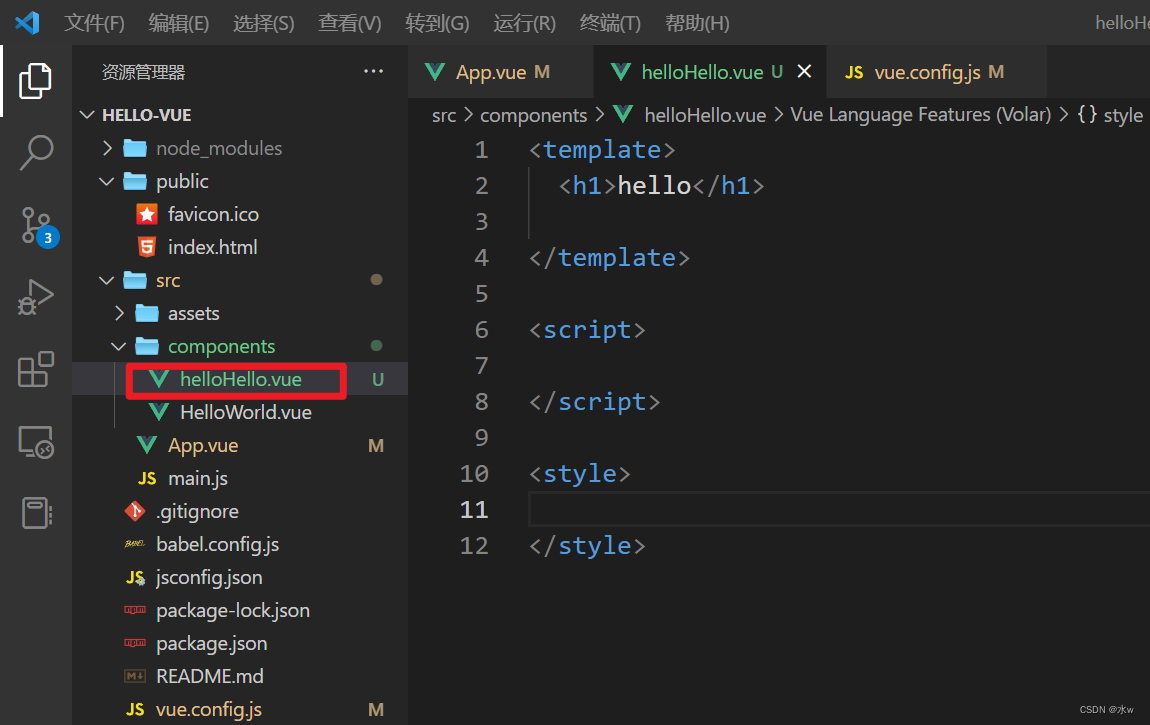
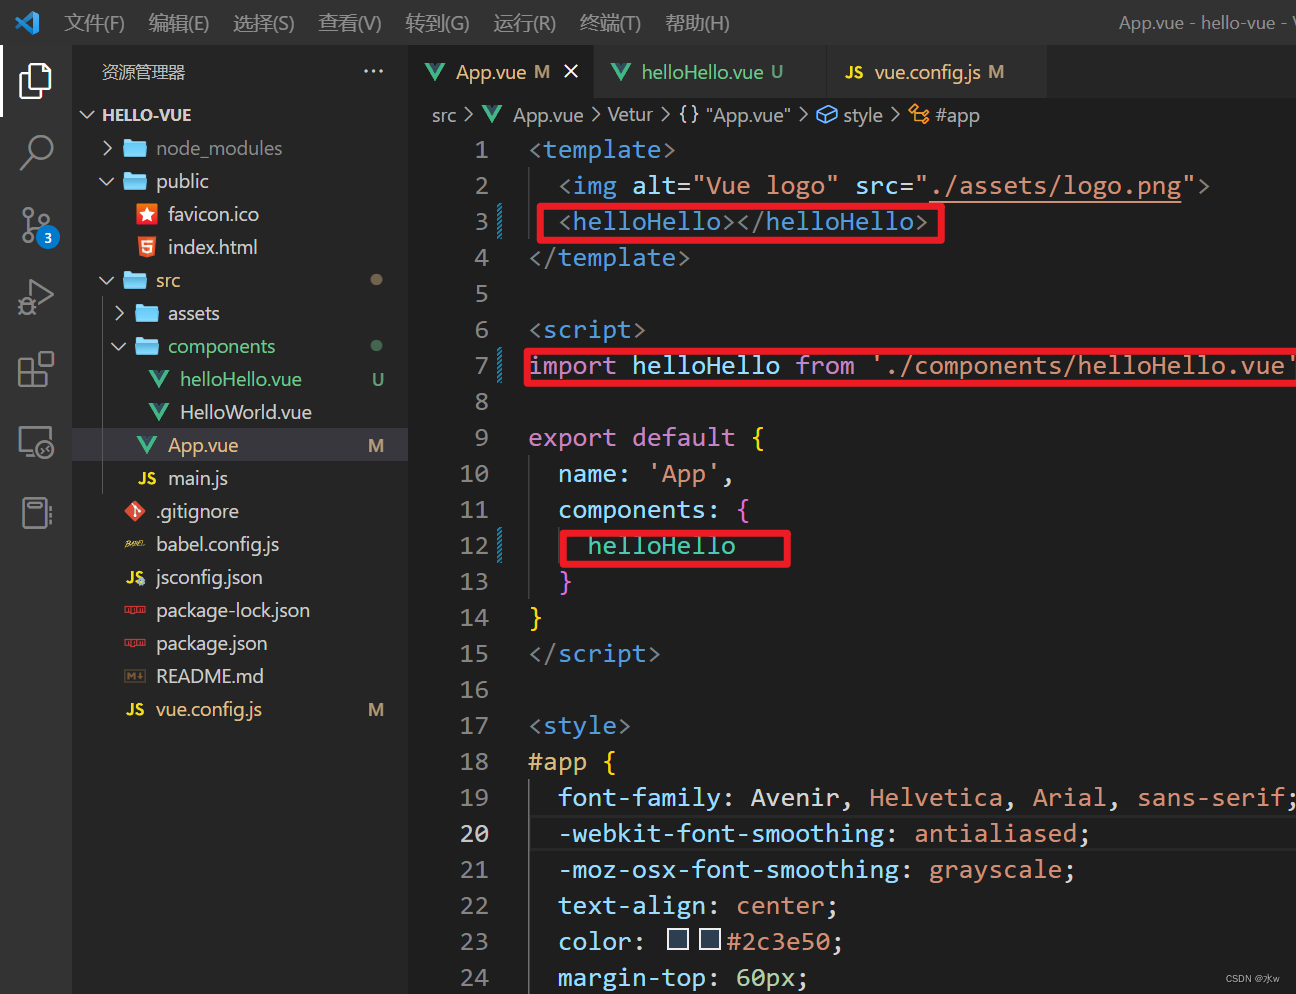
(2) Get started: Create a new component and modify App.vue for configuration,
Solve the error: Component name "Hello" should always be multi-word
Scenario reproduction : use vue-cli to create a Vue project, and report an error when creating a component.
Reason : The eslint -plugin-vue version was updated to @8. Compared with the previous version, a lot of rules have been added in the @8 version, which requires component names to be named in camel case.
Solution :
- Method 1: Follow the rules and change the component name to camel case, such as hello to helloHello
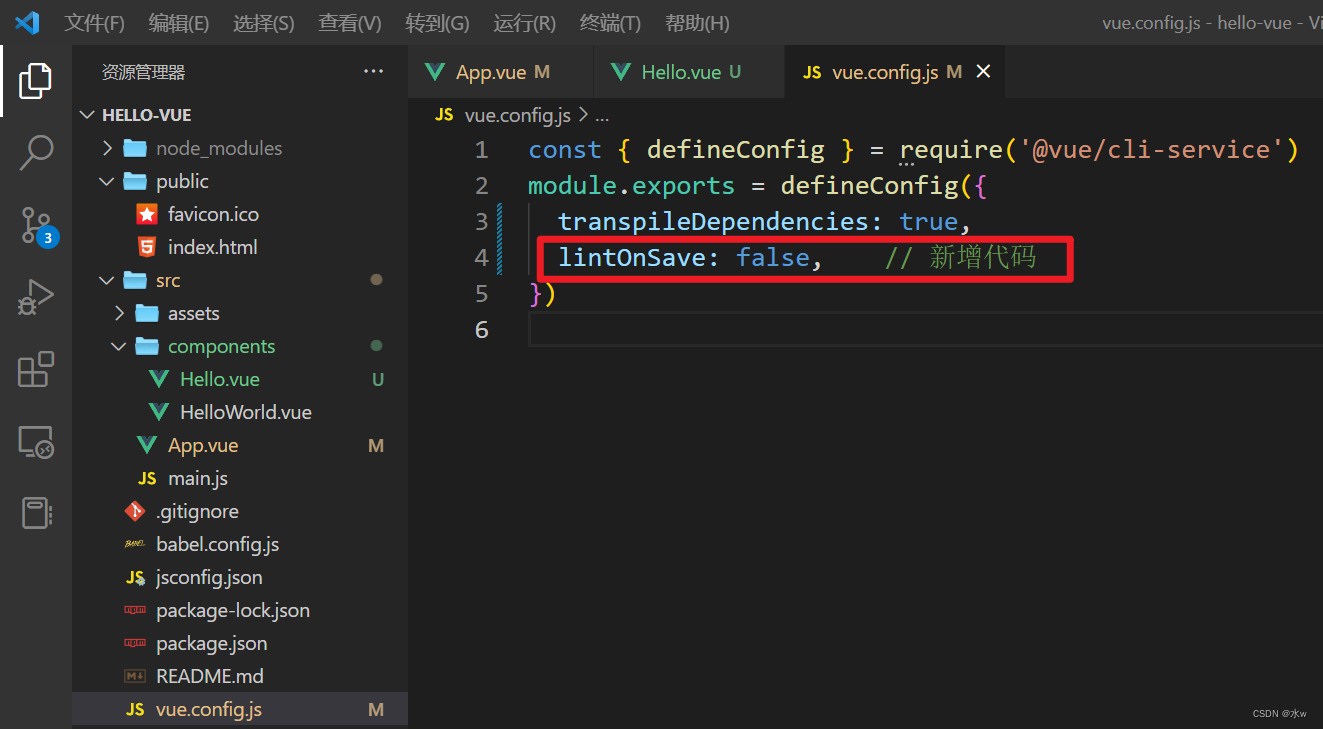
- Method 2: Turn off the rules and edit the
vue.config.js(1) Here we use the second method first,
const { defineConfig } = require('@vue/cli-service')
module.exports = defineConfig({
  transpileDependencies: true,
  lintOnSave: false,    // 新增代码
})
(2) Use the first method to rename,
Then, restart vscode, you will find that the component no longer reports an error.
ok, the problem is solved.
Then run the project, the terminal displays the following,
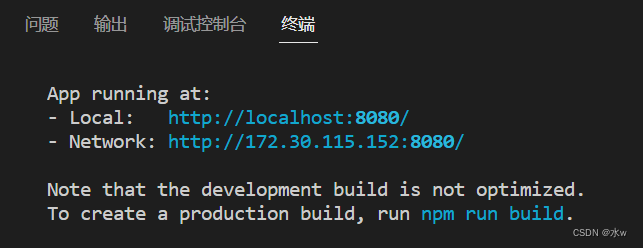
Copy any path and open it with a browser (the browser may not automatically pop up a page).
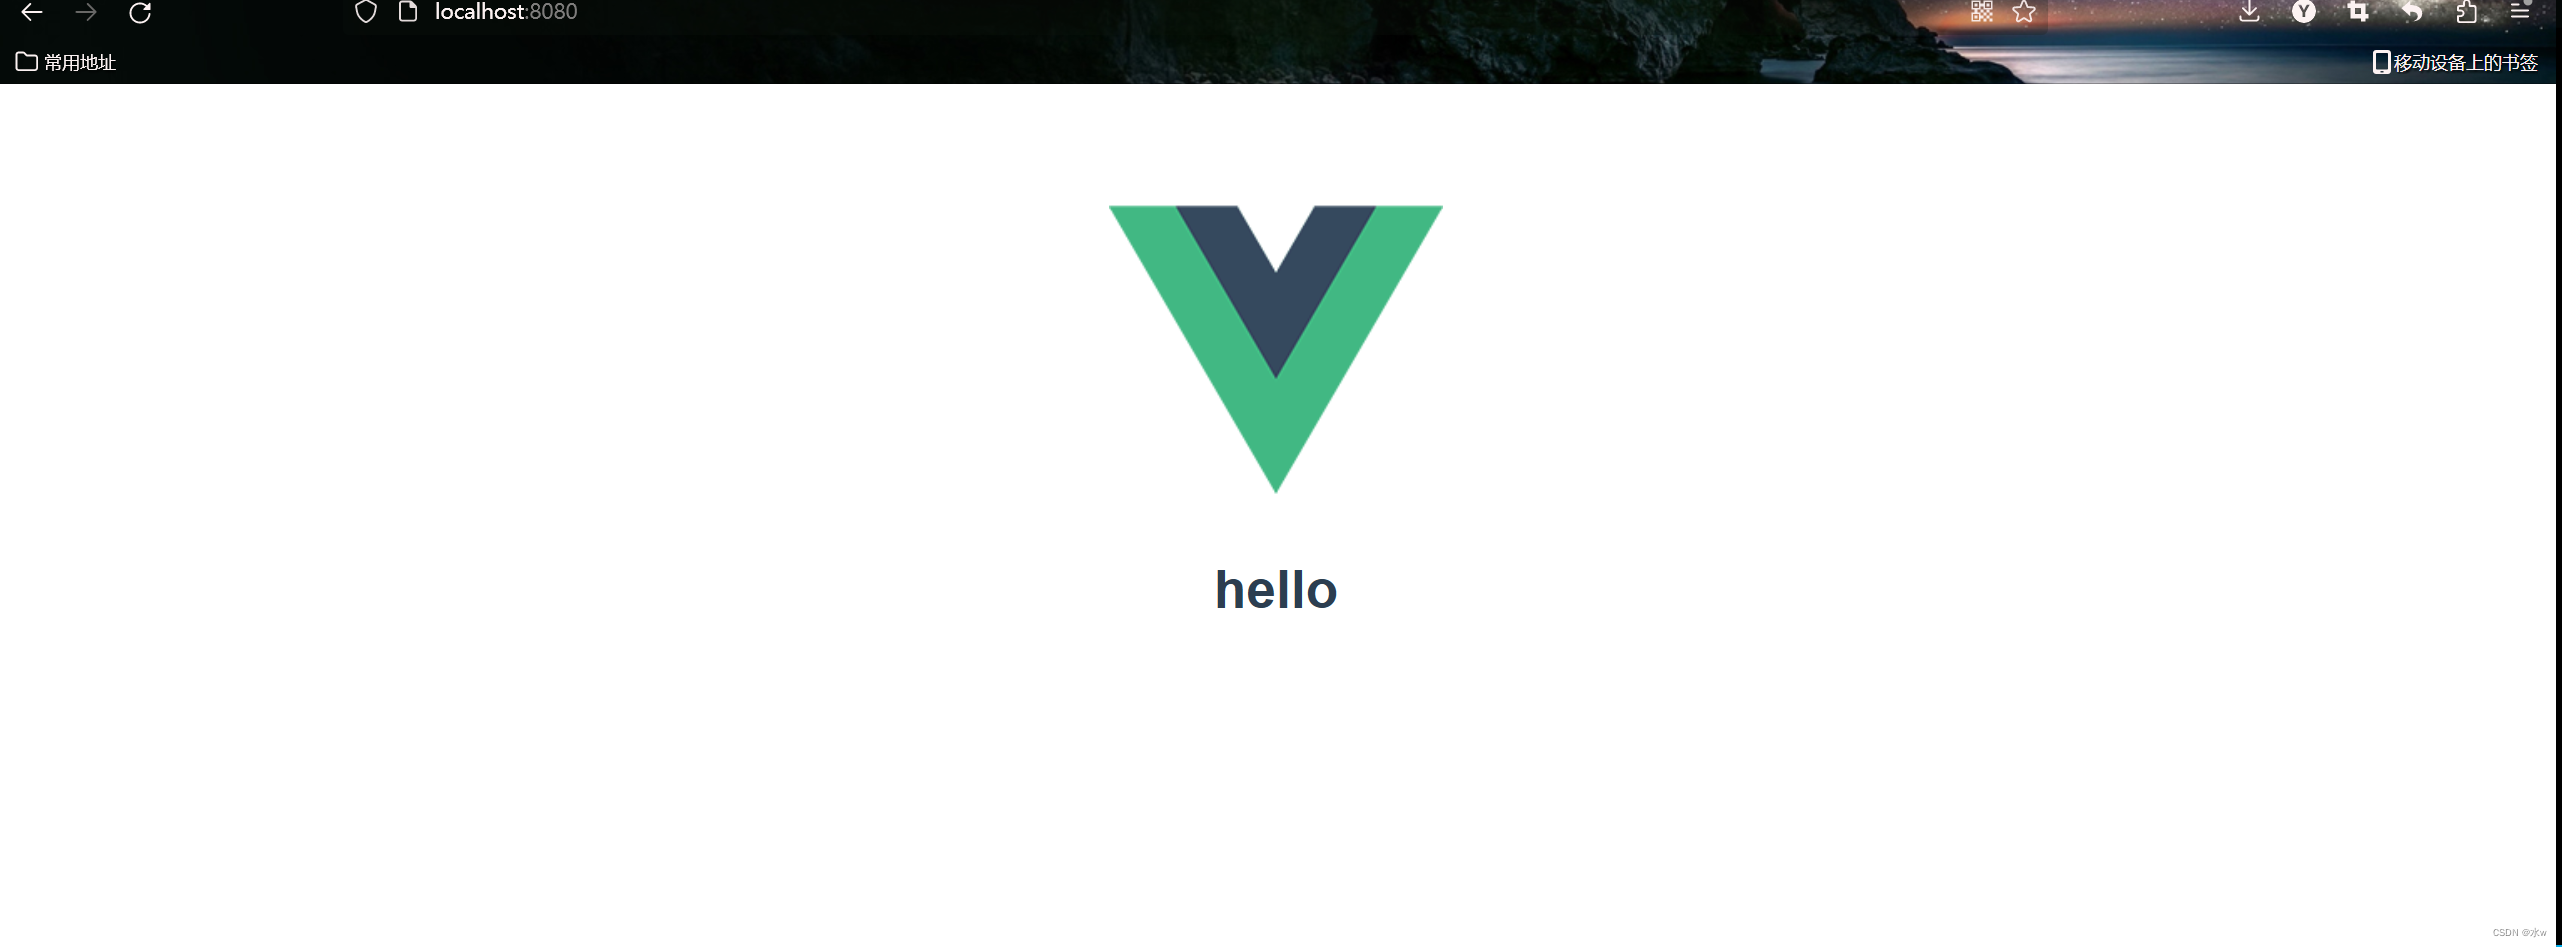
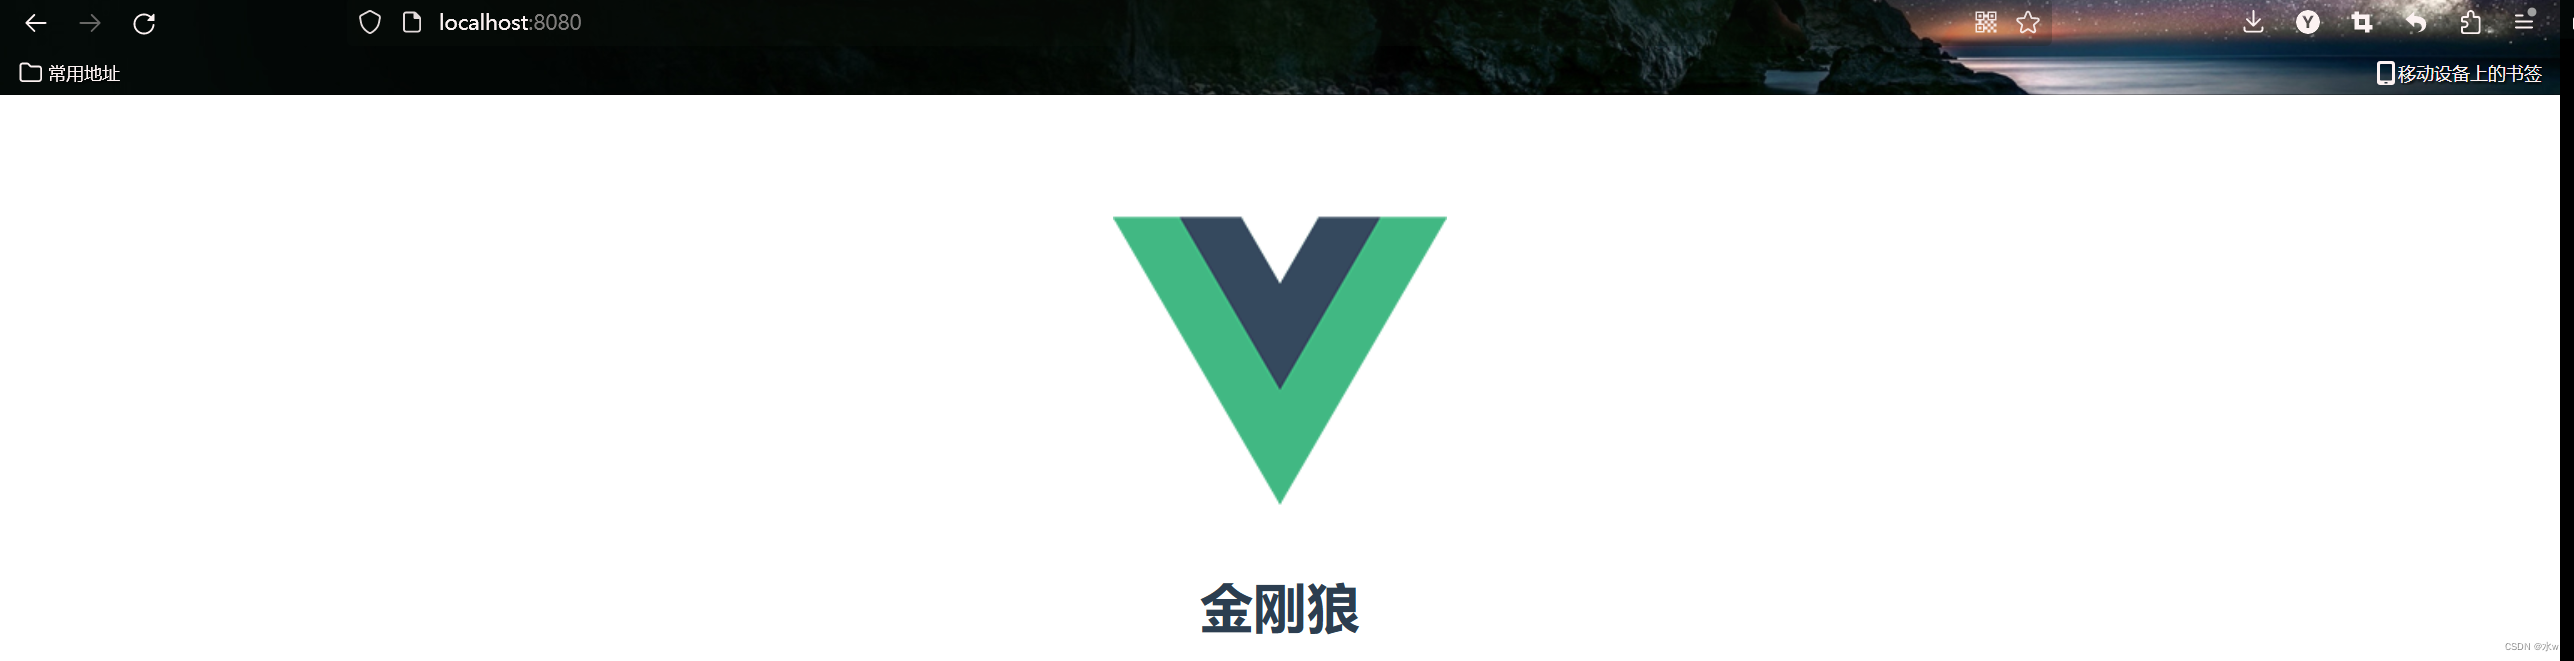
Open http://localhost:8080/ in the browser to access, the effect is as shown in the figure below:
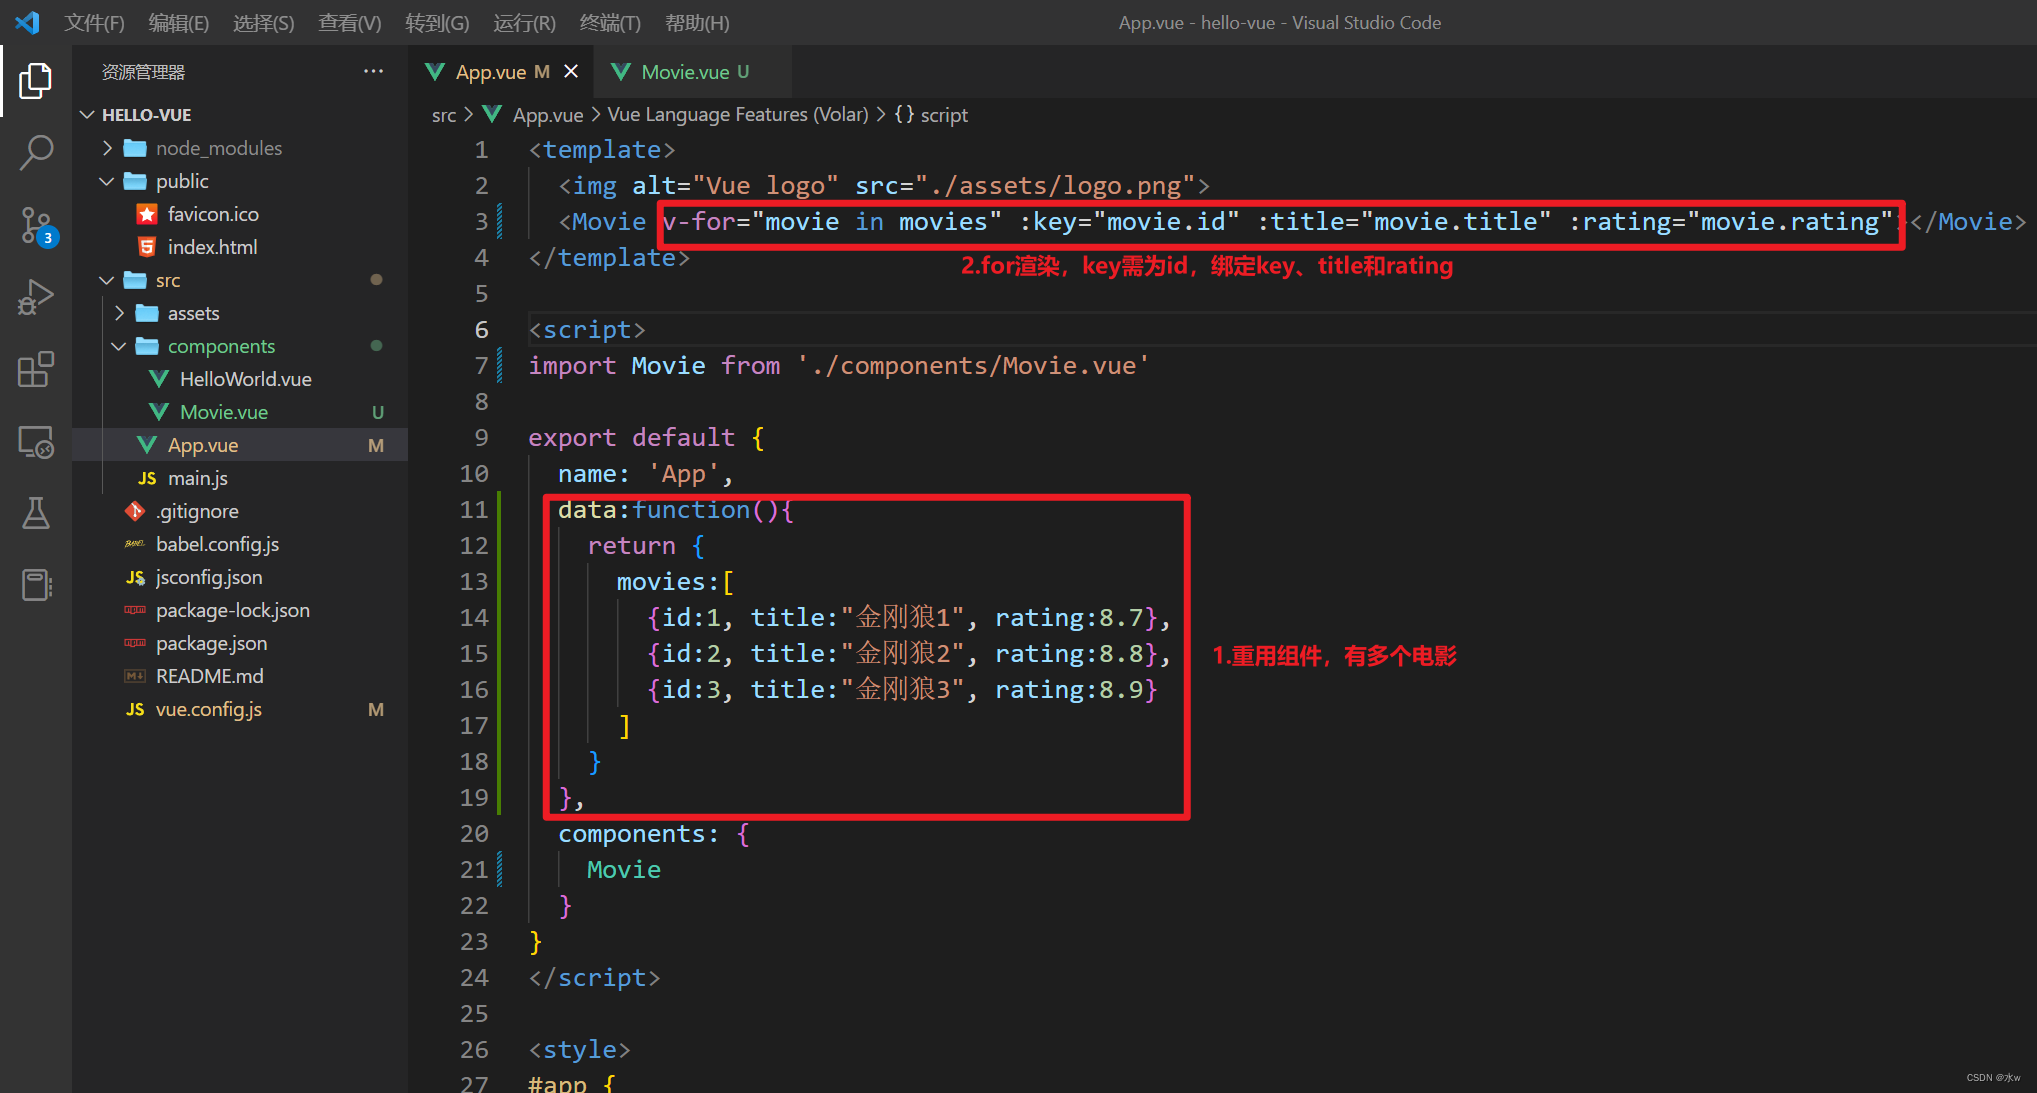
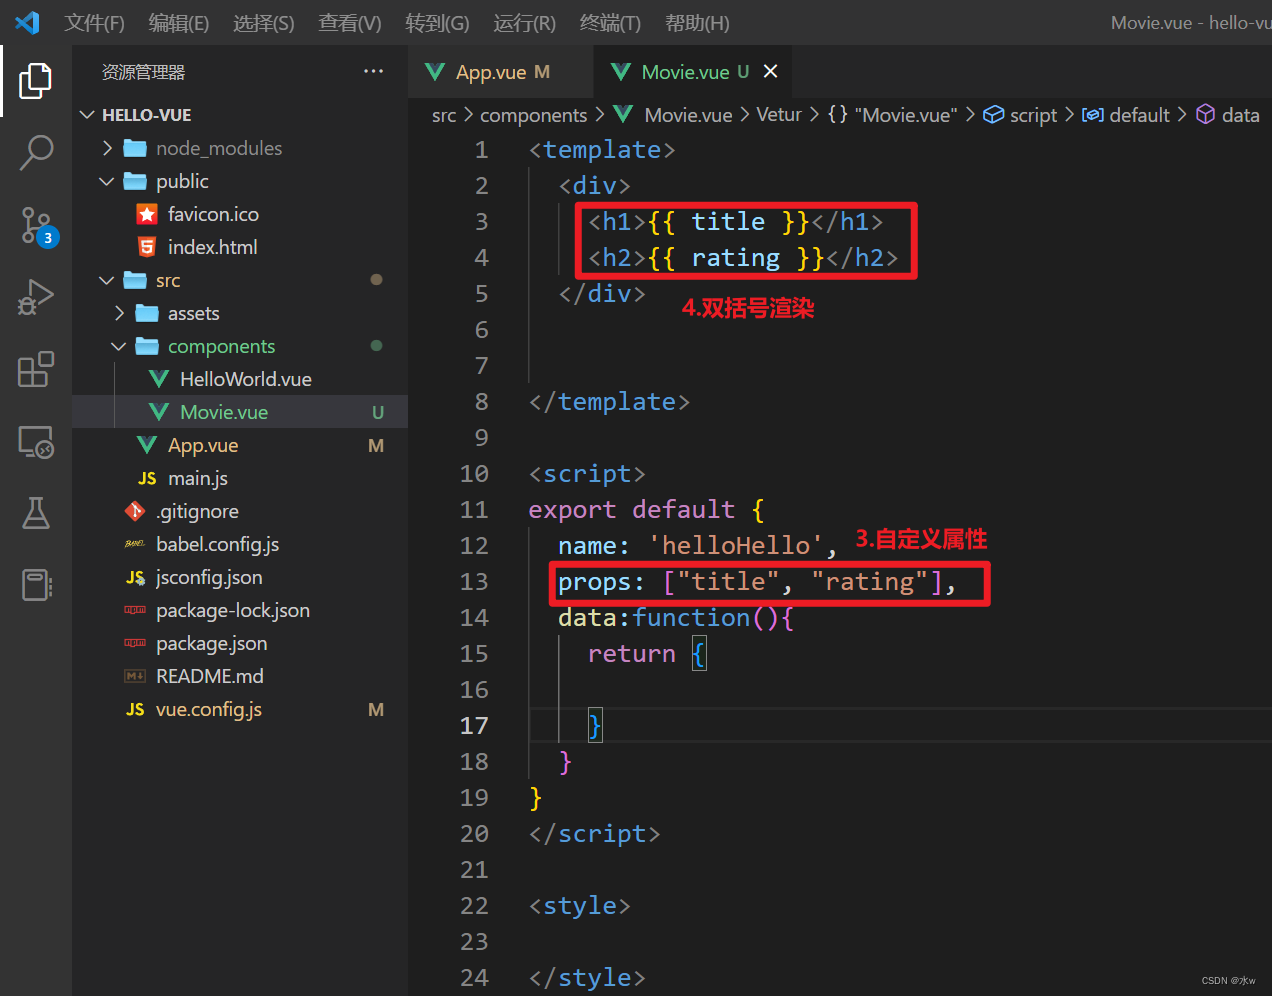
[2] How to reuse components? And how do components pass values?
(1) Analysis:


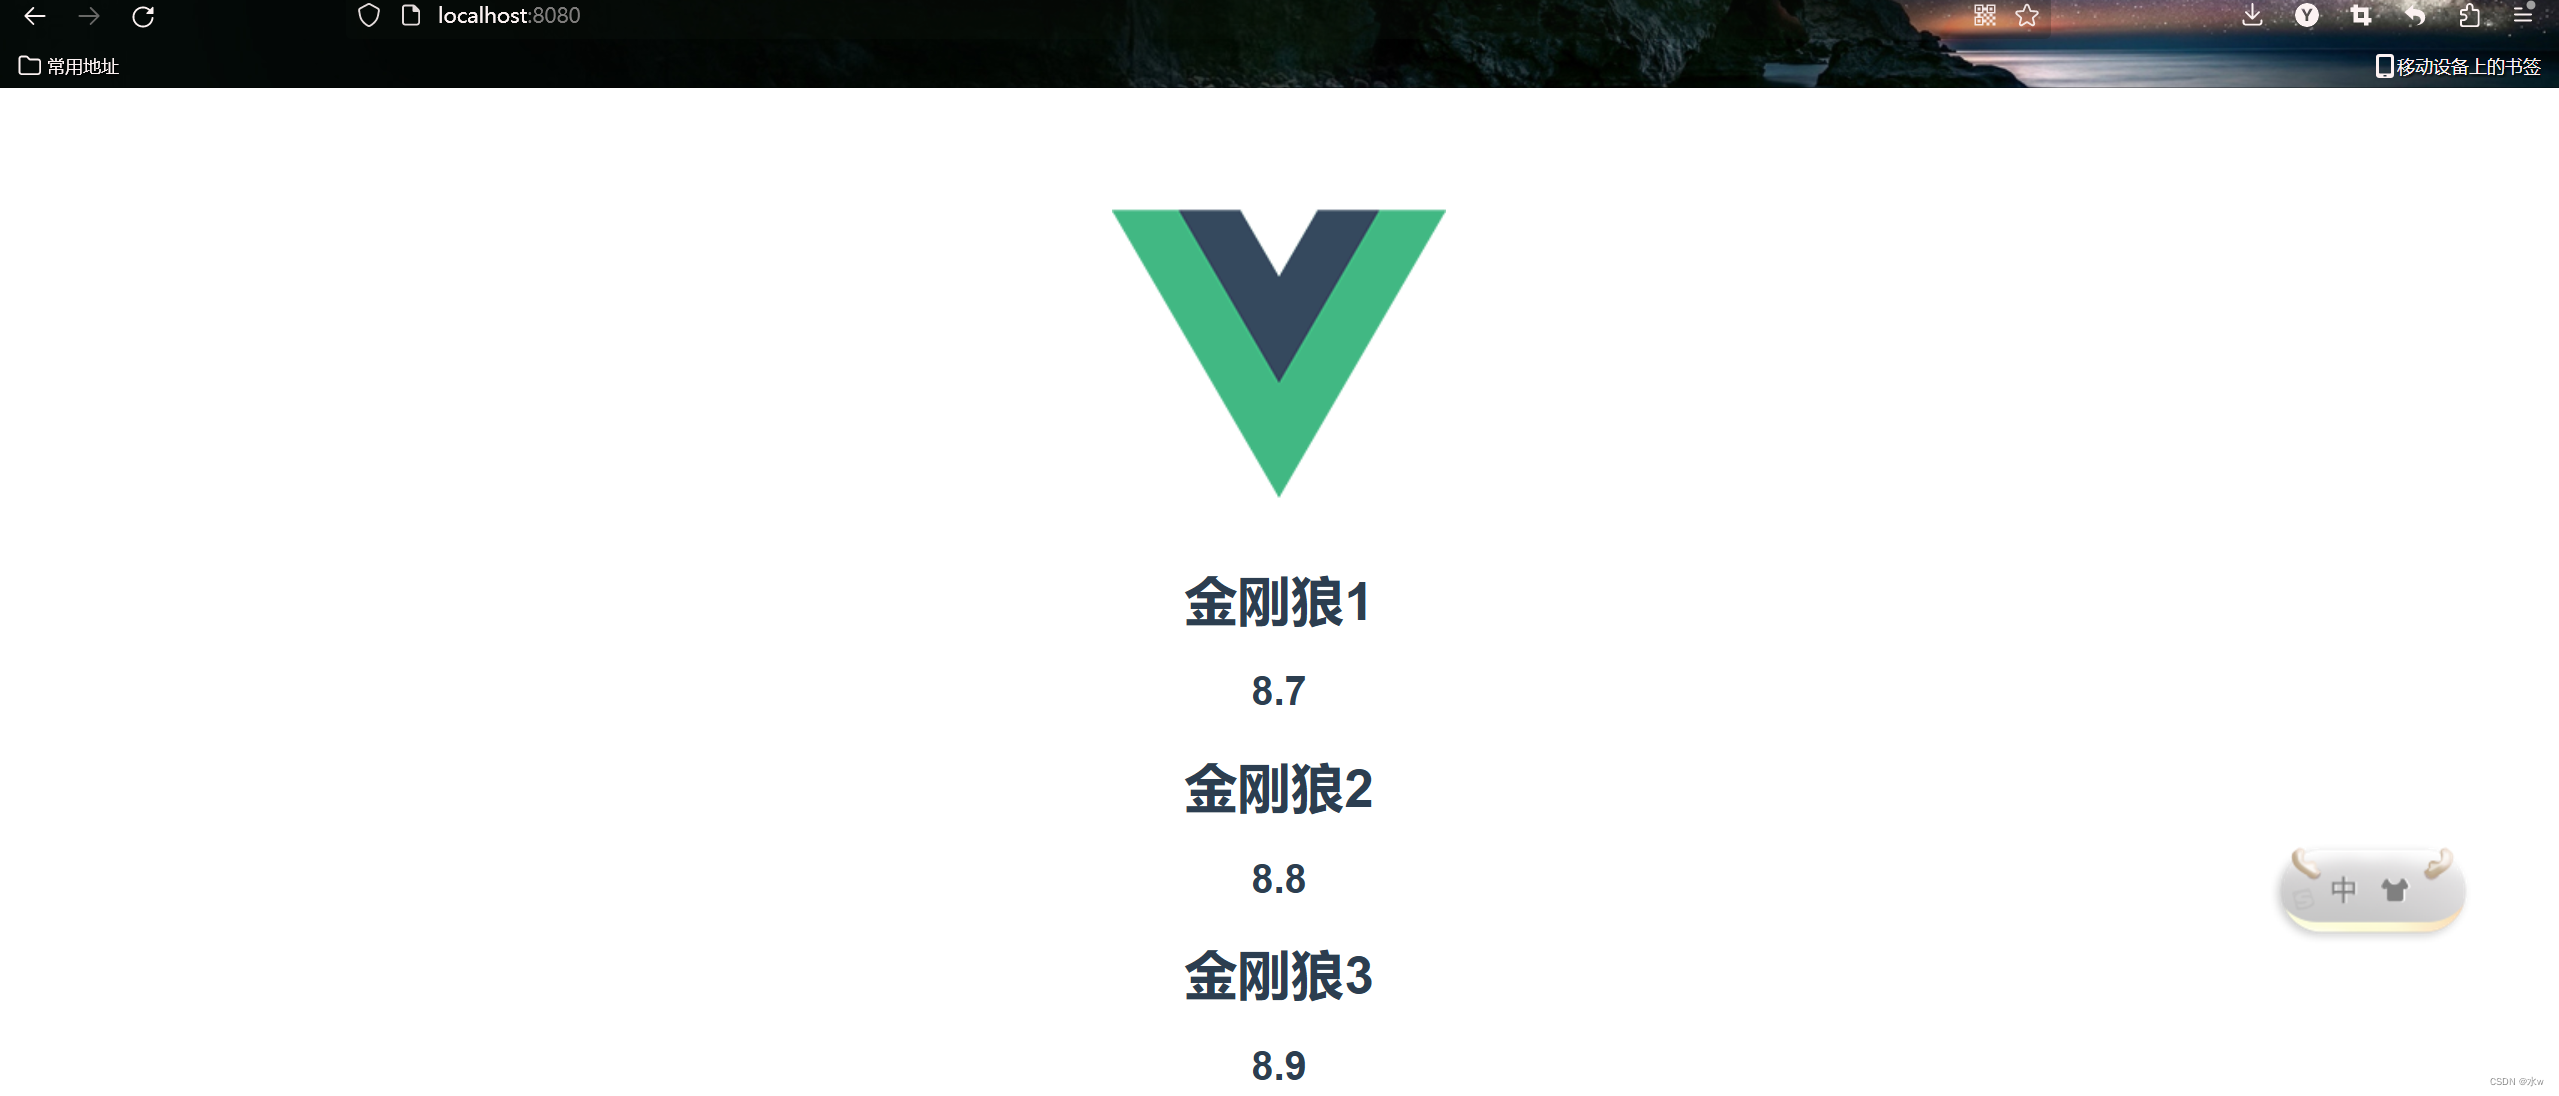
Open http://localhost:8080/ in the browser to access, the effect is as shown in the figure below:
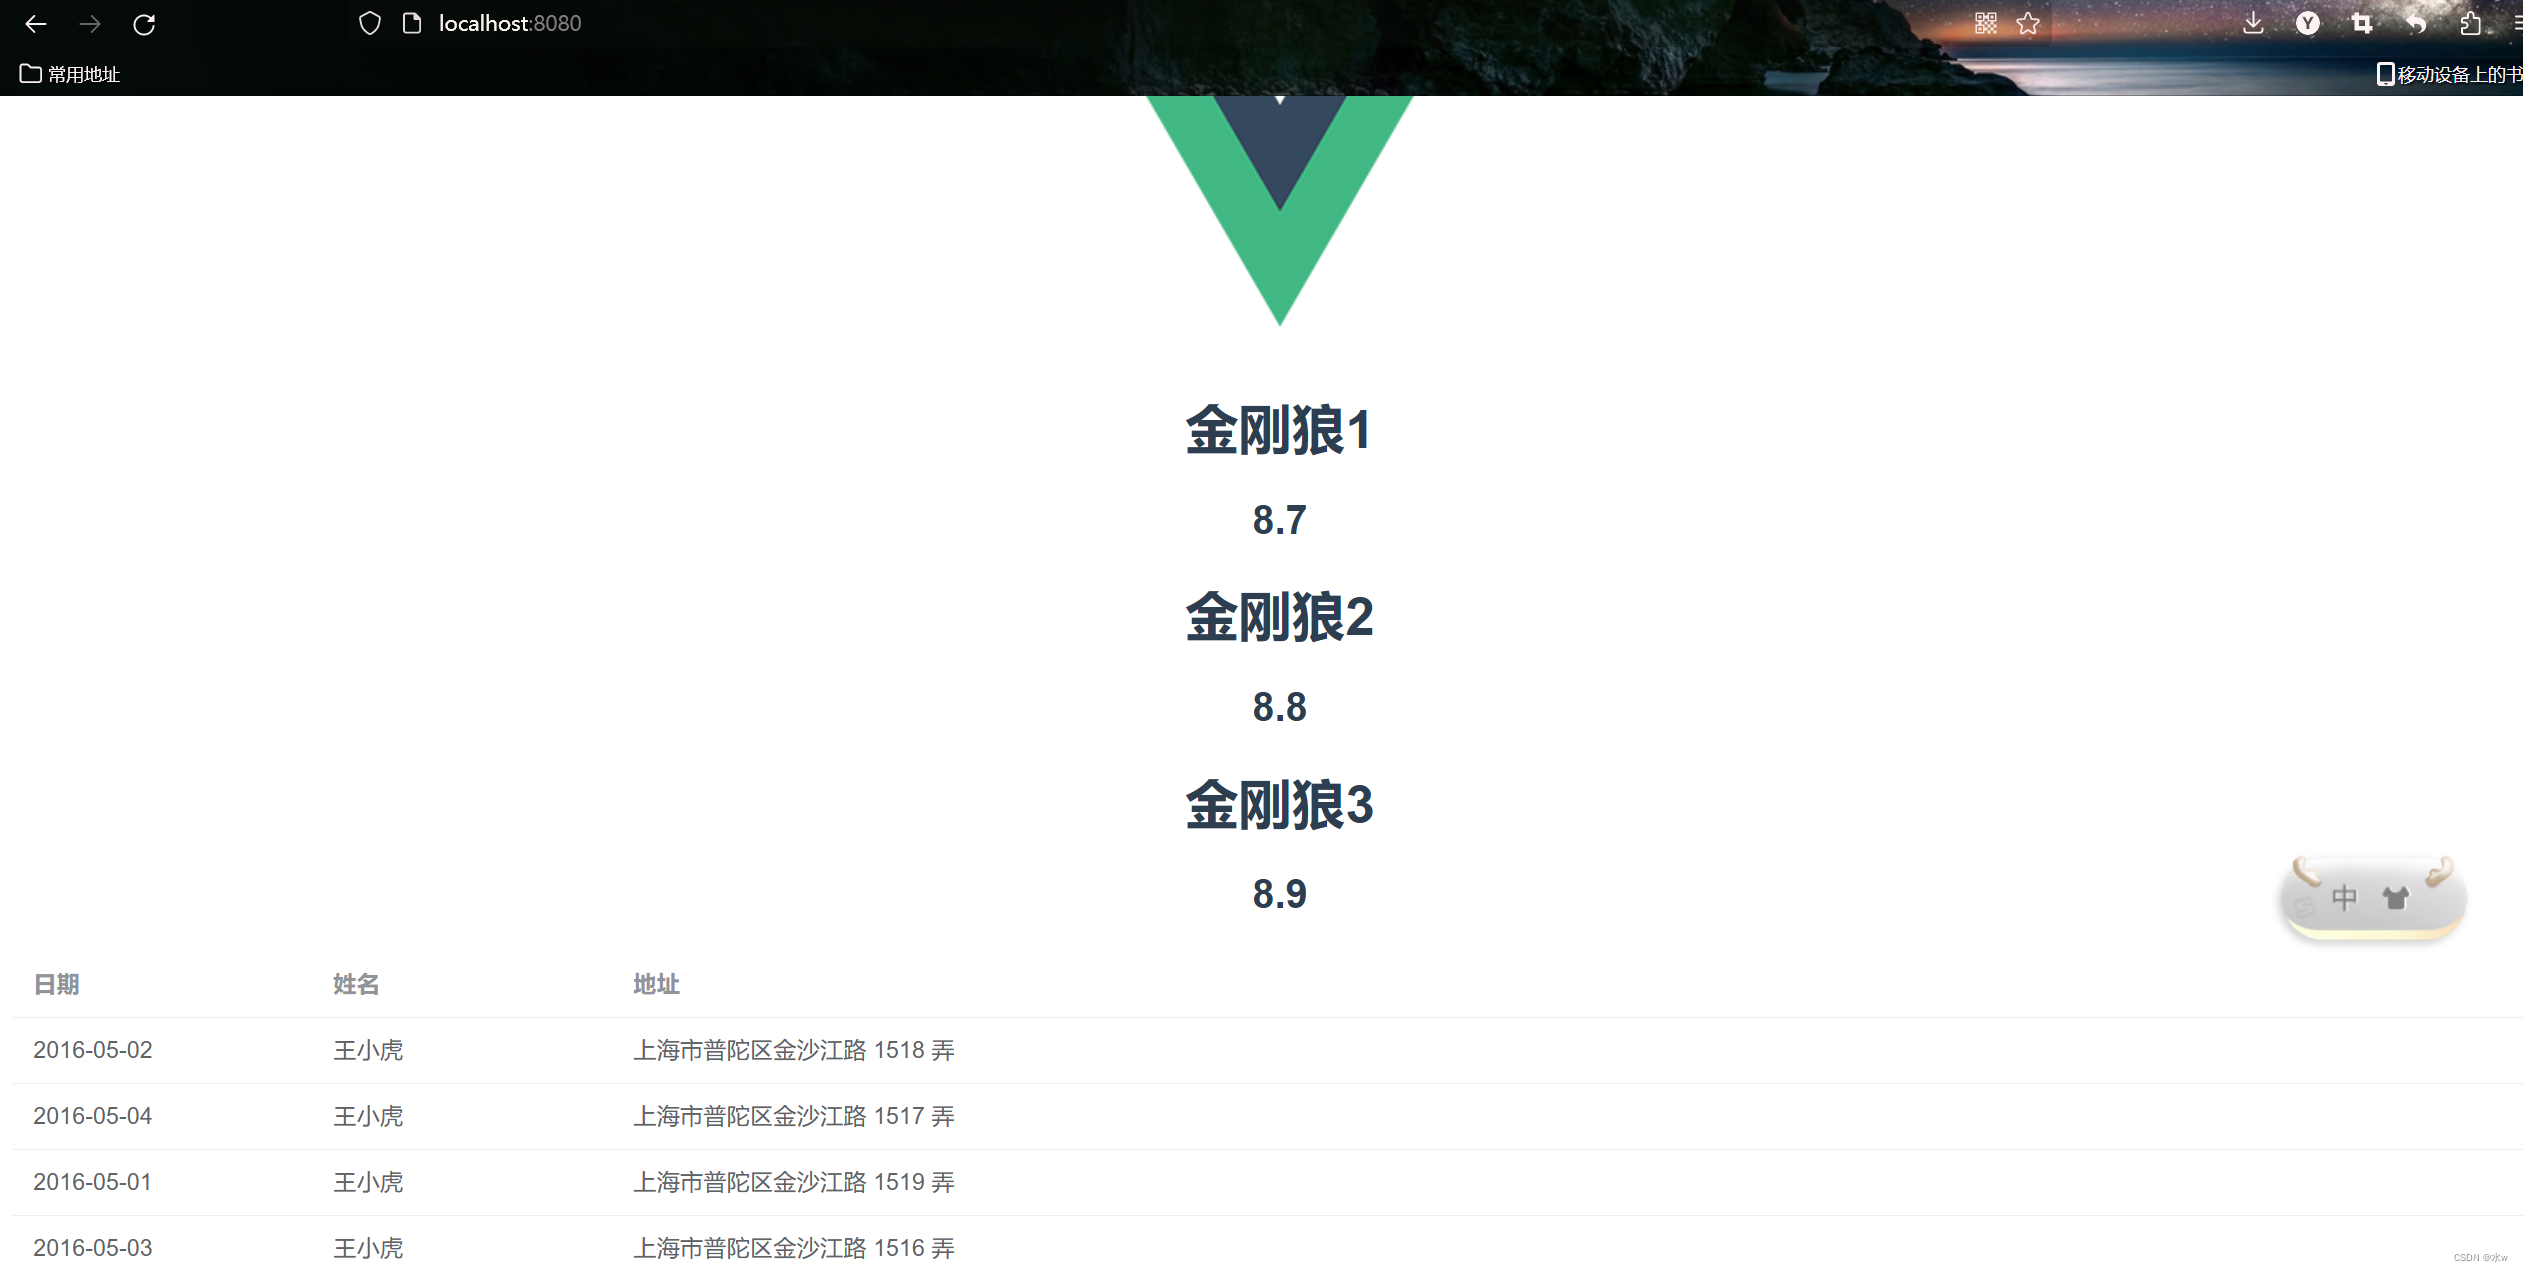
(2) If you want to display multiple movies on the front end, then
Open http://localhost:8080/ in the browser to access, the effect is as shown in the figure below:
5. element-ui: provide common components
Element: A set of Vue 2.0-based desktop component libraries for developers, designers and product managers. It is a set of open source front-end framework provided by the domestic Ele.me company. It is simple and elegant, and provides multiple versions such as Vue, React, and Angular.
Official website address: Element - The world's most popular Vue UI framework
【1】Download element-ui
It is recommended to use npm to install, it can be used better with the webpack packaging tool.
npm i element-ui -SAfter the installation is successful, the package.json in the front-end project will be automatically registered,
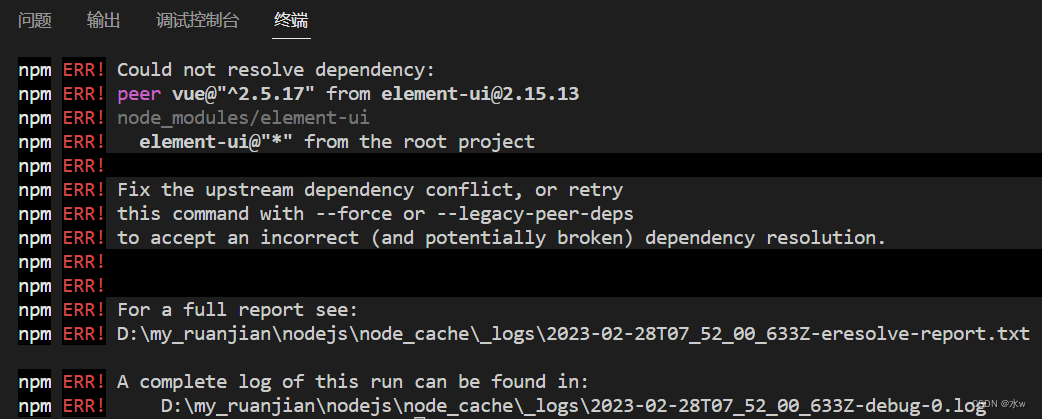
Solve the error: Could not resolve dependency:
npm ERR! peer vue@"^2.5.17" from [email protected]Scenario reproduction : In the terminal of vscode, enter the command npm i element-ui -S to report an error,
Reason : vue3.0 is not compatible with element-ui, so element-plus was launched
Solution : download element-plus
(1) In the terminal of vscode, enter the command to download element-plus,
npm install element-plus --save
It seems, it seems, it doesn't work. . .
(2) After that, I checked again, saw other blogs, installed elementUI,
npm install --legacy-peer-deps element-ui --save
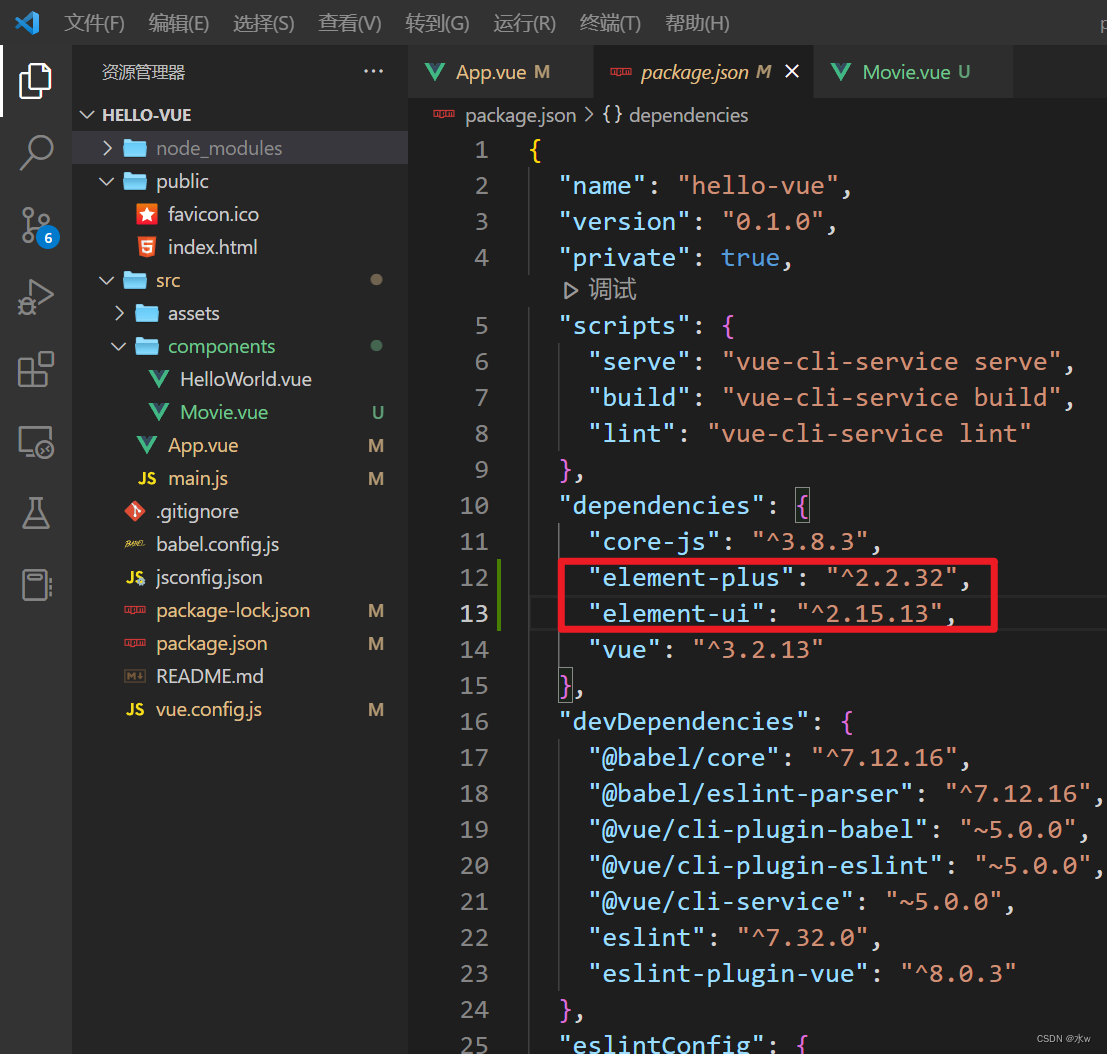
(3) View pachage.json, you can see,
ok, the problem is solved.

tips: How to run the project code downloaded from the Internet?
(1) Just enter the project, and then enter the csvode terminal
npm installThis command will automatically find pachage.json in the folder and automatically download the required libraries.
(2) After the download and installation is complete, just run the project directly,
npm run serve
【2】Introduce elementUI
Introduce element in main.js according to the official website tutorial of vue,
import Vue from 'vue';
import ElementUI from 'element-ui';
import 'element-ui/lib/theme-chalk/index.css';
import App from './App.vue';

Vue.use(ElementUI);

new Vue({
  el: '#app',
  render: h => h(App)
});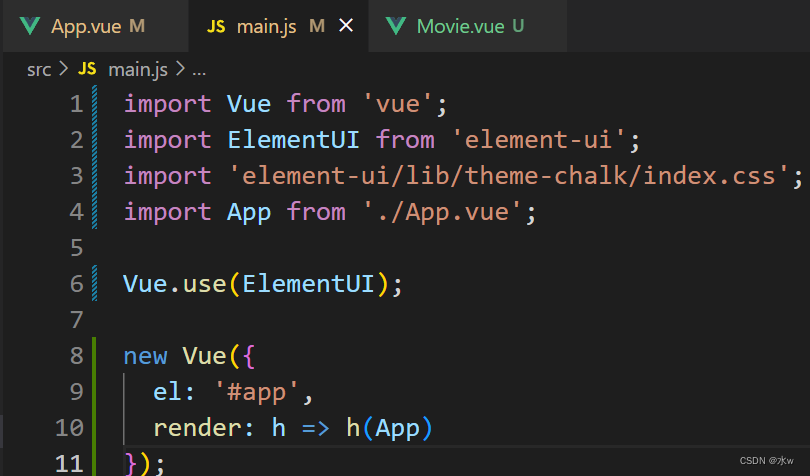
The above code completes the introduction of Element. It should be noted that style files need to be imported separately.
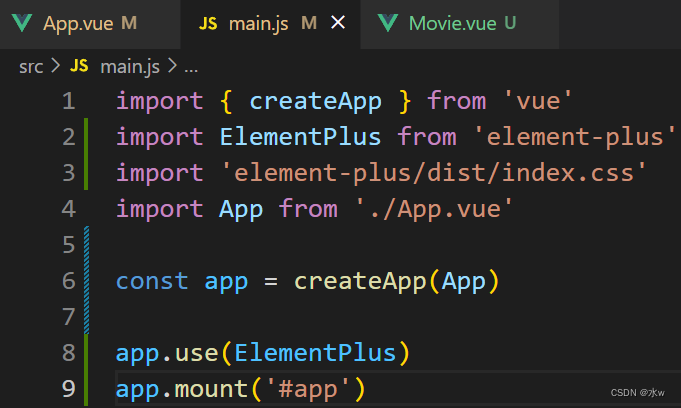
Solve the error report: Vue introduces Element-ui error report
Scenario reproduction : Vue introduces Element-ui to report errors
Reason : Looking at the official documents, I found that vue3 no longer supports the original Ele.me ui , and needs to use Element-plus adapted to vue3
Solution: introduce in main.js,
import { createApp } from 'vue'
import ElementPlus from 'element-plus'
import 'element-plus/dist/index.css'
import App from './App.vue'

const app = createApp(App)

app.use(ElementPlus)
app.mount('#app')
【3】Easy to use: basic form
Address: Element - The world's most popular Vue UI framework
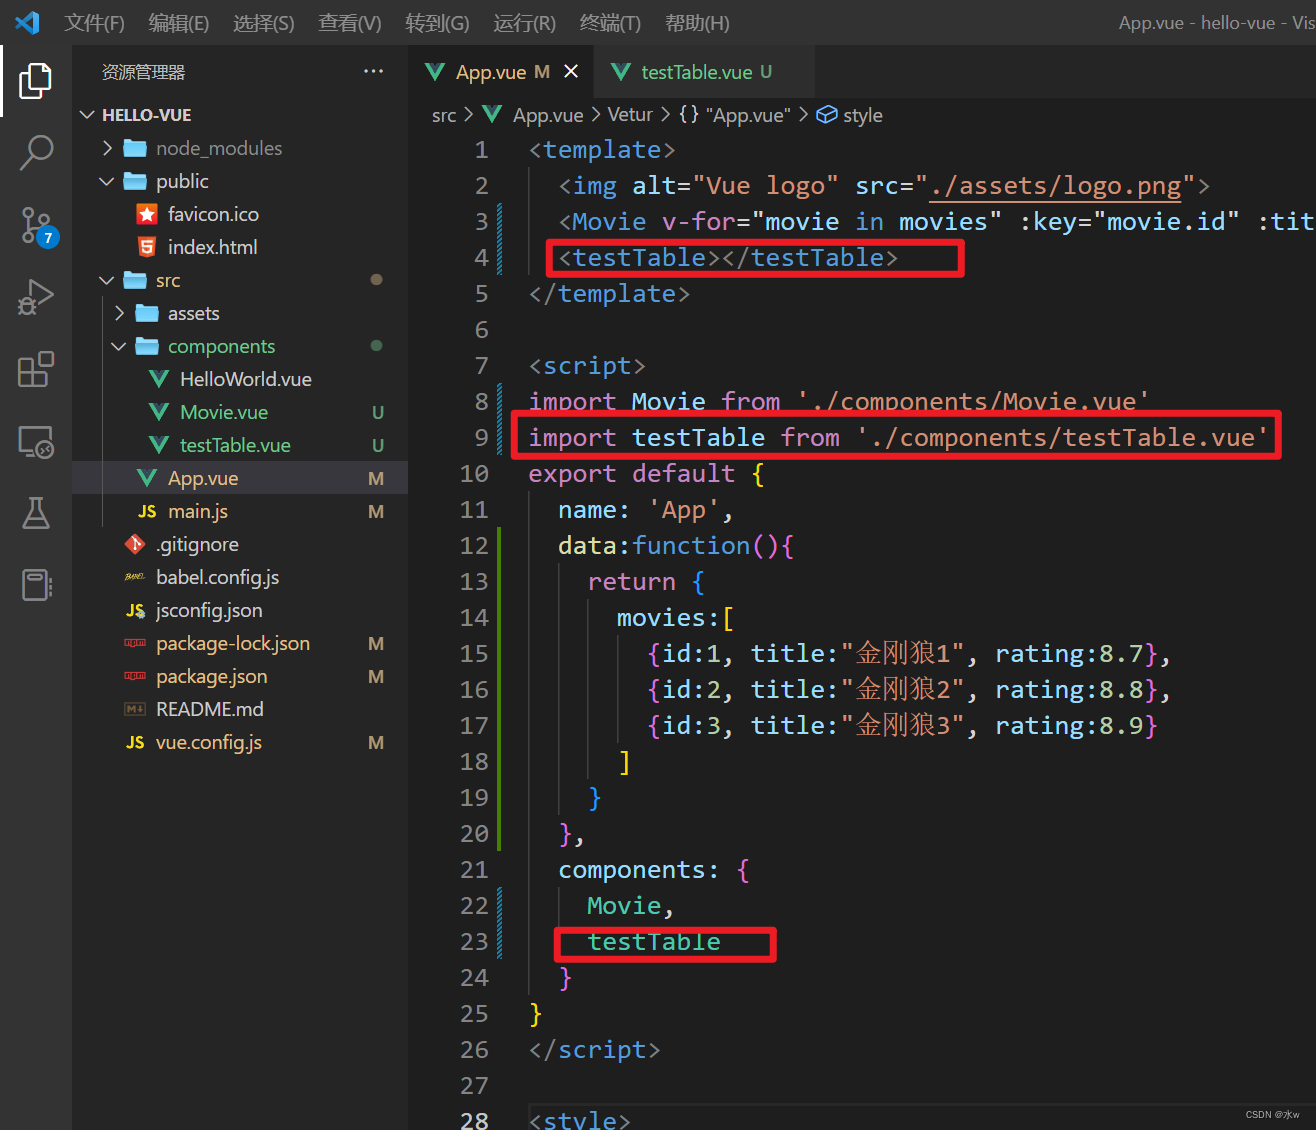
According to the vue official website tutorial, create a new component testTable.vue, modify the App.vue configuration,
<template>
    <el-table
      :data="tableData"
      style="width: 100%">
      <el-table-column
        prop="date"
        label="日期"
        width="180">
      </el-table-column>
      <el-table-column
        prop="name"
        label="姓名"
        width="180">
      </el-table-column>
      <el-table-column
        prop="address"
        label="地址">
      </el-table-column>
    </el-table>
  </template>

  <script>
  export default {
    data() {
        return {
          tableData: [{
            date: '2016-05-02',
            name: '王小虎',
            address: '上海市普陀区金沙江路 1518 弄'
          }, {
            date: '2016-05-04',
            name: '王小虎',
            address: '上海市普陀区金沙江路 1517 弄'
          }, {
            date: '2016-05-01',
            name: '王小虎',
            address: '上海市普陀区金沙江路 1519 弄'
          }, {
            date: '2016-05-03',
            name: '王小虎',
            address: '上海市普陀区金沙江路 1516 弄'
          }]
        }
      }
    }
  </script>

  <style>

  </style>
Open http://localhost:8080/ in the browser to access, the effect is as shown in the figure below: