MySQL 5.7 detailed download and installation configuration and C# MySQL database operation tutorial
Article directory
Preface
Recently, there was a project using MySQL5.7. I encountered many problems when installing MySQL. There are actually many solutions to the problems on the blog. I will record the operation here for easy reference in subsequent use.
The following is a detailed download, installation and configuration tutorial for MySQL 5.7.43.
1. Download steps
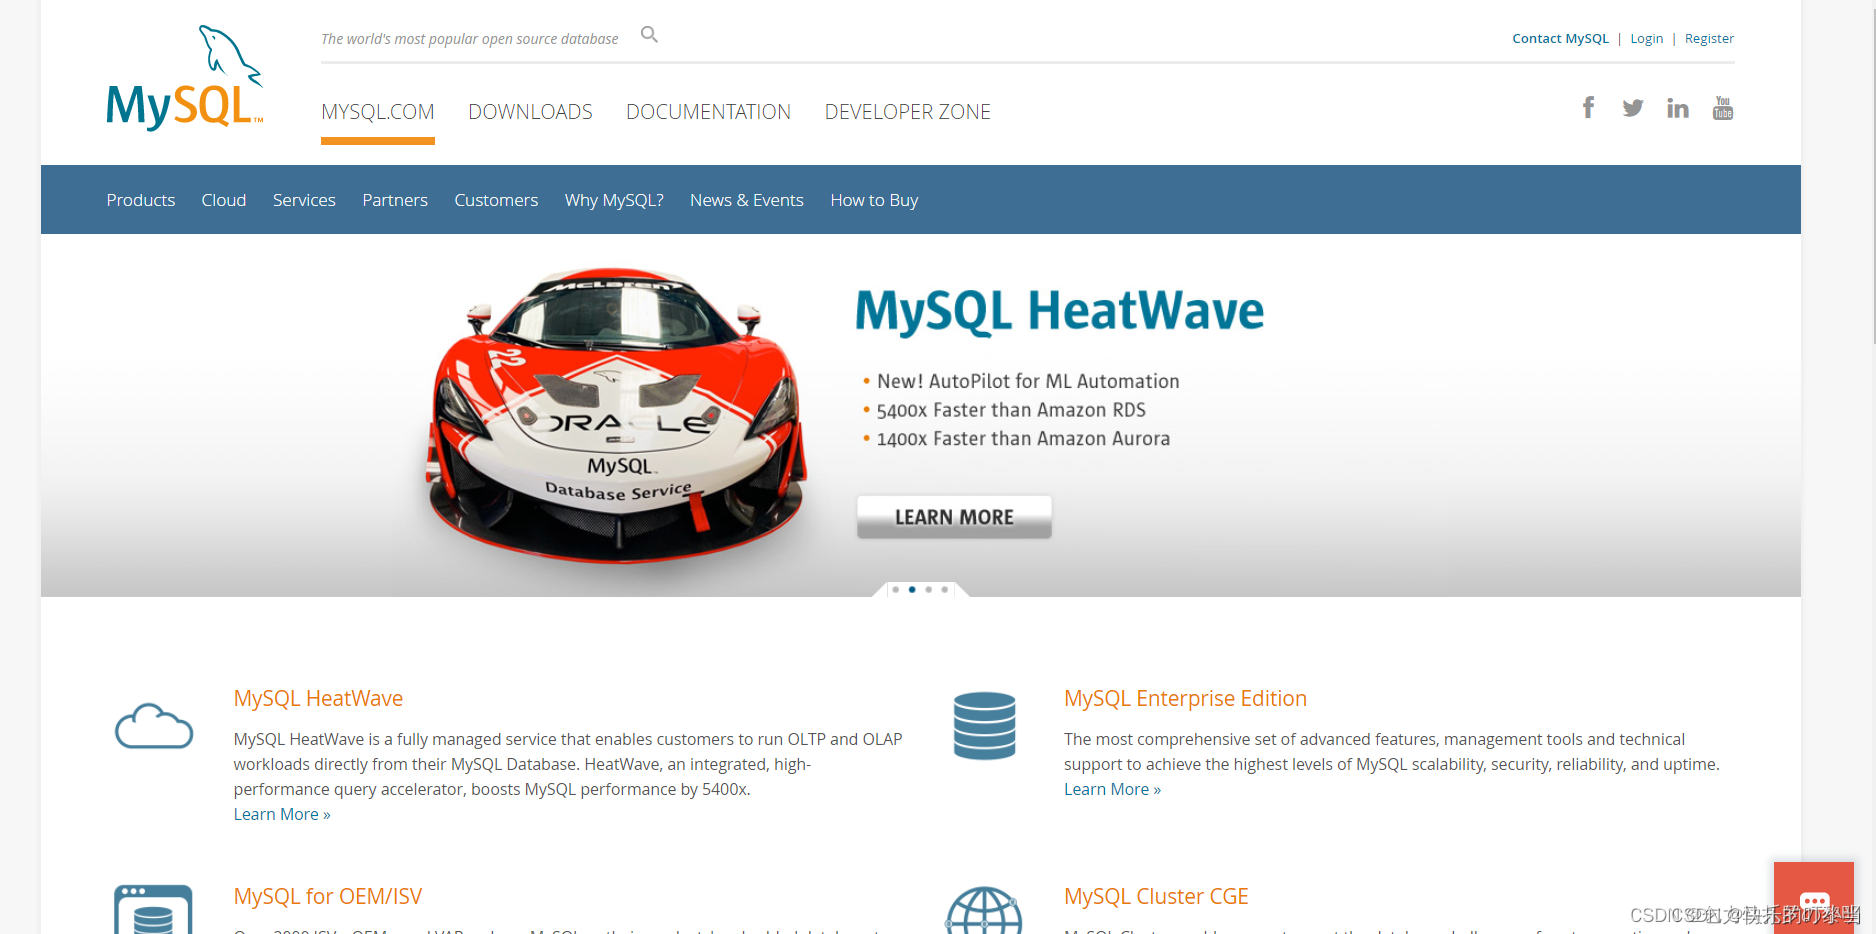
Visit the official website: https://www.mysql.com/Scroll
to the bottom of the homepage and select MySQL Community server under Downloads

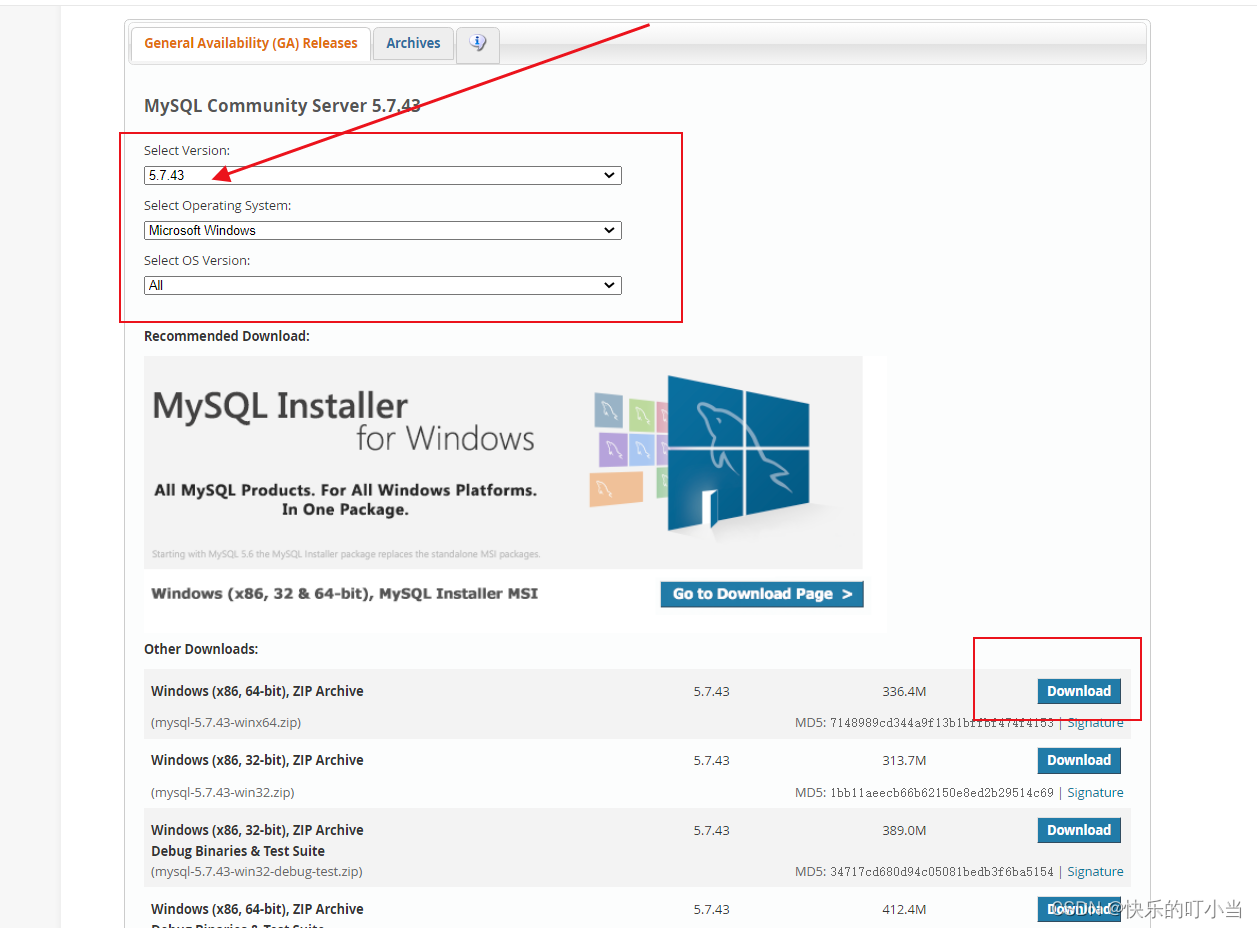
Choose to download the corresponding ZIP file according to the version of your computer. My computer is 64-bit, so choose this to download. Click Download to enter the following interface :
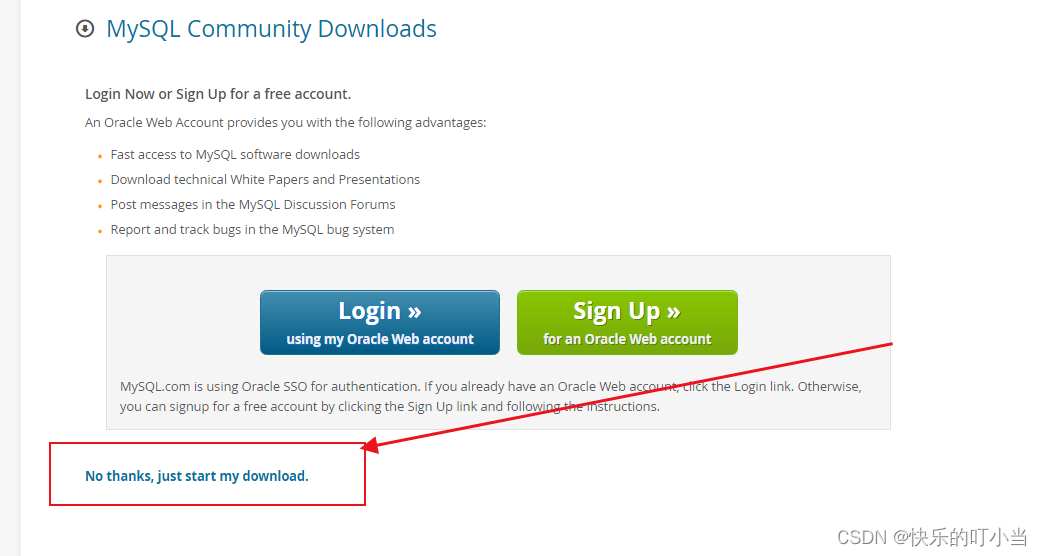
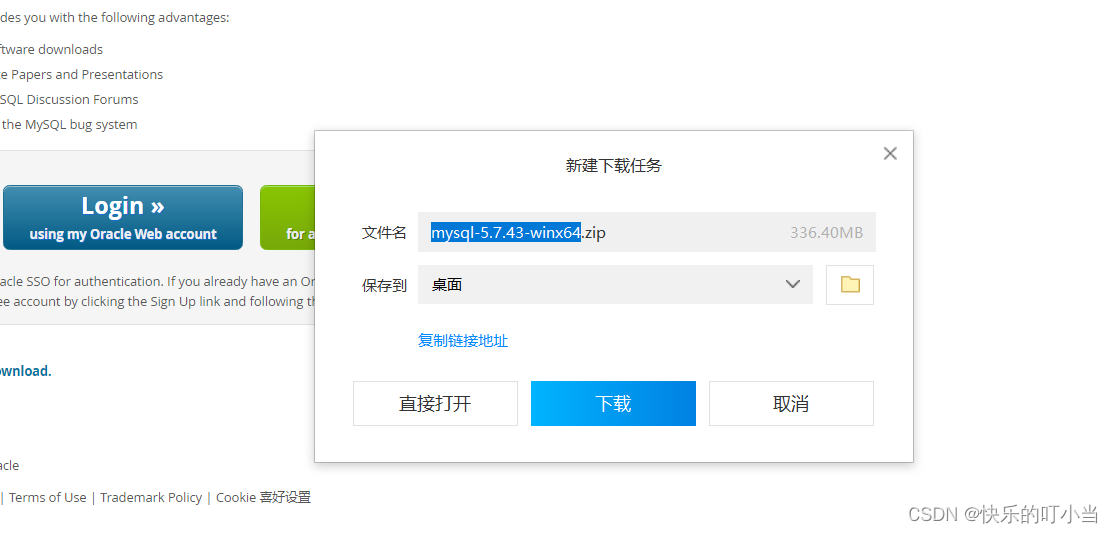
Click [ No thanks, just start my download ] to download directly without logging in, and wait. A download pop-up window will appear after a while.
Just click [ Download ] and then start downloading
After downloading, unzip the file to the drive and directory you want to save it to.
The above completes all the downloading work.
2. Environment variable configuration
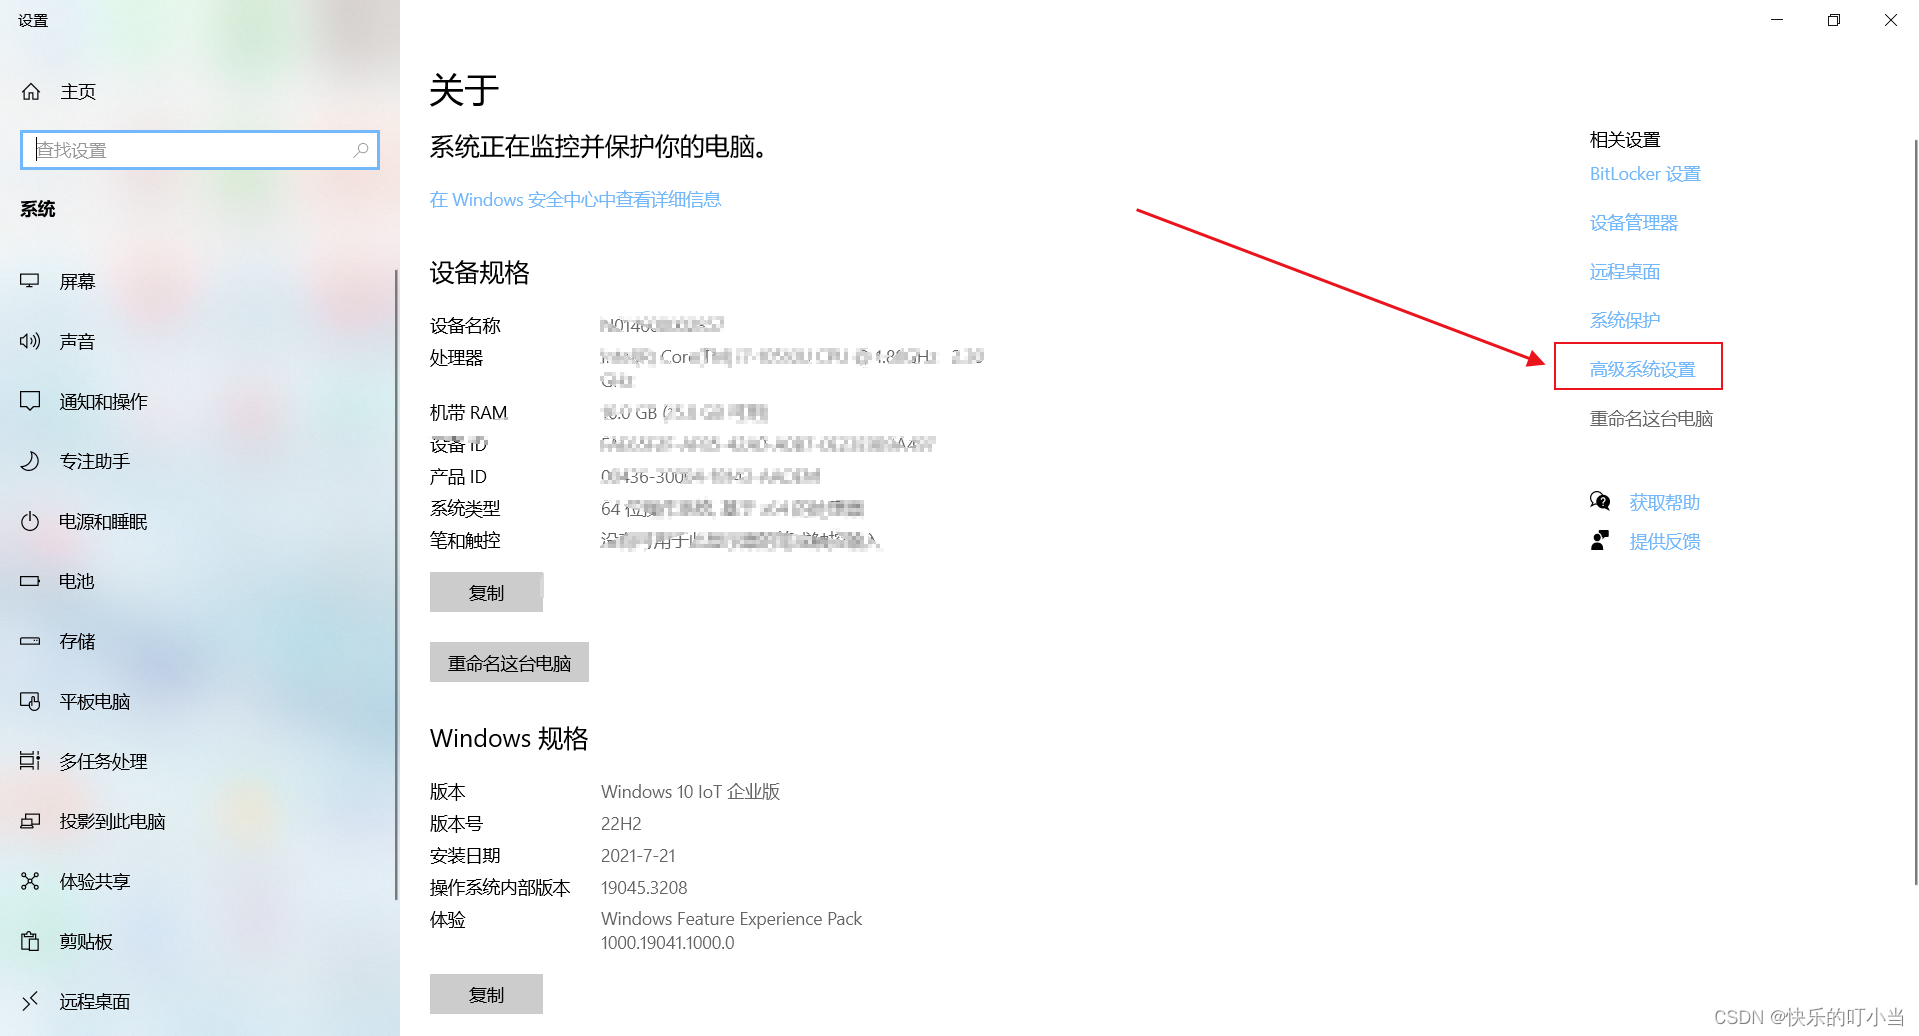
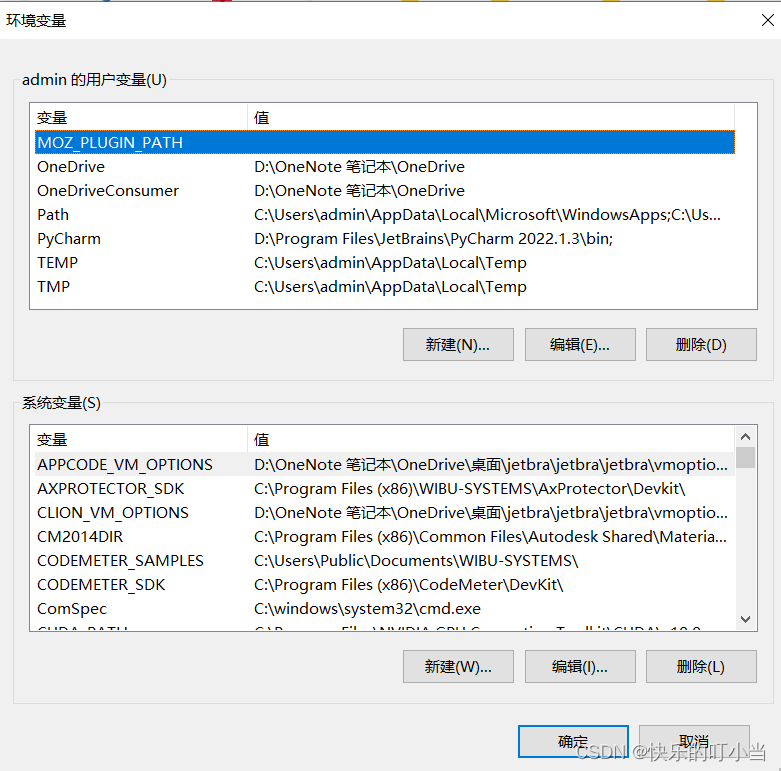
1. Right-click this computer->Properties->Advanced system settings->Environment variables->System variables
Click New , the variable name is: MYSQL_HOME , and add the location of your mysql-5.7.43-winx64 folder.
Mine is in D:\Program Files\Mysql\mysql-5.7.43-winx64, as shown in the figure:

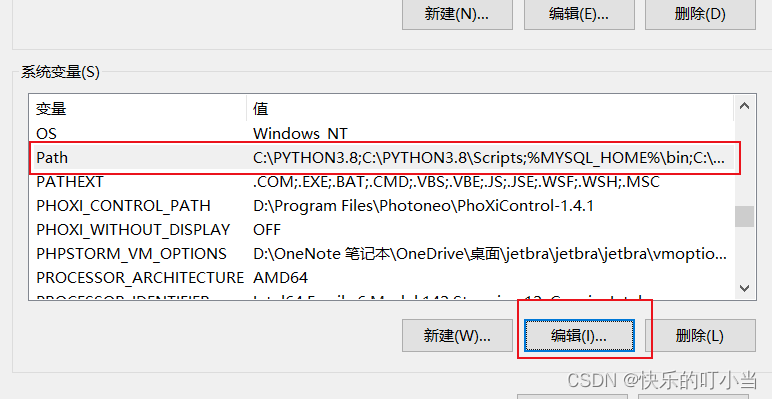
2.Edit Path
Copy **%MYSQL_HOME%\bin** to the end of the original value, as shown in the figure:
3. Configure the my.ini file
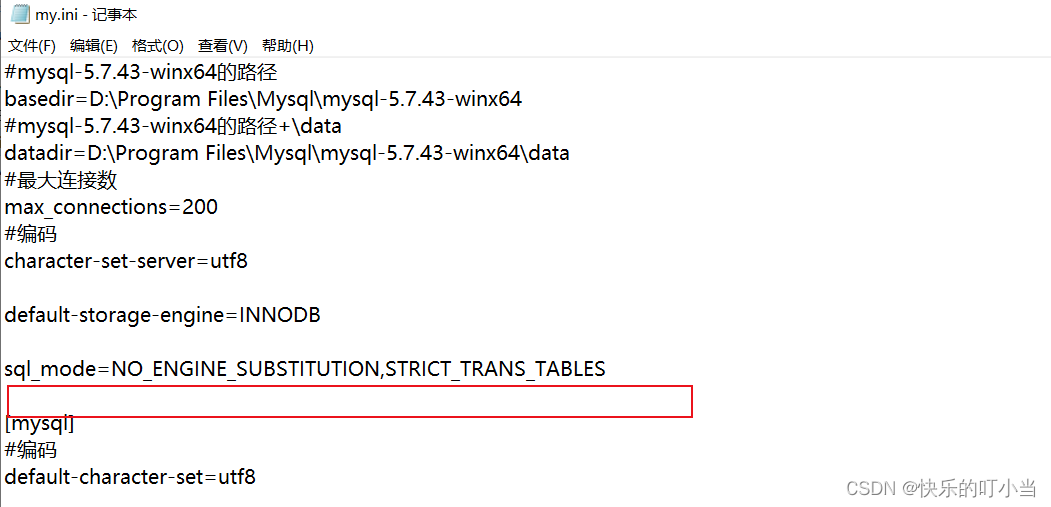
Create a new my.ini file in your mysql-5.7.43-winx64 directory.
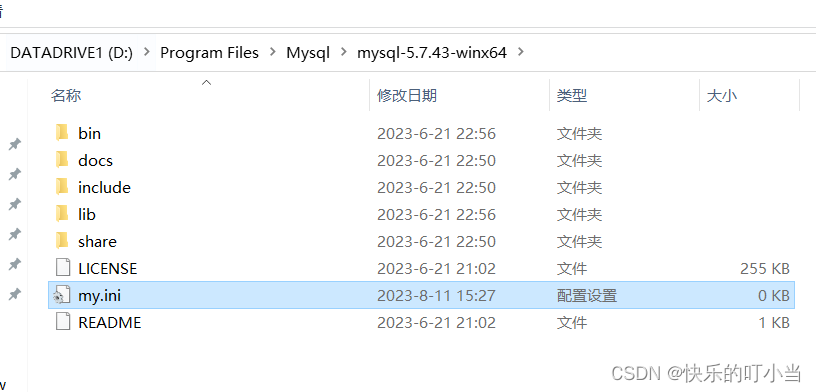
The content of the my.ini file is: If the installation directory is different, remember to modify the MySQL installation path.
[mysqld]
#端口号
port = 3306
#mysql-5.7.43-winx64的路径
basedir=D:\Program Files\Mysql\mysql-5.7.43-winx64
#mysql-5.7.43-winx64的路径+\data
datadir=D:\Program Files\Mysql\mysql-5.7.43-winx64\data
#最大连接数
max_connections=200
#编码
character-set-server=utf8

default-storage-engine=INNODB

sql_mode=NO_ENGINE_SUBSTITUTION,STRICT_TRANS_TABLES

[mysql]
#编码
default-character-set=utf8
After creation is complete, proceed to the next step.
4.Install MySQL
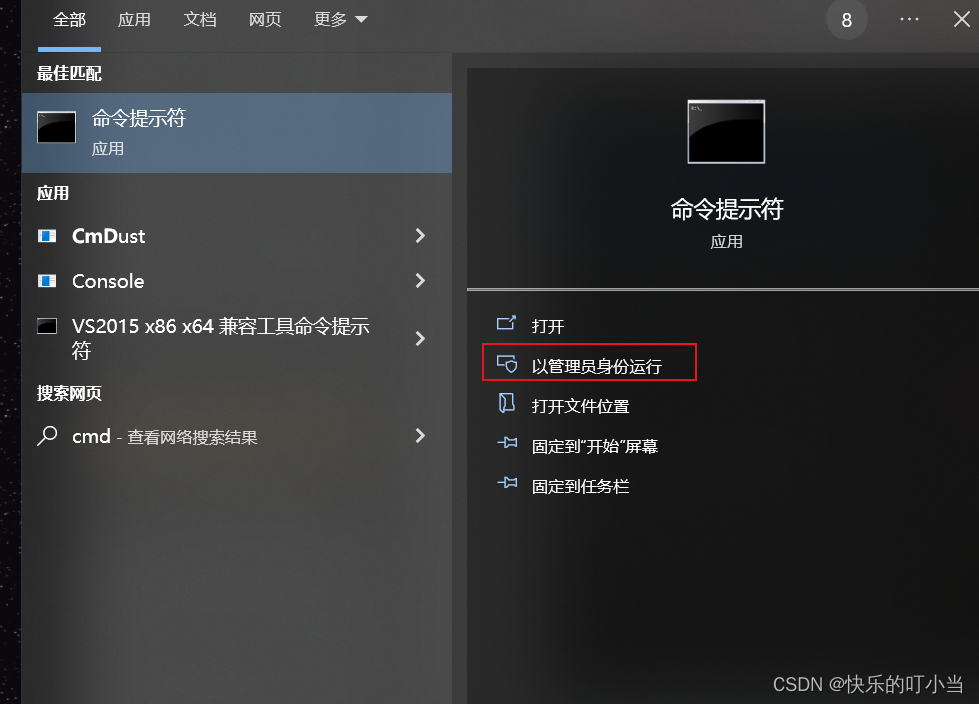
(1) Enter cmd in the input box and run it as an administrator . Note that you must run it as an administrator, otherwise the Install/Remove of the Service error will occur during the installation process due to insufficient management rights. Denied! (Installation/uninstallation service was denied) , this is very important!
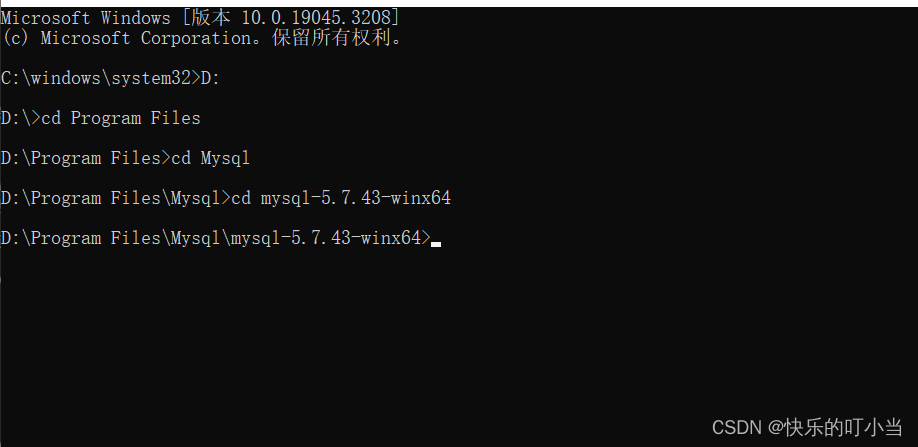
(2) Enter the D:\Program Files\Mysql\mysql-5.7.43-winx64\bin directory in cmd:
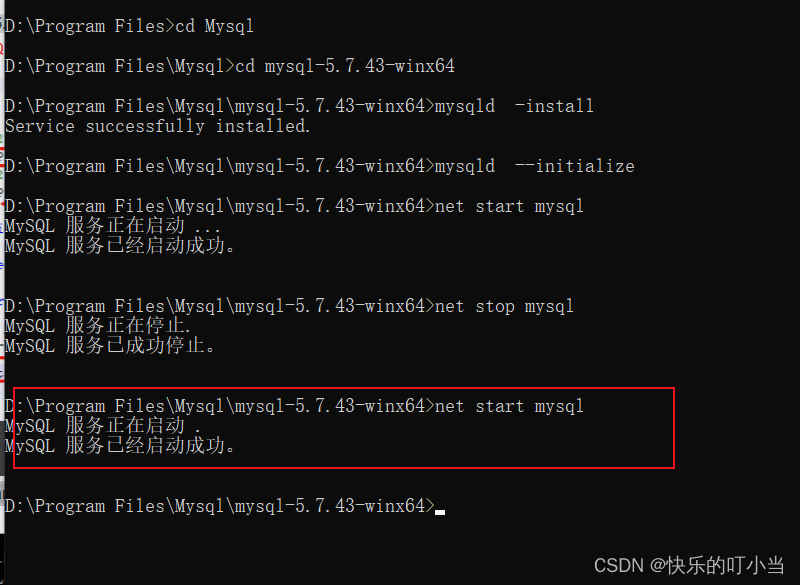
Enter the installation command: mysqld -install . If Service successfully installed appears, it means the installation is successful; if Install of the Service Denied appears , it means cmd is not running with administrator rights:

Then continue to enter the command: mysqld --initialize , there will be no prompts at this time:

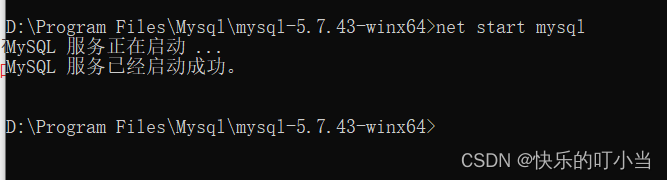
Wait for the input cursor to appear before entering the startup command: net start mysql . The following prompt appears to prove that MySQL is started successfully :
5.Set MySQL password
(1) Setting the password here is mainly to solve the problem: *ERROR 1045 (28000): Access denied for user 'root'@'localhost' (using password: NO)* (2) First stop the MySQL service and enter the command
line net stop mysql :

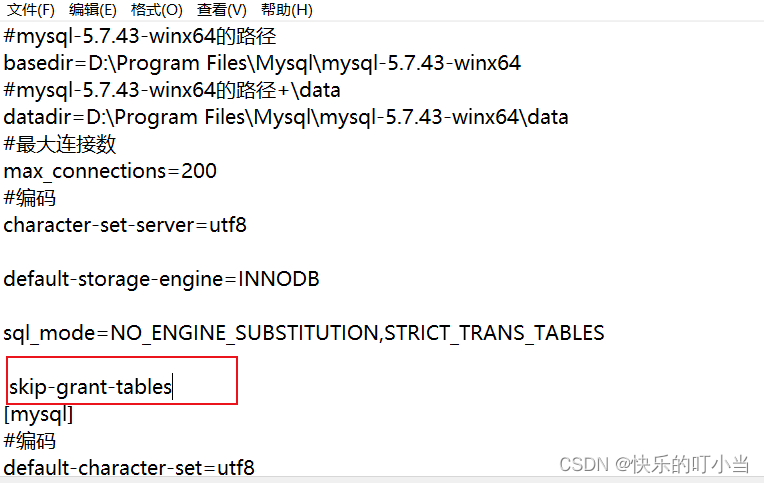
(3) Find my.ini in the D:\Program Files\Mysql\mysql-5.7.43-winx64 directory, add skip-grant-tables to any line under the [mysqld] field, and save : If the installation directory is different , remember to modify the MySQL installation path.
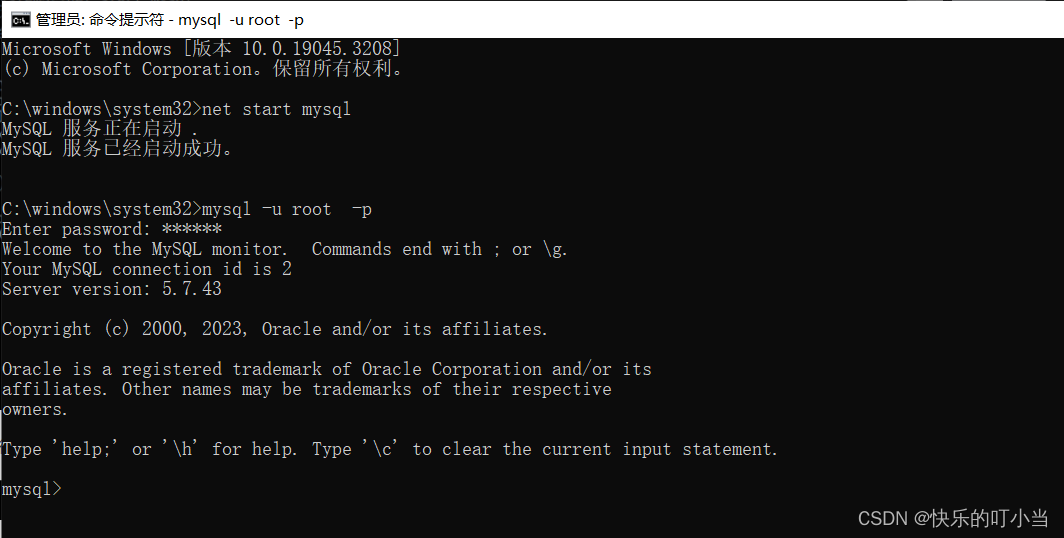
(4) Restart MySQL and enter the startup command: net start mysql . The following prompt appears to prove that MySQL is started successfully:
Enter the command mysql -u root -p . There is no need to enter a password. Just press Enter:
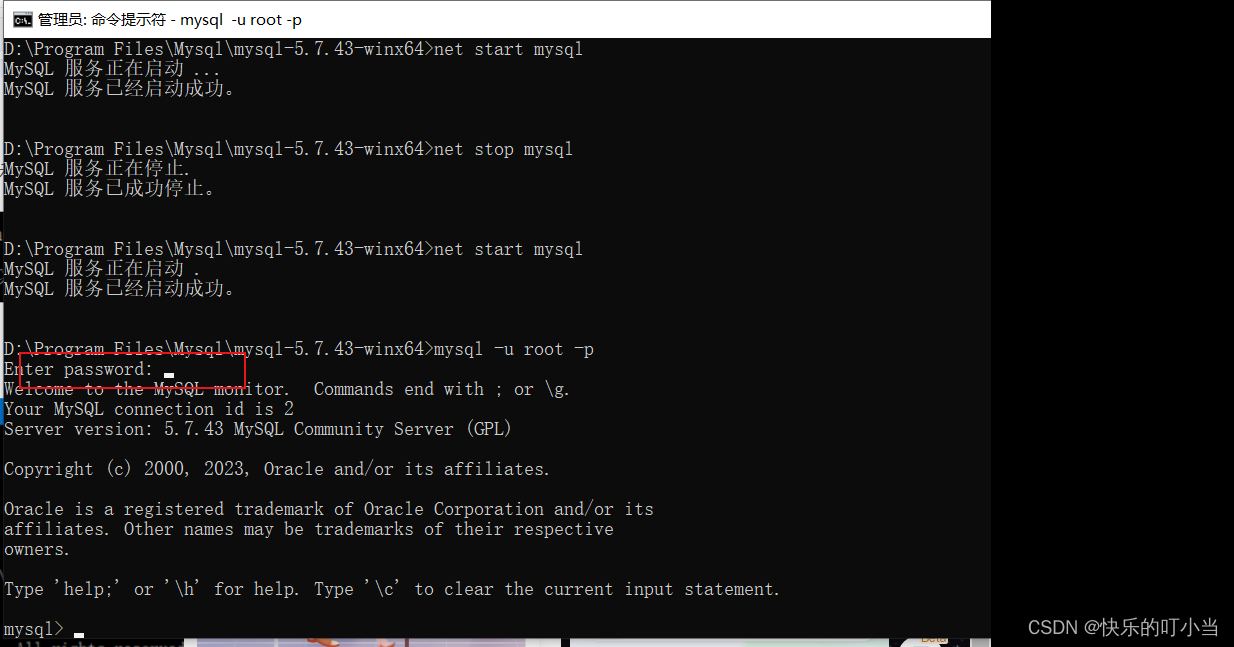
Entering MySQL successfully!
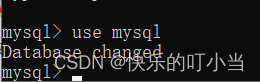
(5) Enter the command line use mysql to enter the database:
(6) Enter the command line update user set authentication_string=password(“ xxxxxx ”) where user = “root”;
xxxxxx is the new password you set. If the following message appears after hitting Enter, it proves that the change is successful! Don’t forget the semicolon at the end.

(7) Manually stop the MySQL service, enter service in the win10 search bar, and find MySQL. Just right-click and click Stop.
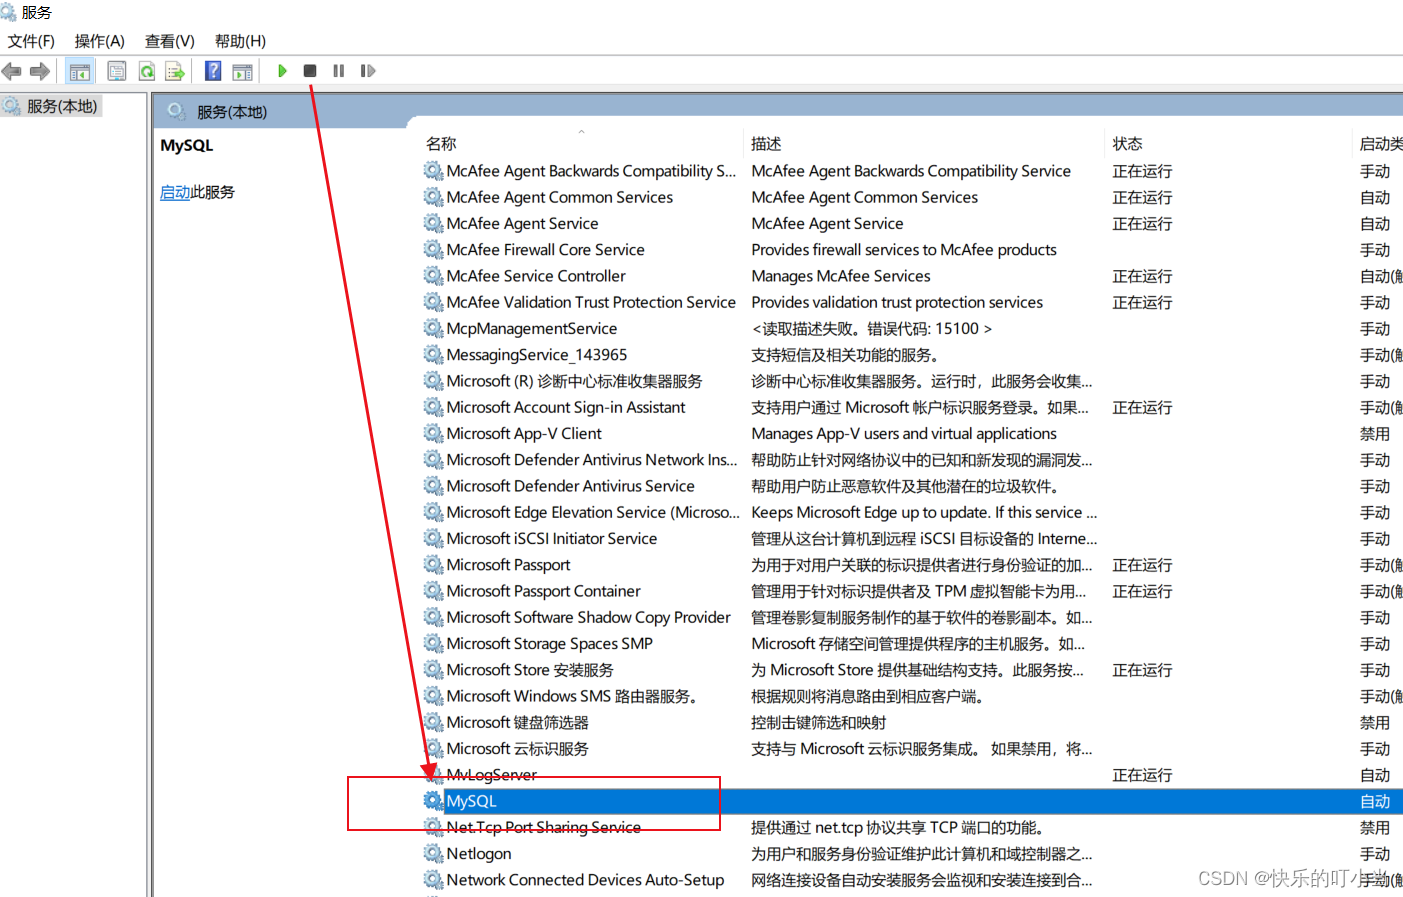
Then delete the skip-grant-tables line in the my.ini file just now , save and close.
(8) Start cmd again (as administrator), enter the startup command: net start mysql , then enter mysql -u root -p , and then enter the password you just set. The following information appears to prove that the setting is successful.
Then enter the command line use mysql to verify, and the result is an error:

Since the password has not been reset, then reset it.
Type the command line alter user user() identified by “xxxxxx”;
My password is 123456 , so I type alter user user() identified by “123456”; press Enter!
Getting closer to victory!
Enter the command line use mysql again to verify, success!

3. Environment variable configuration
1. Import the library
using MySql.Data.MySqlClient;
using System.Net.NetworkInformation;
2. Operation method
  public MySqlConnection mysqlconn = null;

        public Form1()
        {


            InitializeComponent();
        }

        private void button1_Click(object sender, EventArgs e)
        {


        }


        /// <summary>
        /// 连接Mysql数据库
        /// </summary>
        /// <param name="DatabaseName">数据库名</param>
        /// <param name="IP">IP地址</param>
        /// <param name="Username">数据库用户名</param>
        /// <param name="Password">数据库密码</param>
        /// <param name="Port">数据库端口</param>
        /// <returns></returns>
        public bool Mysqlconnect(string DatabaseName, string IP, string Username, string Password, string Port)
        {


            try
            {


                if (PingIP(IP))
                {


                    mysqlconn = new MySqlConnection("Database=" + DatabaseName + ";Data Source=" + IP + ";User Id=" + Username + ";Password=" + Password + ";pooling=false;CharSet=utf8;port=" + Port + "");
                }
                else
                {


                    return false;
                }
            }
            catch (Exception ex)
            {


                return false;
            }

            return true;
        }

        /// <summary>
        /// 往Mysql数据库中加入、删除、更改数据
        /// </summary>
        /// <param name="sql"></param>
        /// <returns></returns>
        public int setMysqlDataSet(string sql)
        {


            try
            {


                mysqlconn.Open();
                MySqlCommand ad = new MySqlCommand(sql, mysqlconn);
                int T;
                T = ad.ExecuteNonQuery();
                mysqlconn.Close();
                return T;
            }
            catch (Exception ex)
            {


                mysqlconn.Close();
                return 0;
            }
        }
        /// <summary>
        /// 读取Mysql数据库(必须先调用Mysqlconnect()传参连接数据库)
        /// </summary>
        /// <param name="sql"></param>
        /// <returns></returns>
        public DataSet getMysqlDataSet(string sql)
        {


            try
            {


                mysqlconn.Open();
                MySqlDataAdapter AD = new MySqlDataAdapter(sql, mysqlconn);
                DataSet DS = new DataSet();
                AD.Fill(DS);
                mysqlconn.Close();
                return DS;
            }
            catch (Exception ex)
            {


                mysqlconn.Close();
                return null;
            }
        }

        /// <summary>
        /// ping网络是否OK
        /// </summary>
        /// <param name="IP">IP地址</param>
        /// <returns></returns>
        public Boolean PingIP(String IP)
        {


            try
            {


                Ping ping = new Ping();
                PingReply pingreply;
                pingreply = ping.Send(IP, 900);
                Boolean result = pingreply.Status == IPStatus.Success;
                ping.Dispose();
                return result;
            }
            catch (Exception ex)
            {


                return false;
            }

        }

        public void Test()
        {


            //连接数据库
            Mysqlconnect("test", "127.0.0.1", "admin", "password", "3306");
            //插入数据库
            setMysqlDataSet("insert into test (test1,test2) values ('1','2')");

            //获取数据库
            getMysqlDataSet("select * from test");

            //修改数据库
            setMysqlDataSet("update test set test2 = '3' where test1='1'");

            //删除数据库
            setMysqlDataSet("delete from test where test1='1'");

        }
Note: There is a PingIP() method when connecting to the database. If the MySQL database is on a remote server, you can check whether you can connect to the IP of the remote server before connecting. If you do not need this method, you can delete it.
Summarize
The above is what I will talk about today. This article introduces mysql installation and database operations in detail. Please follow the introduction to install and test.