content
One, install
1. Download:
mysql-5.7.37-winx64 decompressed version
address : https://dev.mysql.com/downloads/mysql/
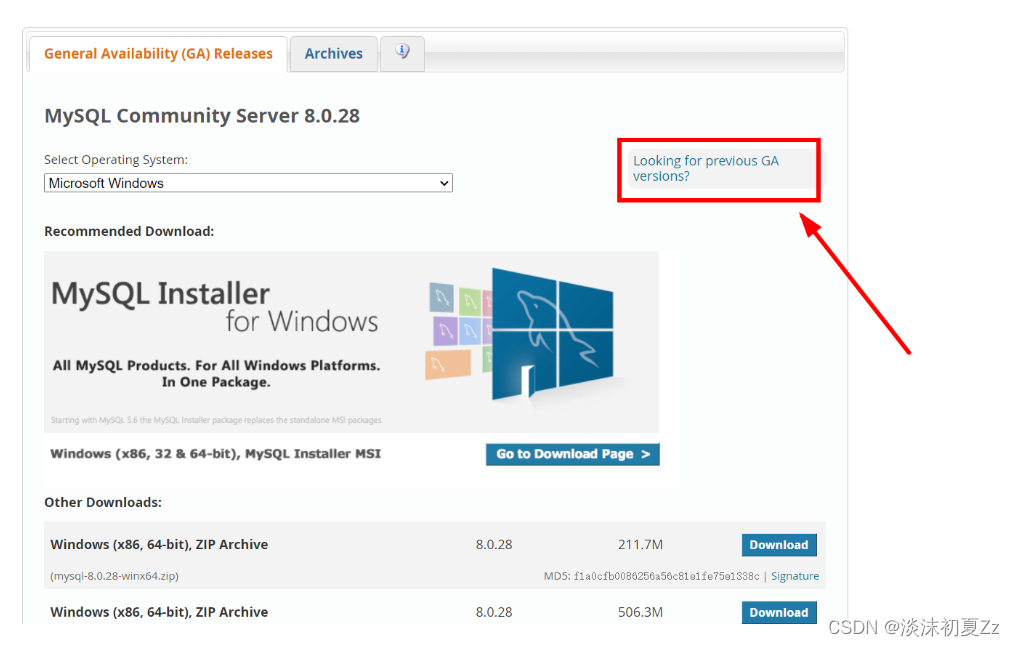
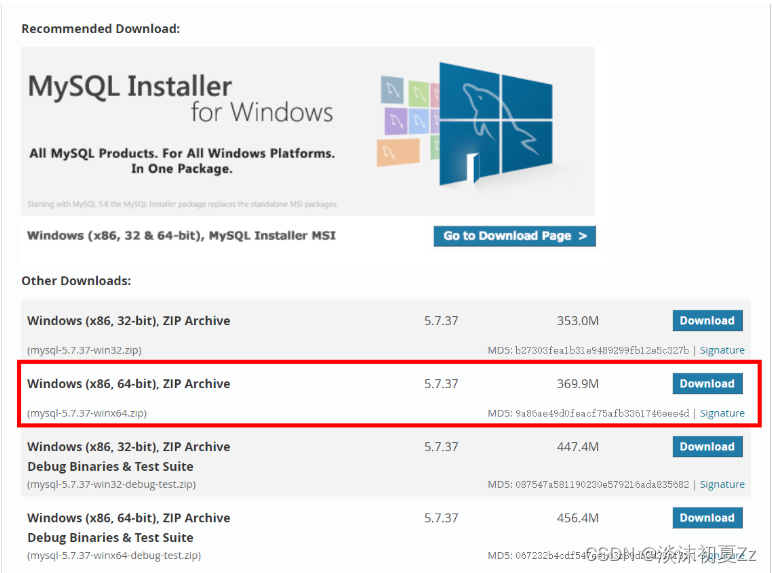
See how many bits of your computer, 32 downloads 32 bits, 64 downloads 64 bits, according to your needs download first or second
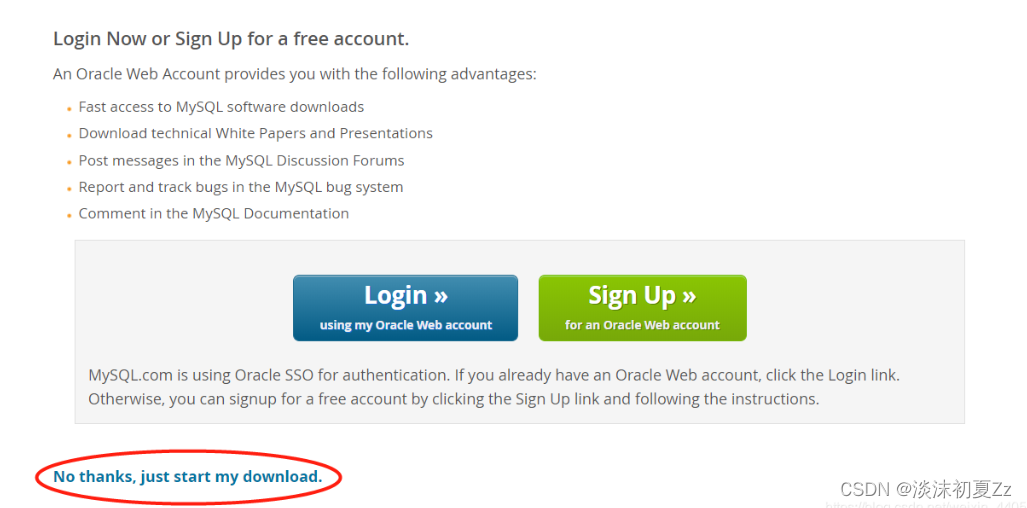
Click Download to download the pop-up page
After the installation is complete, reopen the MySQL installer, and the installation can be carried out smoothly at this time.
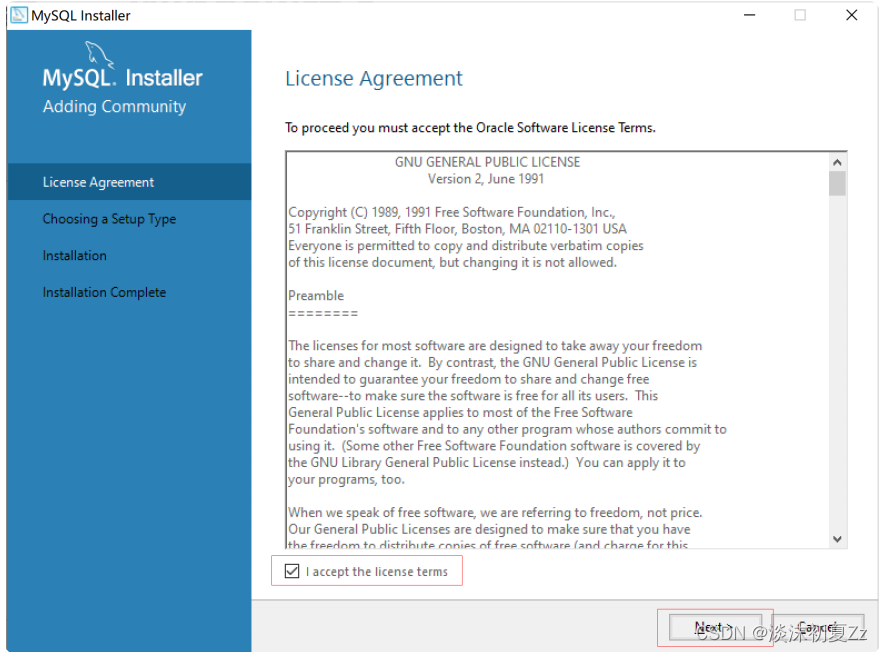
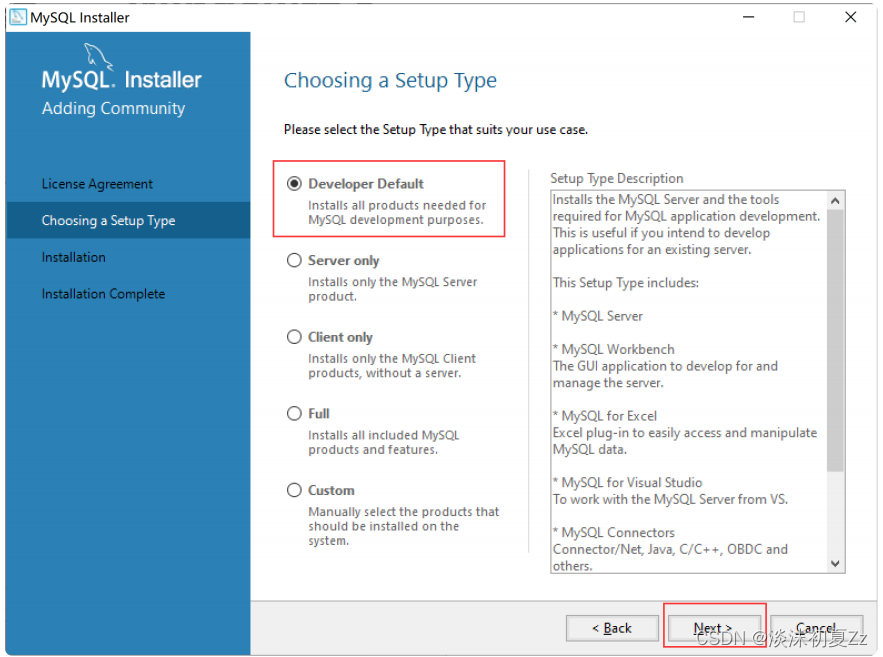
2. Download mysql-install-5.1.xxx.msi, double-click to start the installation, and follow the steps below.
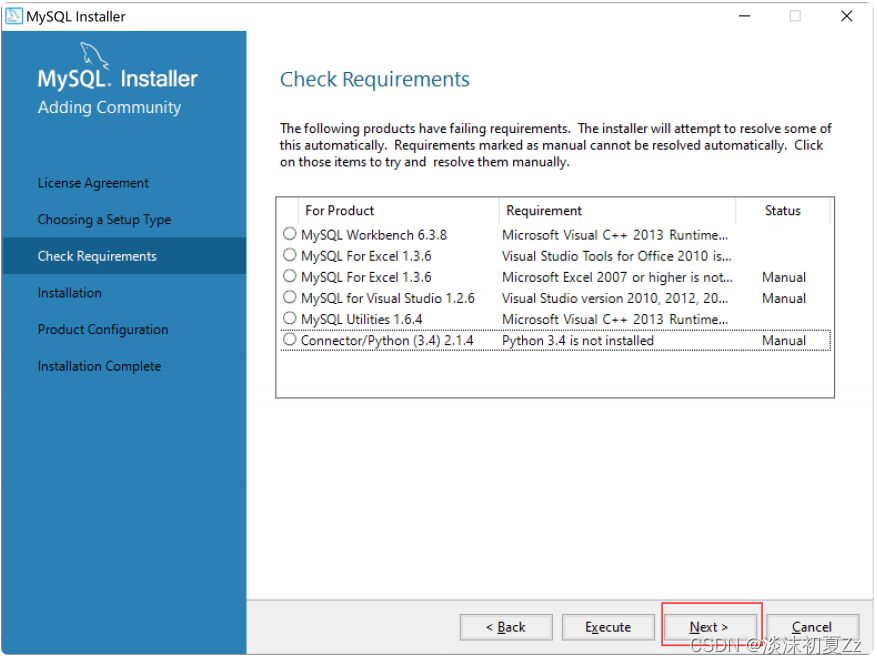
If there is no MySQL Server 5.7.x in the current option, go to download and install C++ first. The download address is : https://www. microsoft.com/zh-cn/download/details.aspx?id=40784
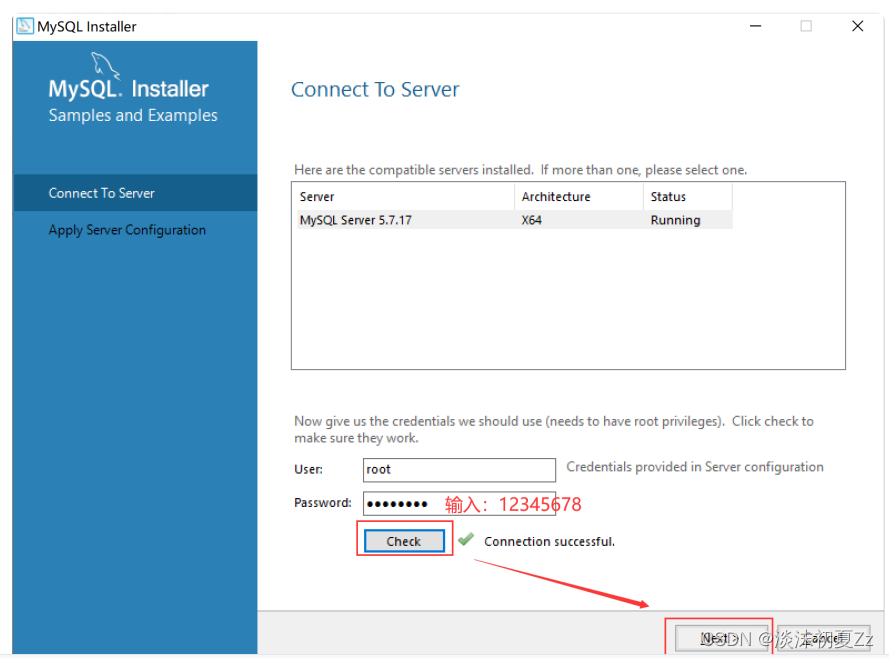
Set a password, confirm the password again,

set the name of the MySQL server, and
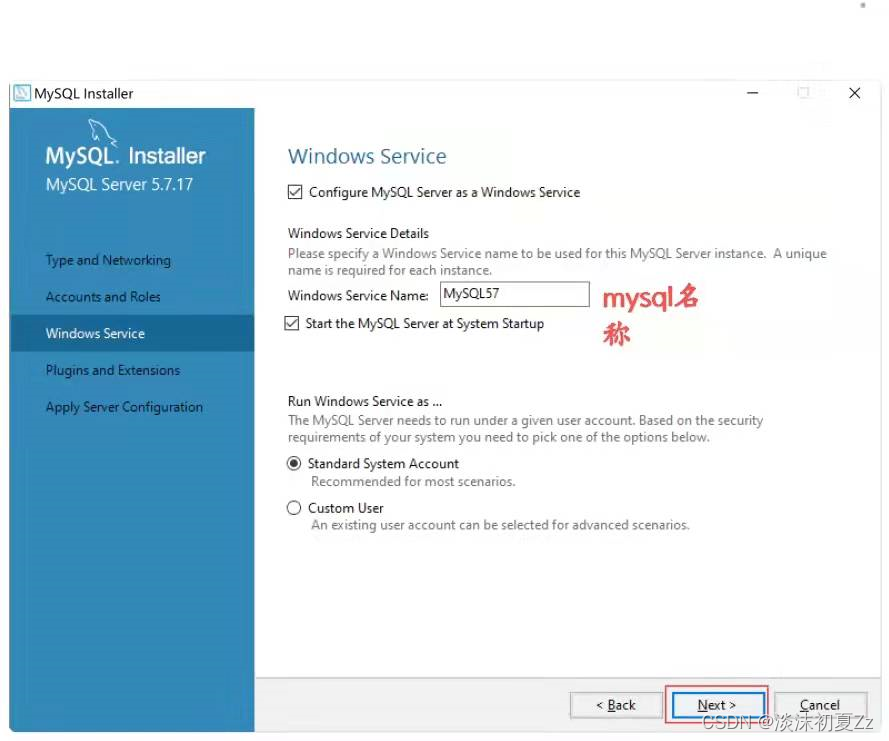
then click next
. I chose the D drive installation path and data path. If the system disk crashes, the data will be gone.
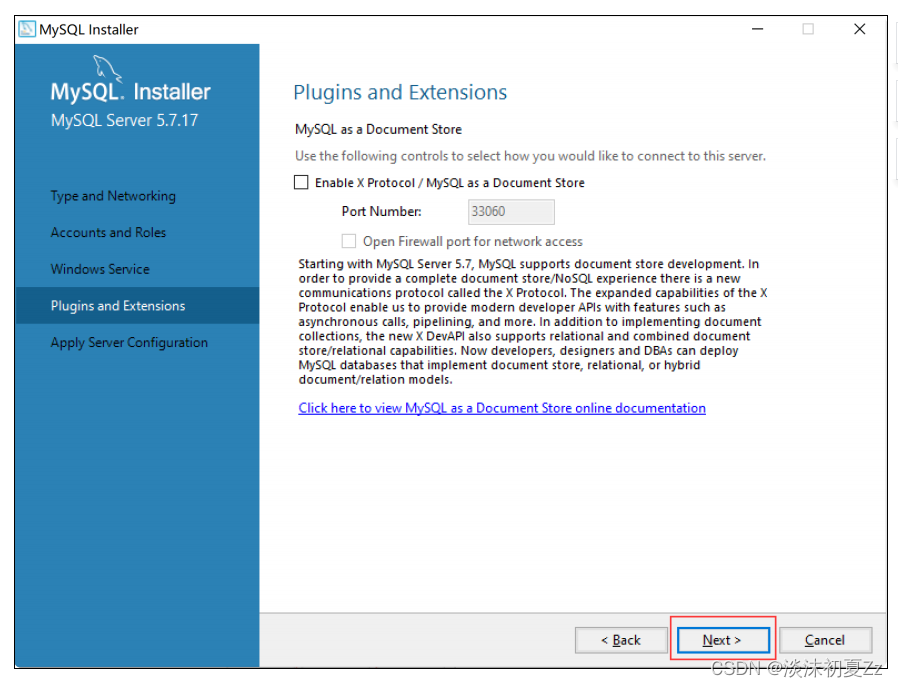
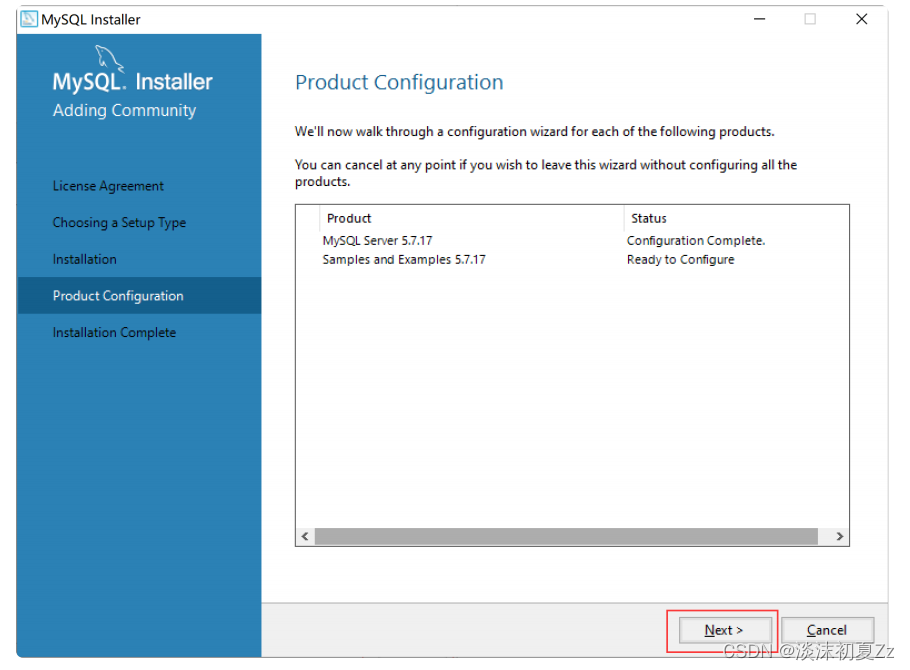
Then click Next
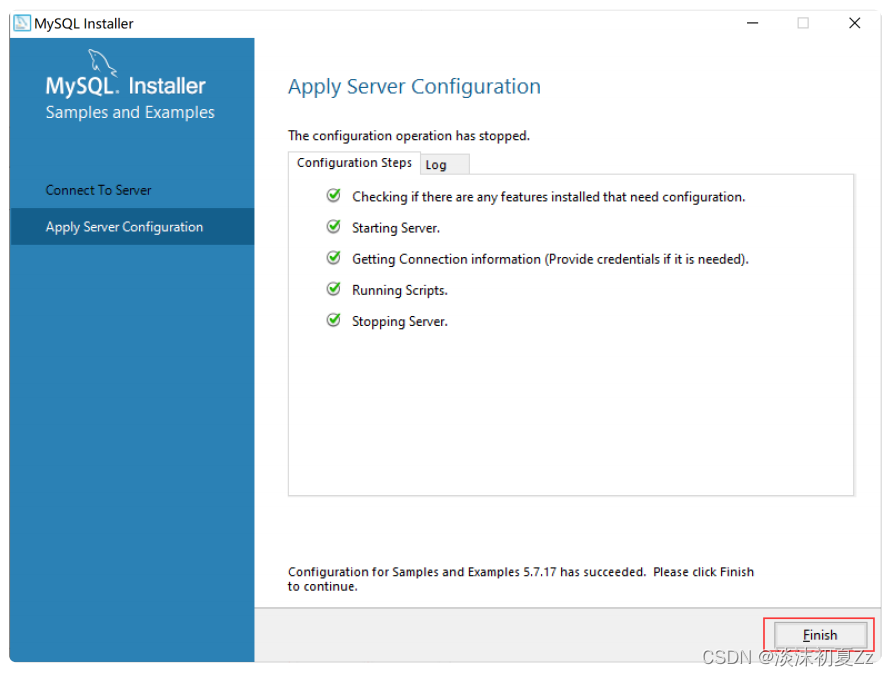
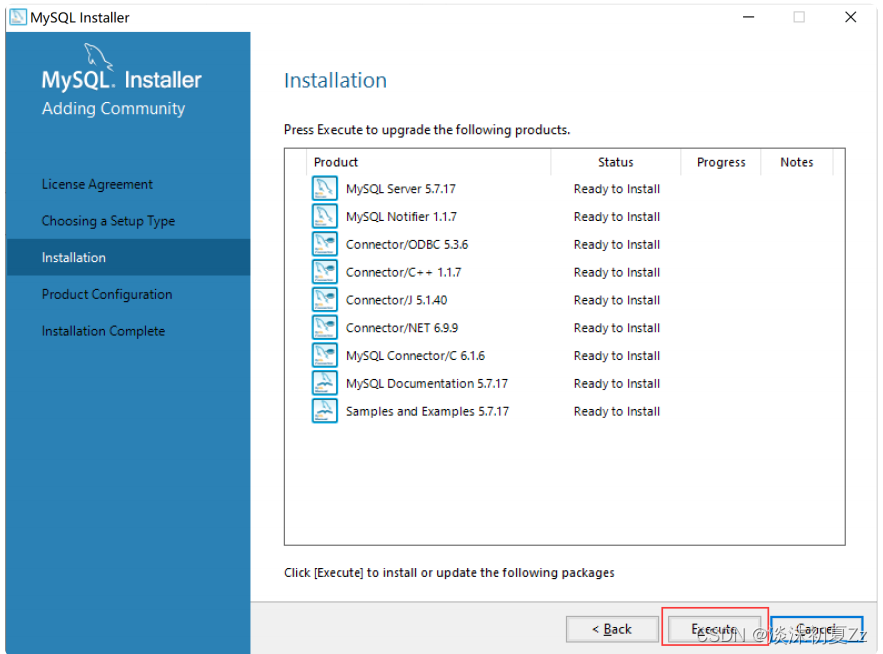
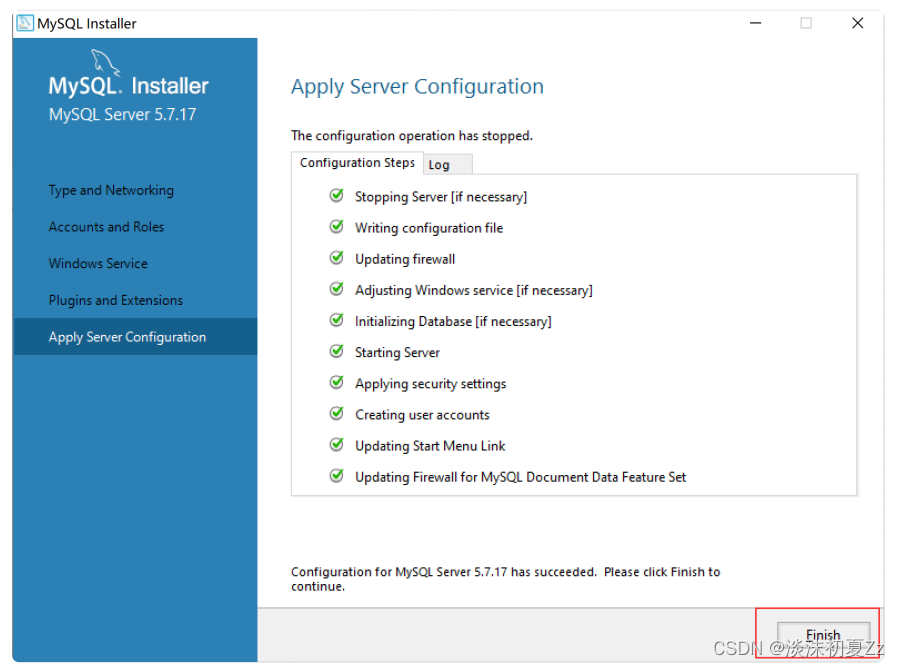
. After all the tests are passed, click Finish and then continue to Next. Finally, the installation is completed.
2. Arrangement
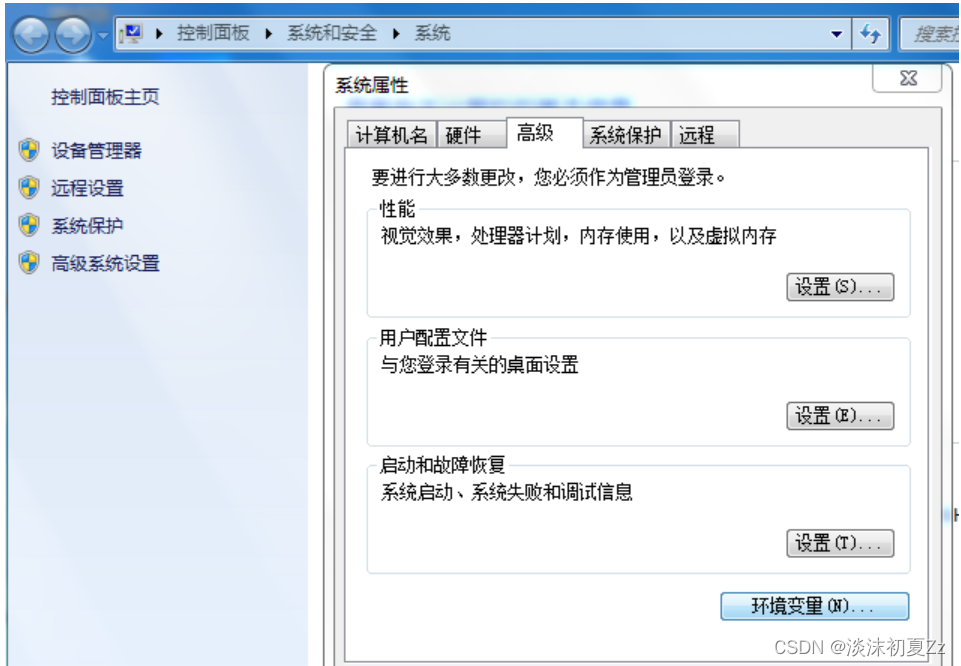
1. Select the "Computer" icon on the desktop, right-click -> Properties -> Click "Advanced System Settings" -> Click "Environment Variables"
2. Click System Variable S, Create New
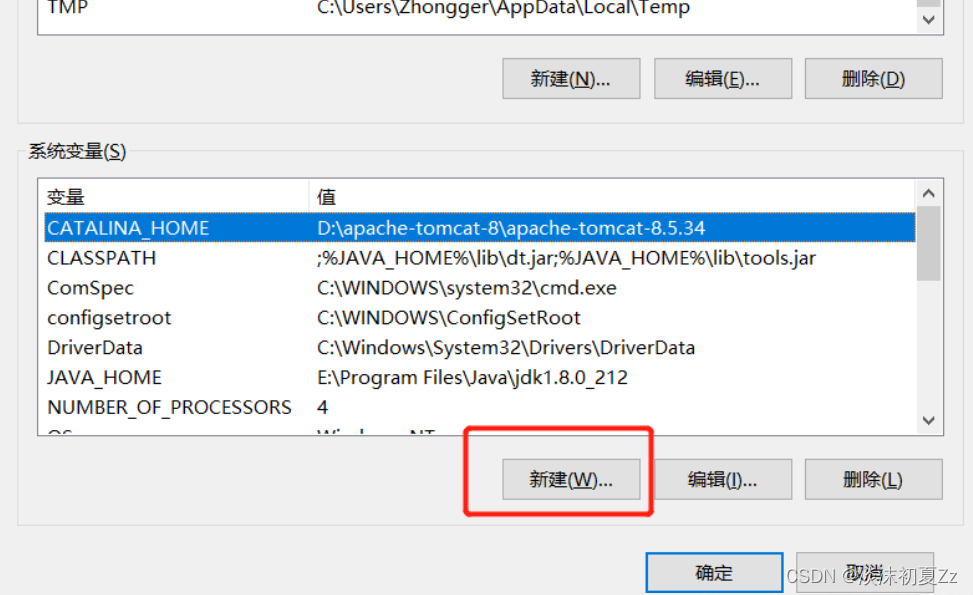
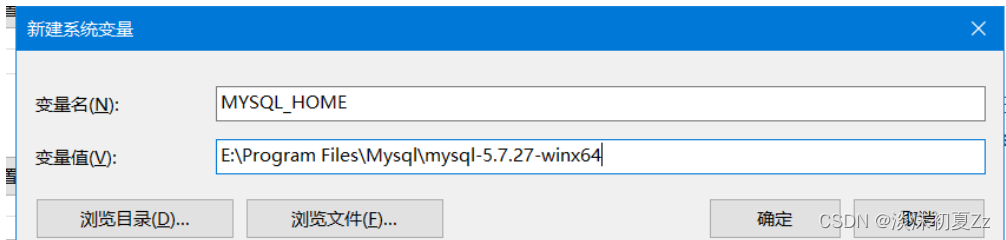
3. Click New, the variable name is: MYSQL_HOME, add where your mysql-5.7-winx64 folder is located.
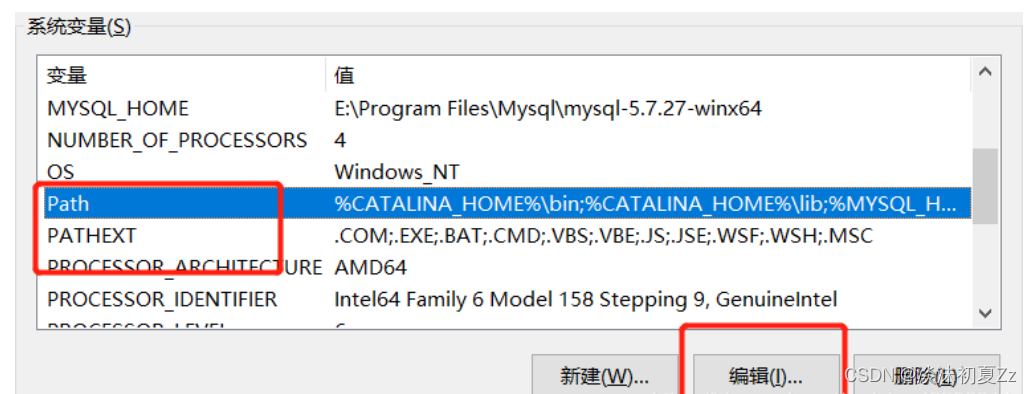
4. Edit Path and copy ;%MYSQL_HOME%\bin to the back of the original value, as shown in Figure
5. Configure the my.ini file
to create a new my.ini file in your mysql-5.7.37-winx64 directory, mine is in Create a new one in the E:\Program Files\Mysql\mysql-5.7.37-winx64 directory, and the content of the my.ini file is:
[mysqld]
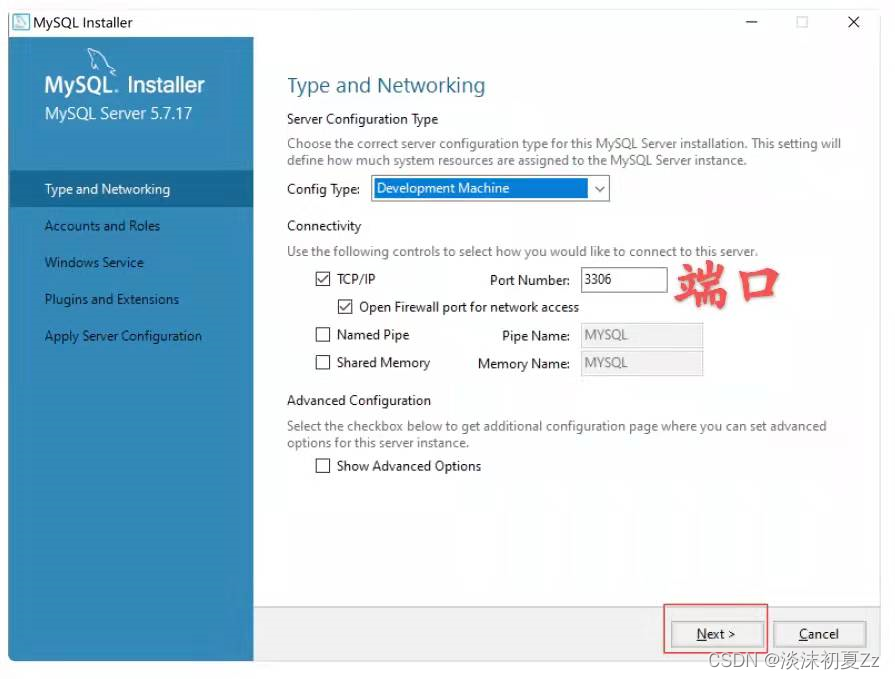
#端口号
port = 3306
#mysql-5.7.37-winx64的路径
basedir=E:\Program Files\Mysql\mysql-5.7.37-winx64
#mysql-5.7.37-winx64的路径+\data
datadir=E:\Program Files\Mysql\mysql-5.7.37-winx64\data
#最大连接数
max_connections=200
#编码
character-set-server=utf8
default-storage-engine=INNODB
sql_mode=NO_ENGINE_SUBSTITUTION,STRICT_TRANS_TABLES
[mysql]
#编码
default-character-set=utf8
Three, log in
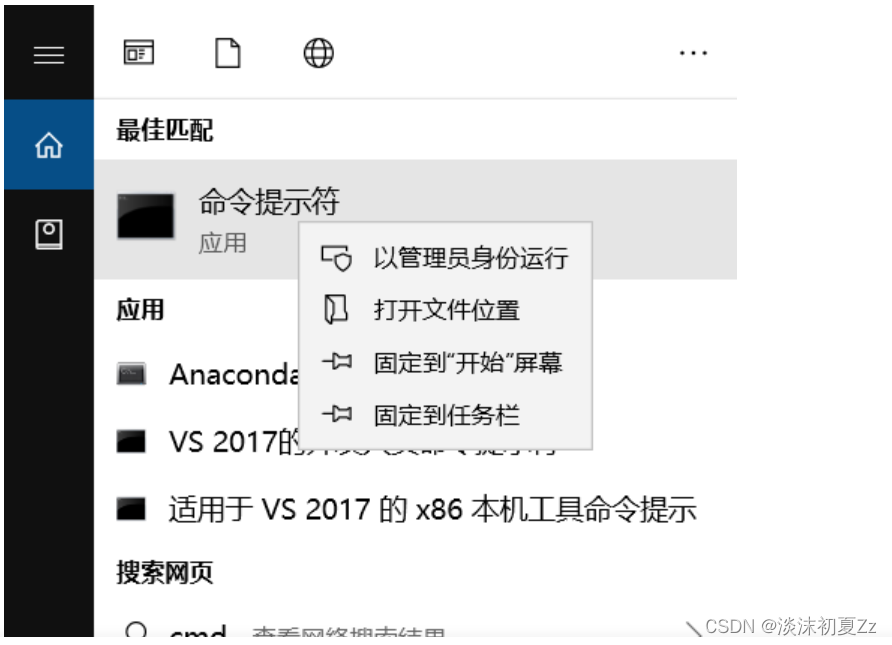
1. Enter cmd in the input box and run it as an administrator, this is very important!
2. Go to the MySQL directory in cmd
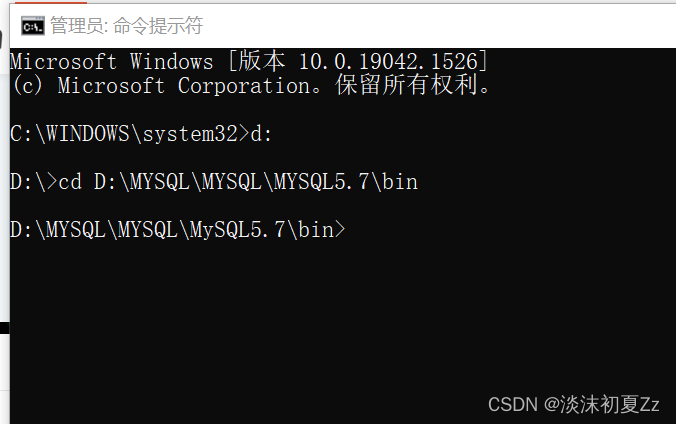
3. Enter the installation command: mysqld -install. If Service successfully installed appears, the installation is successful; if Install of the Service Denied appears, it means that cmd is not run with administrator privileges:

4. Then enter the startup command: net start mysql, and the following prompt appears to prove that MySQL has started successfully:

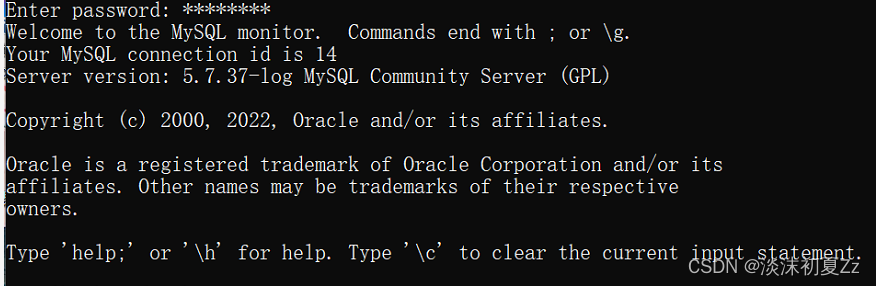
5. Enter the command mysql -u root -p, enter the password
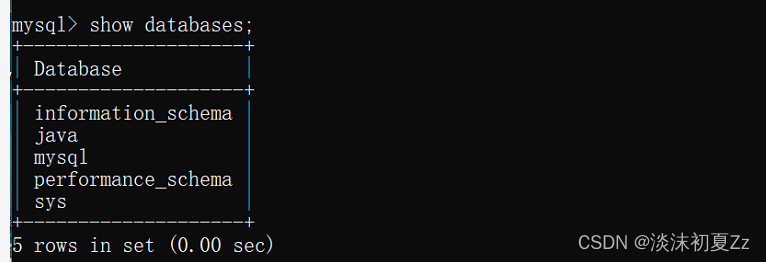
6, enter show databases, and display the database