Article directory
1. labelImg tool
Generally, those who do target detection work use the labelImg tool to label images. Here I will focus on how to use this tool.
1. Install labelImg
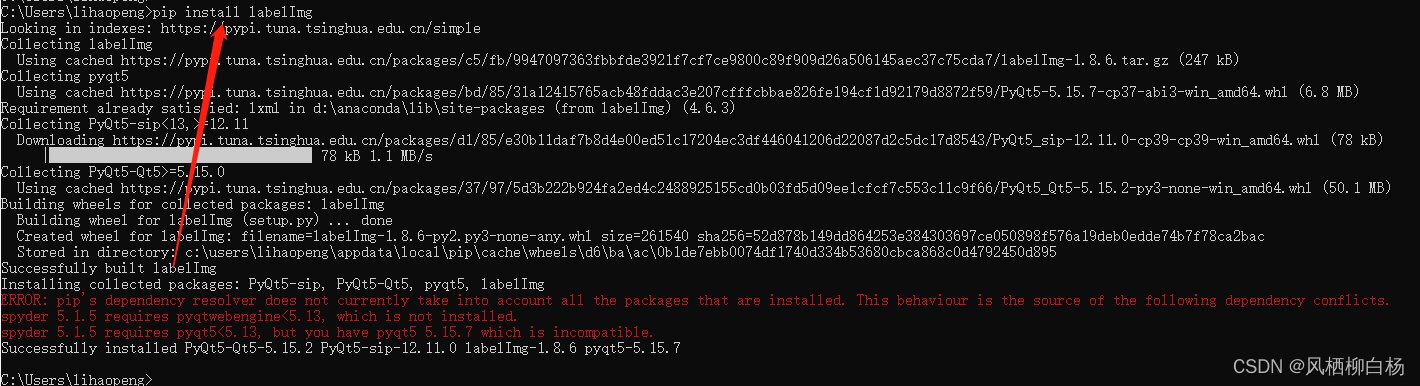
Enter the command line, no brainer
pip install labelImg
Be careful not to enter the wrong letters here.
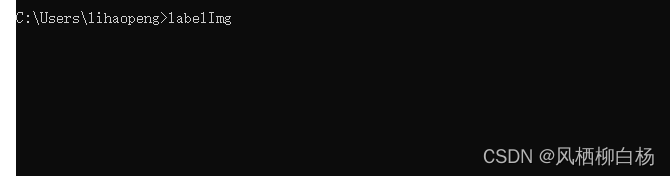
2. Enter the labelImg interface
Type directly into the command line
labelImg
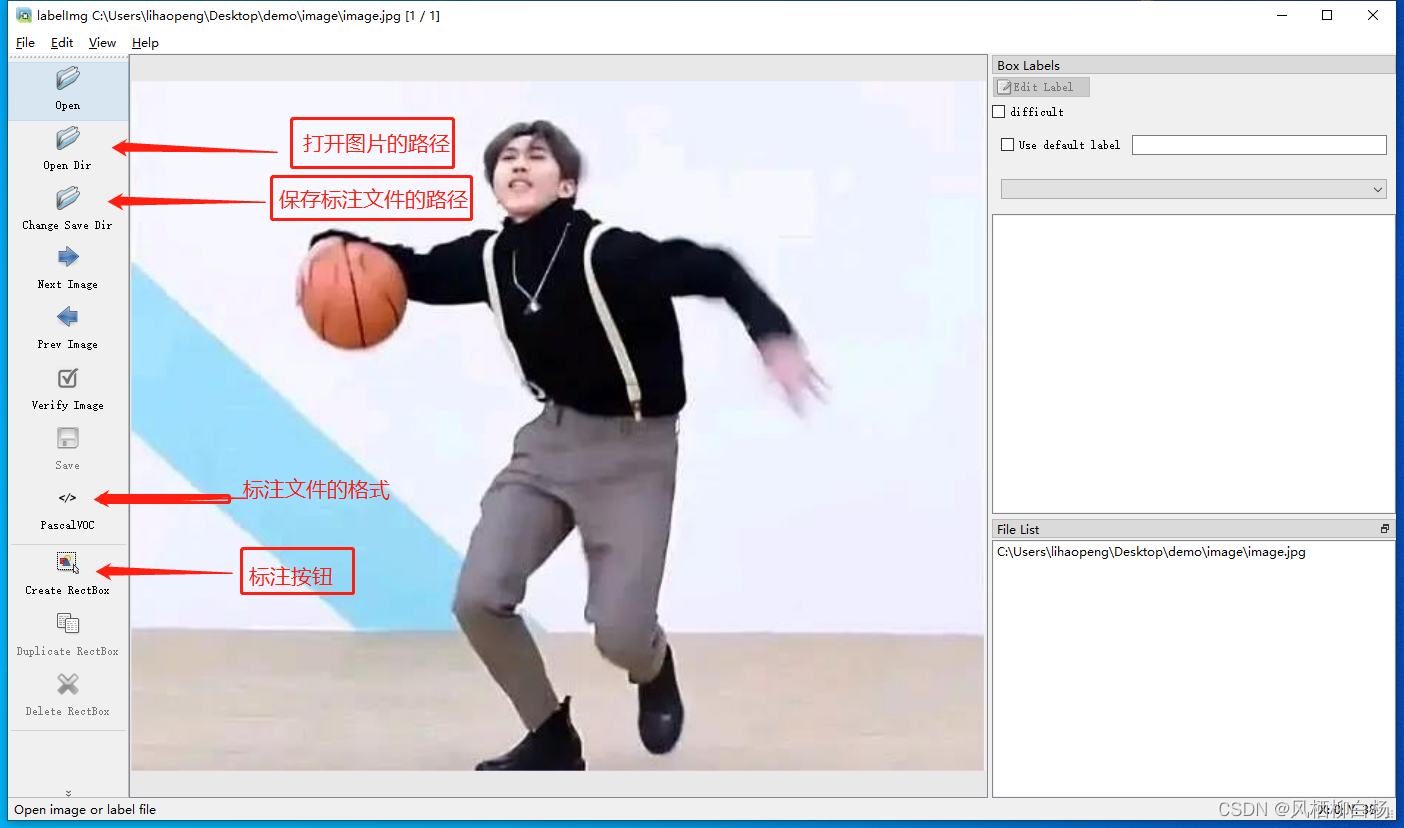
Then the interface shown in the figure below appears. This is the operation window for annotating pictures.
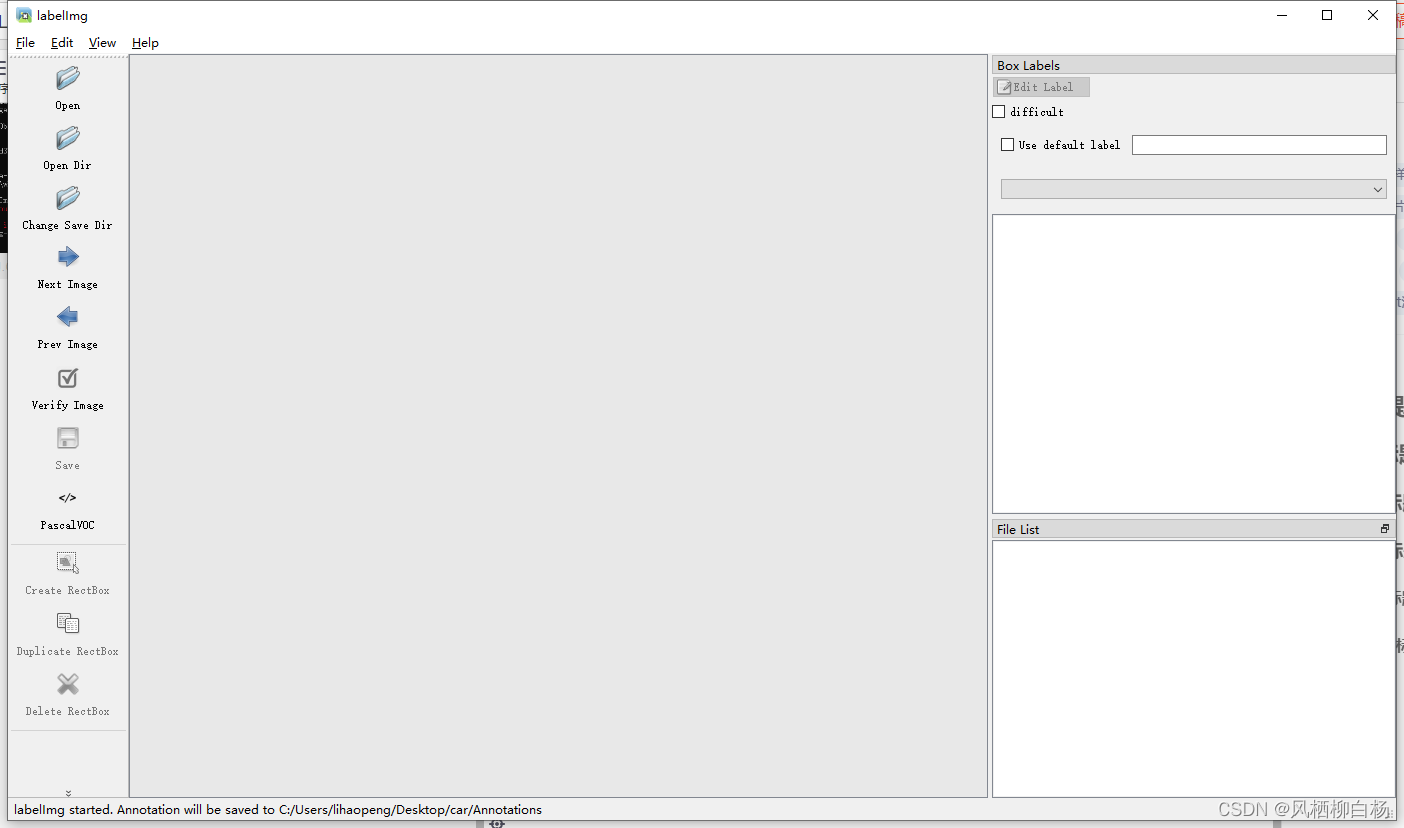
3. The meaning of some buttons in the interface.
4. Some shortcut keys
ctrl+u 				选择要标注的文件目录
ctrl+r				选择标注好的标签存放目录
ctrl+s				保存标注好的标签(自动保存模式下可以自动保存)
ctrl+d				复制当前标签和矩形框
ctrl+shift+d		删除当前图片
space				将当前图像标注为已验证
'''以下为比较常用的标注操作'''
w					创建矩形框
d					切换到下一张图
a					切换到上一张图
del					删除选中的标注矩形框
ctrl ++				放大图片
ctrl --				缩小图片
方向键				移动选中矩形框的位置
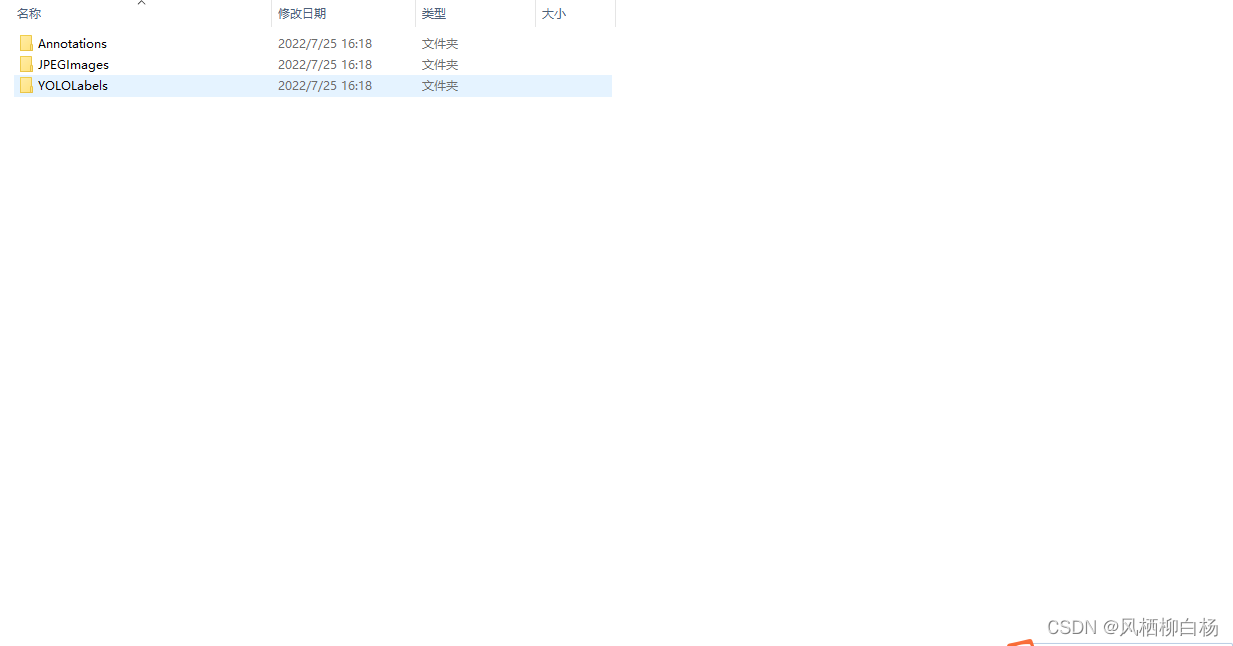
2. Annotated files
The annotated file is shown in the figure below. One is an image and the other is an xml file.
After performing the operation in the previous chapter, you can perfectly run the results of your own labeled data set.