In this article, we implement the last core function of article management: modifying articles.
Modifying articles and creating articles are actually very similar. There are two points to note:
- To modify an article, you need to pass in the ID and specify the article to be modified.
- To modify an article, you need to read the article content first and then update it.
Next, we will implement the relevant code according to the MTV model.
The article model has been defined before and does not need to be changed.
Write view functions
Add ariticle/views.pythe view function to modify the article article_update():
# 更新文章
def article_update(request, id):
    """
    更新文章的视图函数
    通过POST方法提交表单,更新titile、body字段
    GET方法进入初始表单页面
    id: 文章的 id
    """

    # 获取需要修改的具体文章对象
    article = Article.objects.get(id=id)
    # 判断用户是否为 POST 提交表单数据
    if request.method == "POST":
        # 将提交的数据赋值到表单实例中
        article_post_form = ArticleForm(data=request.POST)
        # 判断提交的数据是否满足模型的要求
        if article_post_form.is_valid():
            # 保存新写入的 title、body 数据并保存
            article.title = request.POST['title']
            article.body = request.POST['body']
            article.save()
            # 完成后返回到修改后的文章中。需传入文章的 id 值
            return redirect("article:article_detail", id=id)
        # 如果数据不合法,返回错误信息
        else:
            return HttpResponse("表单内容有误,请重新填写。")

    # 如果用户 GET 请求获取数据
    else:
        # 创建表单类实例
        article_post_form = ArticleForm()
        # 赋值上下文,将 article 文章对象也传递进去,以便提取旧的内容
        context = { 'article': article, 'article_post_form': article_post_form }
        # 将响应返回到模板中
        return render(request, 'article/update.html', context)
In this function we do the following:
- When requesting the URL, you can pass in the id parameter
- According to the different request methods, the functions of querying and updating articles are implemented respectively.
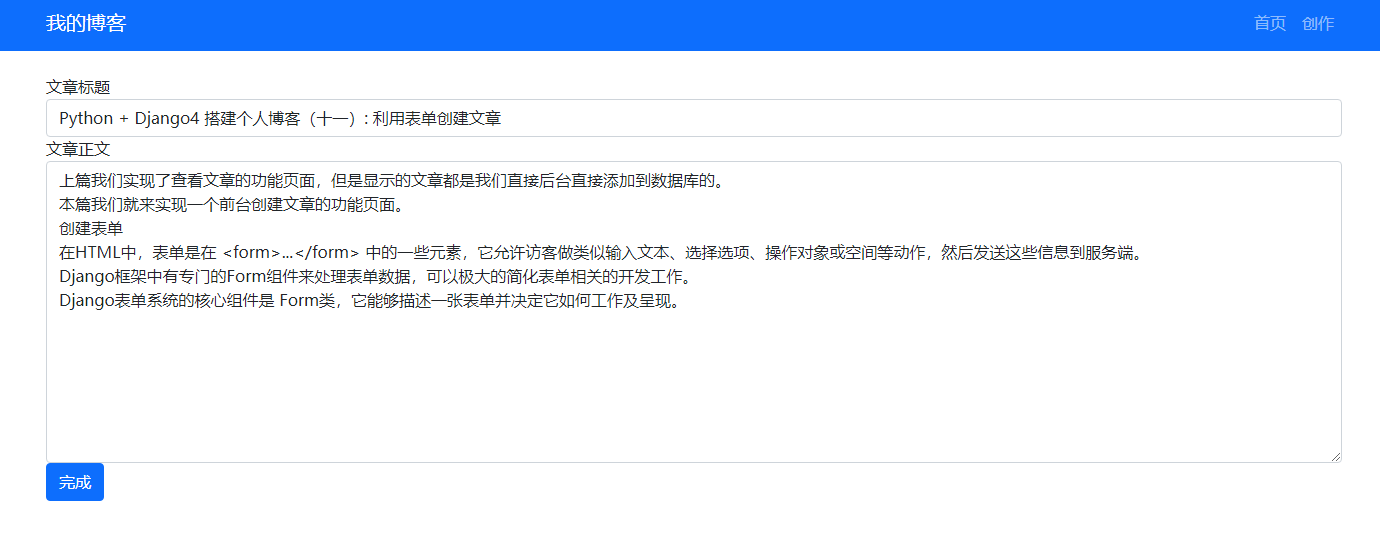
Write template
inputUpdating an article template is almost the same as creating an article template, except that we pass in the corresponding content of the original article in the title and content input boxes in advance.
Create a new one templates/article/update.htmland write:
{% extends "base.html" %} {% load static %}
{% block title %} 更新文章 {% endblock title %}
{% block content %}
<div class="container">
    <div class="row">
        <div class="col-12">
            <br>
            <form method="post" action=".">
                {% csrf_token %}
                <div class="form-group">
                    <label for="title">文章标题</label>
                    <!-- 在 value 属性中指定文本框的初始值为旧的内容,即 article 对象中的 title 字段 -->
                    <input type="text" class="form-control" id="title" name="title" value="{

   { article.title }}">
                </div>
                <div class="form-group">
                    <label for="body">文章正文</label>
                    <!-- 文本域不需要 value 属性,直接在标签体中嵌入数据即可 -->
                    <textarea type="text" class="form-control" id="body" name="body" rows="12">{

   { article.body }}</textarea>
                </div>
                <button type="submit" class="btn btn-primary">完成</button>
            </form>
        </div>
    </div>
</div>
{% endblock content %}
Modify URL
Configure routing:
urlpatterns = [
    path('admin/', admin.site.urls),
    path('hello/', views.hello),
    re_path(r'^$', views.article_list),
    path('list/', views.article_list, name='list'),  # 展示文章
    path('detail/<int:id>/', views.article_detail, name='detail'),  # 文章详情
    path('create/', views.article_create, name='create'),  # 写文章
    path('delete/<int:id>/', views.article_delete, name='delete'),# 删除文章
    # 增加更新文章
    path('update/<int:id>/', views.article_update, name='update'),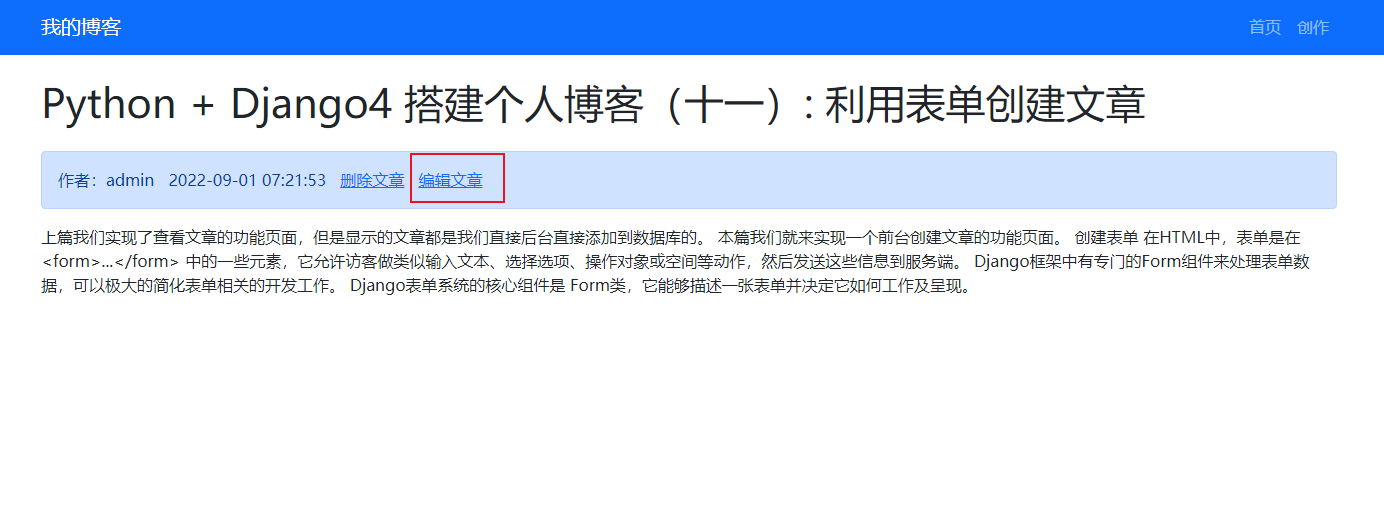
]tempaltes/article/detail.htmlAdd an entry to modify the article in the article details page :
...
<div class="container">
<!-- <div class="row">-->
<!-- 标题及作者 -->
<h1 class="col-12 mt-4 mb-4">{
{ article.title }}</h1>
<div class="col-12 alert alert-primary">
<div class="col-12">
<a>作者:{
{ article.author }}</a>
 
<a>{
{ article.created|date:'Y-m-d H:i:s' }}</a>
 
<a href="#" data-bs-toggle="modal" data-bs-target="#myModal">删除文章</a>
<!-- 新增一个隐藏的表单 -->
<form
style="display:none;"
id="safe_delete"
action="{% url "delete" article.id %}"
method="POST"
>
{% csrf_token %}
<button type="submit">发送</button>
</form>
 
<a href="{% url "update" article.id %}">编辑文章</a>
</div>
</div>Here we add another control, only the author can modify and delete his own articles.
First modify our article model and change the author field to the foreign key of the User model:
# 博客文章数据模型
class Article(models.Model):
    # 文章id,主键
    id = models.AutoField(primary_key=True)

    # 文章作者。修改为User的外键,参数 on_delete 用于指定数据删除的方式
    author = models.ForeignKey(User, on_delete=models.CASCADE)

    # 文章标题,models.CharField 为字符串字段,用于保存较短的字符串,比如标题
    title = models.CharField('标题',max_length=100)

    # 文章正文,保存大量文本使用 TextField
    body = models.TextField('文章正文')

    # 文章创建时间,参数 default=timezone.now 指定其在创建数据时将默认写入当前的时间
    created = models.DateTimeField(default=timezone.now)

    # 文章更新时间,参数 auto_now=True 指定每次数据更新时自动写入当前时间
    updated = models.DateTimeField(auto_now=True)
Re-migrate the model
python manage.py makemigrations article
Then add user verification in the Detail template.
...
<!-- 写入 base.html 中定义的 content -->
{% block content %}
<!-- 文章详情 -->
<div class="container">
<!-- <div class="row">-->
<!-- 标题及作者 -->
<h1 class="col-12 mt-4 mb-4">{
{ article.title }}</h1>
<div class="col-12 alert alert-primary">
<div class="col-12">
<a>作者:{
{ article.author }}</a>
 
<a>{
{ article.created|date:'Y-m-d H:i:s' }}</a>
 
<!-- 只有作者可以修改文章 -->
{% if user == article.author %}
<a href="#" data-bs-toggle="modal" data-bs-target="#myModal">删除文章</a>
<!-- 新增一个隐藏的表单 -->
<form
style="display:none;"
id="safe_delete"
action="{% url "delete" article.id %}"
method="POST"
>
{% csrf_token %}
<button type="submit">发送</button>
</form>
 
<a href="{% url "update" article.id %}">编辑文章</a>
{% endif %}
</div>
</div>Run the server:
The system error is as follows:

The reason is that the Author in our previous Article table stored the user name, but now we have changed it to the foreign key of User, and they are related through ID.
So we need to manually change the value of author_id in the Article table in MySQL to User id.

After modification, restart the server to see the effect:
Log in with another user and check it out

Conclusion
So far we have implemented the four core functions of adding, deleting, modifying and checking an article.
Next we will start to learn the functional implementation of user management.