At the beginning of this article, we will implement the user management module.
First, let's implement user login and logout.
Create APP
Users and articles belong to different functional modules. In order to facilitate management, we create a new one userprofilecalledApp
Run the startapp command to create a new app:
python manage.py startapp userprofile
You can see that we have generated a new App

Add App to App List:
INSTALLED_APPS = [
    'django.contrib.admin',
    'django.contrib.auth',
    'django.contrib.contenttypes',
    'django.contrib.sessions',
    'django.contrib.messages',
    'django.contrib.staticfiles',
    'article',
    # 新增'userprofile'代码,激活app
    'userprofile',
]
Write login form
When users log in, they need to fill in form data such as account password, so the Form form class is used.
When we created the article before, we introduced Django forms. At that time, we used the forms.ModelForminherited class. This time we use another class: forms.Form.
userprofileCreate a form class file in the directory and forms.pywrite the following code:
# 引入表单类
from django import forms

# 登录表单,继承了 forms.Form 类
class UserLoginForm(forms.Form):
    username = forms.CharField()
password = forms.CharField()forms.ModelForm, this parent class is suitable for functions that need to interact directly with the database.
While forms.Formeach field needs to be configured manually, it is suitable for functions that do not interact directly with the database. User login does not require any changes to the database, so it forms.Formcan be inherited directly.
Write view
In a regular App, we need to write a model before writing a view, but under the Django framework, Django has automatically created a user model for us when we create the project.
In fact, we Adminhave already used it when using modules.
When we implement user functions, we can directly use Django's built-in Usermodels. For the built-in Usermodels, Django also integrates some common view functions, such as login, logout, session management, etc., which can greatly improve our web development efficiency. .
Login view
userprofile/views.pyWrite the view function in :
from django.shortcuts import render, redirect
from django.contrib.auth import authenticate, login
from django.http import HttpResponse
from .forms import UserLoginForm

# Create your views here.

def user_login(request):
    if request.method == 'POST':
        user_login_form = UserLoginForm(data=request.POST)
        if user_login_form.is_valid():
            # .cleaned_data 清洗出合法数据
            data = user_login_form.cleaned_data
            # 检验账号、密码是否正确匹配数据库中的某个用户
            # 如果均匹配则返回这个 user 对象
            user = authenticate(username=data['username'], password=data['password'])
            if user:
                # 将用户数据保存在 session 中,即实现了登录动作
                login(request, user)
                return redirect("list")
            else:
                return HttpResponse("账号或密码输入有误。请重新输入~")
        else:
            return HttpResponse("账号或密码输入不合法")
    elif request.method == 'GET':
        user_login_form = UserLoginForm()
        context = { 'form': user_login_form }
        return render(request, 'userprofile/login.html', context)
    else:
        return HttpResponse("请使用GET或POST请求数据")
Here we introduce authenticate, loginthe module that comes with Django to implement user authentication and login functions.
- Similar to the form class for publishing articles,
Formthe main task of the object is to validate data. Call the is_valid() method to verify and return a Boolean value indicating whether the specified data is valid. FormNot only is it responsible for validating data, it also "cleans" it: standardizing it into a consistent format. This feature makes it possible to enter data for a specific field in various ways and always produce a consistent output. OnceForman instance has been created with the data and validated,cleaned_datathe cleaned data can be accessed through properties.authenticate()The method verifies whether the user name and password match, and if so, returns this user data.login()Method to implement user login and save user data insession.
Session is called "session control" in network applications. It stores the attributes and configuration information required for a specific user session.
When the user jumps between Web pages, the variables stored in the Session object will not be lost, but will persist throughout the user session.
The most common use of Session is to store user login data.
Logout view
Logging out of the view is even simpler. The imported logoutmodule directly calls the built-in logout()function, and all web-related actions are completed in the Django background.
# 用户退出
def user_logout(request):
    logout(request)
    return redirect("list")
Write template
Here we change two places:
1. Add navigation bar entry:
Rewrite it tempalates/header.htmland add login and logout buttons:
	...
				<li class="nav-item">
                    <a class="nav-link" href="{% url 'create' %}">创作</a>
                </li>
#增加以下内容
                <!-- Django的 if 模板语句 -->
                {% if user.is_authenticated %}
                 <li class="nav-item dropdown">
                    <a class="nav-link dropdown-toggle" data-bs-toggle="dropdown" href="#" role="button" aria-expanded="false">{

   { user.username }}</a>
                    <ul class="dropdown-menu">
                        <a class="dropdown-item" href="{% url 'logout' %}">退出登录</a>
                    </ul>
                 </li>
                    <!-- 如果用户未登录,则显示 “登录” -->
                {% else %}
                 <li class="nav-item">
                    <a class="nav-link" href="{% url 'login' %}">登录</a>
                 </li>
                <!-- if 语句在这里结束 -->
                {% endif %}
The new template syntax is used here: {% if ... %}to determine whether the user is logged in:
- If the user is logged in, a drop-down box with the user's name is displayed. The drop-down box has a sub-option to log out, just like a normal social networking site.
- If the user is not logged in, the word "Login" is displayed to remind the user to click to log in.
is_authenticatedIs models.Usera property of the class used to determine whether the user has been authenticated.
2. Create a new login page
Create a new folder templates/userprofile, and then add login.html:
{% extends "base.html" %} {% load static %}
{% block title %} 登录 {% endblock title %}
{% block content %}
<div class="container">
    <div class="row">
        <div class="col-12">
            <br>
            <form method="post" action=".">
                {% csrf_token %}
                <!-- 账号 -->
                <div class="form-group">
                    <label for="username">账号</label>
                    <input type="text" class="form-control" id="username" name="username">
                </div>
                <!-- 密码 -->
                <div class="form-group">
                    <label for="password">密码</label>
                    <input type="password" class="form-control" id="password" name="password">
                </div>
                <!-- 提交按钮 -->
                <button type="submit" class="btn btn-primary">提交</button>
            </form>
        </div>
    </div>
</div>
{% endblock content %}
Rewrite URL
Introduce the view in the url.py file userprofileand add the user-managed urlrouting address.
from django.contrib import admin
from django.urls import path, re_path
# 引入app视图
import article.views
import userprofile.views

urlpatterns = [
    path('admin/', admin.site.urls),
    path('hello/', article.views.hello),
    re_path(r'^$', article.views.article_list),
    path('list/', article.views.article_list, name='list'),  # 展示文章
    path('detail/<int:id>/', article.views.article_detail, name='detail'),  # 文章详情
    path('create/', article.views.article_create, name='create'),  # 写文章
    path('delete/<int:id>/', article.views.article_delete, name='delete'),# 删除文章
    path('update/<int:id>/', article.views.article_update, name='update'),    # 更新文章
    # 增加用户管理
    path('login/', userprofile.views.user_login, name='login' ),
    path('logout/', userprofile.views.user_logout, name='logout' ),
]
Since userprofilethis apphas not changed model, we do not need to migrate the data.
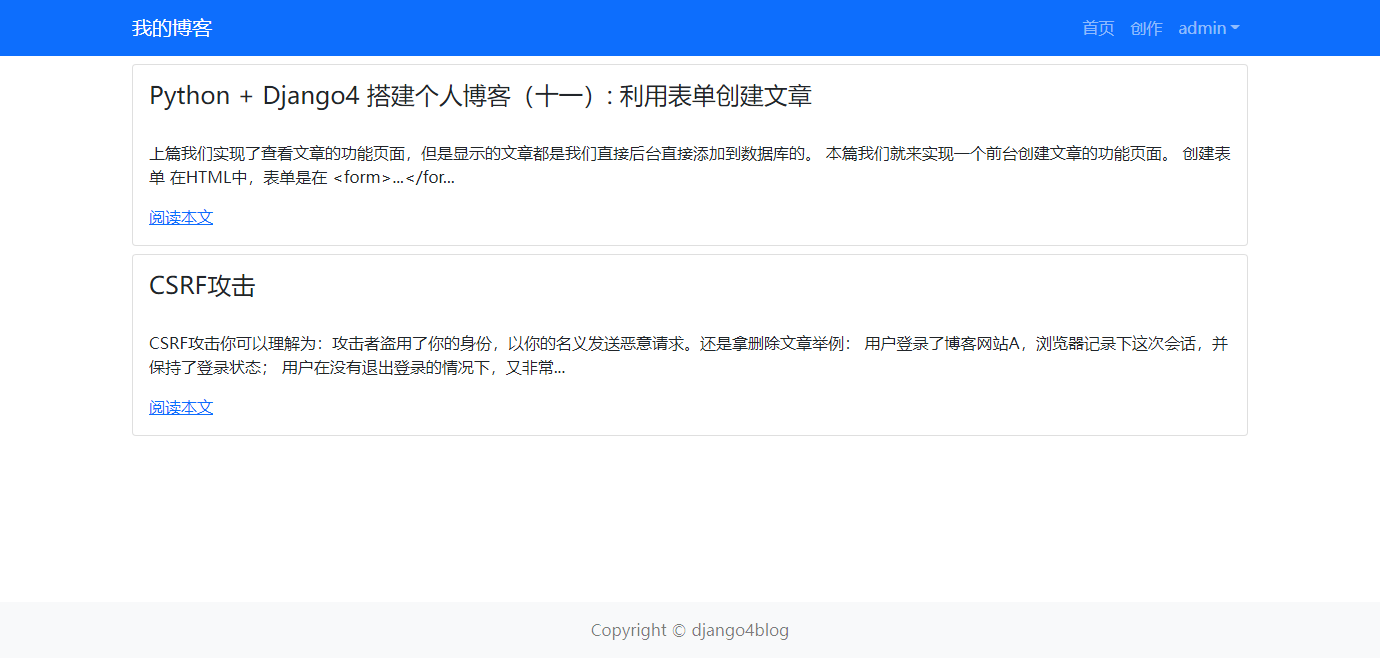
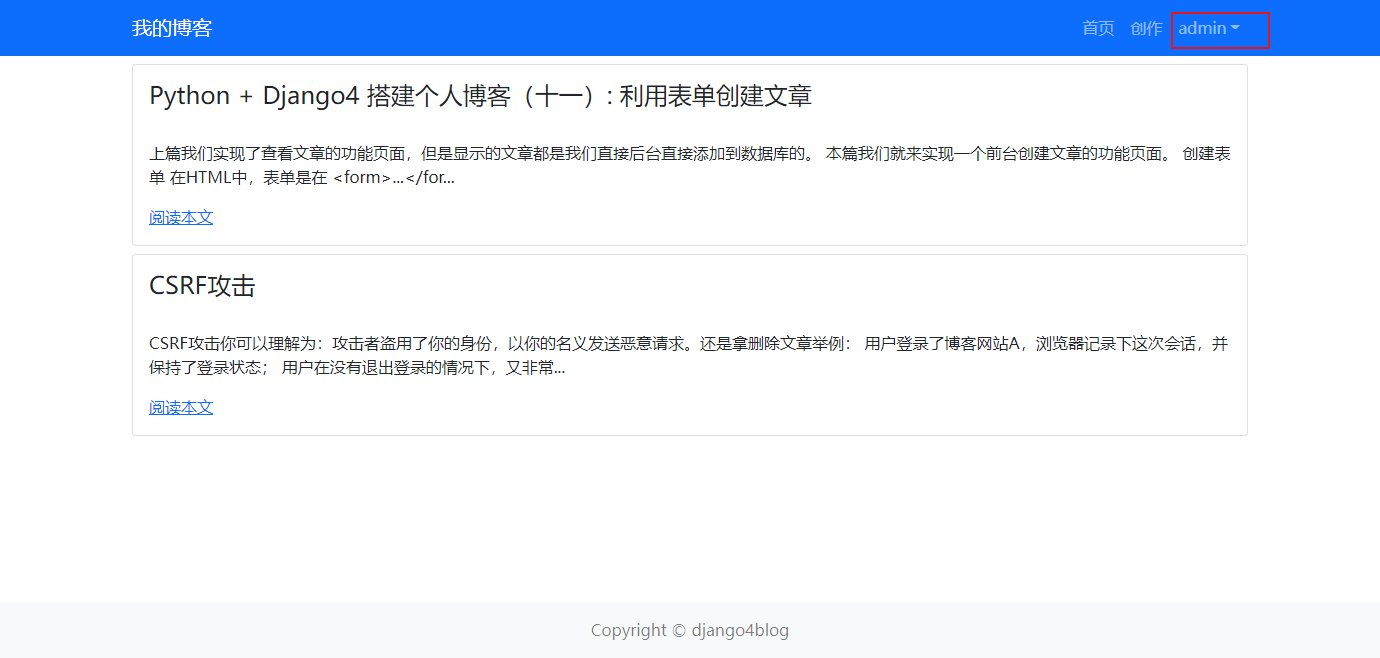
Run the server and open the blog URL. If we have logged in as a super user before admin, the super user information that we have logged in will be directly displayed:
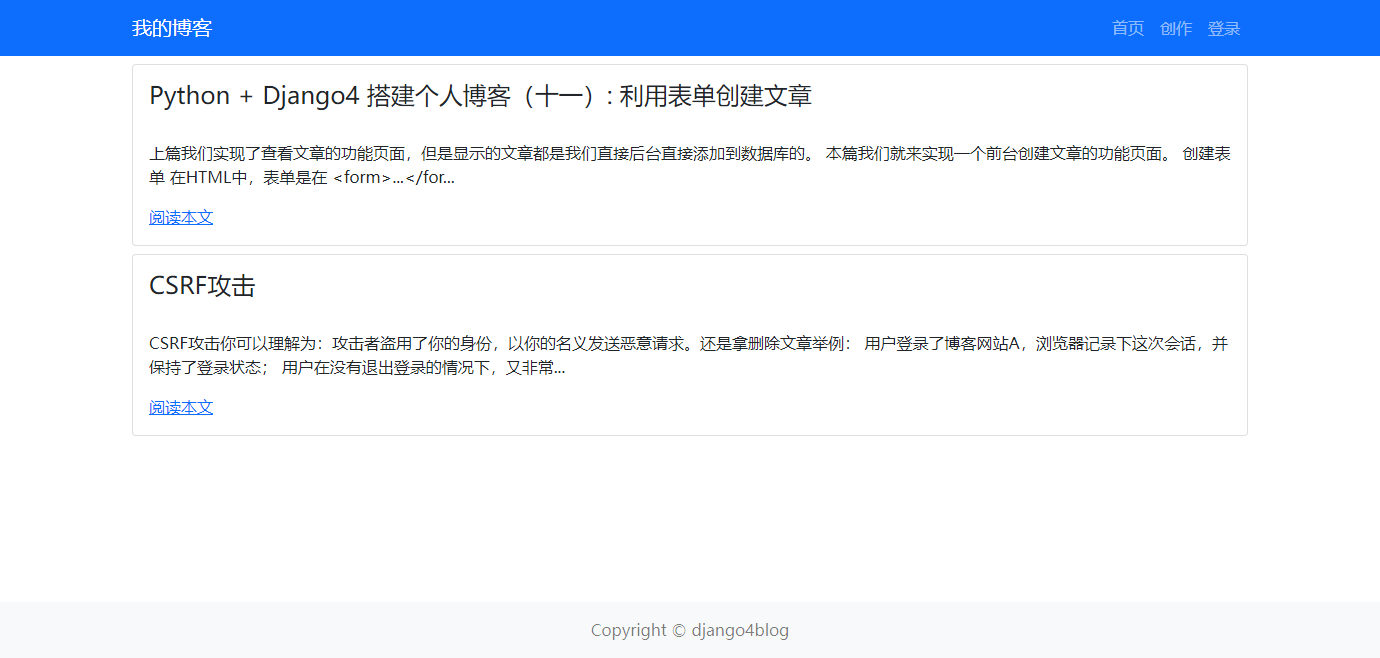
Click Logout in the user drop-down menu, and a login button will appear on the URL:

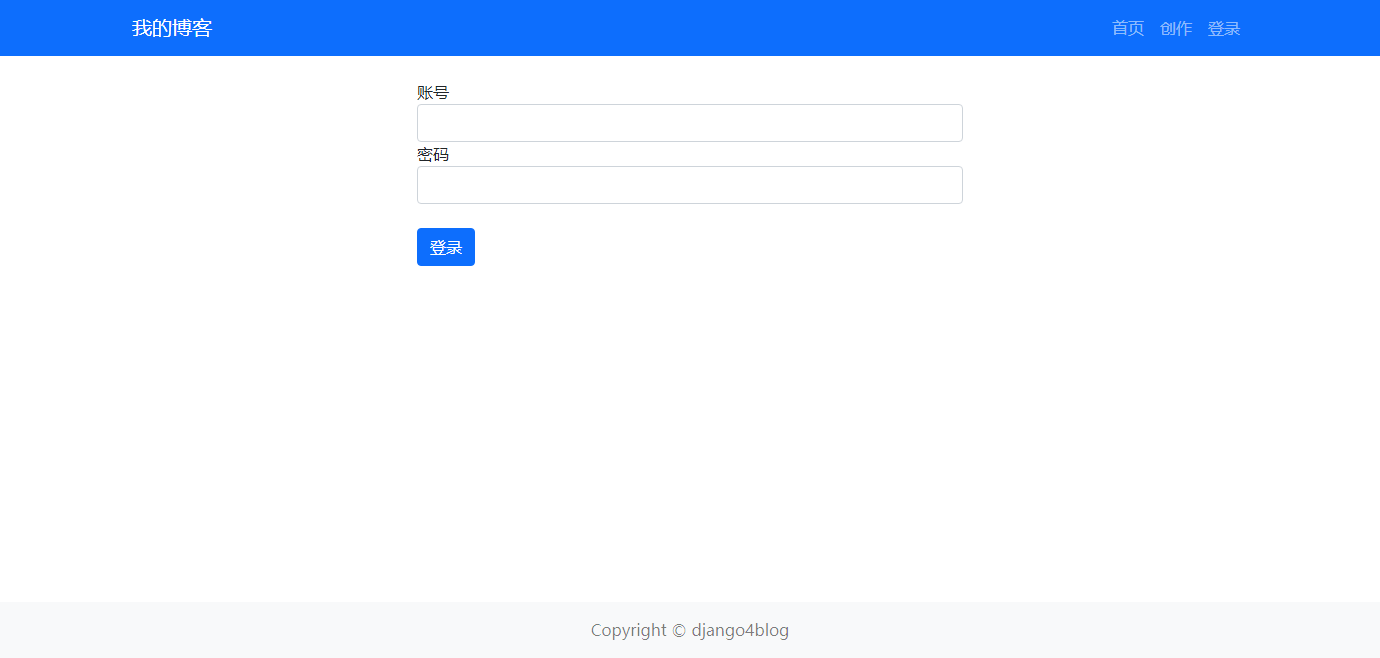
Click the login button

After entering the username and password, click the login button, the login is successful, and our username is displayed:
At this point, we have fully implemented the user login and logout functions.
Conclusion
In this article, we use Django's built-in User model and call the built-in functions such as loginand to implement the login and logout functions of a Web website.logout
The syntax of Django templates used in templates {% if ... %}enables displaying different content based on different conditions.
In the next article, we will continue to implement user management-related functions: user registration.