Build NAS through HFS at low cost and achieve public network access through intranet penetration
Article directory
Preface
As a new concept, cloud storage has been very popular in the past few years. Although the popularity has dropped rapidly due to a series of black swan events, the convenience brought by cloud storage is deeply rooted in the hearts of the people. Therefore, after the popularity of cloud storage products from major manufacturers has declined, the popularity of private NAS has rapidly increased. The most representative one must be Synology NAS. But Synology’s price is too high for individuals and small businesses to afford. In fact, we can use cpolar and cooperate with specific software to create our own low-cost NAS. Now, let's see how to do it.
1. Download and install cpolar
The core function of cloud storage is to easily retrieve and store data under any network conditions (public Internet or local area network). This function is consistent with shared file access, so we can completely access web pages through shared files+ cpolar's intranet penetrates the data tunnel to access computers in the LAN from the public Internet and retrieve downloaded or shared files. The file sharing web page we use is HFS. Therefore, what we need to download and install are Cpolar and HFS. The download addresses are as follows:
- cpolar:https://www.cpolar.com/download
- HFS: https://www.rejetto.com/hfs/?f=dl (The Chinese version can also be searched on Baidu)
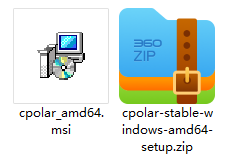
After downloading these two softwares, you can unzip and obtain the program files. Among them, cpolar can be installed directly by double-clicking the installation file.
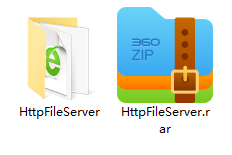
HFS does not require installation, and the program will be run directly after double-clicking. The main program of HFS looks like this:
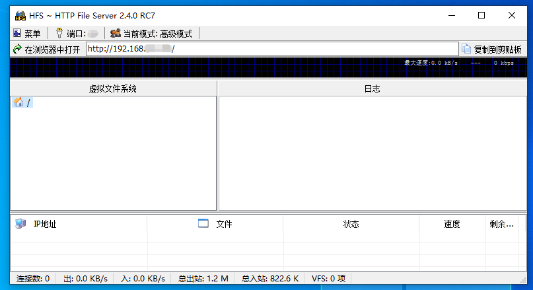
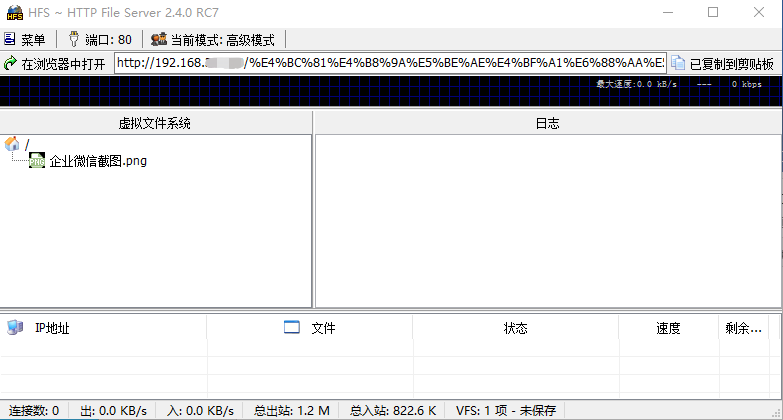
Although this software looks relatively simple, its functions are very practical. As long as we drag the file we intend to share (including documents, pictures, videos, compressed packages, etc.) into the blank space of the "Virtual File System" on the left side of the main interface, we can turn this file into a shared file.
1.1 Setting up HFS guest
At this time, our local HFS does not have guest permissions, a remote file upload path, or an output port specified. Therefore, we need to set these contents first to use HFS safely. The first is the guest settings for HFS. We open the "Menu" tab of the main interface of the software, find the "Other Settings" item, and find the "User Account" option from the pop-up secondary directory.

In "Add User", we can change the user name (double-click the user we intend to create until the user name becomes editable), then check "Enable" and "Super User" in the middle of the page, and enter the password on the next line . After completing the settings, you can click "Apply" in the lower right corner to save this user.

Then we create a "normal user" in the same way, but this user will no longer be granted "super user" permissions.

It should be noted here that the "Enable" item we have always checked can directly determine whether the user is valid without having to frequently add and delete users. After setting up two users, you can click the "OK" button in the lower right corner to save the settings and return to the main interface of the HFS software.
1.2 Virtual file system
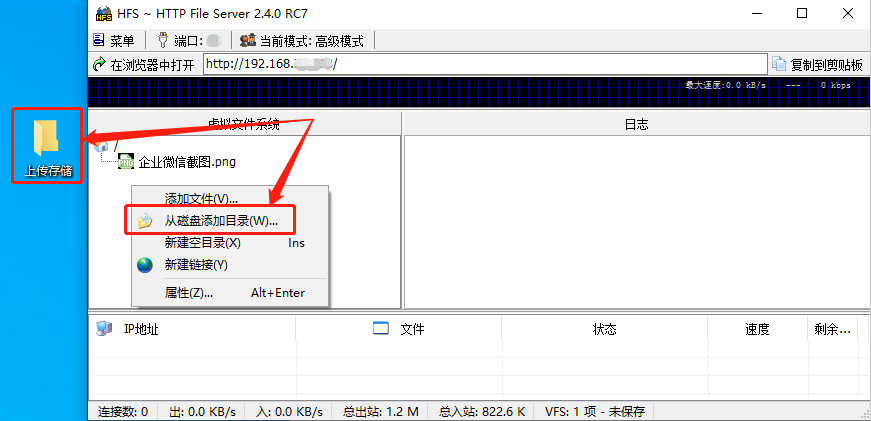
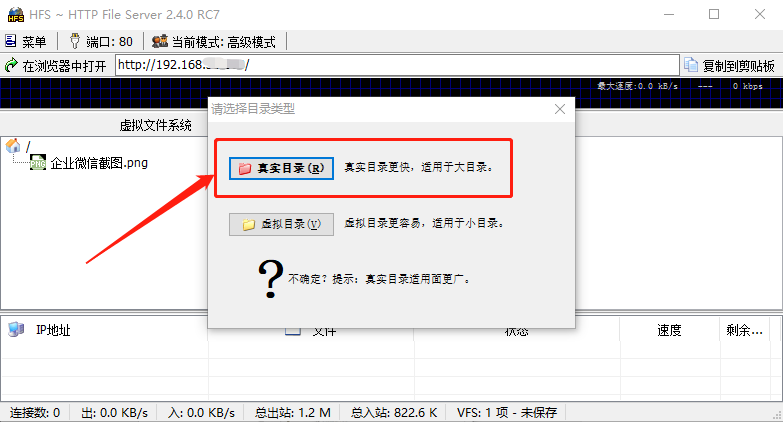
Next, we set up a folder to store uploaded files and set the permissions for this folder. First, we create a new folder on the local computer (named "Upload Storage" here), then click the right side of the mouse in the "Virtual File System" blank space on the left side of the HFS main interface, and you can view it from the pop-up menu. Go to the "Add Directory from Disk" option, click to find our new "Upload Storage" folder, and select "Real Directory" in the pop-up dialog box to include this folder in the "Virtual File System".

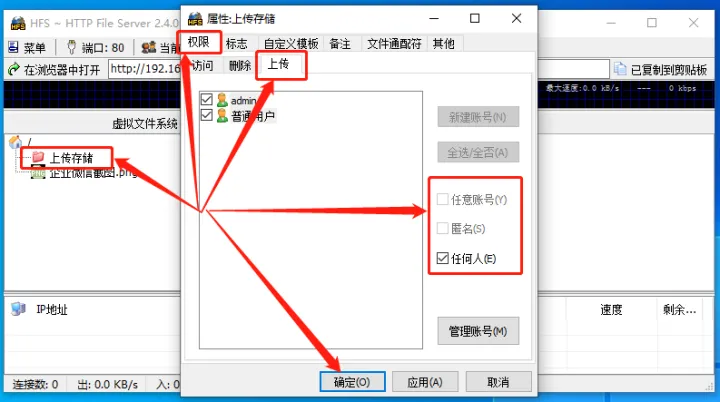
Then, we right-click the red "Upload Storage" folder and click the "Properties" button at the bottom of the pop-up menu to set permissions for this folder. On this page, we click the "Permissions" tab, and on the "Upload" page, check the users allowed to upload according to actual needs. Finally, click the "Confirm" button at the bottom of the page to save the settings.
Of course, we can also go to the "Upload" item in the "Menu" and click "How to upload" in the pop-up option bar to view the guidelines for upload settings.

After completing these settings, our setting of HFS comes to an end. However, it should be noted that hfs is a green software. If you want it to run stably for a long time, it is best to add it to the auto-start list and background running list. Next, we will establish an intranet penetration data tunnel through cpolar, publish the local HFS to the public Internet, and make our computer a simple version of NAS that can upload, download and store files.
2. Use cpolar to establish an intranet penetration data tunnel
Next, we can use cpolar to establish an intranet penetration data tunnel, allowing us to access hfs located on the intranet on the public Internet and upload and download files.
2.1 Reserved Tunnel
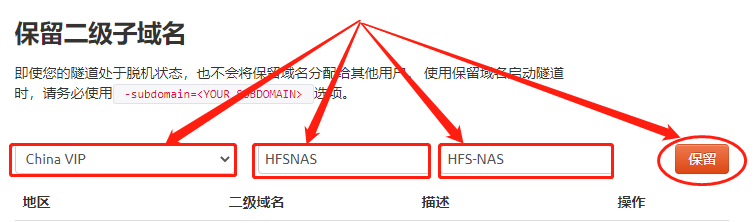
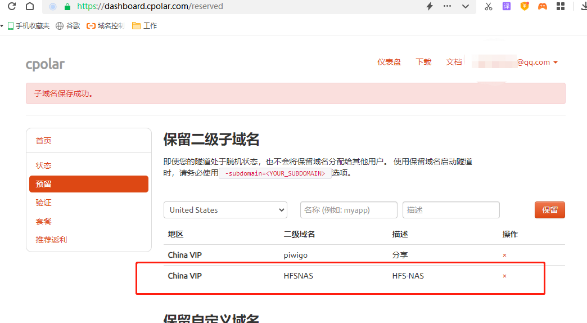
First, we log in to cpolar’s official website. On the left side of the official website’s main page, we find the “Reserve” button. On the "Reservation" page, several pieces of information are required to establish a blank data tunnel. The first is "region", which can be selected according to the actual place of use; then there is "secondary domain name". The second-level domain name will eventually be displayed in the generated web link, so you need to pay attention to the content. Here we fill in HFSNAS; and finally " "Description" can be understood as the comment of this data tunnel and can be filled in arbitrarily. After completing these contents, you can click the "Reserve button" on the right to retain this data tunnel.
Next, we return to the local computer client of cpolar (you can find the cpolar shortcut in the start menu, or you can enter localhost:9200 in the browser address bar to log in). On the left side of the main interface of the cpolar client, find "Create Tunnel" under the "Tunnel Management" item. Click on today's create tunnel page to combine the blank data tunnel we set up in the cpolar cloud with the local hfs software.
2.2 Tunnel name
The first is "Tunnel Name". This item can be regarded as a note and is mainly used to distinguish it from other data tunnels. In the second line of "Protocol" we select HTTP; the third item of "Local Address" is the data output port of the hfs software. Since we have not modified the output port of hfs, hfs still outputs data at the default port 80 (can be found on the hfs main page Click the "Port" button at the top of the interface to modify the output port number). Just fill in "80" here; write down the "Domain Name Type". Since we have established a blank data tunnel in the cpolar cloud, select " "Second-level subdomain name". After selecting the second-level subdomain name, a blank Sub Domain field will appear below. Here we fill in the saved data tunnel name "HFSNAS"; for the last "region" we select according to the actual region of use. That's it.
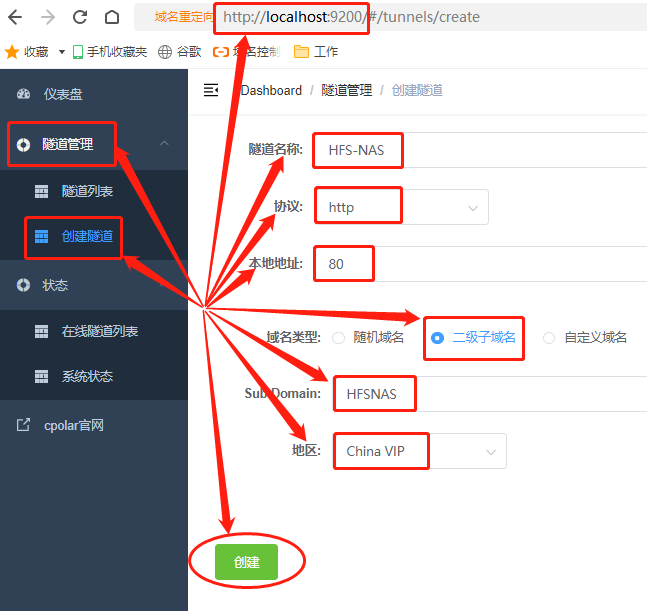
After filling in the above information, you can click the "Create" button at the bottom of the page to associate the blank data tunnel with the output port of the local hfs software.

We can find the tunnel entrance that can link to the local hfs software on the "Online Tunnel List" page under the "Status" item on the left side of the cpolar main interface, that is, the public Internet address. Let's try to enter this URL to see if we can link to the HFS software on the local computer

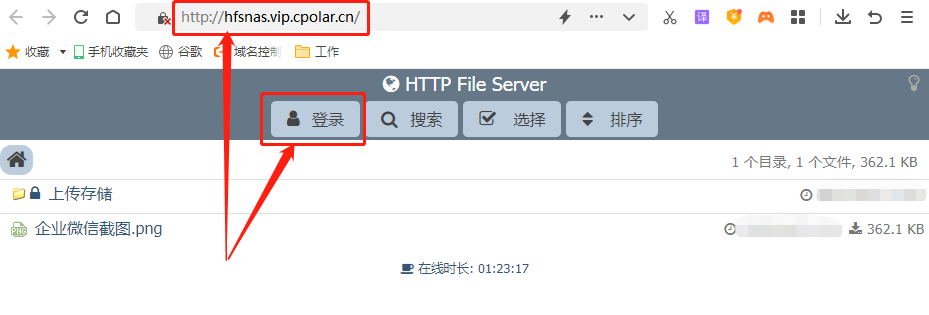
2.3 Successfully use cpolar to create a second-level subdomain name to access local hfs
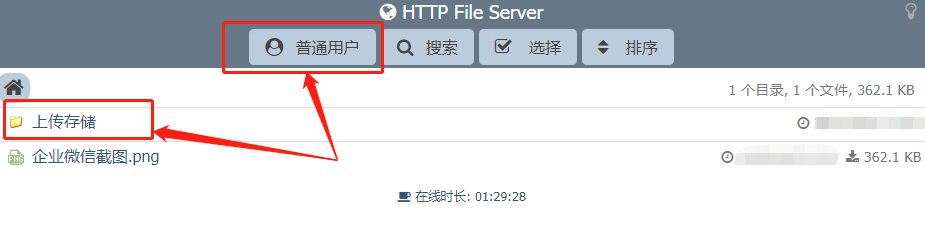
As you can see, we have successfully used the second-level subdomain URL created by cpolar to access hfs located on the local computer. After logging in as a user, we can not only download various types of files from hfs, but also upload files to hfs. "Upload folder" to create a simple version of NAS at the lowest cost.


Summarize
At this point, we have successfully used the combination of cpolar+hfs to build a simple version of NAS. We can use it not only for corporate collaborative work, but also for arranging and tracking important corporate work. It should be noted that the functions of reserving second-level subdomain names and custom domain names are advanced functions, and cpolar needs to be upgraded to VIP level before they can be used. Of course, the combination of cpolar+hfs to create a private NAS is only one of the application scenarios of cpolar’s powerful functions. The data tunnel created by cpolar can also be used in more scenarios.
Reprinted from cpolar pole cloud article: [Build NAS at low cost through HFS, and achieve public network access through intranet penetration] ( Build NAS at low cost through HFS, and achieve public network access through intranet penetration - cpolar pole cloud )