foreword
For those who do not have a GPU training machine, using a cloud server to train their model should be the most optimal choice. Just open a server that is billed on an hourly basis during training. After the training is completed and the environment image is saved, the server can be completely stopped. There is no cost during the period, and the next time you train again, just start the environment, and it is easy to protect your training environment from pollution.
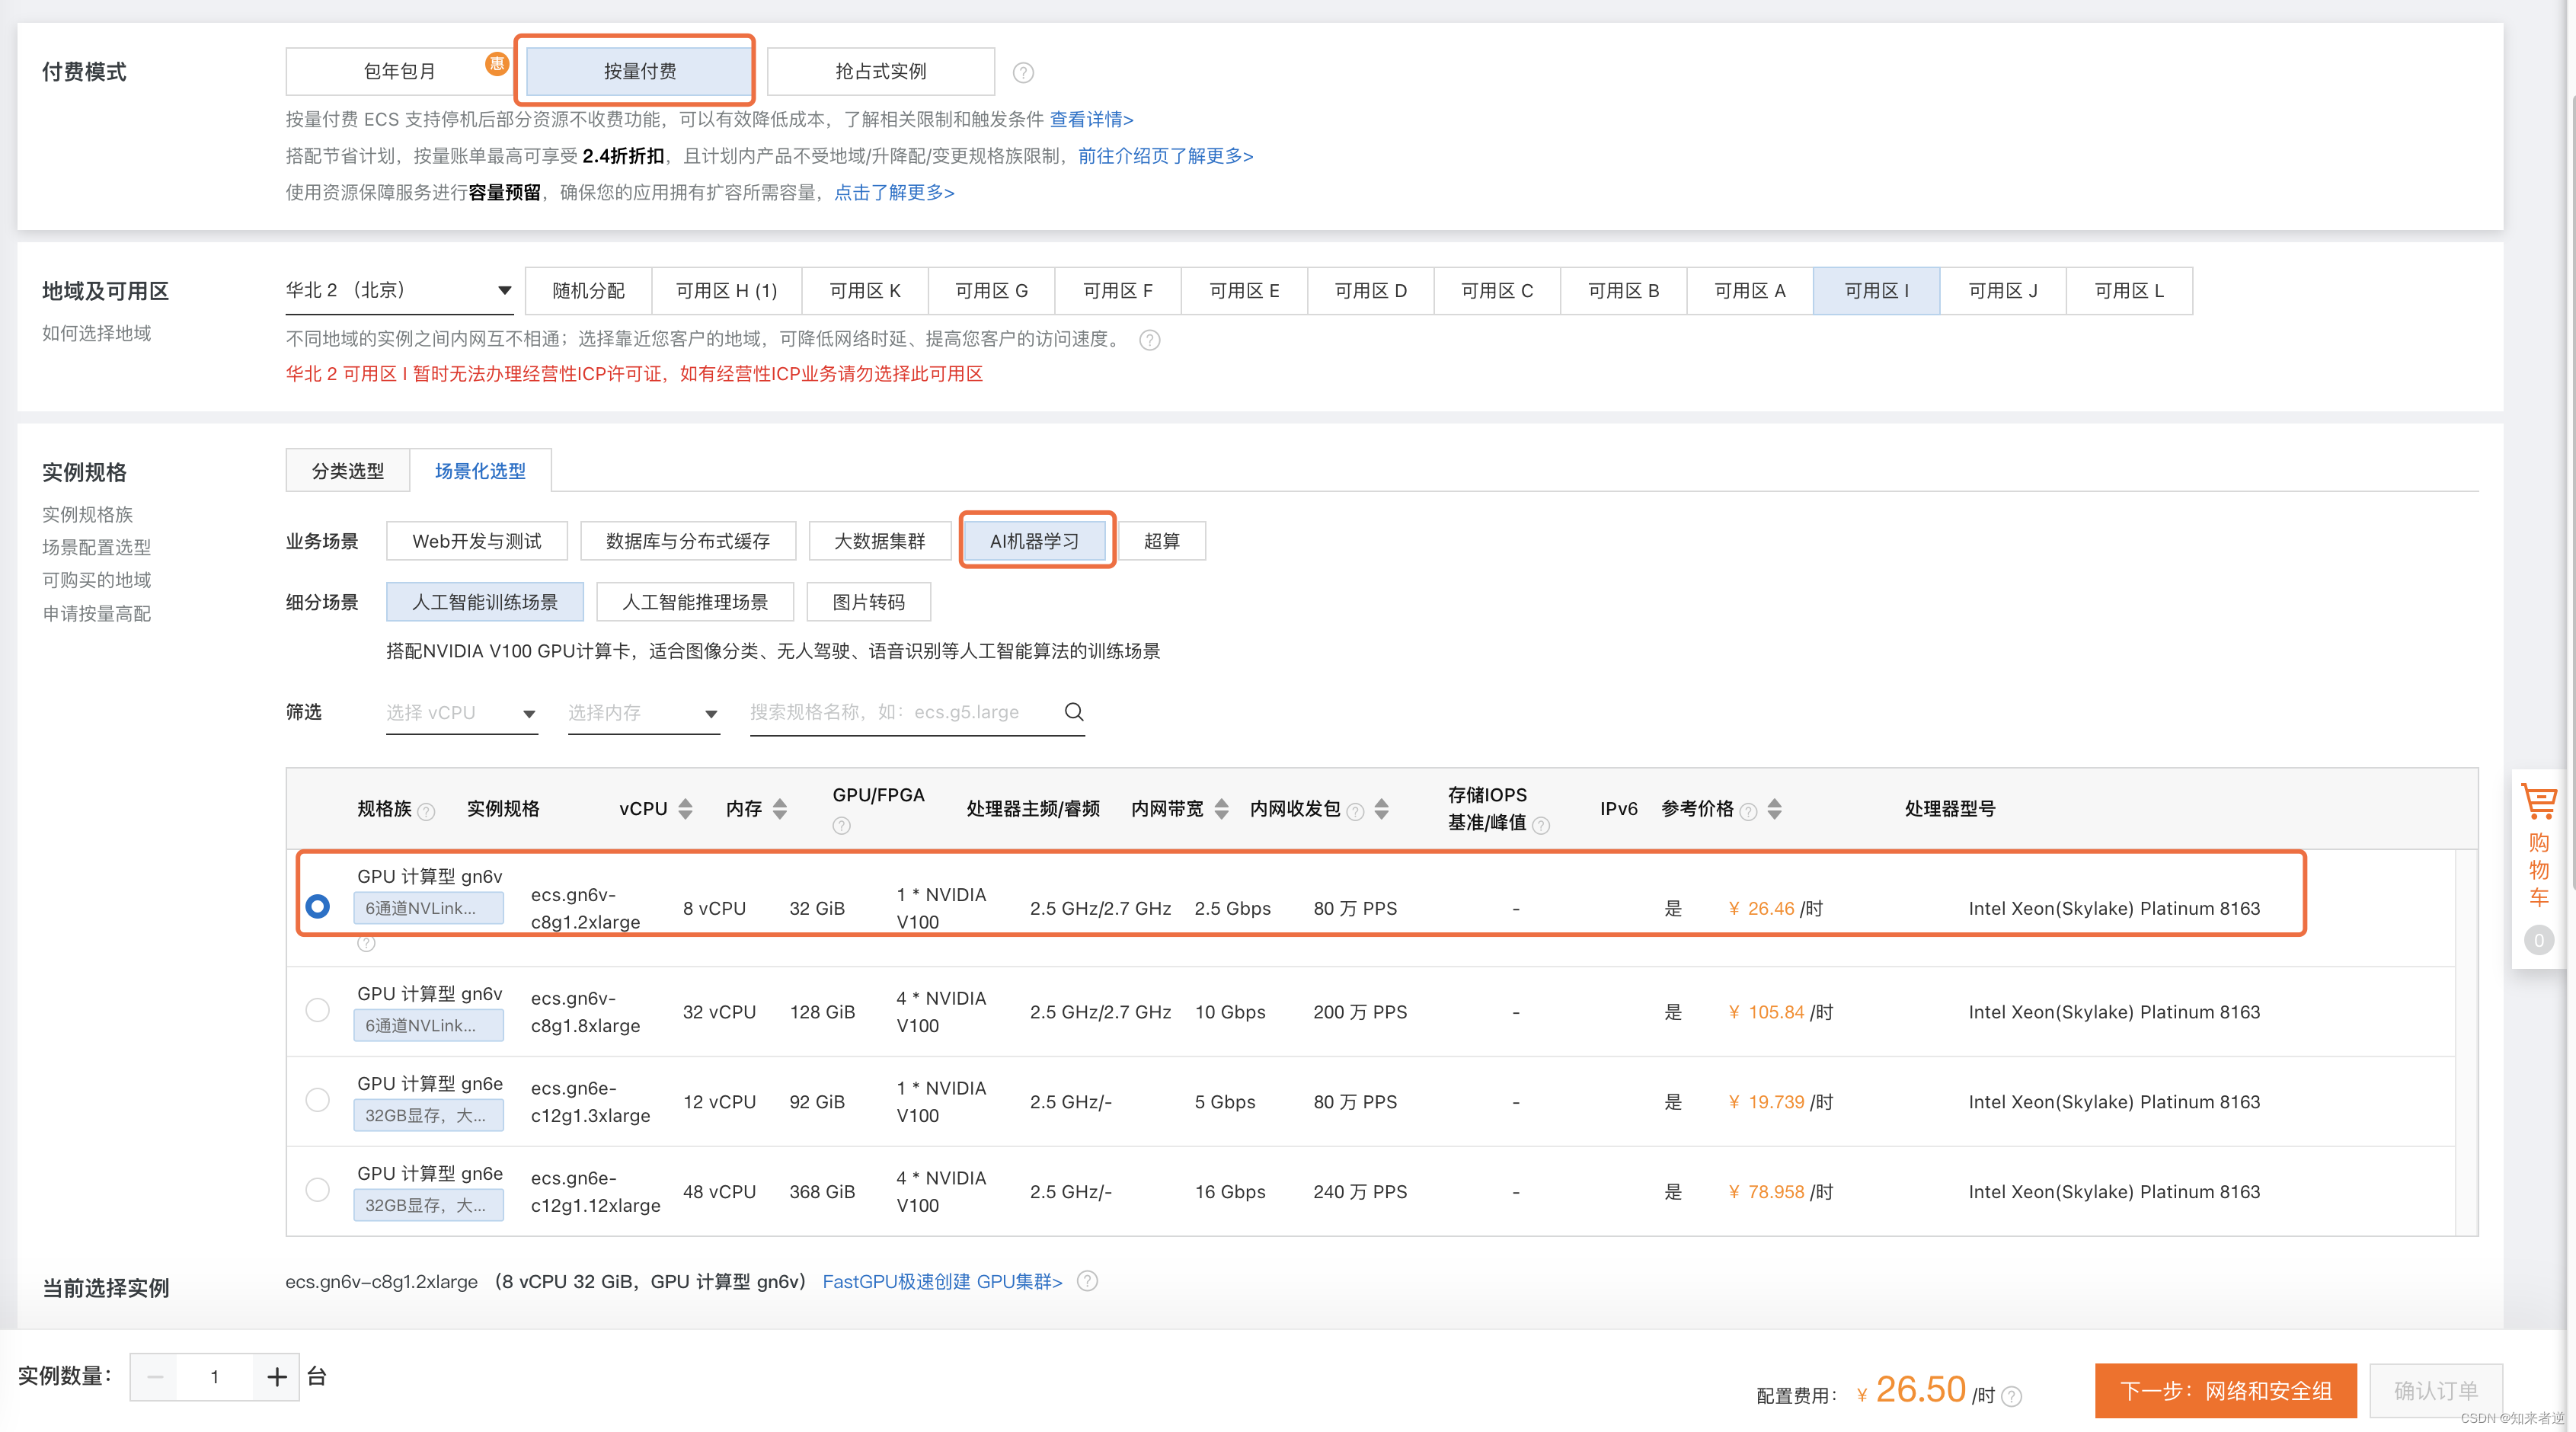
1. Select a server
1. The Alibaba server is selected here, and you can log in directly with your Alipay account.
2. Select the configuration and pay as you go. I trained the yolov5 model with a data set of more than 20,000, and the V100 is completely sufficient.
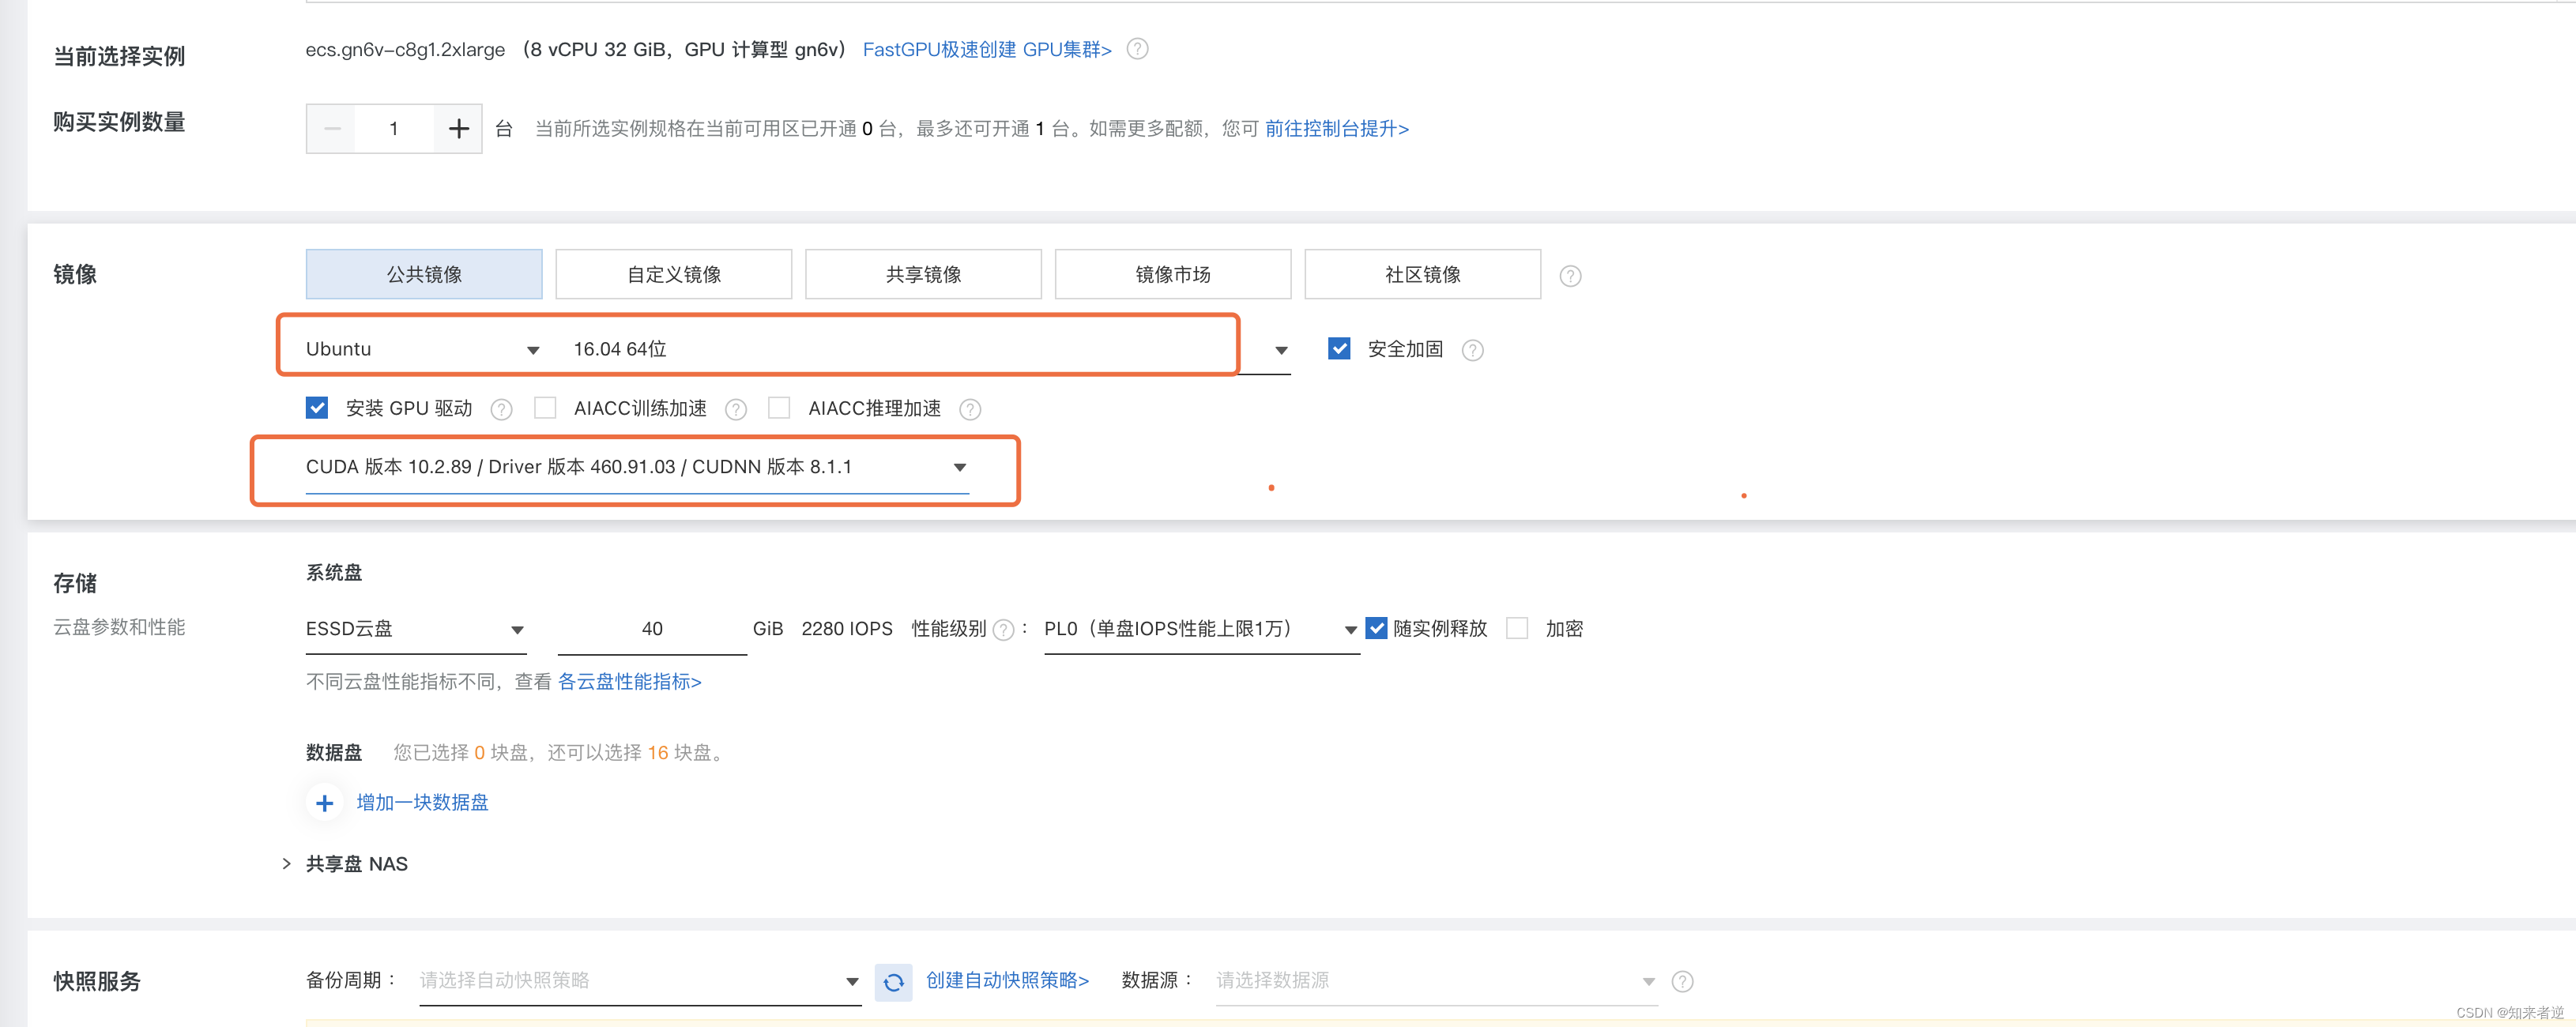
3. Select the system and install the GPU to start
3. Select the network speed (uplink and downlink speed), and then confirm the order.

Two, configure the server
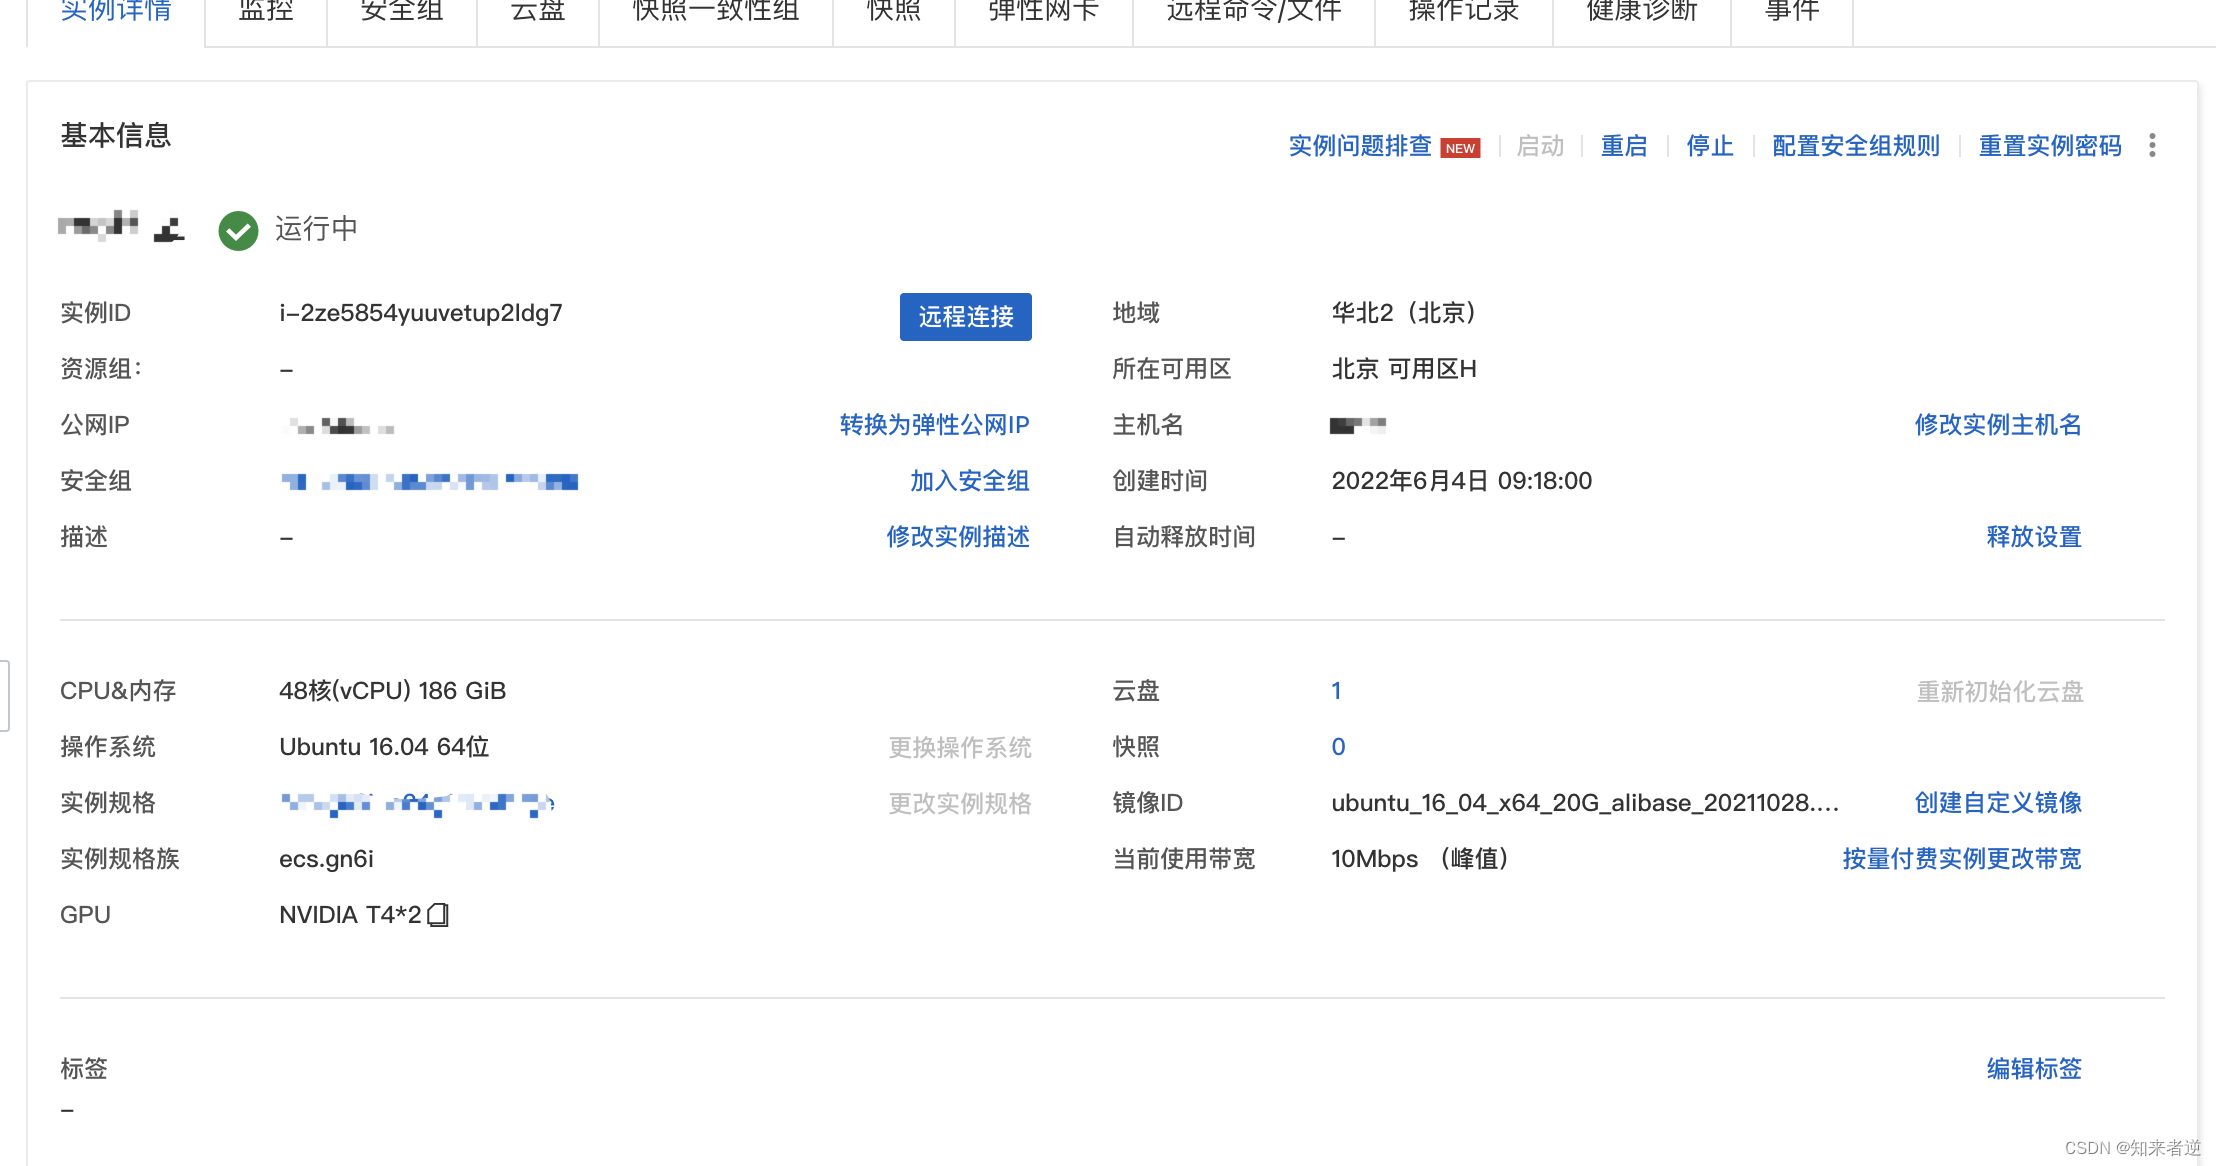
1. To connect to the server, click Remote Connection directly.
2. Switch to root and install the required files.
su
cd
sudo apt-get install vim #vim
sudo apt-get install unzip #解压
sudo apt-get install zip #压缩
sudo apt-get install screen #保护进程会话
3. Configure the environment (using Anaconda3)
1. First download Anaconda3 to your local directory, and then upload it to the server with scp
scp data/Anaconda3-5.3.0-Linux-x86_64.sh [email protected]:/home/data/
After waiting for the upload to complete, install Anaconda3 on the server and confirm all the way until the installation is complete.

Add Anaconda3 to the environment variable
sudo vim ~/.bashrc
Add the bin path to the end of the file, then save the file and exit.
export PATH=$PATH:/root/anaconda3/bin

Use the environment to take effect
source ~/.bashrc
2. Create the environment
 conda create --name yolov5 python=3.7
 conda activate yolov5
3. Download the algorithm code, you can download the source code directly from git, or upload the source code you have changed.
Download the source code from git, yolov5s as an example:
git download
 git clone https://github.com/ultralytics/yolov5.git
 cd yolov5
 pip install -r requirements.txt
Local upload and manual installation dependencies
scp data/yolov5.zip [email protected]:/home/data/
After the upload is complete, switch to the server
unzip yolov5.zip
cd yolov5
conda install pytorch torchvision cudatoolkit=10.2 -c pytorch
pip install cython matplotlib tqdm opencv-python tensorboard scipy pillow onnx pyyaml pandas seaborn
4. Data processing
1. Upload the dataset to the server
scp data/dataset.zip [email protected]:/home/data/yolov5
2. After the upload is complete, divide the data into a training set and a test set. The coco data format used here must be converted to the yolov5 format.
unzip dataset.zip
python generate_txt.py --img_path data/XXXXX/JPEGImages --xml_path data/XXXXX/Annotations --out_path data/XXXXX
Data conversion and generation generate_txt.py source code
import os
import glob
import argparse
import random
import xml.etree.ElementTree as ET
from PIL import Image
from tqdm import tqdm

def get_all_classes(xml_path):
    xml_fns = glob.glob(os.path.join(xml_path, '*.xml'))
    class_names = []
    for xml_fn in xml_fns:
        tree = ET.parse(xml_fn)
        root = tree.getroot()
        for obj in root.iter('object'):
            cls = obj.find('name').text
            class_names.append(cls)
    return sorted(list(set(class_names)))

def convert_annotation(img_path, xml_path, class_names, out_path):
    output = []
    im_fns = glob.glob(os.path.join(img_path, '*.jpg'))
    for im_fn in tqdm(im_fns):
        if os.path.getsize(im_fn) == 0:
            continue
        xml_fn = os.path.join(xml_path, os.path.splitext(os.path.basename(im_fn))[0] + '.xml')
        if not os.path.exists(xml_fn):
            continue
        img = Image.open(im_fn)
        height, width = img.height, img.width
        tree = ET.parse(xml_fn)
        root = tree.getroot()
        anno = []
        xml_height = int(root.find('size').find('height').text)
        xml_width = int(root.find('size').find('width').text)
        if height != xml_height or width != xml_width:
            print((height, width), (xml_height, xml_width), im_fn)
            continue
        for obj in root.iter('object'):
            cls = obj.find('name').text
            cls_id = class_names.index(cls)
            xmlbox = obj.find('bndbox')
            xmin = int(xmlbox.find('xmin').text)
            ymin = int(xmlbox.find('ymin').text)
            xmax = int(xmlbox.find('xmax').text)
            ymax = int(xmlbox.find('ymax').text)
            cx = (xmax + xmin) / 2.0 / width
            cy = (ymax + ymin) / 2.0 / height
            bw = (xmax - xmin) * 1.0 / width
            bh = (ymax - ymin) * 1.0 / height
            anno.append('{} {} {} {} {}'.format(cls_id, cx, cy, bw, bh))
        if len(anno) > 0:
            output.append(im_fn)
            with open(im_fn.replace('.jpg', '.txt'), 'w') as f:
                f.write('\n'.join(anno))
    random.shuffle(output)
    train_num = int(len(output) * 0.9)
    with open(os.path.join(out_path, 'train.txt'), 'w') as f:
        f.write('\n'.join(output[:train_num]))
    with open(os.path.join(out_path, 'val.txt'), 'w') as f:
        f.write('\n'.join(output[train_num:]))

def parse_args():
    parser = argparse.ArgumentParser('generate annotation')
    parser.add_argument('--img_path', type=str, help='input image directory')
    parser.add_argument('--xml_path', type=str, help='input xml directory')
    parser.add_argument('--out_path', type=str, help='output directory')
    args = parser.parse_args()
    return args

if __name__ == '__main__':
    args = parse_args()
    class_names = get_all_classes(args.xml_path)
    print(class_names)
    convert_annotation(args.img_path, args.xml_path, class_names, args.out_path)
5. Training model
1. Before training the model, run screen first to ensure that the training can continue after the service terminal is disconnected.
screen -S  yolo
yolo 是一个标记,可以自己随便填,用来分辨该窗口的用途,避免窗口多了自己混淆
screen common commands
screen -ls #查看进程
screen -r -d 1020  #后台运行的screen进程
kill -9 1020 #杀死不需要的进程
screen  -wipe #检查目前所有的screen作业,并删除已经无法使用的screen作业
2. Reactivate the environment
conda activate yolov5
3. Training model
python train.py --cfg models/yolov5s.yaml --data data/ODID.yaml --hyp data/hyp.scratch.yaml --epochs 100 --multi-scale --device 0
6. Some commands commonly used under Linux
- scp
download file from server
scp username@IP:/remote_path/filename ~/local_destination
Upload local files to server
scp ~/local_path/local_filename username@IP:/remote_path
从服务器下载整个目录
scp -r username@servername:/remote_path/remote_dir/ ~/local_destination
Upload directory to server
scp -r ~/local_dir username@servername:/remote_path/remote_dir
- vim configuration
system-level configuration file directory: /etc/vim/vimrc
user-level configuration file directory: ~/.vim/vimrc
modify configuration file vimrc or .vimrc
//display line number
set nu
- Compression and decompression
zip command
zip -r file.zip ./*
Compress all files and folders in the current directory into a file.zip file, -r means recursively compress all files in subdirectories.
The unzip command
unzip -o -d /home/sunny file.zip
decompresses the file.zip file to /home/sunny/
-o: overwrite the file without prompting;
-d:-d /home/sunny specifies to unzip the file Compress it to the /home/sunny directory;
Others
zip -d file.zip smart.txt
deletes the smart.txt file in the compressed file
zip -m file.zip ./rpm_info.txt
adds the rpm_info.txt file to file.zip in the compressed file
- terminal agent
export ALL_PROXY=socks5://127.0.0.1:4081 #端口号
curl -L cip.cc #验证是否成功
- graphics driver
nvidia-smi