Article Directory
[Here, the default reader has successfully installed Anaconda]
1. Establish TensorFlow's Anaconda virtual environment
-
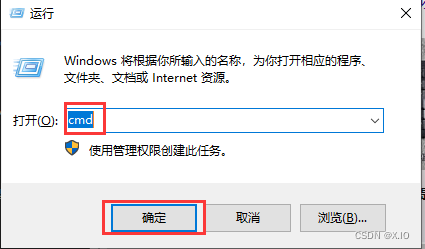
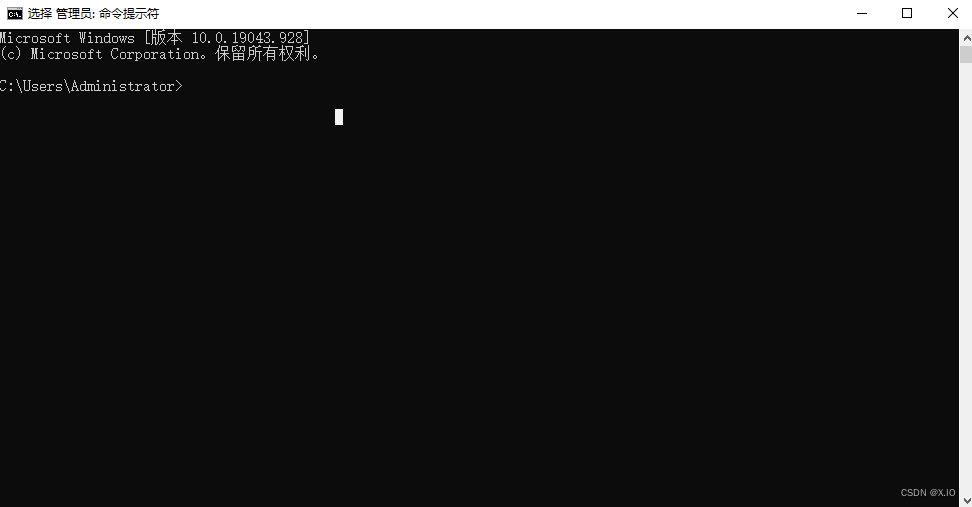
Start the command prompt (Windows logo key + R, enter cmd)
In the Linux system, we will use the "Terminal" program to enter commands, and in the Windows system, we will use the "Command Prompt" program to enter commands.
-
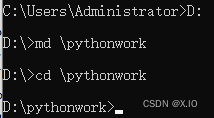
Create a working directory
Enter the following command in the command prompt window:md \pythonwork cd \pythonworkHere I am creating it under the D disk directory (readers can create it according to their own needs)
-
Create the Anaconda virtual environment
We will use the conda command to create a new Python 3.9 Anaconda virtual environment, we will name the virtual environment TensorFlow. This virtual environment will be used to install the CPU version of TensorFlow.
Enter the following command at the command prompt:conda create --name tensorFlow python=3.9 anacondaAfter execution, the display interface is as follows:
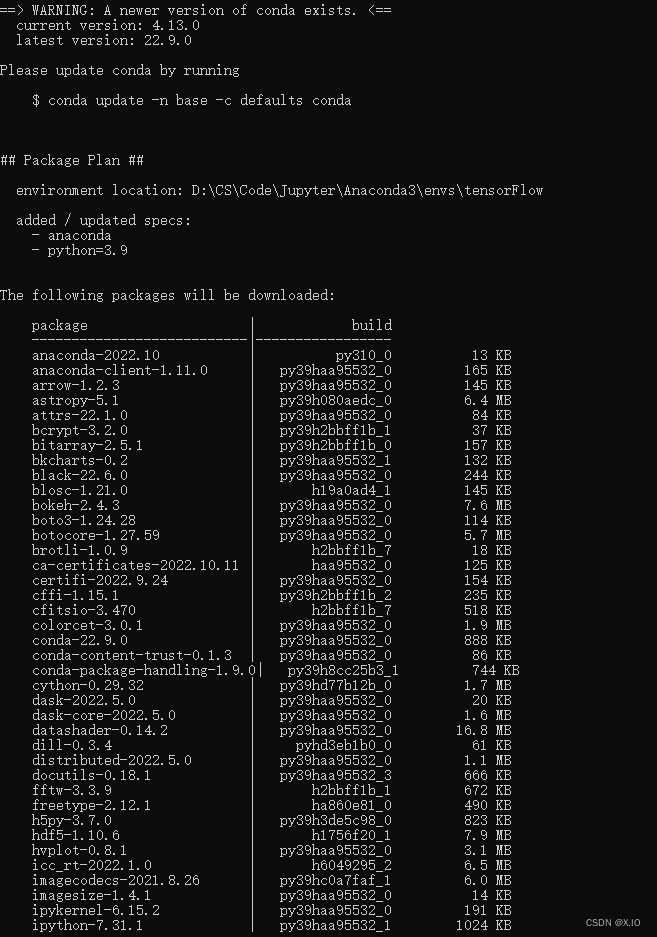
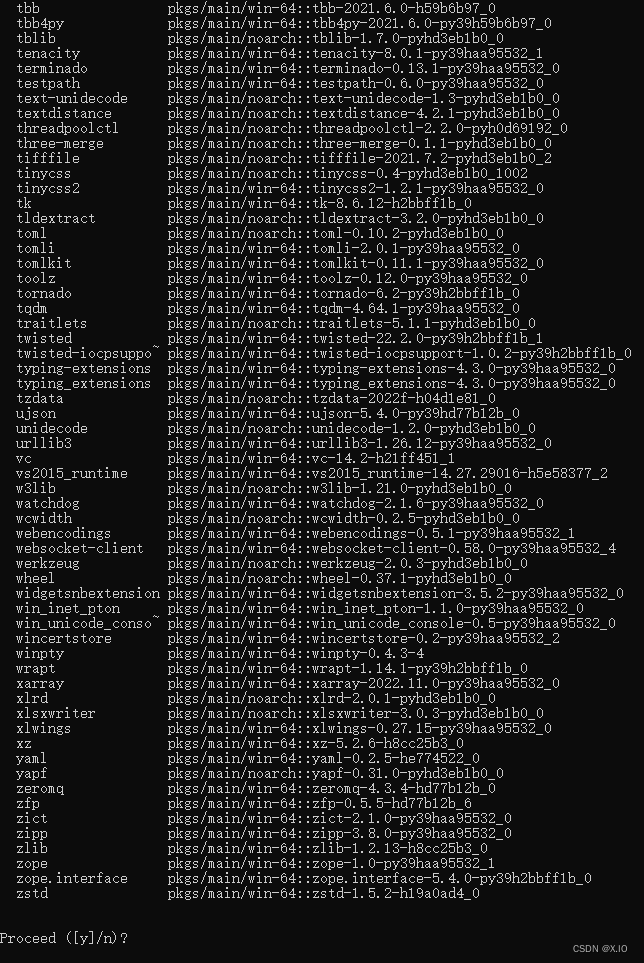
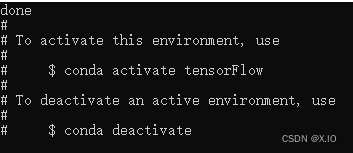
After pressing the y key, the Anaconda virtual environment will be installed and various packages will be installed. After the installation is complete, the screen display interface is as follows:
| Order | illustrate |
|---|---|
| create condas | Create a virtual environment |
| –name tensorFlow | The name of the virtual environment is tensorFlow |
| python=3.9 | Python version is 3.9 |
| anaconda | Add this command option, when creating a virtual environment, other Python packages will also be installed, such as Jupyter Notebook, Numpy, SciPy, Matplotlib, Pandas, which are used for data analysis. If this command option is not added, an empty virtual environment will be created, and other software packages must be installed one by one by the user |
- (Startup & Shutdown) Anaconda virtual environment
After creating the Anaconda virtual environment of TensorFlow, you can start the virtual environment.
·Start command: activate tensorFlow

When we no longer use TensorFlow's Anaconda virtual environment, we can close this virtual environment.
Close command: conda deactivate

2. Install TensorFlow and Keras in the Anaconda virtual environment
The Anaconda virtual environment has been established before, and now TensorFlow and Keras are to be installed in this virtual environment.
-
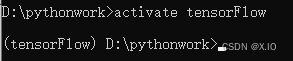
Start the Anaconda virtual environment
Before installing TensorFlow and Keras, first start the Anaconda virtual environment of TensorFlow.
· Start command: activate tensorFlow
-
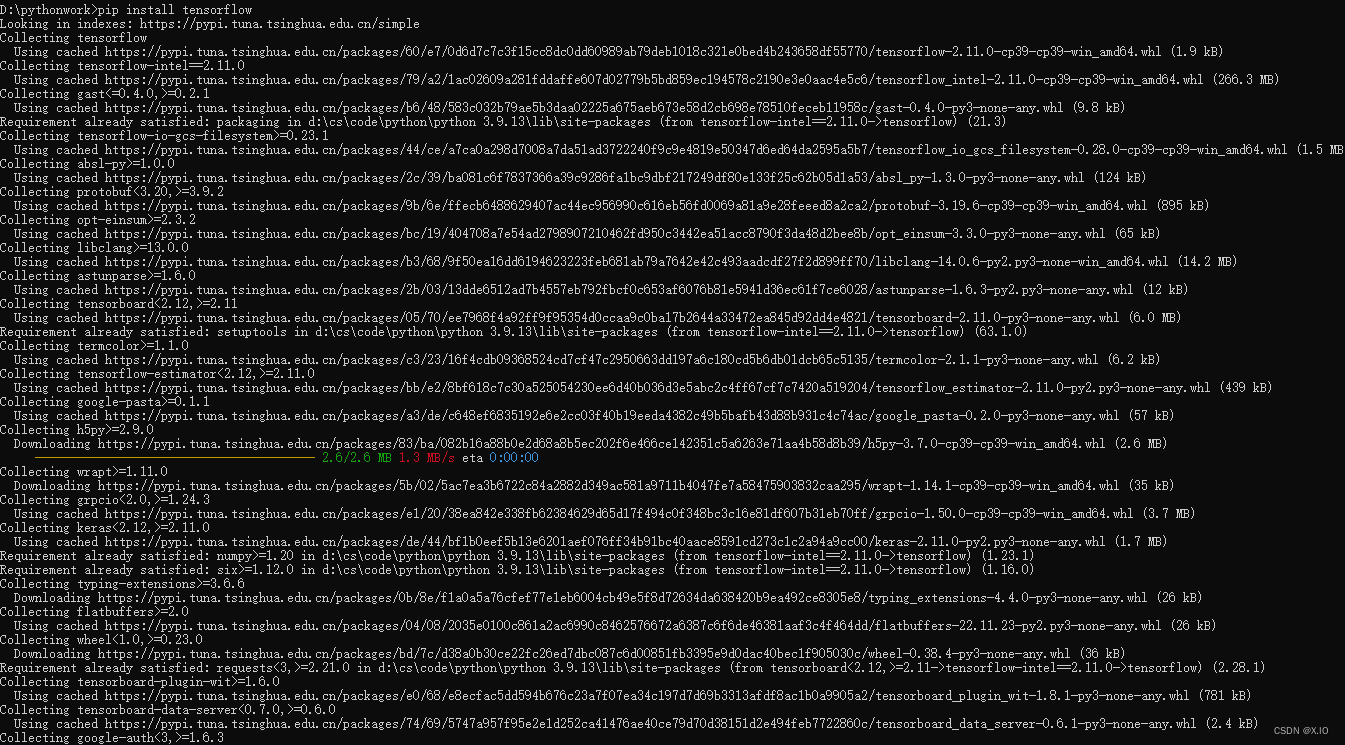
Install TensorFlow CPU version
Installation command: pip install tensorflow
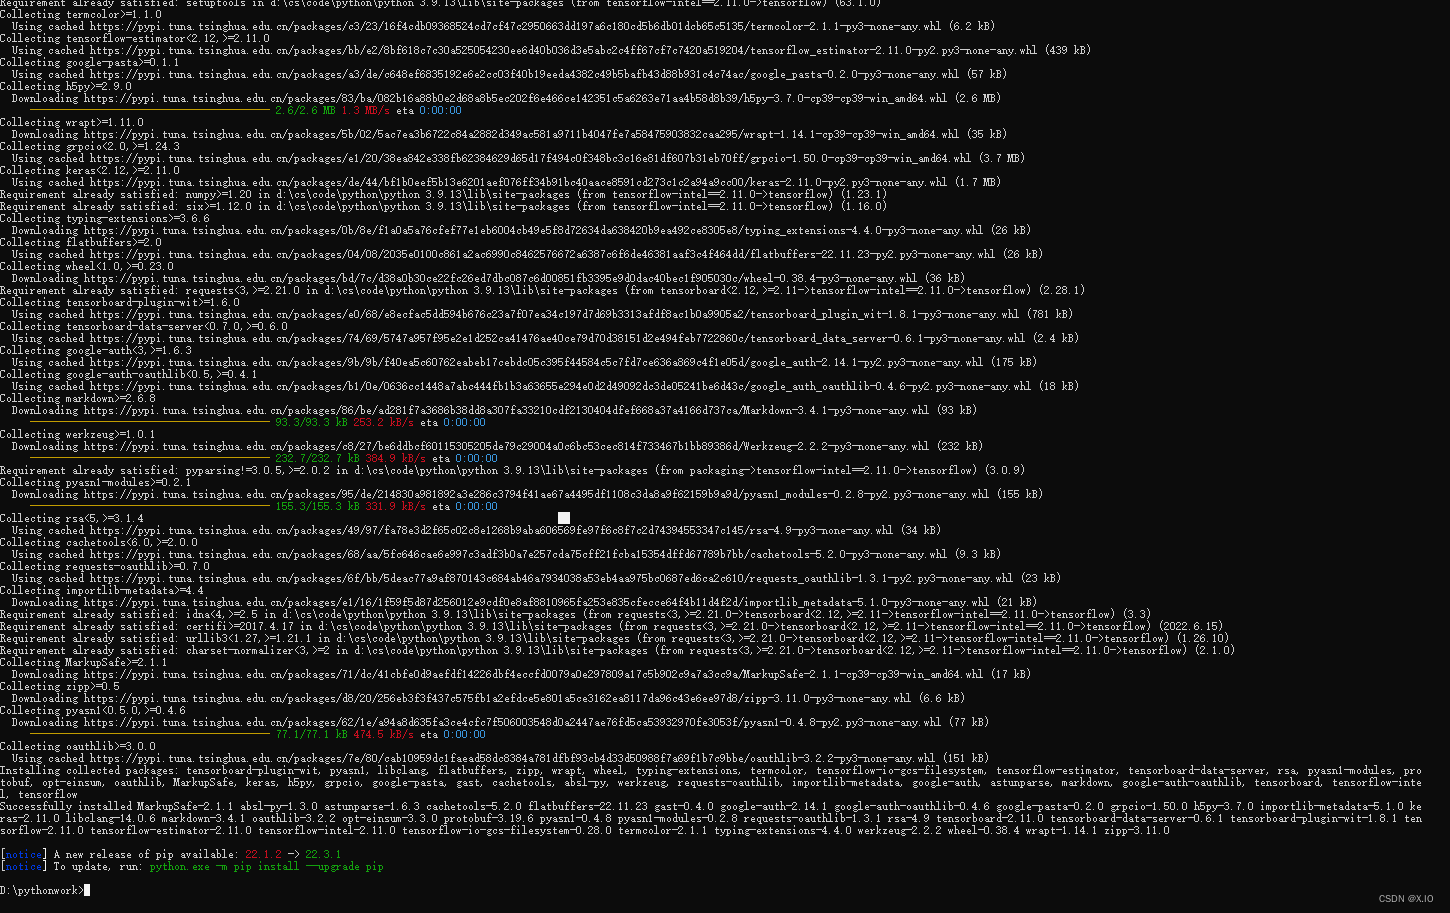
-
Install Keras
Installation command: pip install keras

3. Start Jupyter Notebook (start, save, close)
We have installed TensorFlow and Keras in the Anaconda virtual environment before, and now we want to view the versions of TensorFlow and Keras in Jupyter Notebook.
·Jupyter Notebook 具备交互式界面,在web界面输入python命令后,可以立刻看到结果。
·我们还可以将数据分析的过程、执行后的命令与结构存储成笔记本。下次打开笔记本时,可以重新执行这些命令。
·Jupyter Notebook 笔记本可以包含文字、数学公式、程序代码、结果、图形和视频。
- Start Jupyter Notebook
When we build the Anaconda virtual environment of TensorFlow, Jupyter Notebook is also installed at the same time, so there is no need to install it, just start it directly.
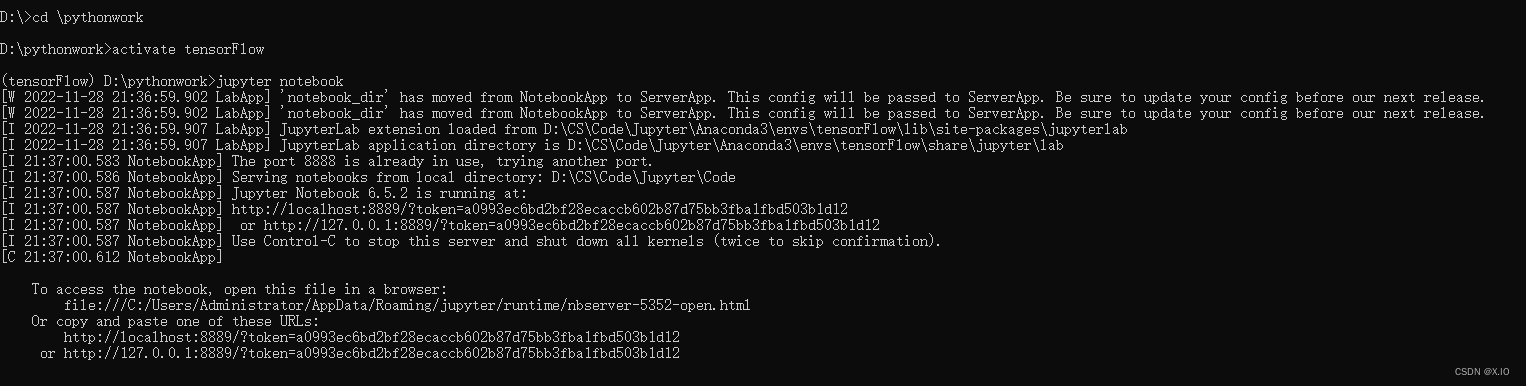
启动 Jupyter Notebook 时先确认:
(1)切换至工作目录,后续Jupyter Notebook读取与存盘都会在此工作目录。
 ·命令:cd \pythonwork
(2)确认已经启动 TensorFlow 的 Anaconda 虚拟环境,因为我们之前安装 TensorFlow 与 Keras 是在虚拟环境中,如果尚未启动这个虚拟环境就打开了 Jupyter Notebook,那么执行 TensorFlow 与 Keras 程序时会出现 ModuleFoundError 错误。
 ·命令:activate tensorFlow
 (3)启动 Jupyter Notebook
 ·命令: jupyter notebook
[If it is not a blank folder after startup, you need to modify the default path of the notebook]
[For details, please refer to: [AI Study Notes] jupyter notebook default path modification (super brief, super detailed)】
-
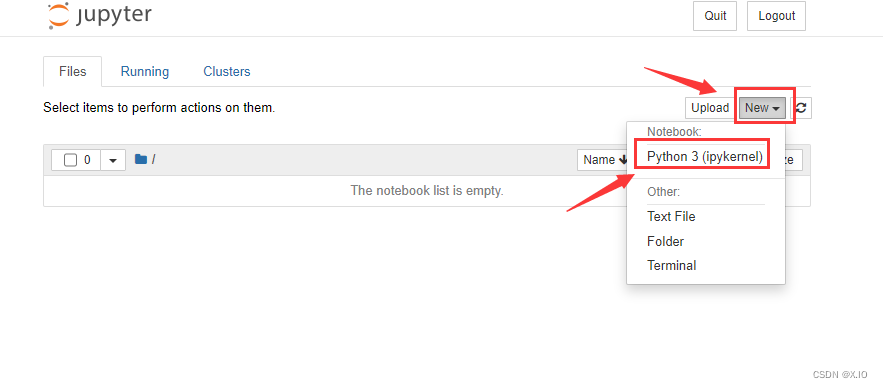
Create a new Notebook (as shown below)
after opening:
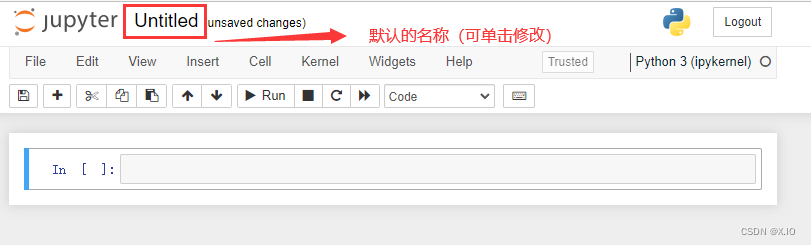
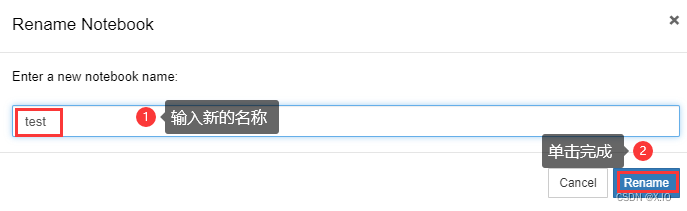
modify the name:
-
How to enter commands in Jupyter Notebook
Enter the program code in the Cell (program cell) of Jupyter Notebook, and then press Shift+Enter or Ctrl+Enter to execute the program code.· Shift+Enter:执行后,光标会移到下一个程序单元格。 · Ctrl+Enter:执行后,光标仍在当前的程序单元格。 -
Import the TensorFlow module & keras module respectively, and check their versions.
Enter the following command in the program cell, and then press Shift+Enter to execute the program code:import tensorflow as tf #导入TensorFlow模块,后续以tf来引用这个模块 import keras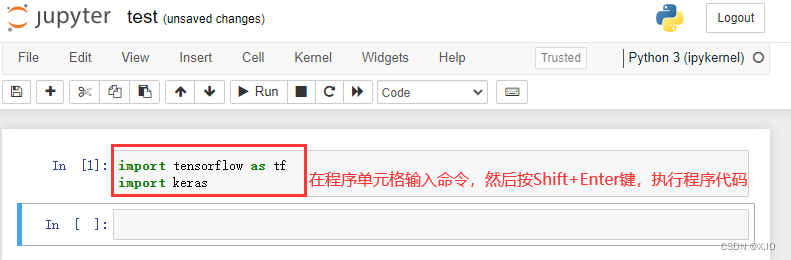
After the above command is executed, there is no output (no news is good news), which means that there is no problem in importing the TensorFlow module; if there is a problem with the (TensorFlow/Keras) installation, an error message will be displayed.
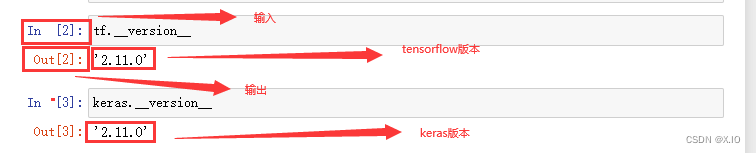
Next, we can check the versions of TensorFlow and Keras.
Enter the following command in the program cell:tf.__version__ keras.__version__
-
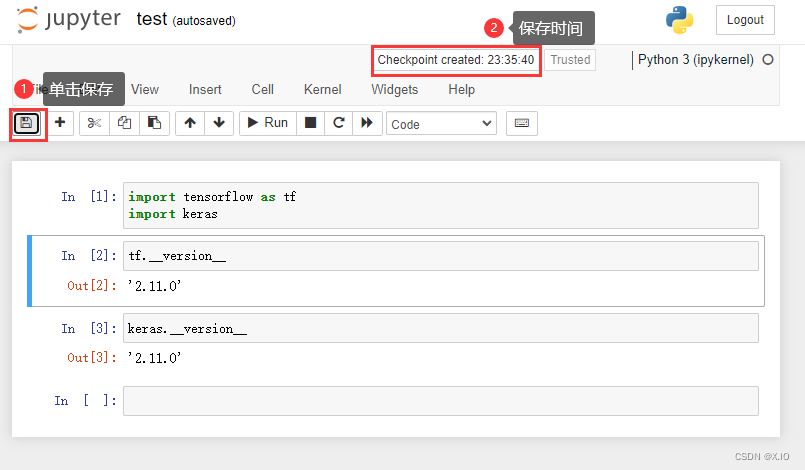
Save Notebook
-
Close Notebook
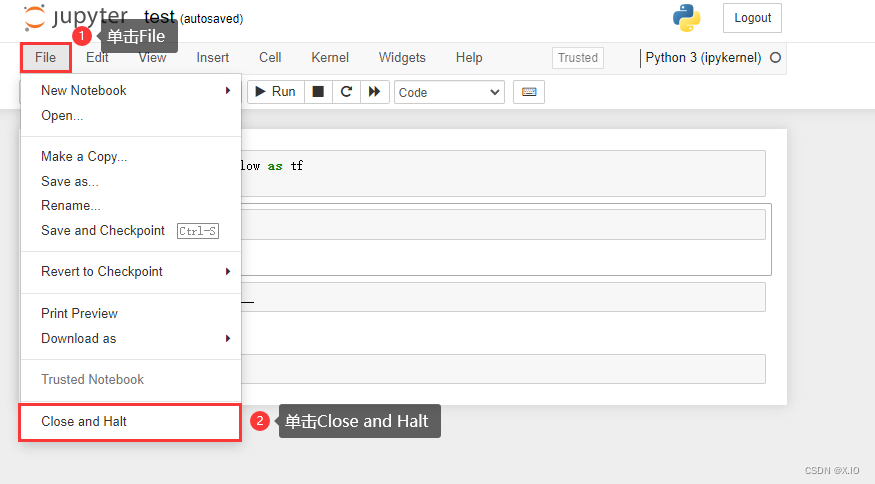
-
Open a previously saved Notebook
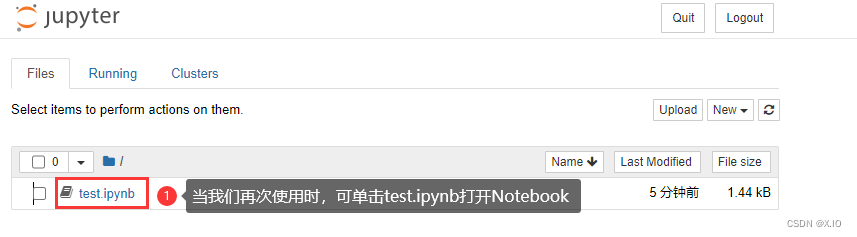
-
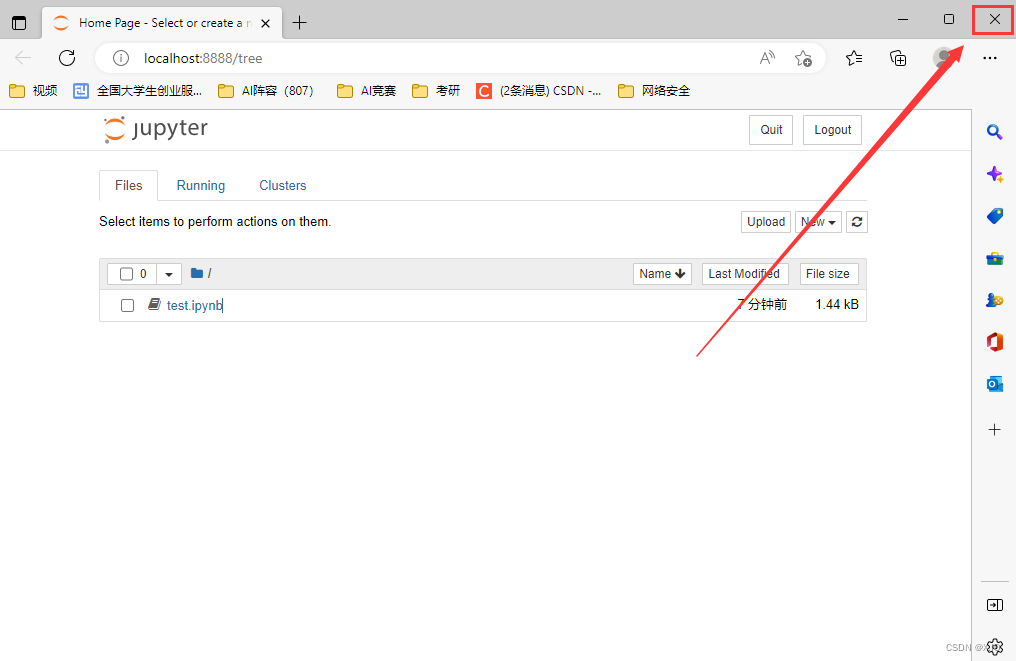
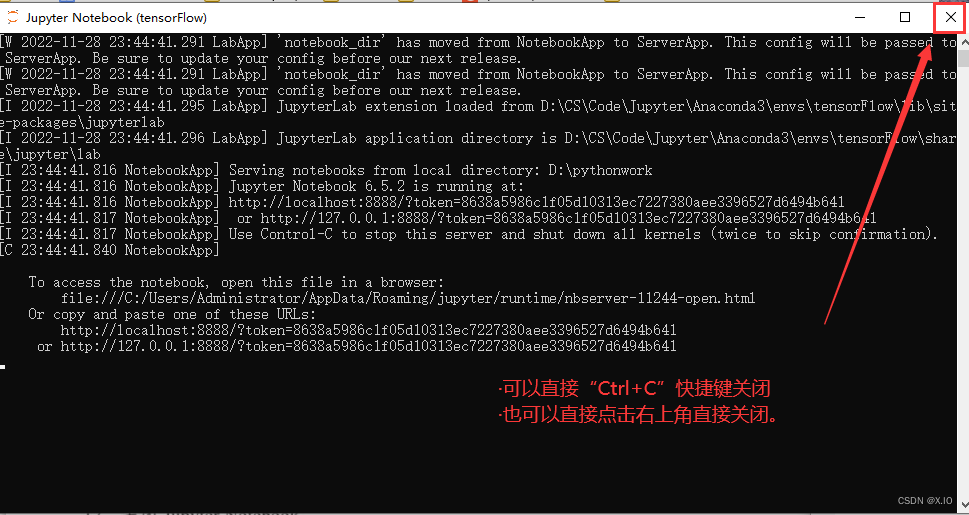
End (close Jupyter browser, close Jupyter Notebook)
Summarize
In this article, we mainly introduce three points:
- How to create Anaconda virtual environment
- How to install TensorFlow and Keras (and see TensorFlow and Keras versions)
- How to operate Jupyter Notebook. (open, run, save, close, etc.)
Supplement:
[If you use Jupyter notebook for the first time, it is not a blank folder after startup, you need to modify the default path of the notebook] [For
details, please refer to: [AI study notes] jupyter notebook default path modification (super brief, super detailed) ]