1. Install Pytorch
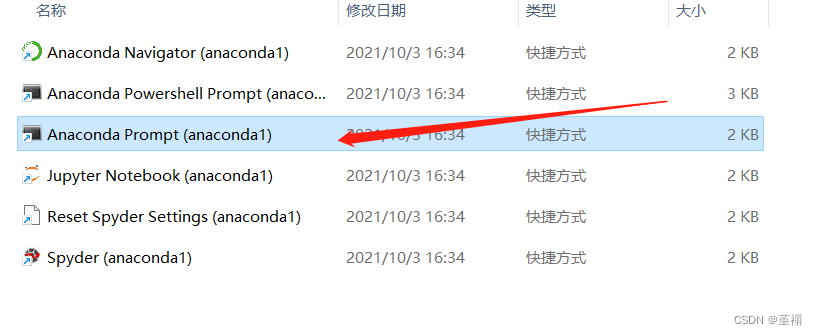
1. First find the anaconda command terminal and click to enter.
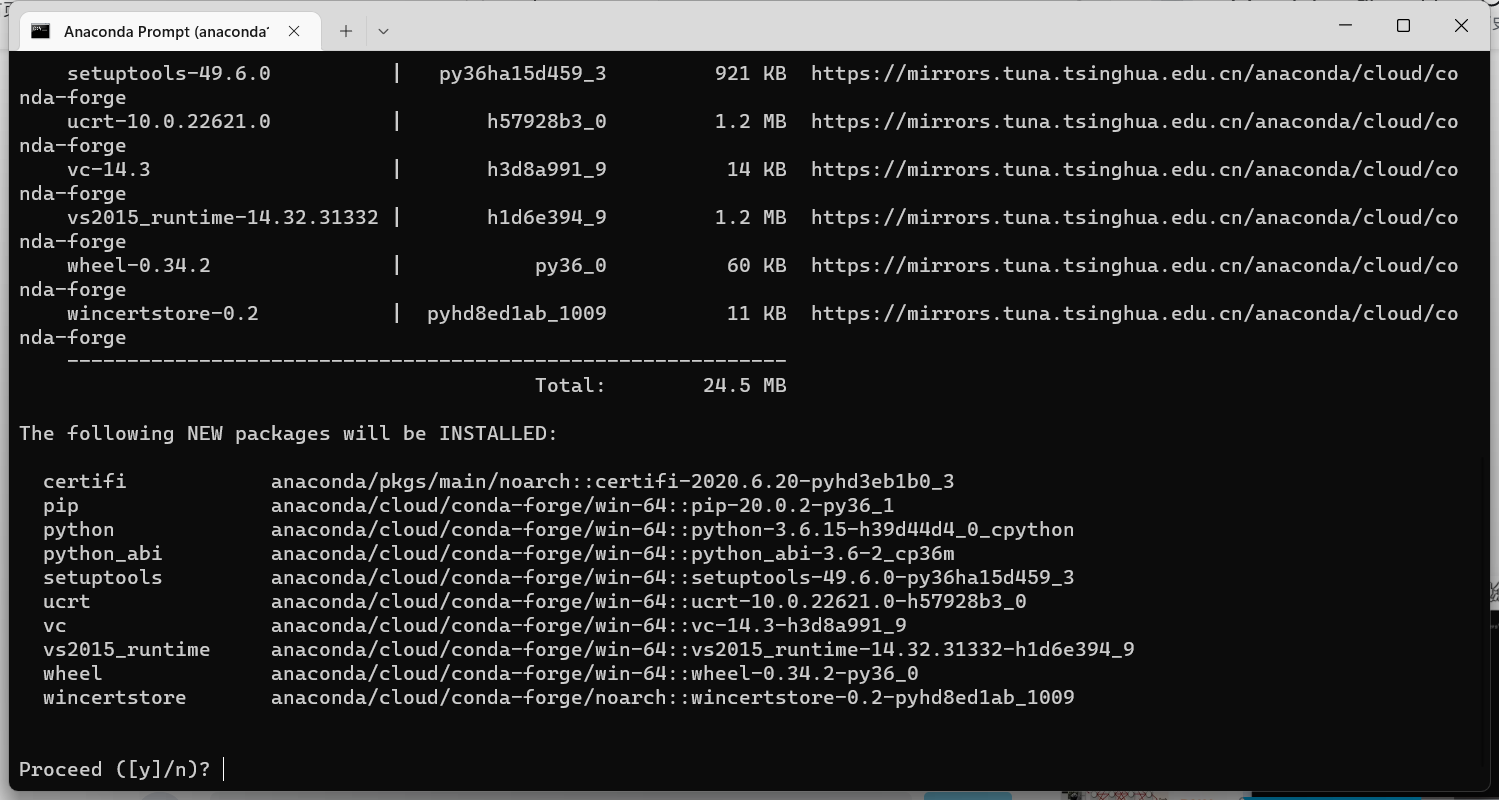
2. Enter the following command to create a subspace (the blogger’s name is pytorch1.4.0, using python3.6 version)
conda create -n pytorch1.4.0 python=3.6
If the download speed is slow, you need to change the source first. For the source change tutorial, please refer to the blog for details . The personal test is effective.
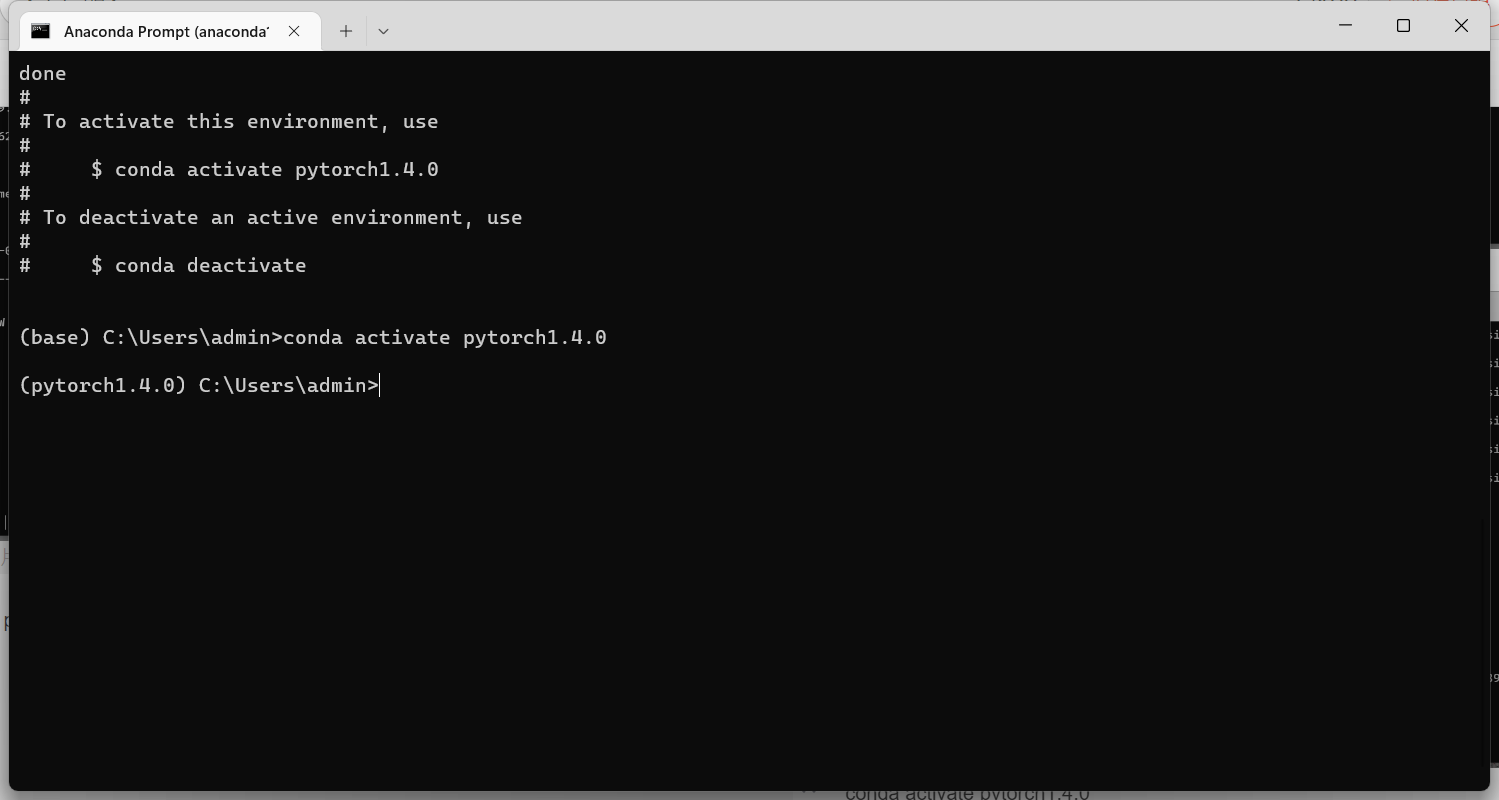
3. After the creation is complete, enter the following command to enter the created pytorch1.4.0 space for subsequent pytorch installation.
conda activate pytorch1.4.0
4. For students who do not know the pytorch version selection, they can refer to the official website link for personalized selection, and the official website will give the corresponding pytorch installation command.
https://pytorch.org/get-started/previous-versions/The
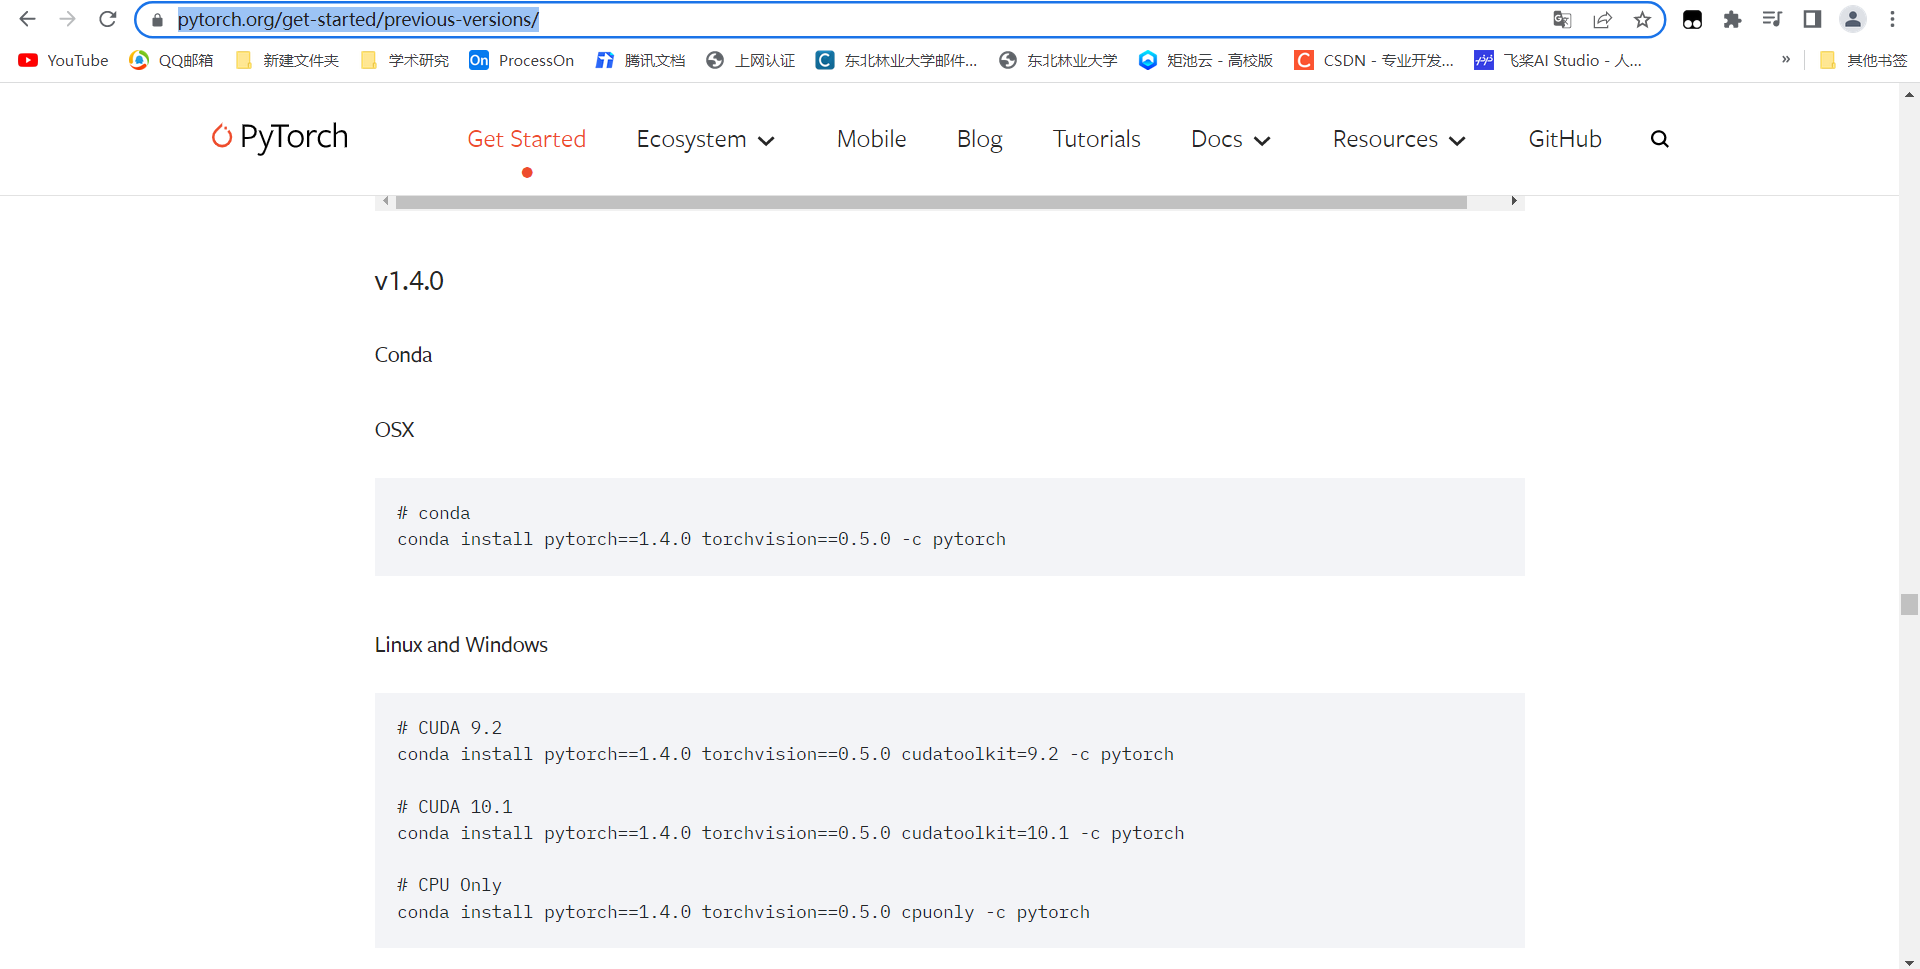
blogger chose pytorch1.4.0, cuda9.2, python3.6 versions, and installed them according to the official website prompts.
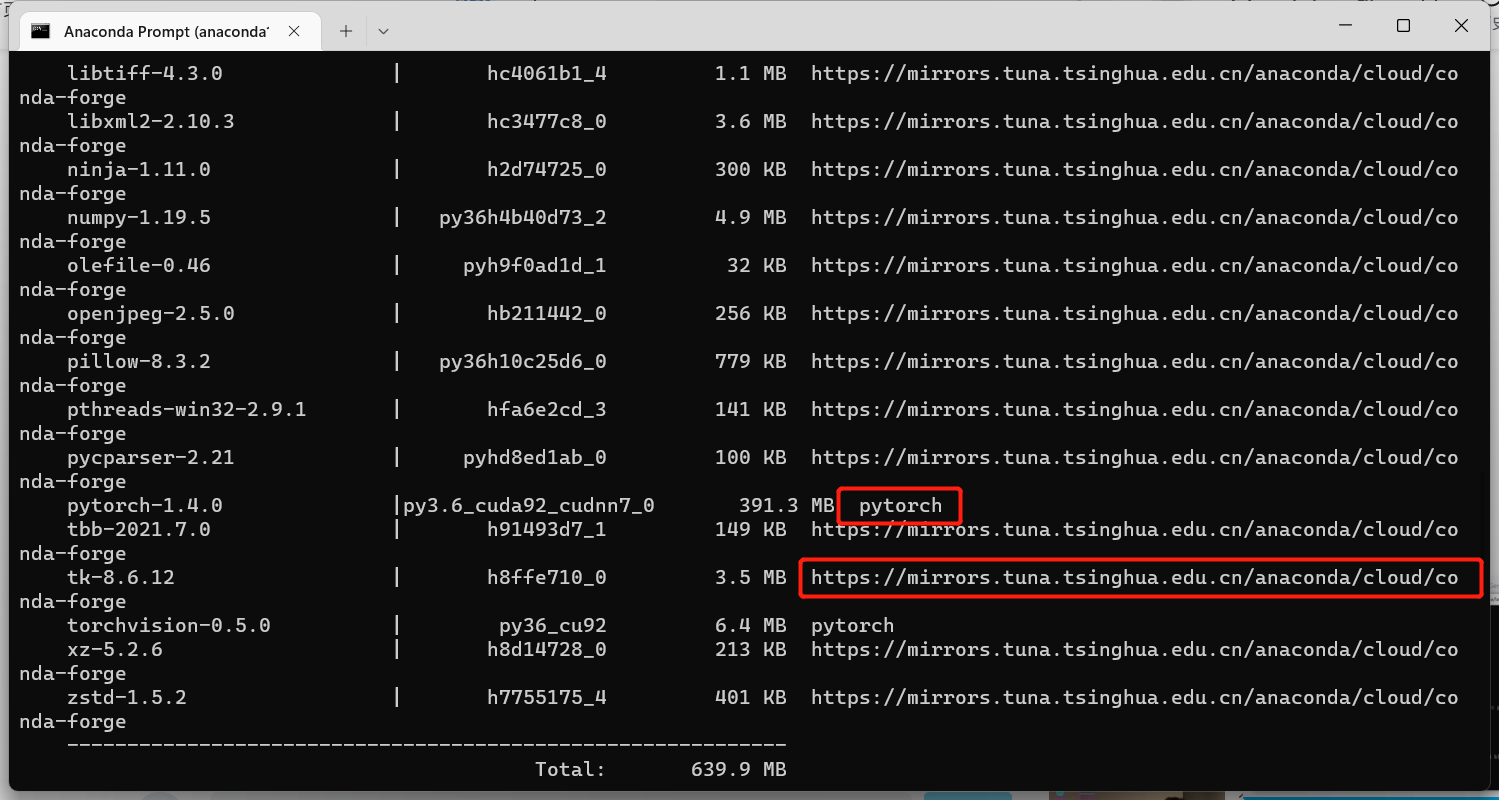
conda install pytorch==1.4.0 torchvision==0.5.0 cudatoolkit=9.2 -c pytorch
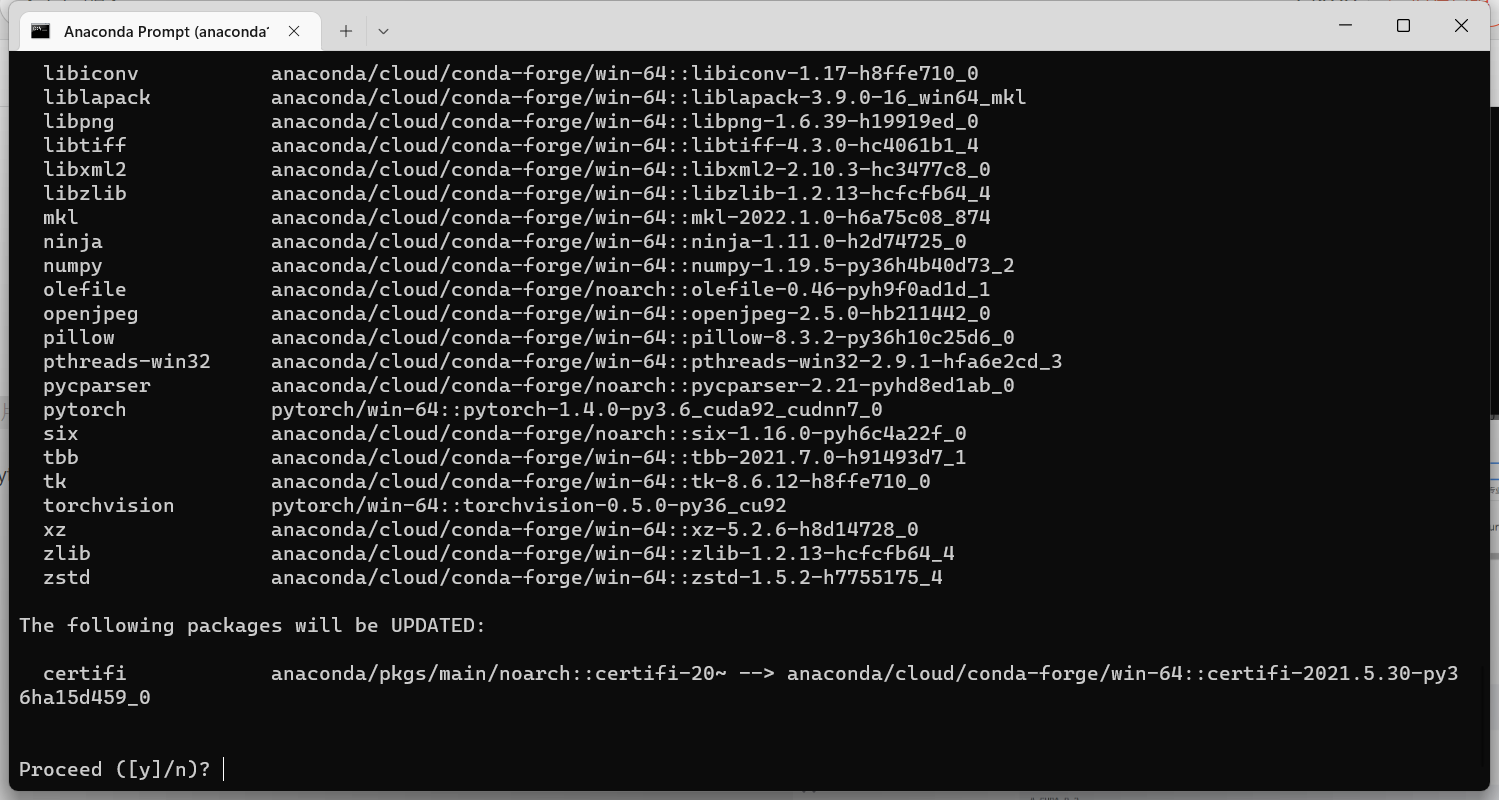
-c pytorchIt is mandatory to specify the channel as the official website source of pytorch. If the rest are tsinghua and only a few are pytorch, it is recommended to-c pytorchremove it and the installation will be successful, but it is all installed in Tsinghua source. (The premise is that the system default specified source has been determined.)
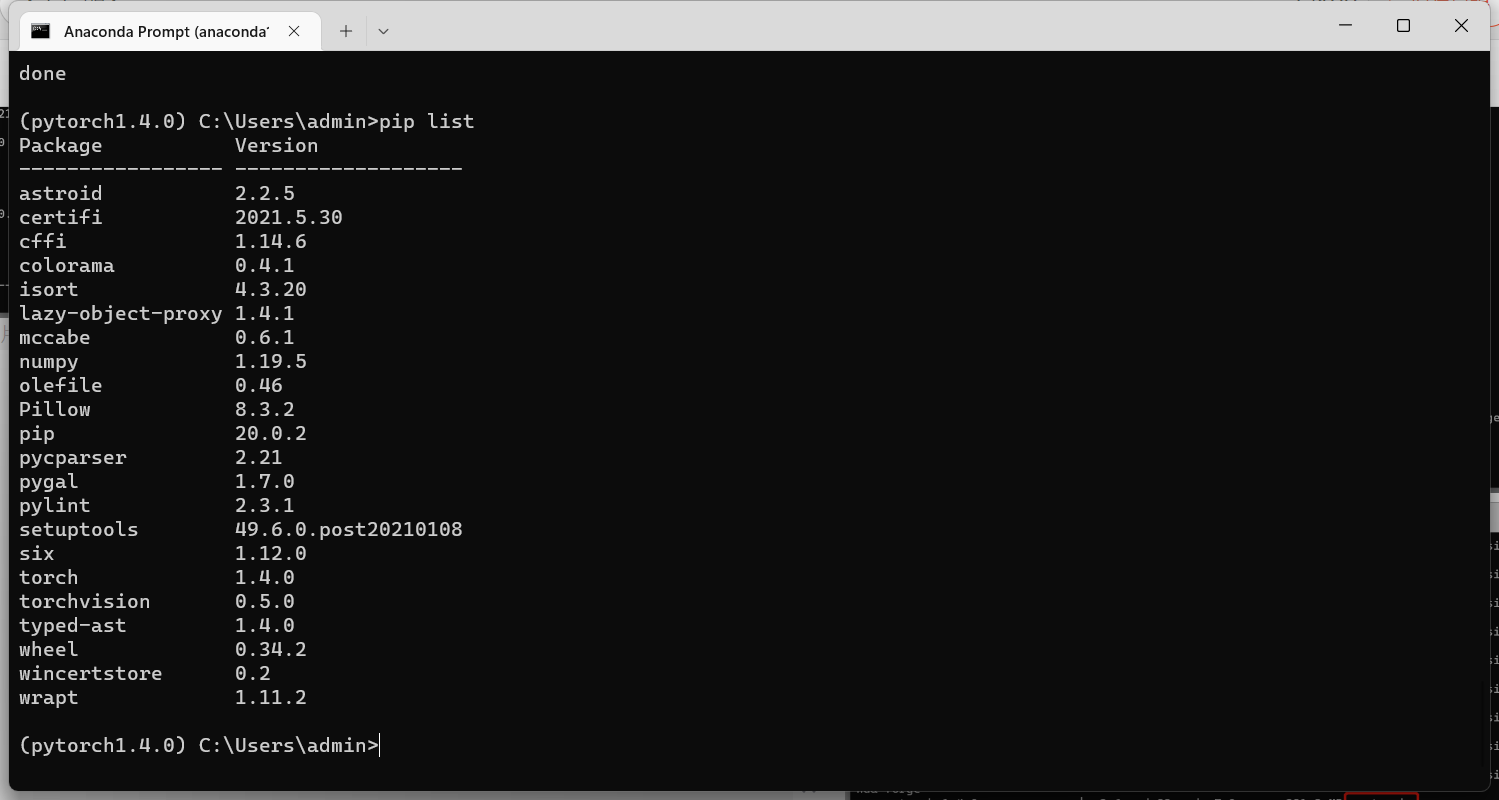
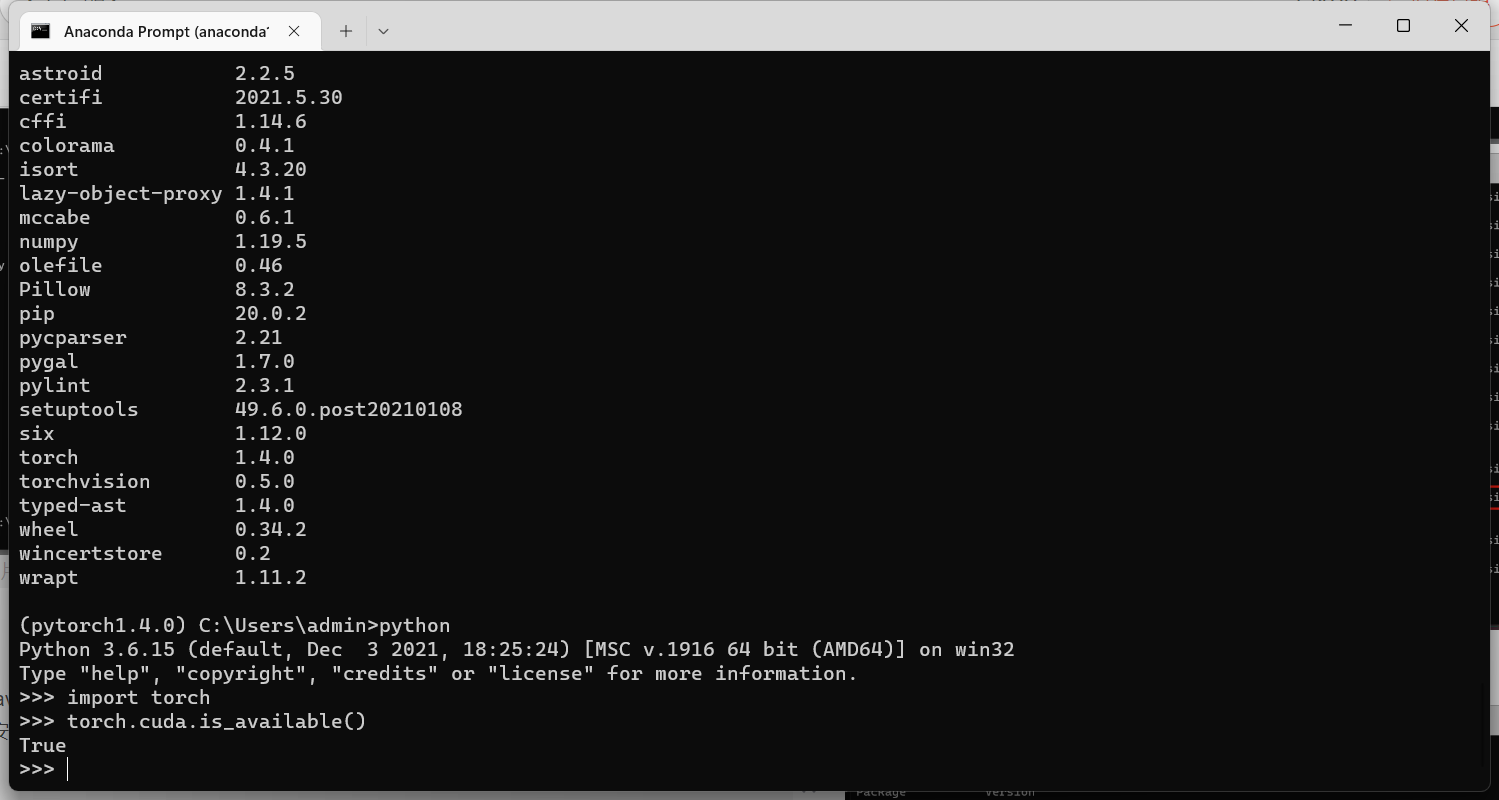
5. Check whether the installation is successful
pip list
6. Enter the following command, displaying True proves that the installation is successful
python
import torch
torch.cuda.is_available()
7. Then enter the compiler (Pycharm) and select the environment just installed. We need to prove whether the environment has been successfully imported into the compiler . In Pycharm, select the python terminal and enter the following two lines of instructions:
import torch
torch.cuda.is_available()
If True is displayed, it proves that the compiler has successfully imported the pytorch environment.
2. Jupyter builds the pytorch environment
If you want to use jupyter to enter the pytorch environment, there are two ways:
- Reinstall pytorch directly in the (base) environment - not recommended , will lead to messy environment.
- Reinstall jupyter in the built subspace --recommended .
For method 2, if you want jupyter to enter the pytorch environment after the installation is successful, you need to enter the pytorch1.4.0 subspace in anaconda and enter the
jupyter notebookcommand (see below for details) to enter. If you click the shortcut to start jupyter directly, you cannot find the corresponding path.
1. You need to enter in the environment you just created
conda install nb_conda
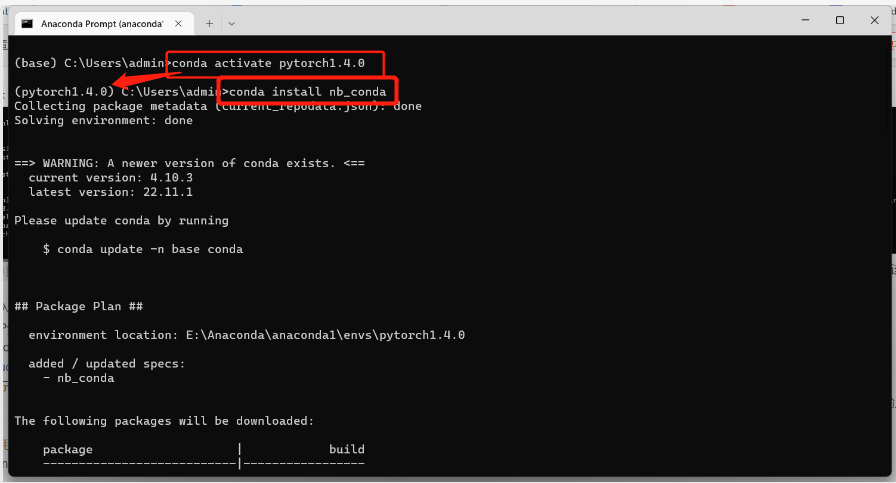
If it is displayed that there is an error due to Tsinghua's source, switch to the default source and reinstall, switch back to the default source, see blog .
(Remember to re-specify the Tsinghua source after the default source is installed, otherwise it will be very slow to install other packages next time...)
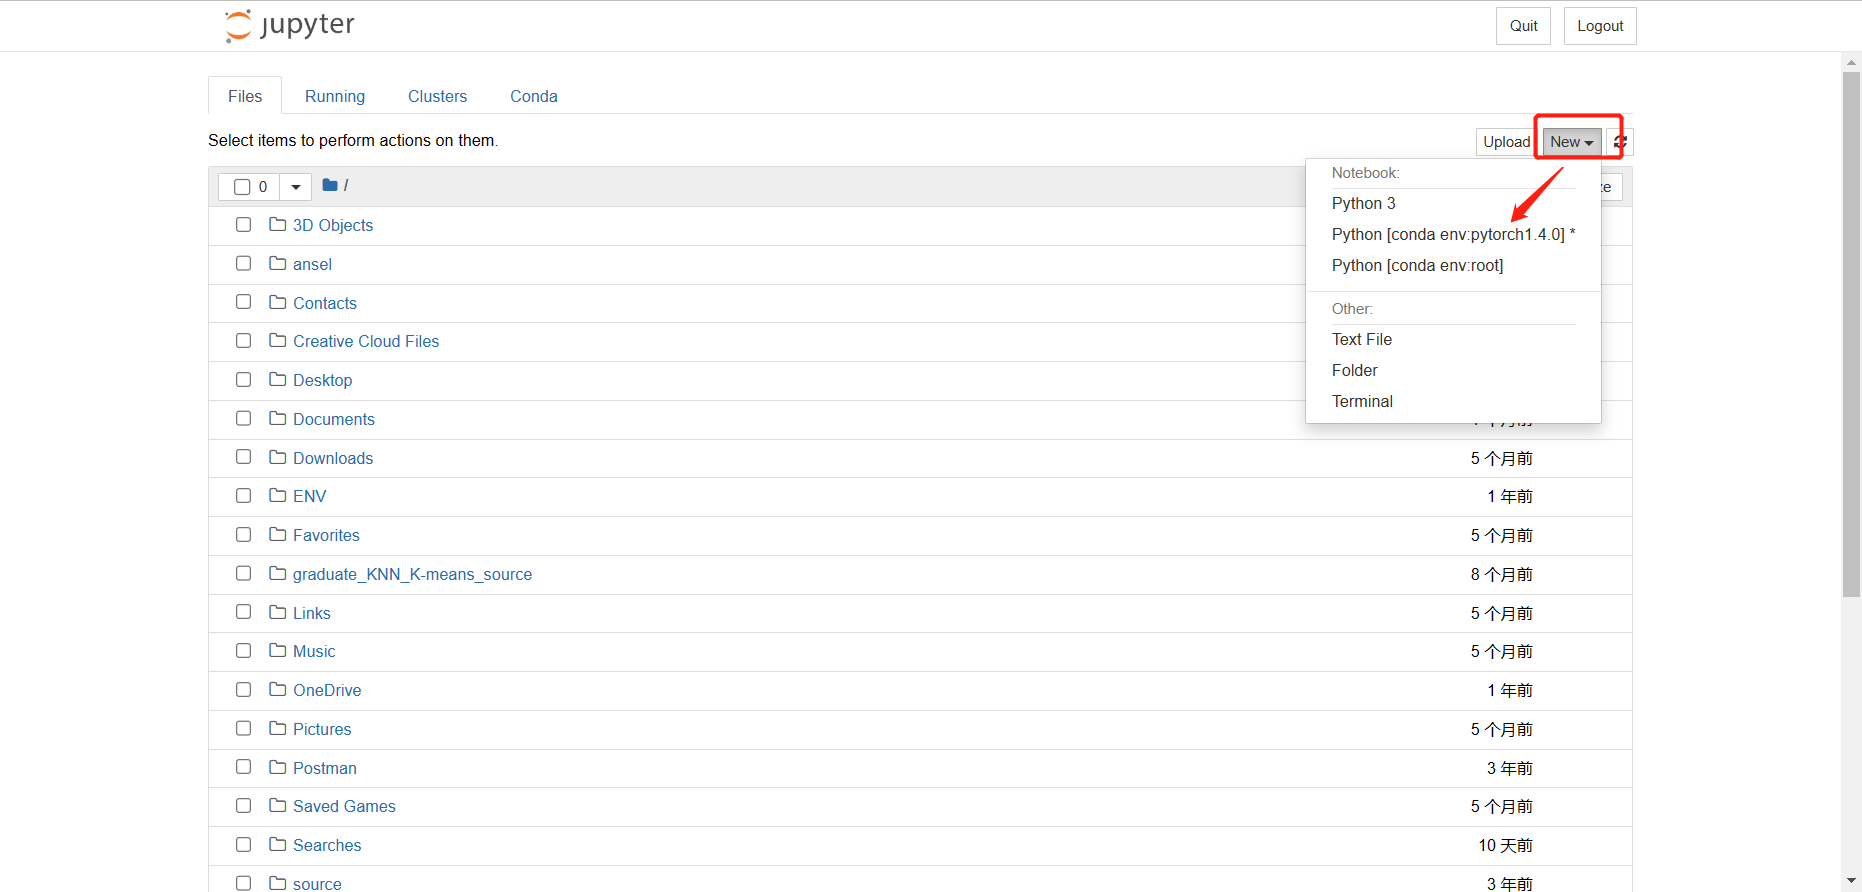
2. Then enter jupyter notebook to enter jupyter, select as follows
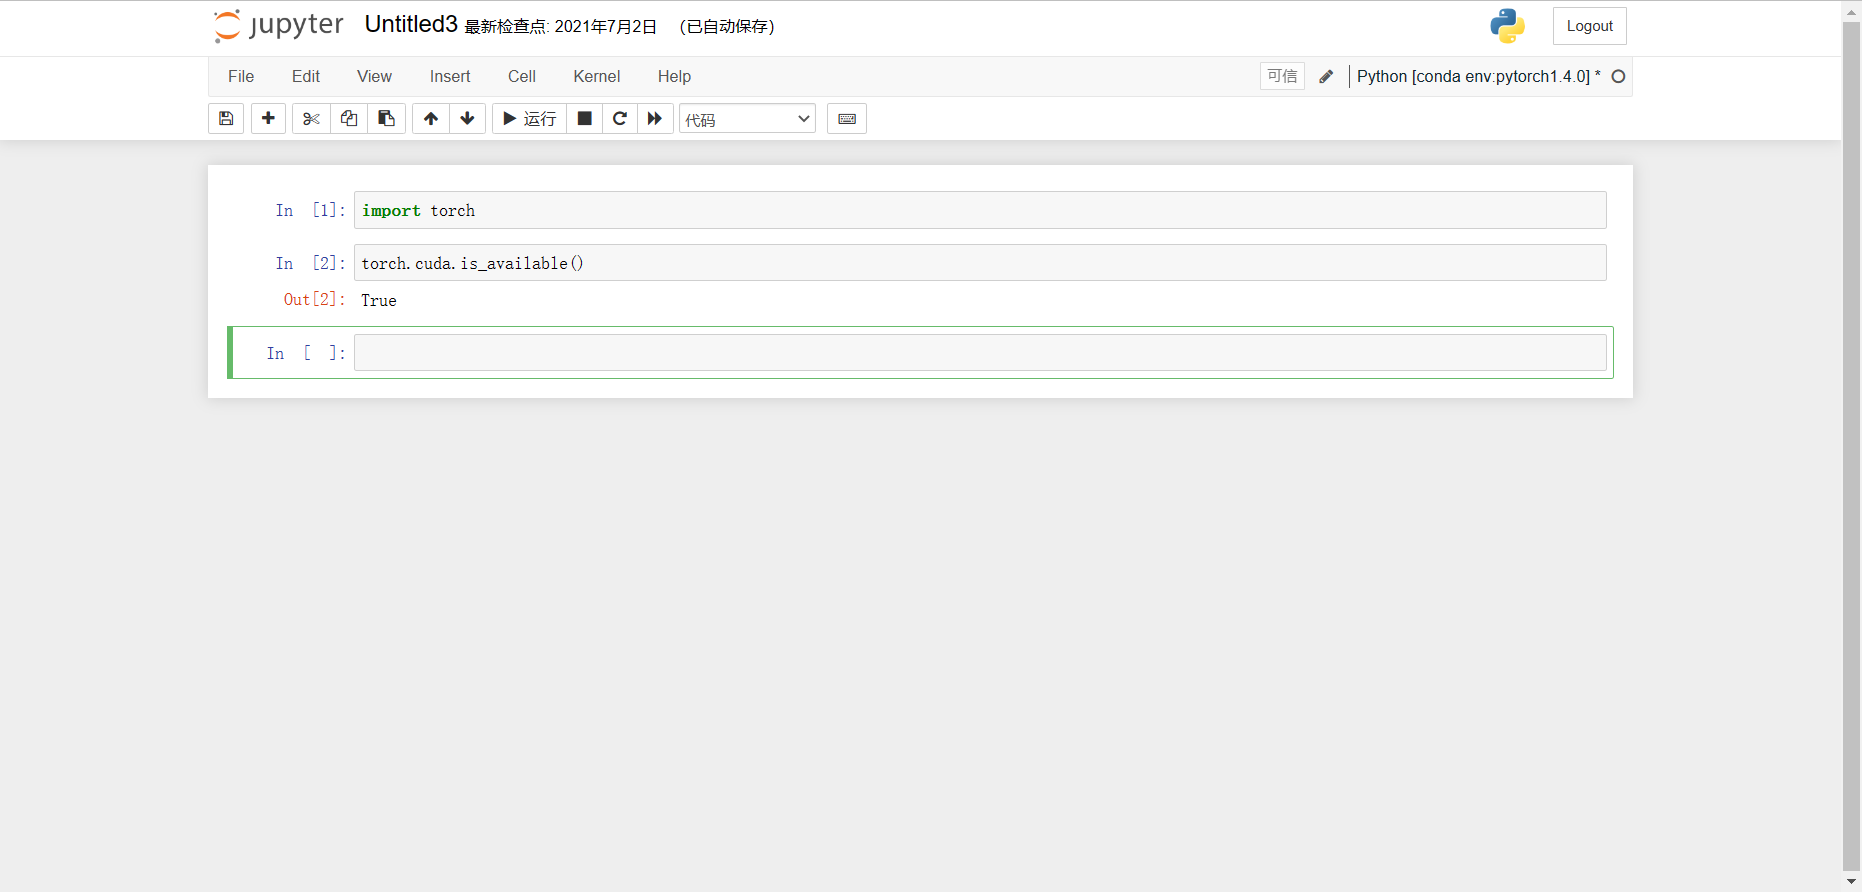
3. Enter the same command as before to test whether the pytorch environment is successfully imported
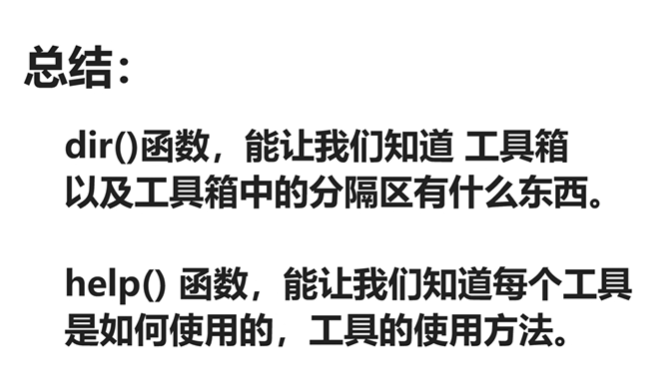
3. Learn the simple skill function of pytorch
If you encounter problems with the installation, please leave a message to communicate at any time.