Serial communication between Openmv and stm32
foreword
I was preparing to participate in the electric competition during the holidays, and I learned openmv. The data recognized by openmv was transmitted to STM32, and then the next step of processing was carried out. In order to realize the communication between the two, it took a long time, and it finally came true. Now I think about it. It's quite simple, hahahaha, but it's still a bit difficult for a novice like me, so you don't need to read it! !
To prevent forgetting in the future, come to CSDN to make a note! !
openmv side
The main job on the openmv side is to identify the target object, then pack the required data, and then use the serial port to send it to a single-chip microcomputer. Here are a few key points:
Format of data packaging:
data = ustruct.pack("<bbhhhhb", #格式为俩个字符俩个短整型(2字节) 0x2C, #帧头1 0x12, #帧头2 int(cx), # up sample by 4 #数据1 int(cy), # up sample by 4 #数据2 int(cw), # up sample by 4 #数据1 int(ch), # up sample by 4 #数据2 0x5B) uart.write(data); #必须要传入一个字节数组
The packaging method is shown in the figure above. In order to prevent data errors, two data frame headers and one data frame tail need to be added.
The form of data transmitted by openmv
Openmv can only transmit hexadecimal data to STM32, otherwise STM32 will not receive the data. The result is that the MCU and openmv can communicate with the computer normally, but the combination of the two cannot communicate normally. The realization of hexadecimal data is mainly
through The bytearray () function, the specific format is as follows: the OUT_DATA =bytearray([0x2C,0x12,cx,cy,cw,ch,0x5B])
main problem in the openmv segment is these two places, the configuration of the serial port in the area, and the number of data transmissions are conventional, openmv also has a data format, which is json string, I haven't tried it yet, I'll add it later.
The complete source code of the openmv side
from pyb import UART,LED
import json,ustruct,sensor,time

red_threshold  = (2, 12, -56, 2, -75, 14)#测试所用,白色,懒得该名称
sensor.reset() # Initialize the camera sensor.
sensor.set_pixformat(sensor.RGB565) # use RGB565.
sensor.set_framesize(sensor.QQVGA) # use QQVGA for speed.
sensor.skip_frames(10) # Let new settings take affect.
sensor.set_auto_whitebal(False) # turn this off.
clock = time.clock() # Tracks FPS.

uart = UART(3,115200)   #定义串口3变量
uart.init(115200, bits=8, parity=None, stop=1) # init with given parameters

'''寻找最大色块'''
def find_max(blobs):
    max_size=0
    for blob in blobs:
        if blob[2]*blob[3] > max_size:
            max_blob=blob
            max_size = blob[2]*blob[3]
    return max_blob
'''数据发送函数'''
def sending_data(cx,cy,cw,ch):
    global uart;
    #frame=[0x2C,18,cx%0xff,int(cx/0xff),cy%0xff,int(cy/0xff),0x5B];
    #data = bytearray(frame)
    data = ustruct.pack("<bbhhhhb",      #格式为俩个字符俩个短整型(2字节)
                   0x2C,                      #帧头1
                   0x12,                      #帧头2
                   int(cx), # up sample by 4   #数据1
                   int(cy), # up sample by 4    #数据2
                   int(cw), # up sample by 4    #数据1
                   int(ch), # up sample by 4    #数据2
                   0x5B)
    uart.write(data);   #必须要传入一个字节数组

while(True):
    clock.tick() # Track elapsed milliseconds between snapshots().
    img = sensor.snapshot() # Take a picture and return the image.

    blobs = img.find_blobs([red_threshold])
    if blobs:
        max_blob = find_max(blobs)
        img.draw_rectangle(max_blob.rect()) # rect
        img.draw_cross(max_blob.cx(), max_blob.cy()) # cx, cy
        cx=max_blob[5]
        cy=max_blob[6]
        cw=max_blob[2]
        ch=max_blob[3]
        OUT_DATA =bytearray([0x2C,0x12,cx,cy,cw,ch,0x5B])
        uart.write(OUT_DATA)
        print(OUT_DATA)
STM32 side
Speaking of the STM32 side, I really took a lot of detours. Because of the printf() redirection, there was a problem with the way I used it at the beginning. It took me a lot of time, and the serial debugging assistant could not receive the message. I thought the board was broken, and finally found out that it was a redirection problem. There are two ways:
The correct way after verification:
# include "stdio.h"
int fputc(int ch ,FILE *f)
{


	//轮询方式发送一个字节数据
	HAL_UART_Transmit (&huart1 ,(uint8_t *)&ch , 1,HAL_MAX_DELAY );
	return ch ;
}
key point:
Serial port receiving interrupt callback function:
/*串口接收中断回调函数*/
void HAL_UART_RxCpltCallback(UART_HandleTypeDef *huart)
{


  uint16_t tempt  /*定义临时变量存放接受的数据*/;
  if(huart->Instance==USART2)
  {


    tempt=USART2_RXbuff;
    Openmv_Receive_Data(tempt);
		/*调运数据接收处理函数,每次进入中断都对数据进行理处
		,由于需要接收器个数据,因此要进入七次断理*/
  }
HAL_UART_Receive_IT(&huart2,(void *)&USART2_RXbuff,1);/*再次开启接收中断*/
}
The last re-open interrupt reception must not be forgotten;
function to read data
openmv.c
#include "OpenMV.h"
#include "stdio.h"
#include "usart.h"
/*四个变量用于存放目标物体的中心坐标以及宽度,高度*/
static uint8_t  Cx=0,Cy=0,Cw=0,Ch=0;
/*数据接收函数*/
void Openmv_Receive_Data(int16_t Com_Data)
{


  /*循环体变量*/
  uint8_t i;
	/*计数变量*/
	static uint8_t RxCounter1=0;//计数
	/*数据接收数组*/
	static uint16_t RxBuffer1[10]={

    0};
	/*数据传输状态位*/
	static uint8_t RxState = 0;
	/*对数据进行校准,判断是否为有效数据*/
  if(RxState==0&&Com_Data==0x2C)  //0x2c帧头
		{


			RxState=1;
			RxBuffer1[RxCounter1++]=Com_Data;
      HAL_GPIO_WritePin(LED_GPIO_Port, LED_Pin, GPIO_PIN_SET);
		}

	else if(RxState==1&&Com_Data==0x12)  //0x12帧头
		{


      HAL_GPIO_WritePin(LED_GPIO_Port, LED_Pin, GPIO_PIN_RESET);
			RxState=2;
			RxBuffer1[RxCounter1++]=Com_Data;
		}
	else if(RxState==2)
		{


			RxBuffer1[RxCounter1++]=Com_Data;
			if(RxCounter1>=10||Com_Data == 0x5B)       //RxBuffer1接受满了,接收数据结束
				{


					RxState=3;
					Cx=RxBuffer1[RxCounter1-5];
					Cy=RxBuffer1[RxCounter1-4];
					Cw=RxBuffer1[RxCounter1-3];
					Ch=RxBuffer1[RxCounter1-2];
          printf("%d\r   ",Cx);
          printf("%d\r   ",Cy);
          printf("%d\r   ",Cw);
          printf("%d\r\n",Ch);
					}
			}

				else if(RxState==3)//检测是否接受到结束标志
				{


						if(RxBuffer1[RxCounter1-1] == 0x5B)
						{


									//RxFlag1 = 0;
									RxCounter1 = 0;
									RxState = 0;
						}
						else   //接收错误
						{


									RxState = 0;
									RxCounter1=0;
									for(i=0;i<10;i++)
									{


											RxBuffer1[i]=0x00;      //将存放数据数组清零
									}
						}
				}

				else   //接收异常
				{


						RxState = 0;
						RxCounter1=0;
						for(i=0;i<10;i++)
						{


								RxBuffer1[i]=0x00;      //将存放数据数组清零
						}
				}
      }
openmv.h
#ifndef __OpenMV_H
#define	__OpenMV_H

#include "stm32f1xx.h"

void  Openmv_Receive_Data(int16_t data);


#endif
There is not much content in the main function, mainly to enable interrupt reception and the definition of some variables
  /* USER CODE BEGIN 2 */
HAL_UART_Receive_IT(&huart2,(void *)&USART2_RXbuff,1);
HAL_UART_Receive_IT(&huart1,(void *)&USART1_RXbuff,1);
  /* USER CODE END 2 */
/* USER CODE BEGIN PV */
uint8_t USART1_RXbuff;  // 接收缓冲区;
uint8_t USART2_RXbuff;
		uint8_t ch = 0;
cubemx configuration is very simple

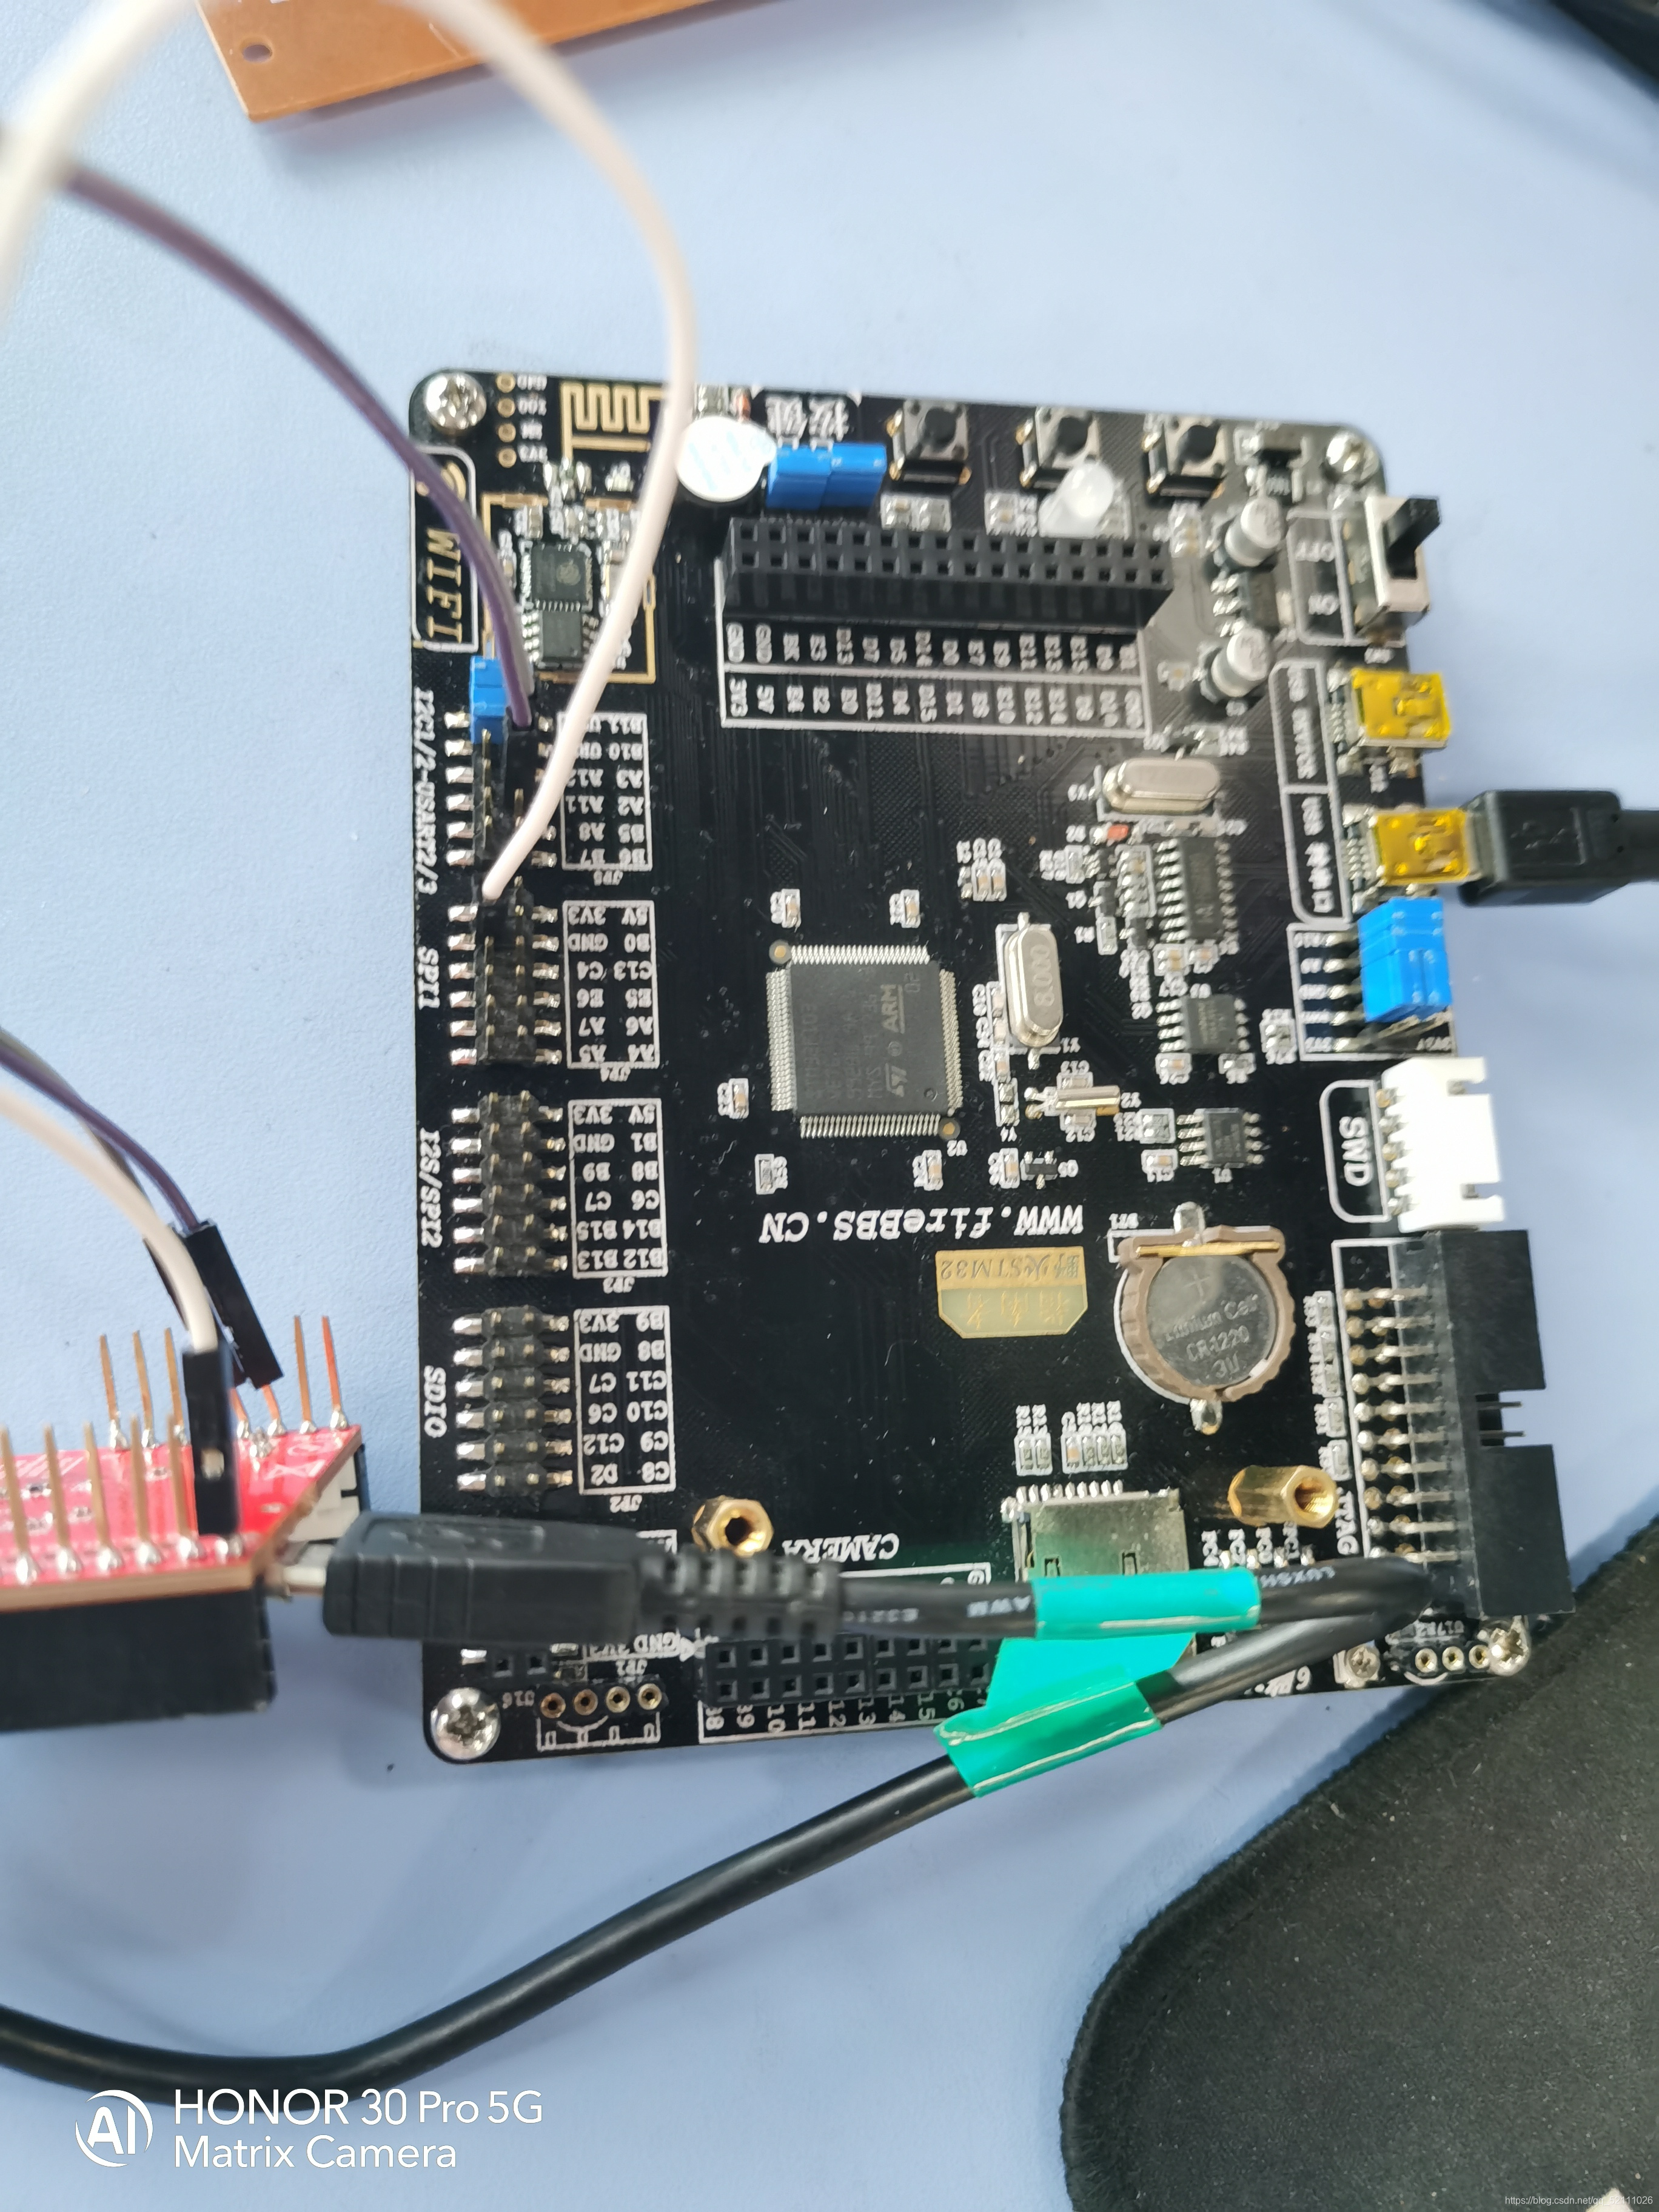
Finally, there is the problem of wiring! !
Done, call it a day, chat privately if you have any questions! ! !