1. Create a user group
1. Create a user group and user
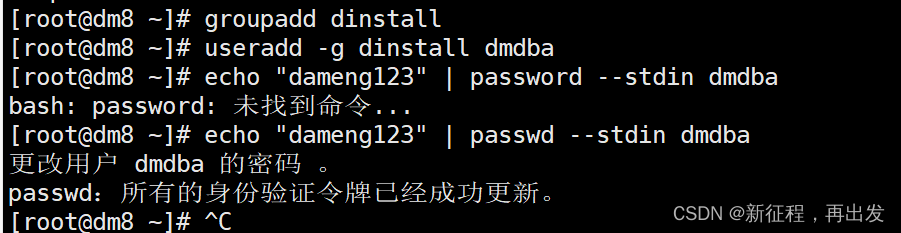
- add group
groupadd dinstall
- Add user
useradd -g dinstall dmdba
- Set username and password
echo "dameng123" | passwd --stdin dmdba
- View the user ID (uid), group ID (gid) and all groups to which the user belongs to in the operating system.
id dmdba

2. Create an installation directory
- Create an installation directory
mkdir /dm8

- Authorize the dm8 directory to the dmdba user
chown dmdba:dinstall /dm8
- View detailed information about a file or directory, including permissions, owner, group, size, creation time, and more.
ls -ld /dm8

3. Modify the configuration file
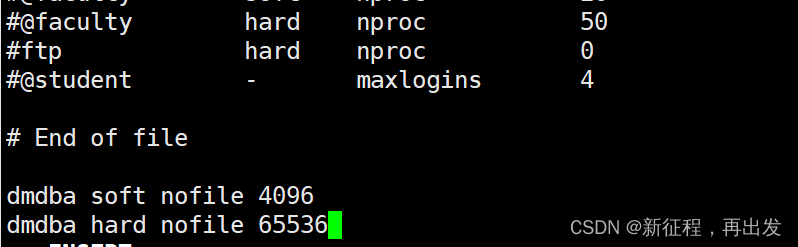
- Modify the configuration file
vi /etc/security/limits.conf
Add to
dmdba soft nofile 4096
dmdba hard nofile 65536
Download Dameng database
1. Download the image (requires login and registration)
Address: https://www.dameng.com/list_103.html

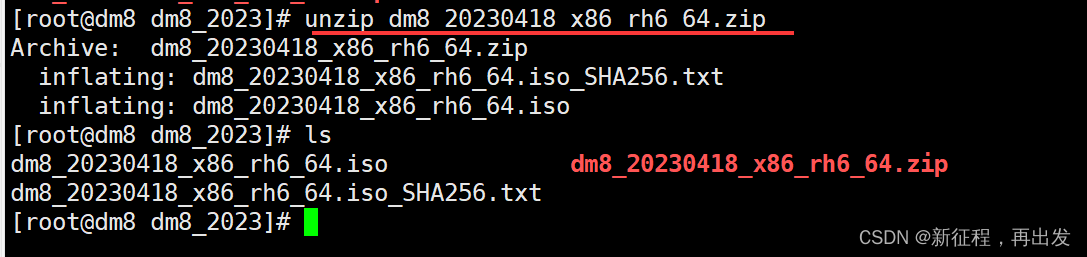
2. Upload to the linux server and decompress
unzip xxx.zip
3. Check whether it matches
- Verify image
sha256sum dm8_20230418_x86_rh6_64.iso
- Check if the files are the same
cat dm8_20230418_x86_rh6_64.iso_SHA256.txt

- Note: If the end of the txt file is MD5, use the xxxsum command
md5sum ...
Install according to the official documentation of Dameng database
Address: https://eco.dameng.com/document/dm/zh-cn/start/install-dm-linux-prepare.html
Notice
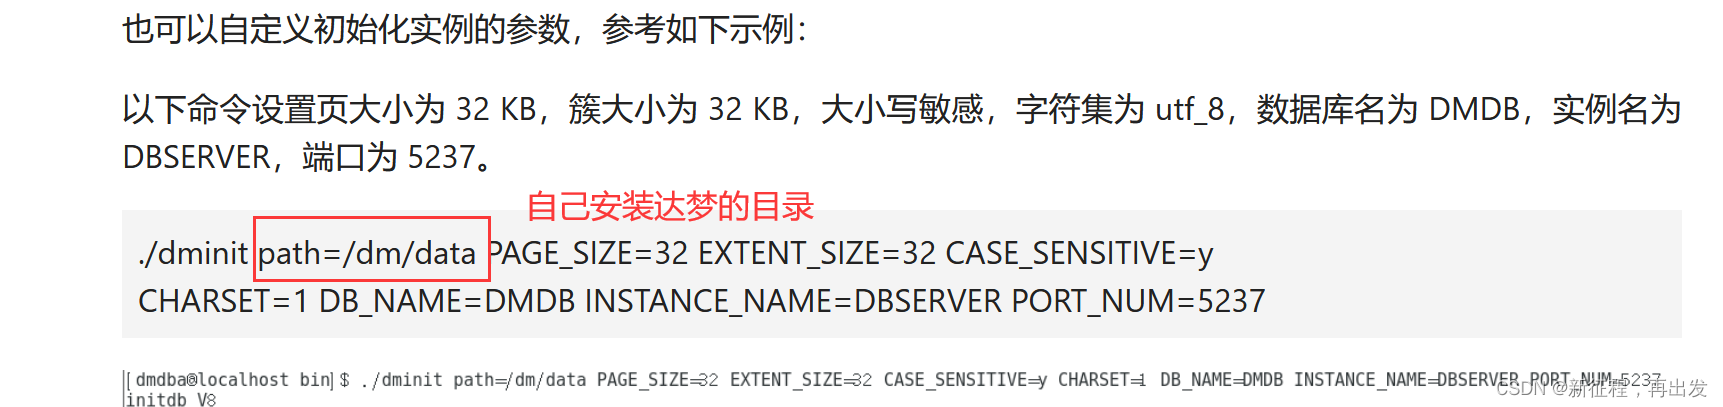
- If you can't install it graphically, use the command line to install it.
- When configuring the instance, the path to install the database is dm8, so change it to dm8 here
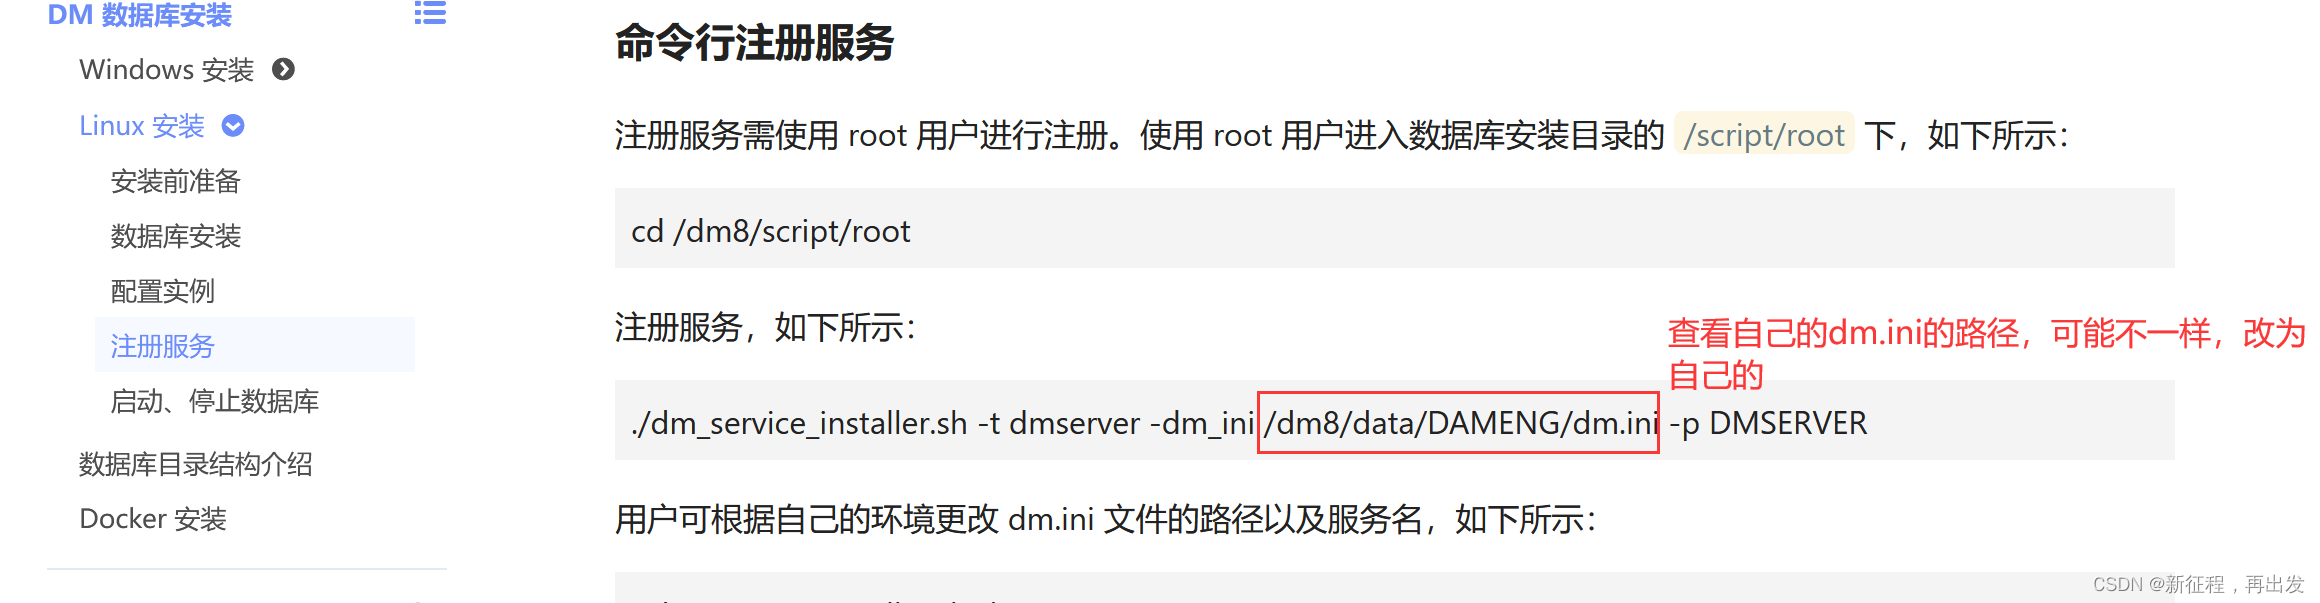
- When registering the service, be careful to use your own path
End! ! ! ! ! ! !
hy:13
智慧是摆脱错误和糊涂观念所必须的本领。---苏格拉底