written in front
vim is an editor and a common tool for programming under Linux. If you want to learn programming under Linux,
Then learning to use vim is a compulsory course. Today I will explain how to use the vim editor.
Table of contents
(1) gg: position the cursor to the first position of the first line
(2) shift + g: position the cursor to the last line
(3) n + shift + g: position the cursor to the nth line
(4) shift + $: position the cursor to the last position of the current line
(5) shift + ^: position the cursor to the first position of the current line
(6) Use w, b: the cursor can perform cross-word actions
(7) Use h, j, k, l: move the cursor up, down, left, and right
(8) Press and hold shift + ~: perform case conversion
(9) Use yy to copy the line where the cursor is located
(11) Use dd: for cutting operations
(12) Use u to perform undo operations
(13) Use Ctrl + r to undo the undo operation just now
(14) Use r to replace the cursor character
(15) Use shift + r to enter replacement mode
(16) Use x to delete the character where the cursor is located
(17) Bottom row mode vs: multi-file writing
what is vim
Vim is a multi-mode editor, so I will start to explain the use of vim from multiple modes.
But before that, I want to say that our vim is a bare vim at the beginning, without any configuration,
The interface is not good-looking, and there is no syntax prompt and completion when using it, which is very uncomfortable, and the vim I have used is configured,
If you are doing practical operations while reading blogs, I suggest that after learning the basic operations,
Jump from the directory to the part of vim configuration, first configure vim.
The three most commonly used modes of vim are:
1. Command mode
2. Bottom row mode
3. Insert mode
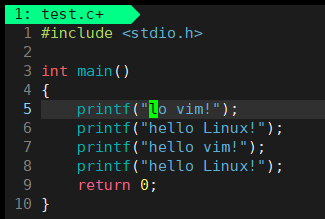
For example, we create a file and open it with vim:

The interface after entering is the command mode.

Enter i to enter insert mode.
Enter insert mode and you can write programs normally.
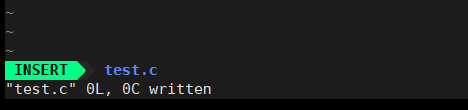
We can see that his lower left corner has turned green, and INSERT means insert.
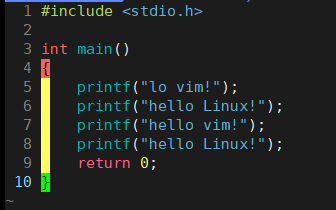
Let's write some code casually:
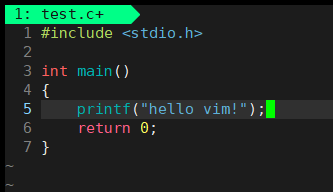
Then, just press the ESC key to return directly to command mode.
As long as we enter the symbol ':' , we can enter the bottom line mode:
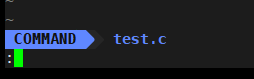
We can operate, enter w to save, enter q to exit, or directly wq to save and exit.
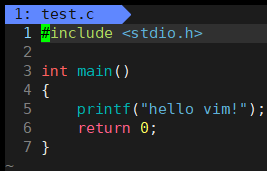
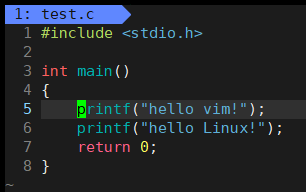
Then we can see the code we wrote:

To add, no matter what the mode is, pressing the ESC key can generally switch to the command mode.
Common commands of vim
Let's re-open this file with vim to learn the common commands of vim:
(1) gg: position the cursor to the first position of the first line

(2) shift + g: position the cursor to the last line

(3) n + shift + g: position the cursor to the nth line
I won't demonstrate this one, it's similar to the first two.
(4) shift + $: position the cursor to the last position of the current line

(5) shift + ^: position the cursor to the first position of the current line
(6) Use w, b: the cursor can perform cross-word actions
w is to jump backward, b is to jump forward, the effect is to jump across words.
(7) Use h, j, k, l: move the cursor up, down, left, and right
The operations and memory methods they represent respectively:
h means left, and h is on the far left, so it is not surprising that it means left.
l means right, and l is on the far right, so it is not surprising that it means right.
j means down, j can be understood as jump, jump down.
K means up, only k is left, and he can only mean up.
This is how I remember it.
(8) Press and hold shift + ~: perform case conversion

Of course it can also be converted back:

It is also possible to turn only half:

(9) Use yy to copy the line where the cursor is located
Of course, copying this operation needs to cooperate with pasting.
(10) Use p to paste
The picture below is p after yy

We can also n + p, which means pasting n times:
Say for 100p:
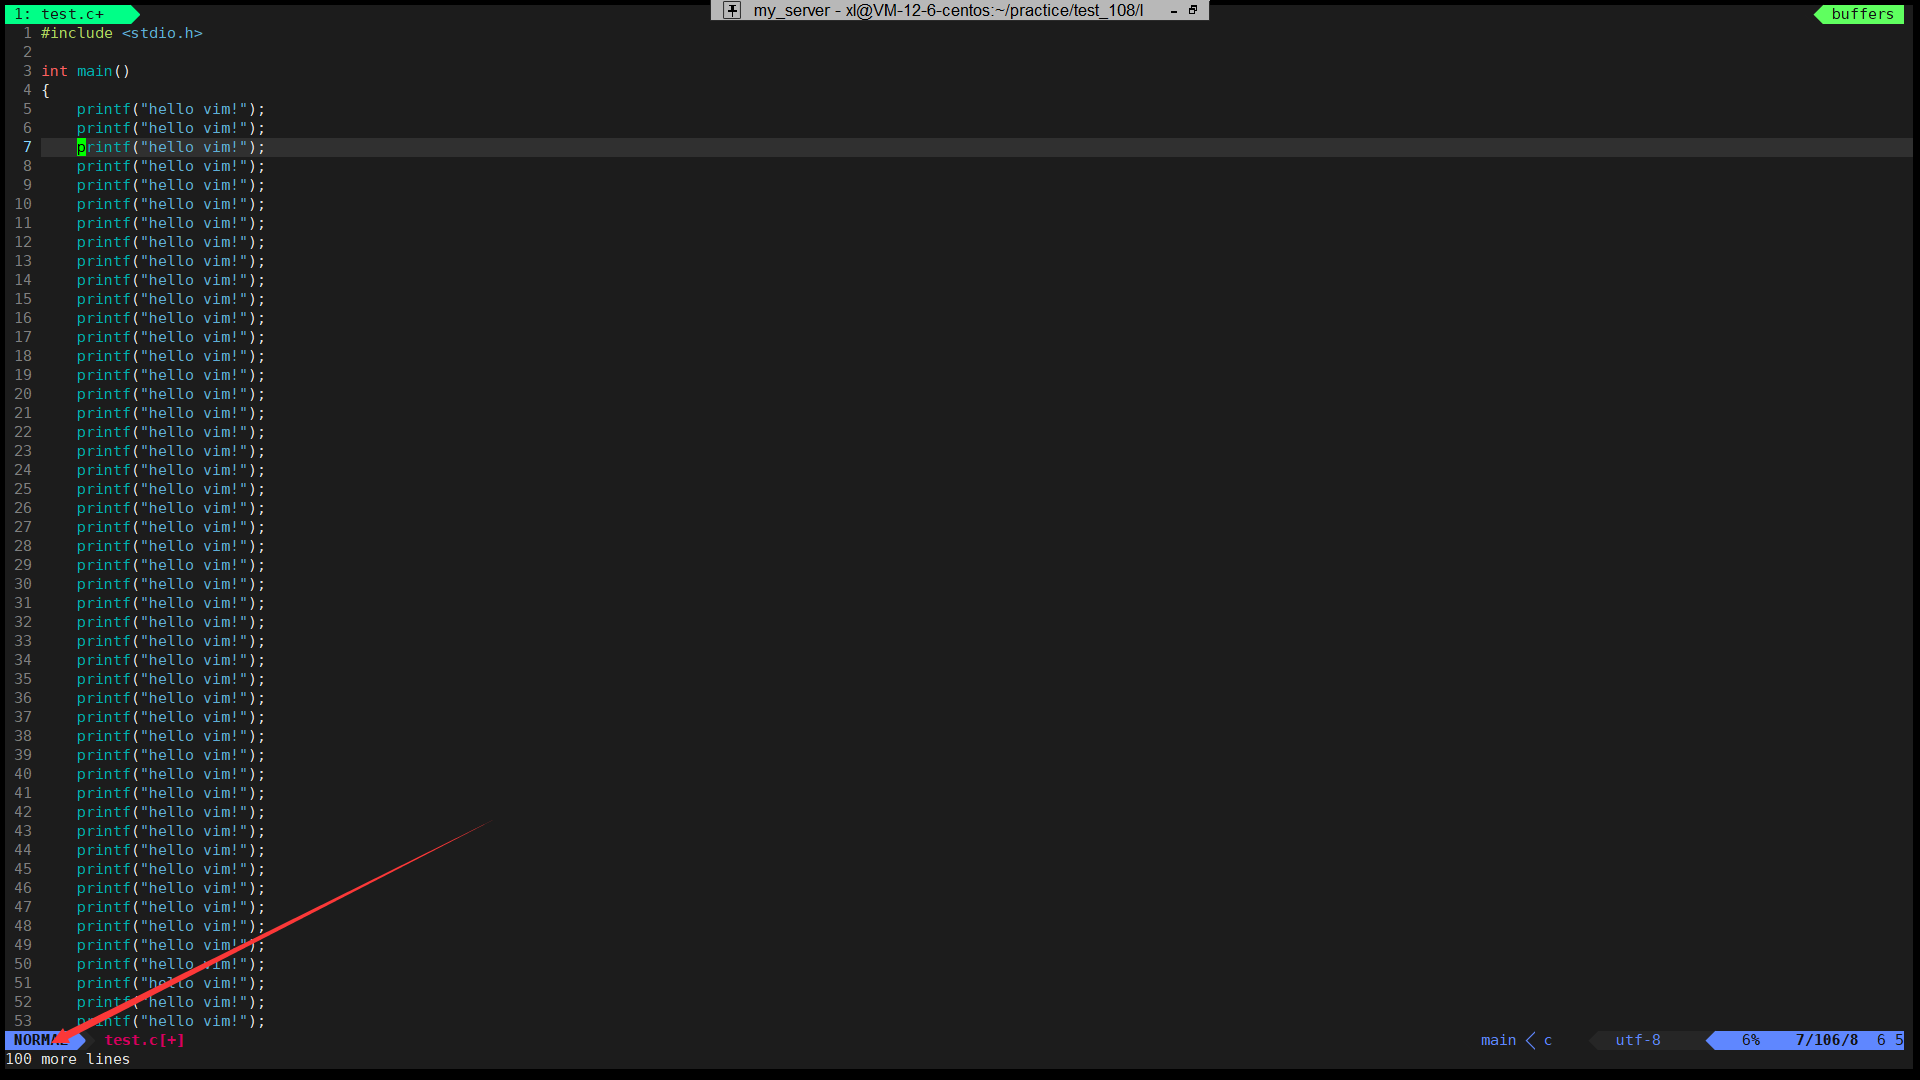
You can see that 100 lines are pasted.
Of course, y can also use n + yy to copy the content of n lines
For example, let's say 2 yy:
p again:
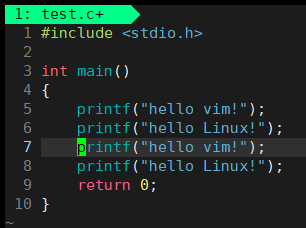
You can see that two lines are indeed copied.
(11) Use dd: for cutting operations
Of course dd also supports n + dd to cut n lines:

Use 4dd:

Just p again and it will come back:

(12) Use u to perform undo operations
It is to undo the operation of the previous step, and I will not demonstrate it.
(13) Use Ctrl + r to undo the undo operation just now
It is to undo the operation just undone with u, and I will not demonstrate it.
(14) Use r to replace the cursor character
I replaced h with y with r.
Of course, it also supports batch replacement of n + r operations, so I won't demonstrate it.
(15) Use shift + r to enter replacement mode
like this:
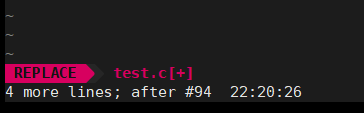
You can directly write code to replace:

After writing, press ESC to return to the command line mode.
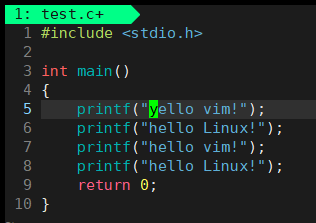
(16) Use x to delete the character where the cursor is located
Like below, press the x to delete one.
Of course, using n + x is to delete the characters after x.
The above are basically commands in command mode,
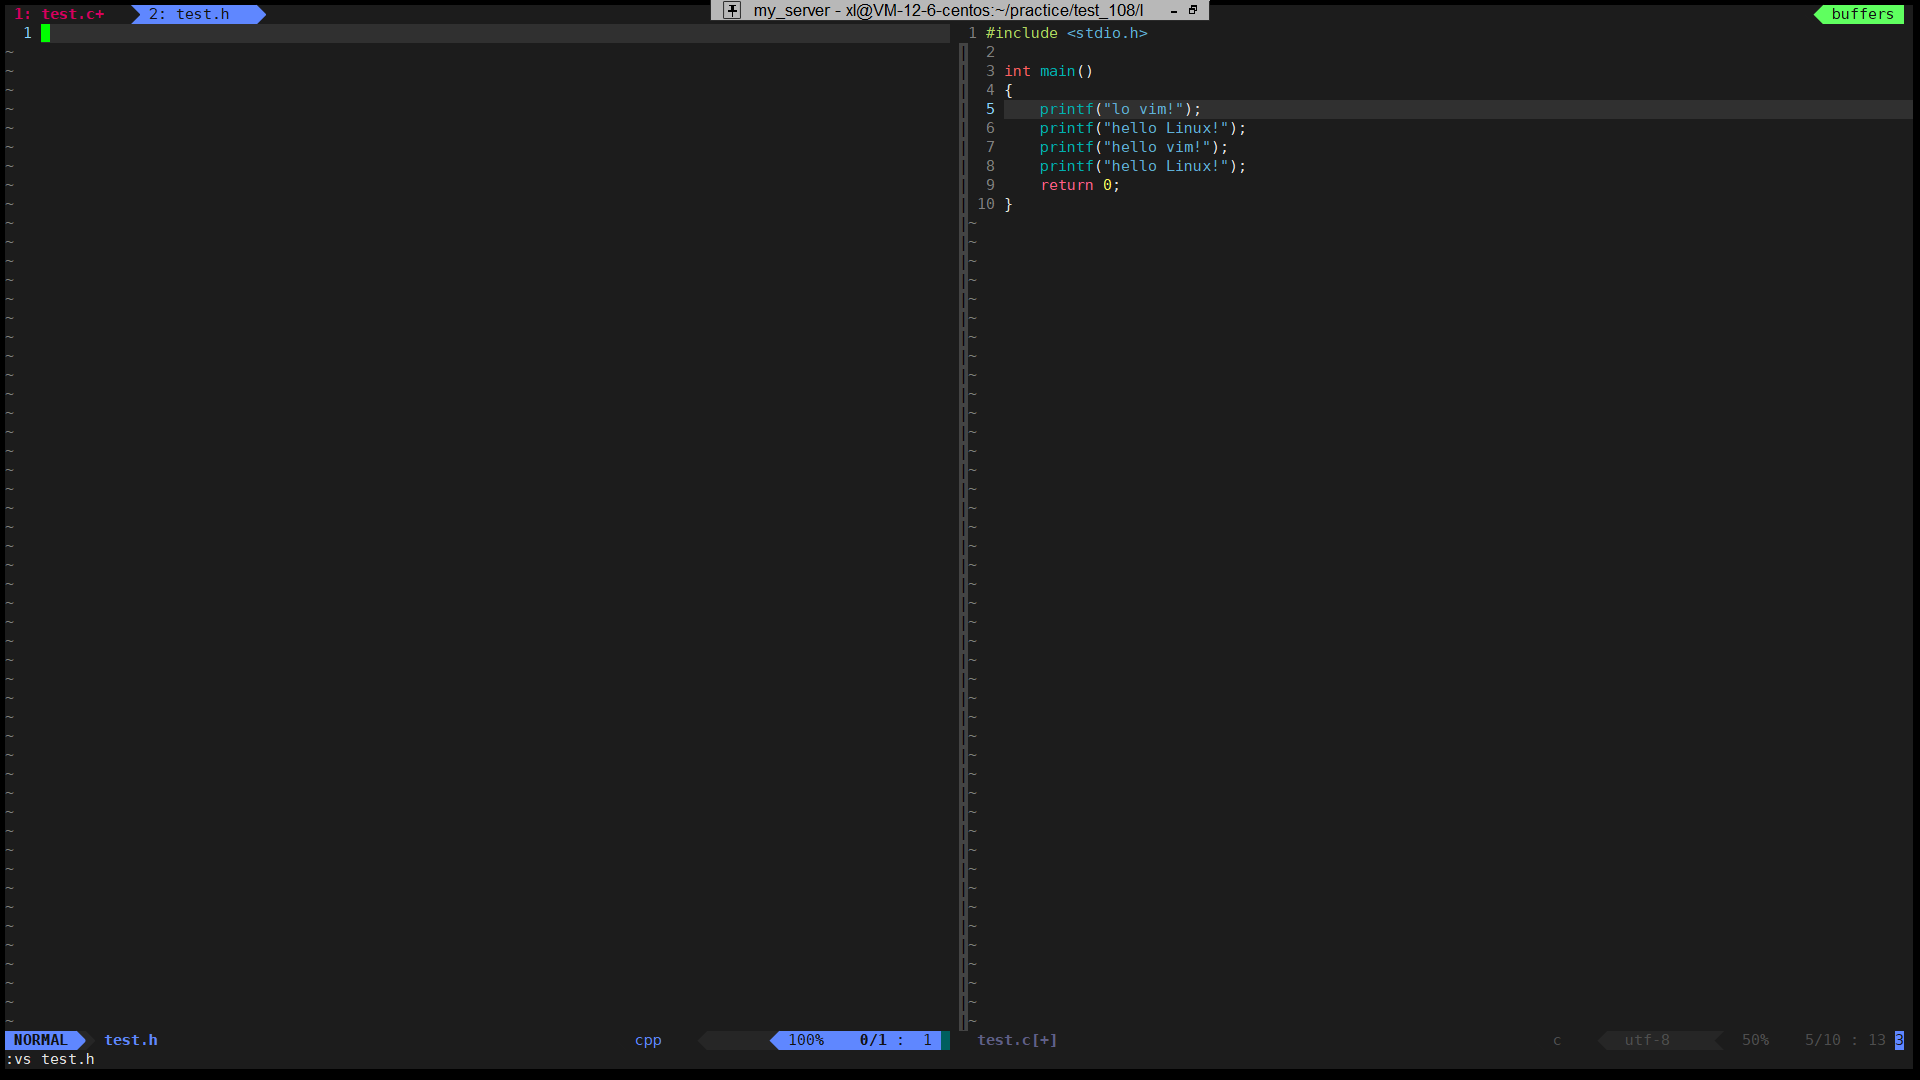
(17) Bottom row mode vs: multi-file writing
For example, we enter:

You can write code in two files:
 Supporting multiple files is no problem:
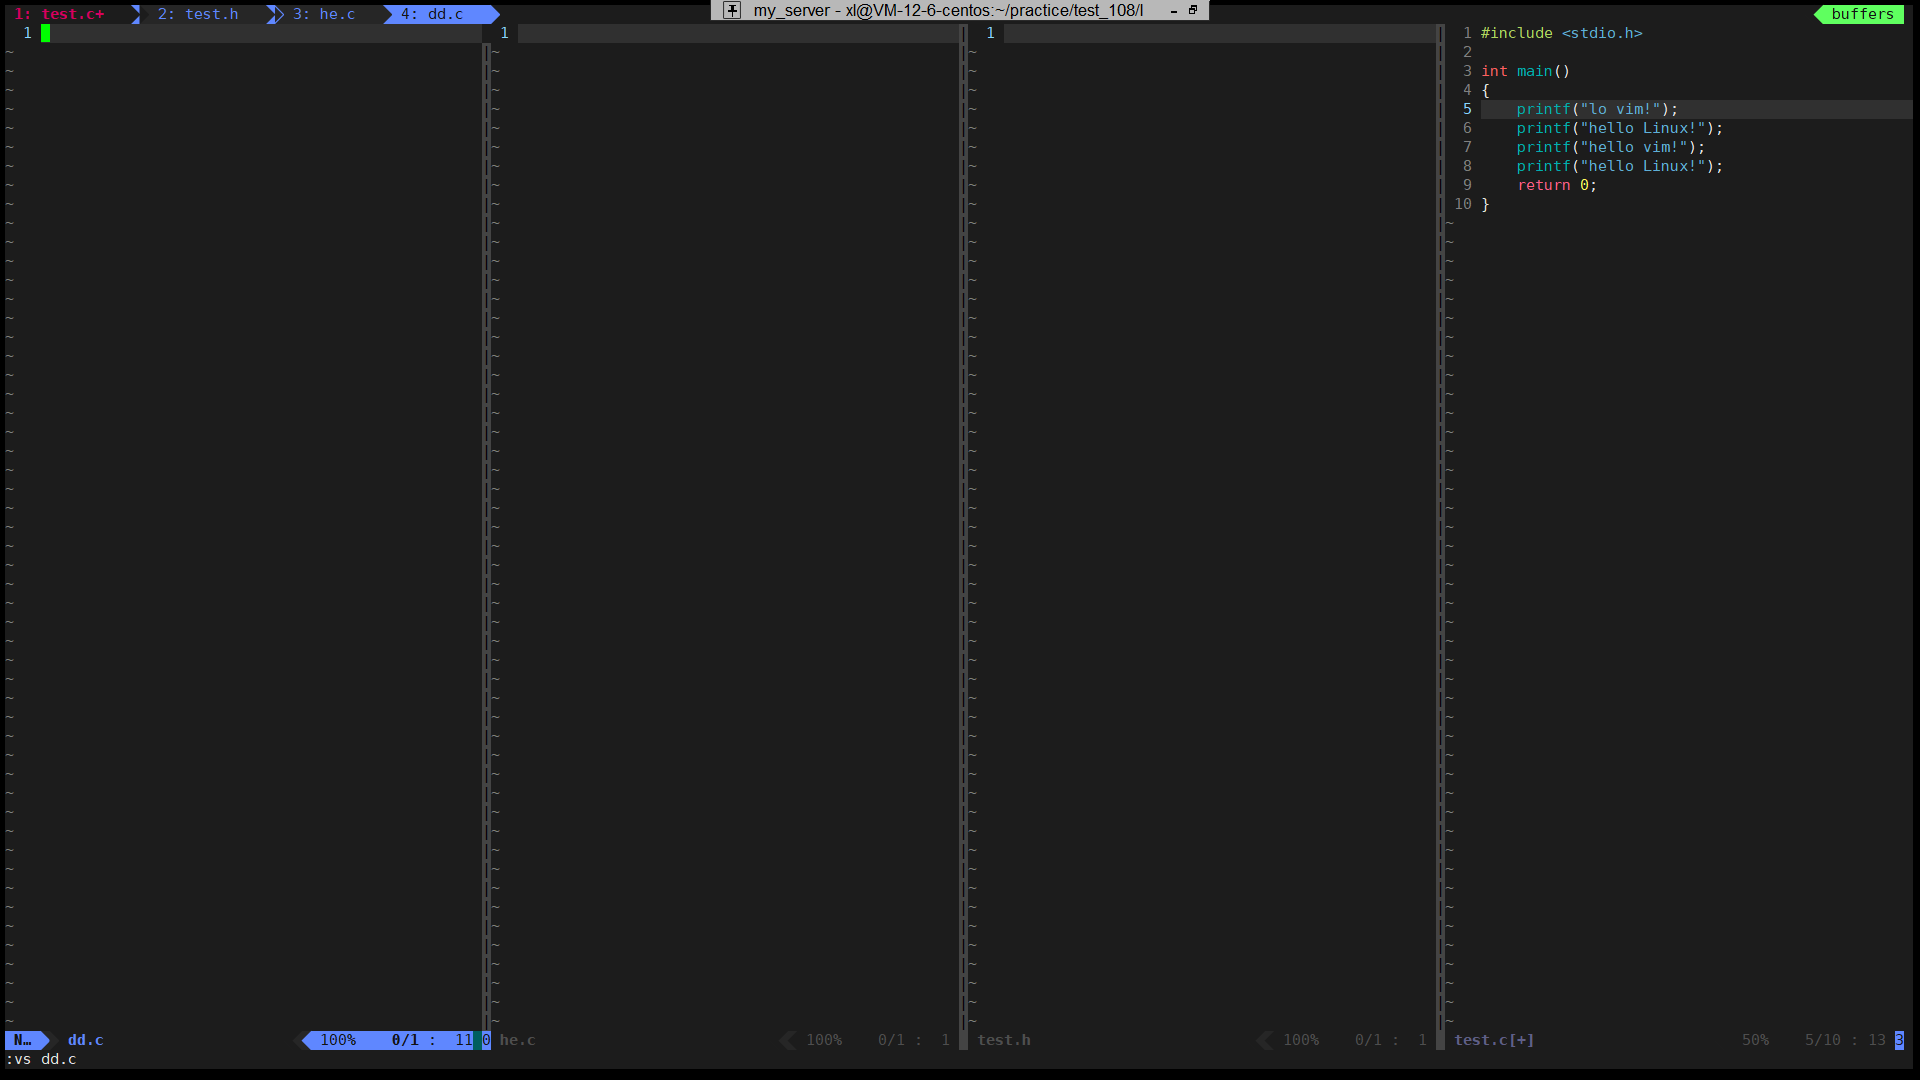 Use Ctrl + double-click w to jump between files,
I won't demonstrate it here.
How to batch comments
This operation is more complicated
details as follows:
先Ctrl + v
Then use commands such as hjkl to determine the range that needs to be annotated
then shift+i
then enter //
Finally, press the ESC button to batch comments:

Here I will say the batch delete comments together by the way:
先Ctrl + v
Then use commands such as hjkl to determine the range of comments to delete
Just type dd.
Basically, proficient use of the above commands is enough to deal with vim programming under Linux.
vim configuration problem
I will not introduce the configuration scheme of vim in detail here.
Just search on the Internet, you can find a lot of vim configuration versions and configuration methods,
Here I will release my vim configuration:
Enter this command under the user you want to use this vim configuration, and follow the prompts:
curl -sLf https://gitee.com/HGtz2222/VimForCpp/raw/master/install.sh -o ./install.sh && bash ./install.shIf you want to know what this configuration looks like first, you can search this URL for details:
VimForCpp: Quickly build vim into c++ IDE (gitee.com)
in addition,
This vim configuration is the default two-space indentation, if you are not used to it,
You can enter:
vim /home/(这里填你的用户名)/.vimrc
Modify the number of grids for indentation:
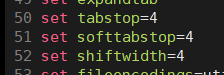
Change these three parameters to 4. If nothing unexpected happens, it should be in line 50~52.
that's all.
Write at the end:
The above is the content of this article, thank you for reading.
If you feel that you have gained something, you can give the blogger a like .
If there are omissions or mistakes in the content of the article, please private message the blogger or point it out in the comment area~