Article directory
foreword
The main content of this blog is the download, installation and usage tutorial of Vim software under Windows 11 system. Vim software is very useful when learning Linux or assembly language. Readers can follow me step by step to install successfully. My steps must be the whole network The most detailed, no one is more detailed than me, even a novice with zero computer foundation can follow me to install successfully!
Zero, resources required for DOSBox installation
1. Download of Vim
-
Similarly, the Vim installation package can be downloaded from the official website, or you can use the Vim installation package in my data. Let me briefly introduce how to download the Vim installation package from the official website. First, enter the official website of Vim, and then click "Download " :

-
Then choose your own appropriate operating system version:

-
Click on the content in the red box to download:

Second, the installation of Vim
-
Regardless of the way to download the installation package, in the end we only need to double-click the installation package:

-
Click "Yes":

-
Click "Yes":

-
Click "I Agree":

-
Click "Next":

-
Choose a suitable location for installation:

-
After the installation is complete, click "Close":

-
After clicking, you can click "Yes" or "No". If you click "Yes", the following interface will appear, just close it:

Three, the use of Vim
-
We come to the Vim installation directory and open _vimrc, which cannot be opened directly here. We right-click _vimrc and click "Open Method":

-
Just choose any editor to open here. I choose Sublime Text here:

-
After opening, enter the content in the red box at the position of the red box. The function here is to make our Vim editor look better, so for readers who do not have this requirement, you can also do it without modification:

-
Then come to the desktop, you can see the following icon on the desktop:

-
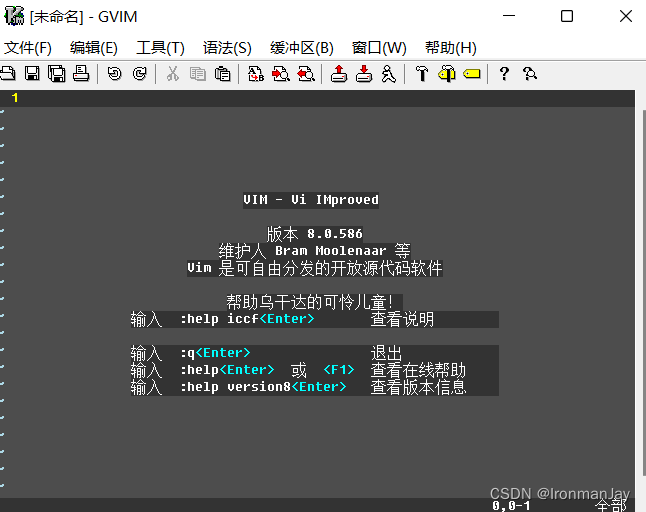
We choose gVim 8.0 to open:

-
It can be found that Vim can be used normally:
-
At this point, Vim has been downloaded, installed and configured
Summarize
It can be seen that the download, installation and usage tutorial of Vim described in this blog is very detailed, as long as you follow me step by step, the installation will be successful!