Every developer expects to have his own technical blog site, and more of them rely on CSDN, Blog Garden, Nuggets, etc. to share technical articles. The purpose of this article is to take everyone to quickly build a free blog site of your own. Its realization principle: first use Hexo to generate a static page from the pre-written md document code, and then use the static website hosting function of Code Cloud pages to deploy and package it. code.
First go to the address : http://magnumhou.gitee.io/magnum-blog/
1. Preliminary preparation
1.1 Register Gitee account
Register a Github or Gitee account of your own. This article uses Gitee demo.
Gitee, commonly known as Code Cloud, is a Git-based code hosting and R&D collaboration platform in China.
Gitee official website address: https://gitee.com/
The advantages of Gitee over Github are as follows:
- For reasons that everyone understands, the speed of accessing Github will be very slow, and sometimes even access failures will occur. Since Code Cloud is a domestic platform, it allows you to experience flying speed.
- Compared with GitHub, Code Cloud not only provides a free Git warehouse, but also integrates functions such as code quality inspection and project demonstration. For team collaborative development, Code Cloud also provides project management, code hosting, and document management services, free for small teams with less than 5 people.
You can use Baidu to register and create a warehouse process, it is very simple.
1.2 Install Git
Download address
Select the corresponding system platform, after downloading, install it in a fool-like way.
After the installation is complete, open Run --> enter the CMD command, press Enter to open the command line window
and enter the following Git command
git --version
The version number appears, which means that the git installation is successful
1.3 Establishing a connection between Git and Gitee
In any directory, open the git bash command line, and enter the following command to generate the public key:
ssh-keygen -t rsa -C 邮箱
The carriage return appears (y/n), enter y, and press the carriage return continuously to generate it.
Open the directory C:\Users\Dell.ssh, find the id_rsa.pub file, and open it with Notepad:
Note: Different computers have different user directories.
Go back to the browser and find the gitee page that has just been created in the cloud warehouse, click on the personal information in the upper right corner, find "Settings" and open it, find the "SSH public key" in the left column "Security Settings" to generate the official public
key Guidance steps
The default number of public keys is 0, under the "Add Public Key" column, add "Title" and "Public Key"
Note: The title name is the custom public key, which is the content in the "id_rsa.pub" file just opened with Notepad
After pasting is complete, click OK. At this point, "Your current SSH public key number: 1" will be displayed.
Enter the following command for global configuration:
git config --global user.name "你的用户名"
git config --global user.email "你的邮箱"
Submit the files included in the version library to the gitee remote warehouse:
git add .
git commit -m 'first commit'
git remote add origin 你的仓库地址
git push -u origin master
At this point, the submission is complete, open the browser, enter your warehouse address, and refresh to see the file.
1.4 Install Node
Node.js® is an open source, cross-platform JavaScript runtime environment.
Node.js (Node.js version must be at least 10.13, Node.js 12.0 and above are recommended)
Node download address
Chinese address
The installation process is relatively simple, just a fool's installation.
After the installation is complete, open the command line and execute the following command
node -v
When the version number appears, the installation is successful. By default, it comes with its own package manager npm, which can be verified by the following command
npm -v
1.5 Install Hexo
Hexo is a fast, concise and efficient blogging framework. It allows hundreds of pages to be rendered instantly in a few seconds. It has a powerful plug-in integration system.
Official website address
Global installation
$ npm install -g hexo-cli
For advanced users who are familiar with npm, you can only install the hexo package locally
$ npm install hexo
Create a folder anywhere. After opening the folder, right-click, select Git Base -> Git Base Here,
enter the following command, and Hexo will automatically create all the files needed for the website in the target folder.
hexo init
Refresh the folder, there will be the following directory
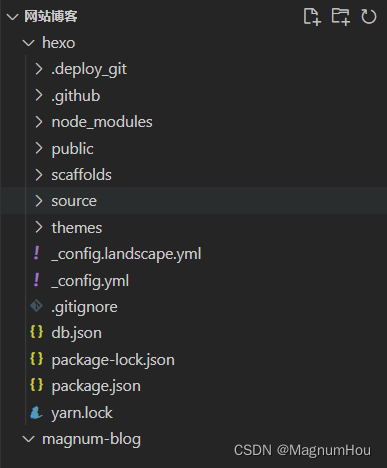
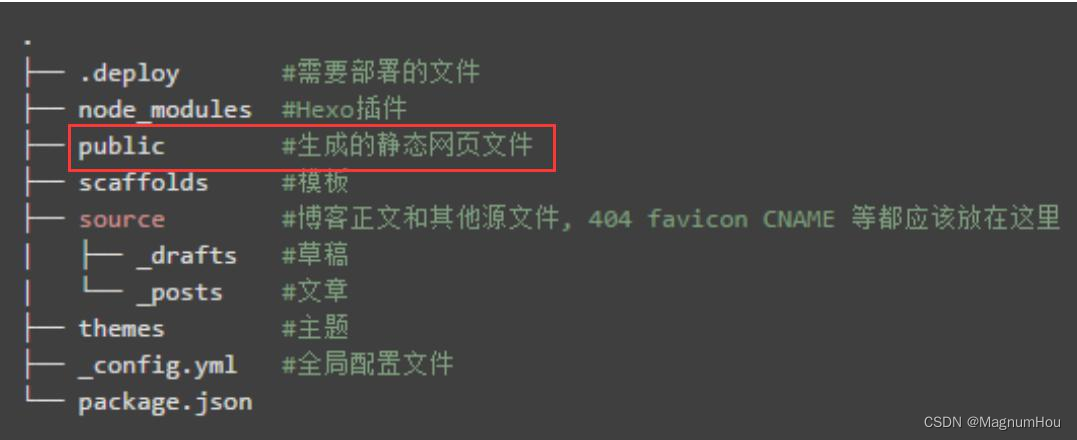
The files in the red box need to be packaged and generated by yourself
Code in package.json:
{
  "name": "magnum-blog",
  "version": "0.0.0",
  "private": true,
  "scripts": {
    "build": "hexo generate",
    "clean": "hexo clean",
    "deploy": "hexo deploy",
    "server": "hexo server"
  },
  "hexo": {
    "version": "6.3.0"
  },
  "dependencies": {
    "hexo": "^6.3.0",
    "hexo-deployer-git": "^4.0.0",
    "hexo-generator-archive": "^2.0.0",
    "hexo-generator-category": "^2.0.0",
    "hexo-generator-index": "^3.0.0",
    "hexo-generator-tag": "^2.0.0",
    "hexo-renderer-ejs": "^2.0.0",
    "hexo-renderer-marked": "^6.0.0",
    "hexo-renderer-stylus": "^2.1.0",
    "hexo-server": "^3.0.0",
    "hexo-theme-landscape": "^0.0.3"
  }
}
The relevant instructions are as follows
# 安装依赖包
npm install
# 构建
npm run build
# 启动
npm run server
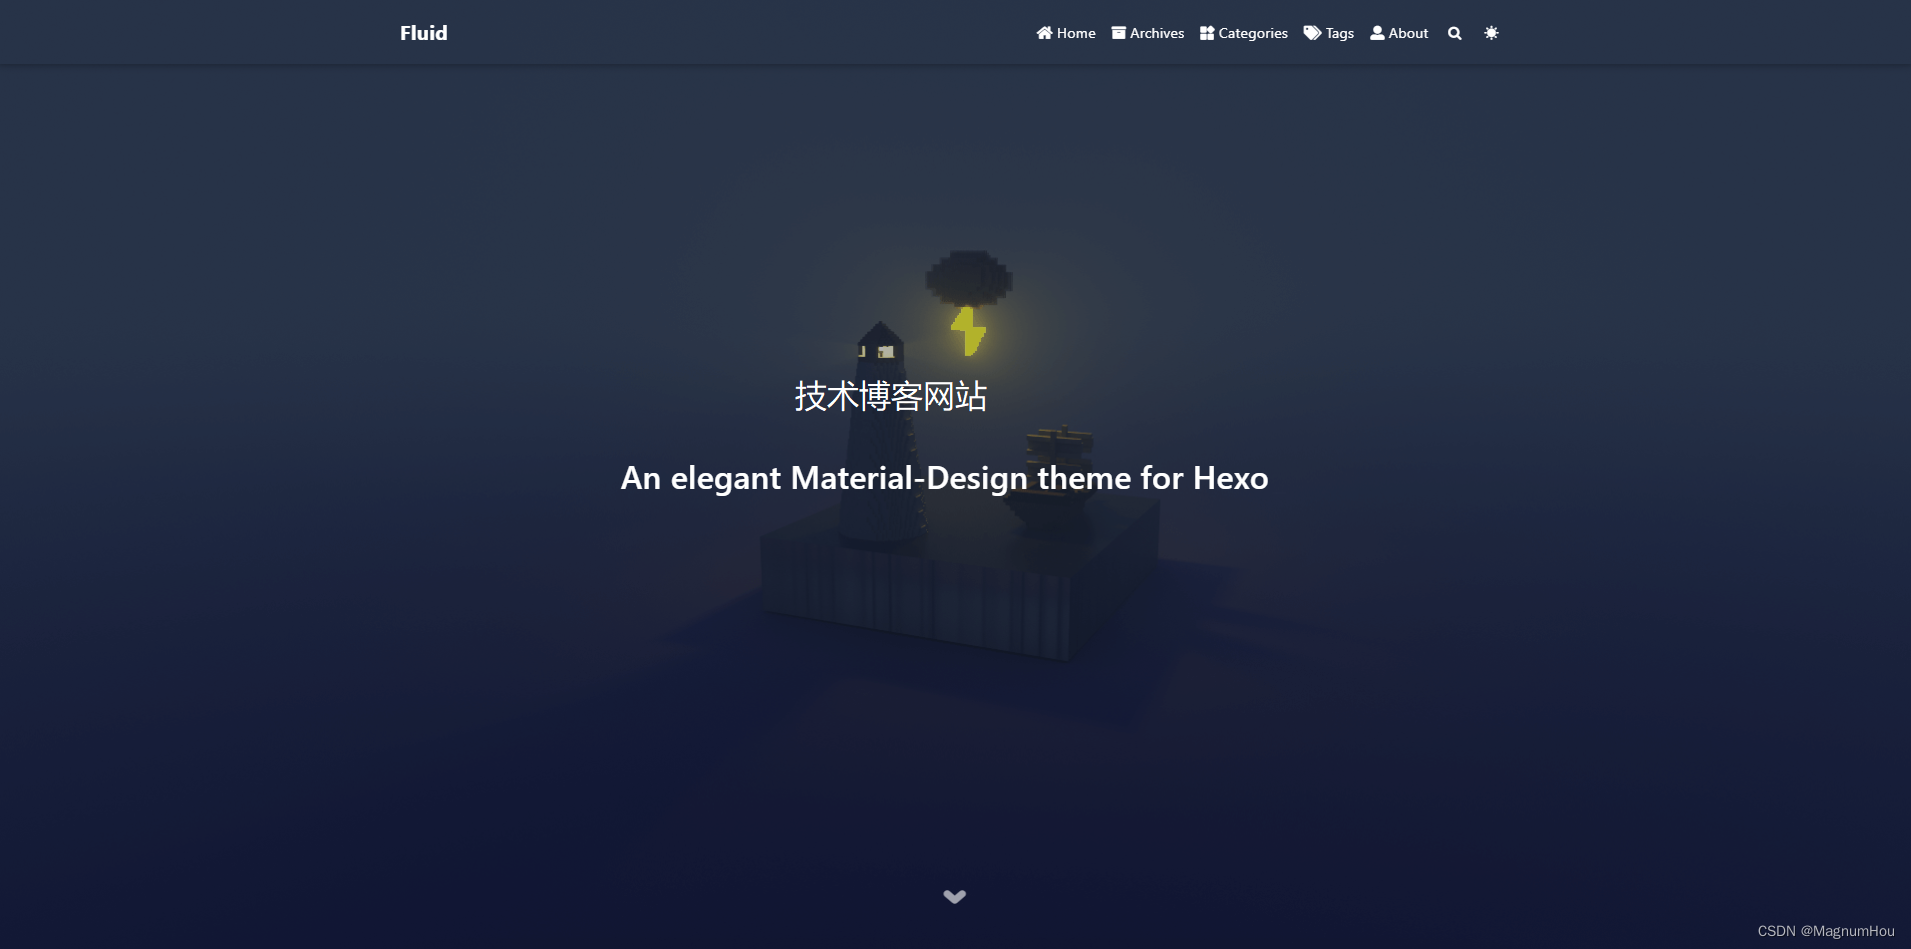
After starting, enter the path localhost:4000 to the browser to see the effect, a website like this
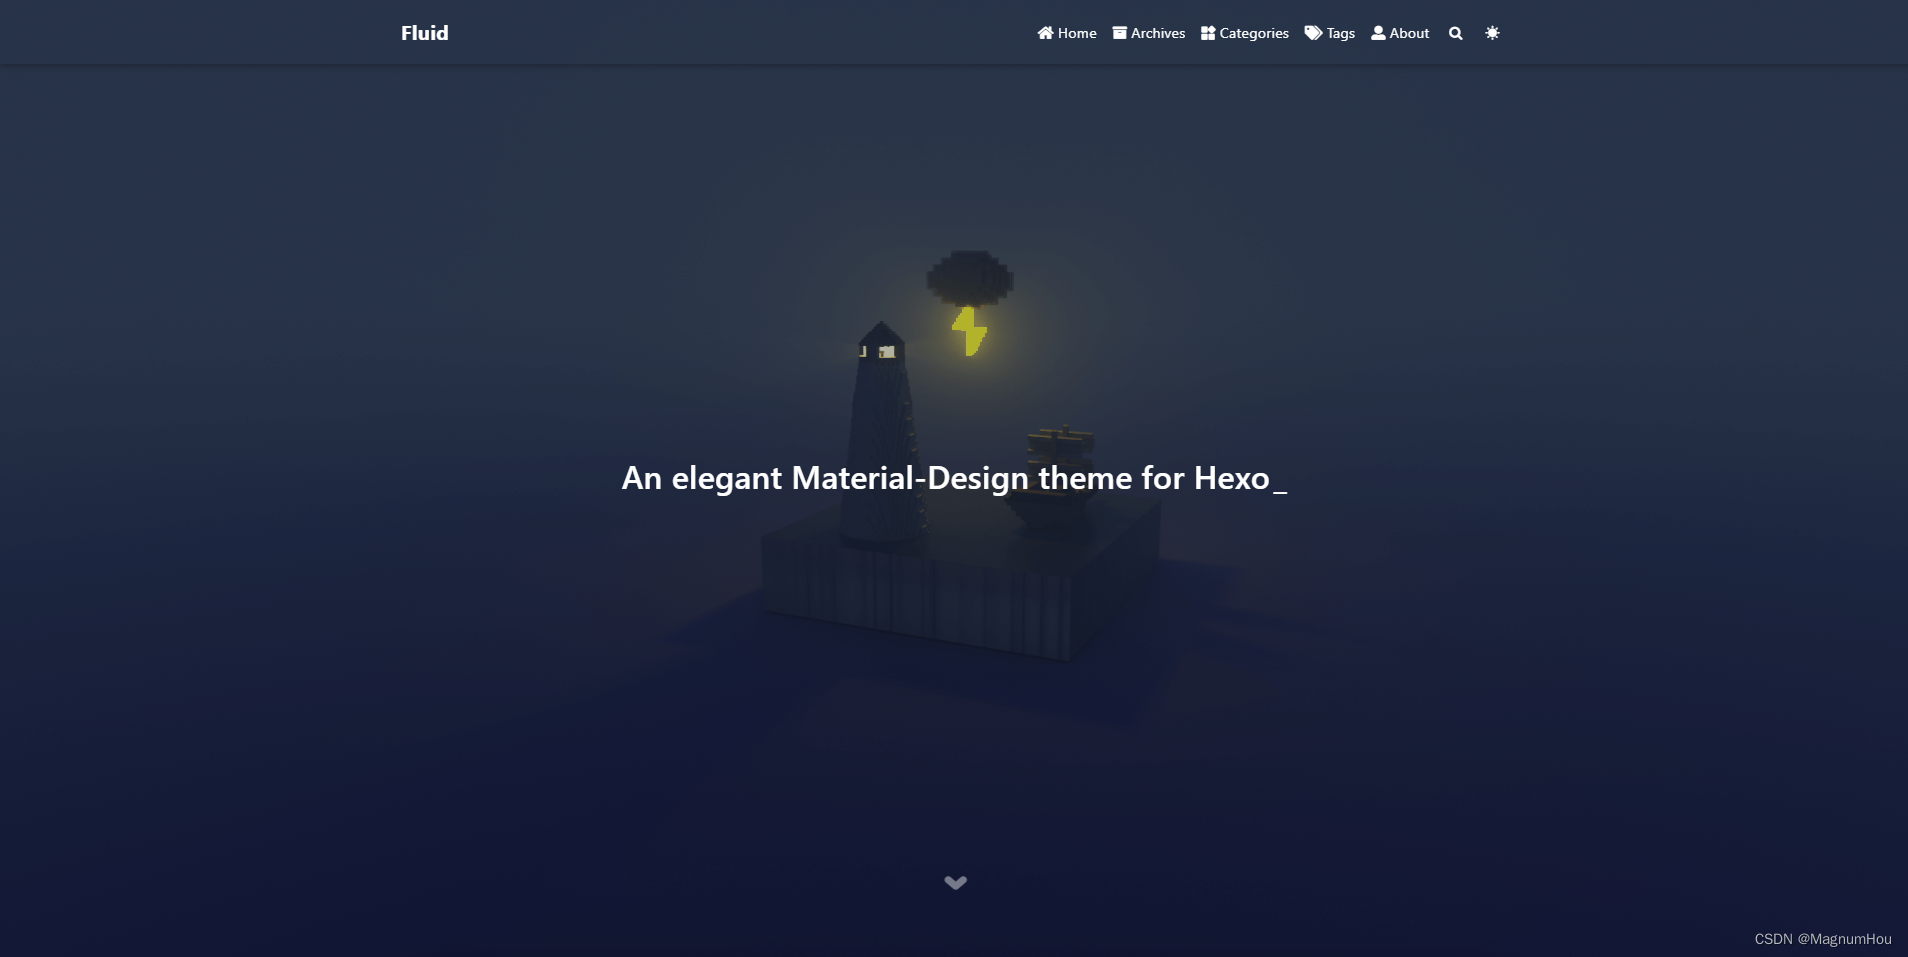
I replaced the default theme of the website here, address: https://hexo.io/themes/
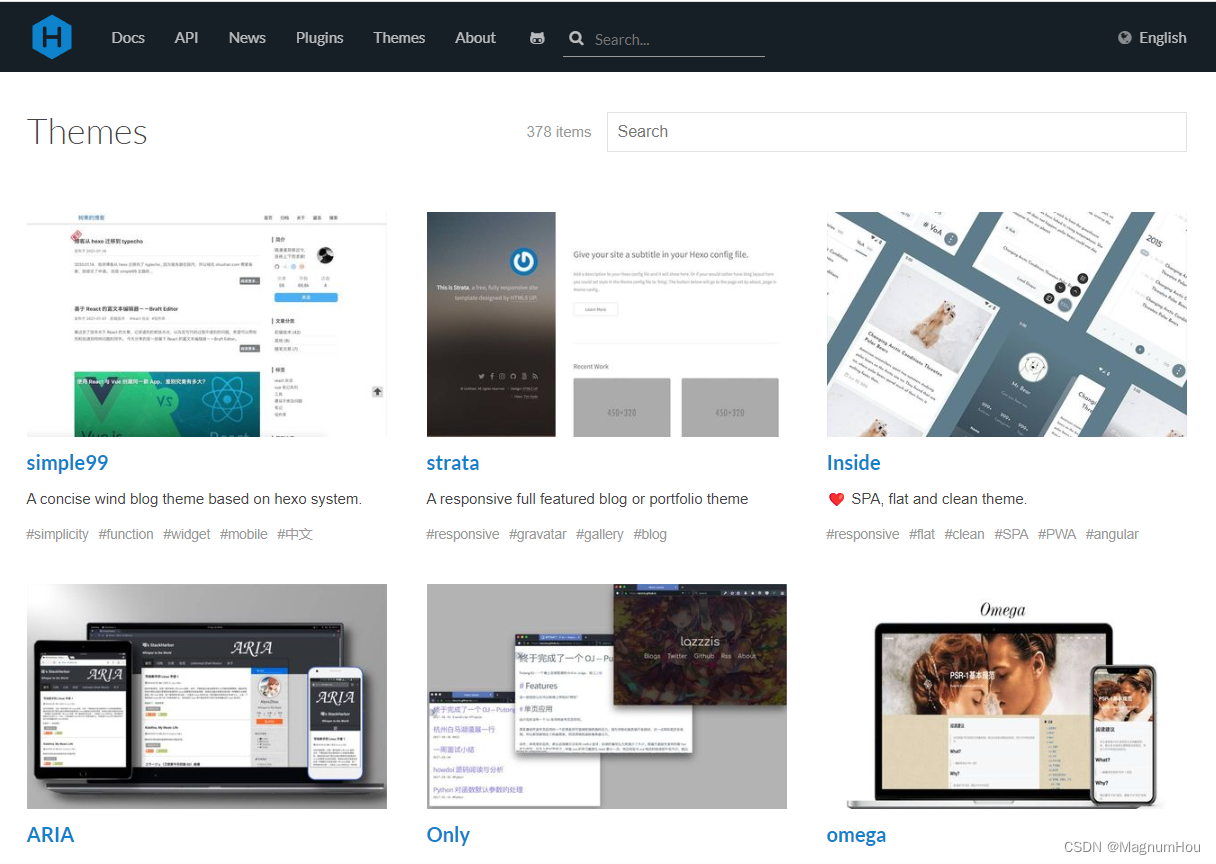
Have you selected your favorite theme? At this time, you can enter the github of the specified theme and download it.
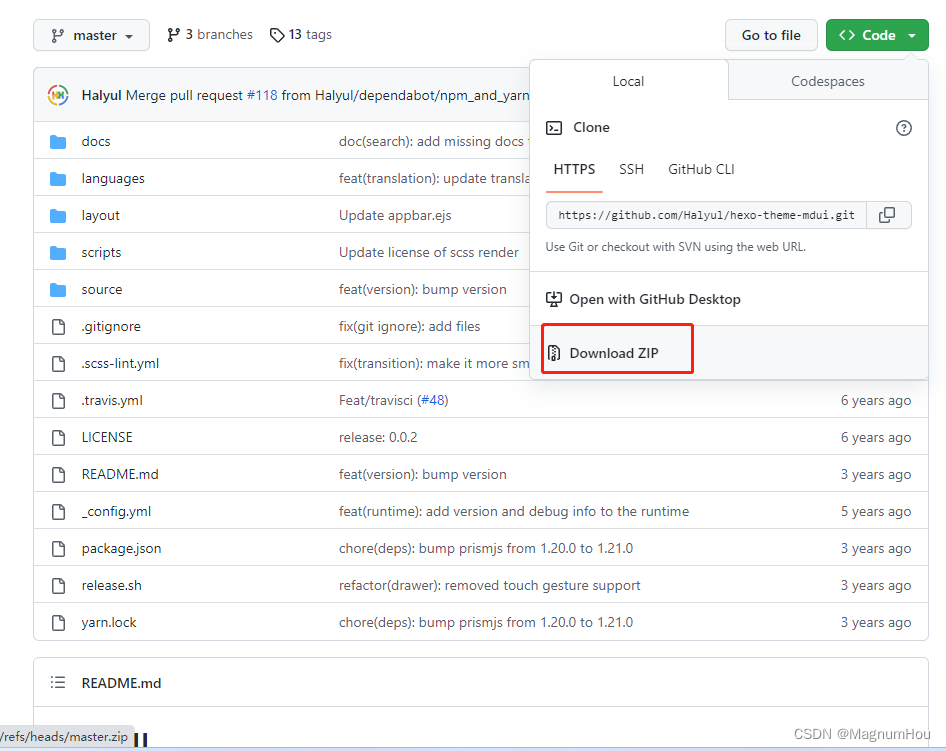
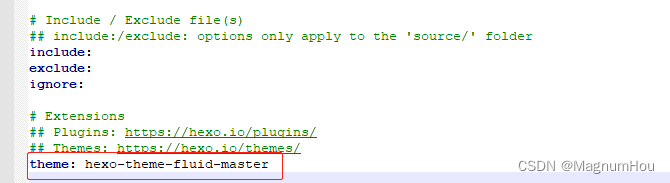
Unzip the downloaded compressed package and put it in hexo/themes Return to the previous level, open _config.yml, and modify
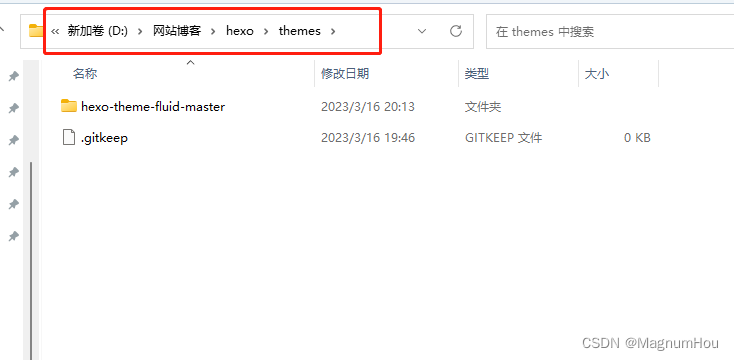
the value corresponding to the theme inside
Excuting an order
npm run server
Refresh the page, and the theme you want will appear! ! !
2. Development
Choose the md tool you are used to, and start your blog development journey.
It should be noted that these should be added at the beginning of the blog!
---
# 文章标题
title: Hello My Bolg
# 文章日期格式:2018-05-30 15:20:36
date:
# 文章标签
tags:
# 文章分类
categories:
---
Write a home.md content as follows:
---
title: '我的博客首页'
---

<pre>
     《春江晚景》
    竹外桃花三两枝,
    春江水暖鸭先知。
    茼蒿满地芦芽短,
    正是河豚欲上时。
</pre>
Put the written .md file into the _posts folder under the source directory under the hexo folder, and you can see that there is a hello-world.md file inside, which is the default post.
start npm run server, refresh the page

3. Deploy code cloud
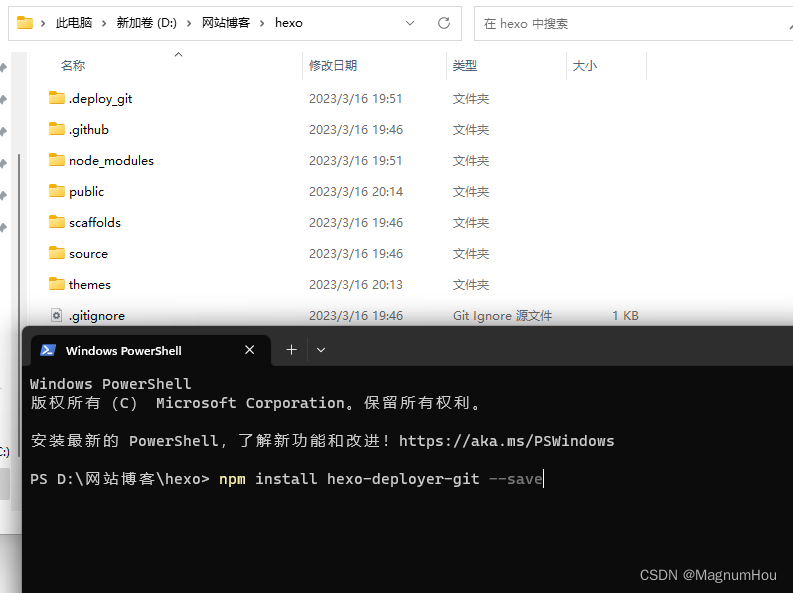
Right-click in the blog directory to open PowerShell, and execute the following command
# 安装 hexo-deployer-git 插件(将代码推送到码云用)
npm install hexo-deployer-git --save
Open the _config.yml file in the hexo root directory and modify the value of deploy

Execute the following command to deploy the code to Code Cloud
hexo deploy
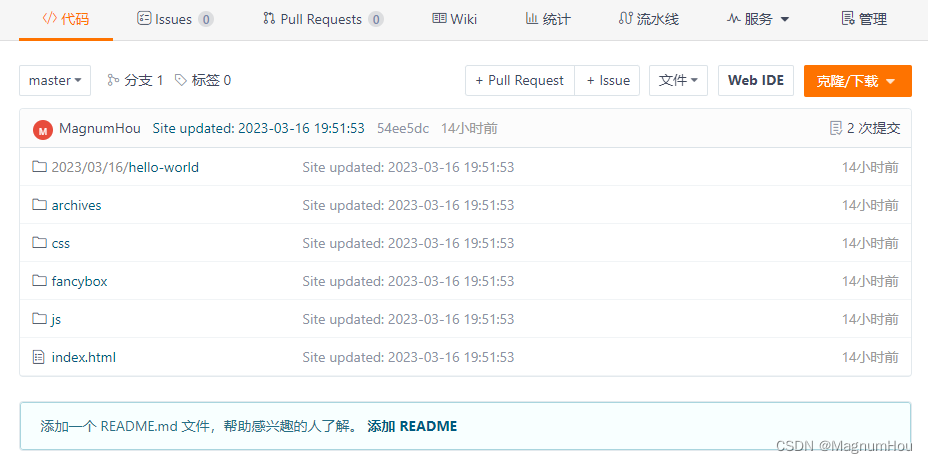
After the push is complete, go to the project address of your code cloud, refresh and see, and you will have the file you just uploaded.
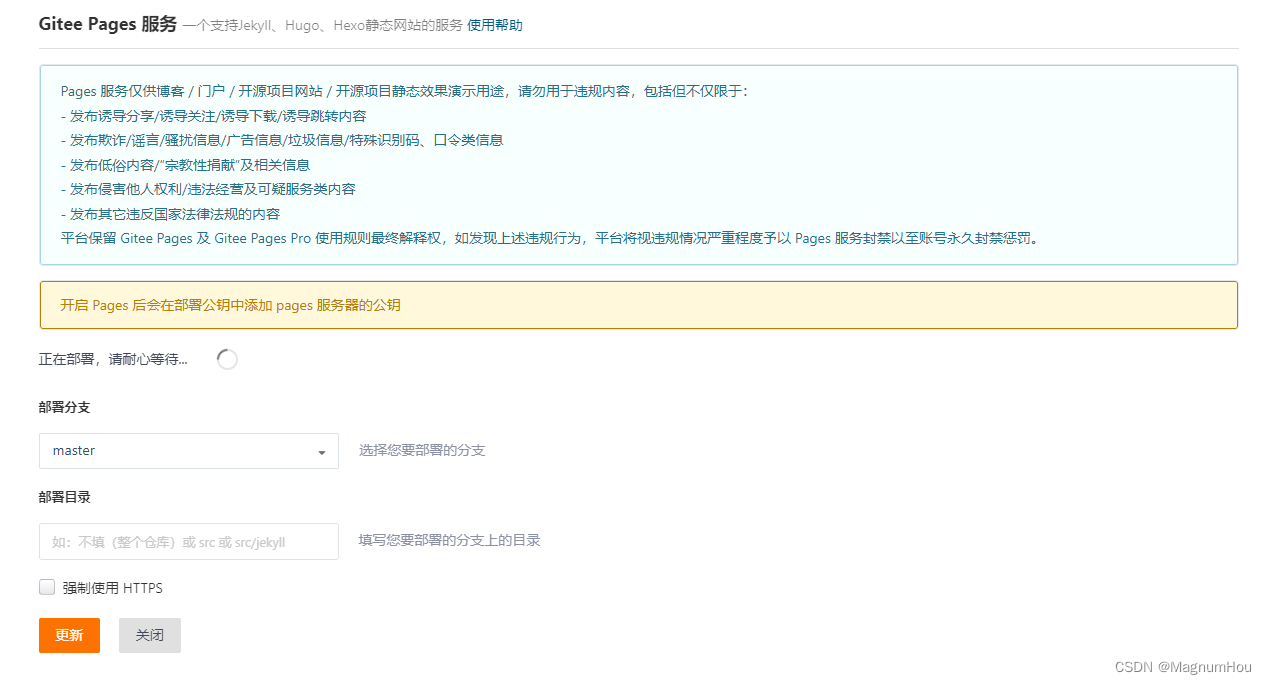
Click "Service" and select "Gitee Pages"
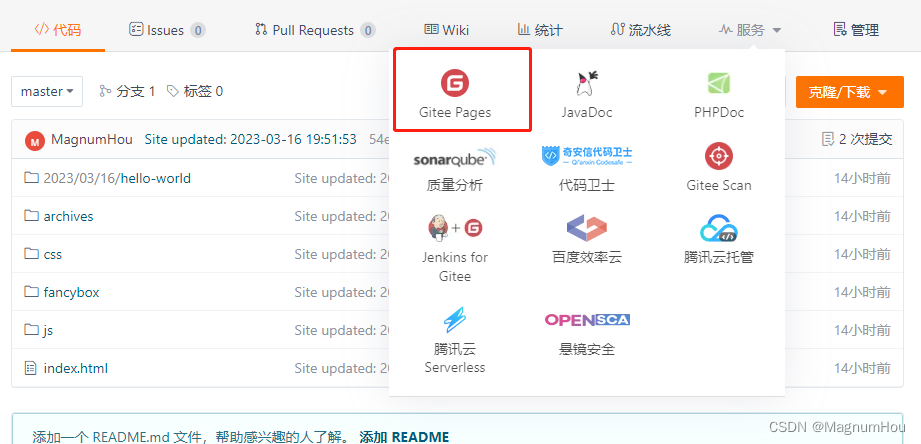
Note: This step requires real-name authentication (ID card needs to be uploaded) for regulatory reasons, and the operation can only be continued after the authentication is completed.
Select the specified branch, start the service, and view your blog by clicking on the relevant address! ! !