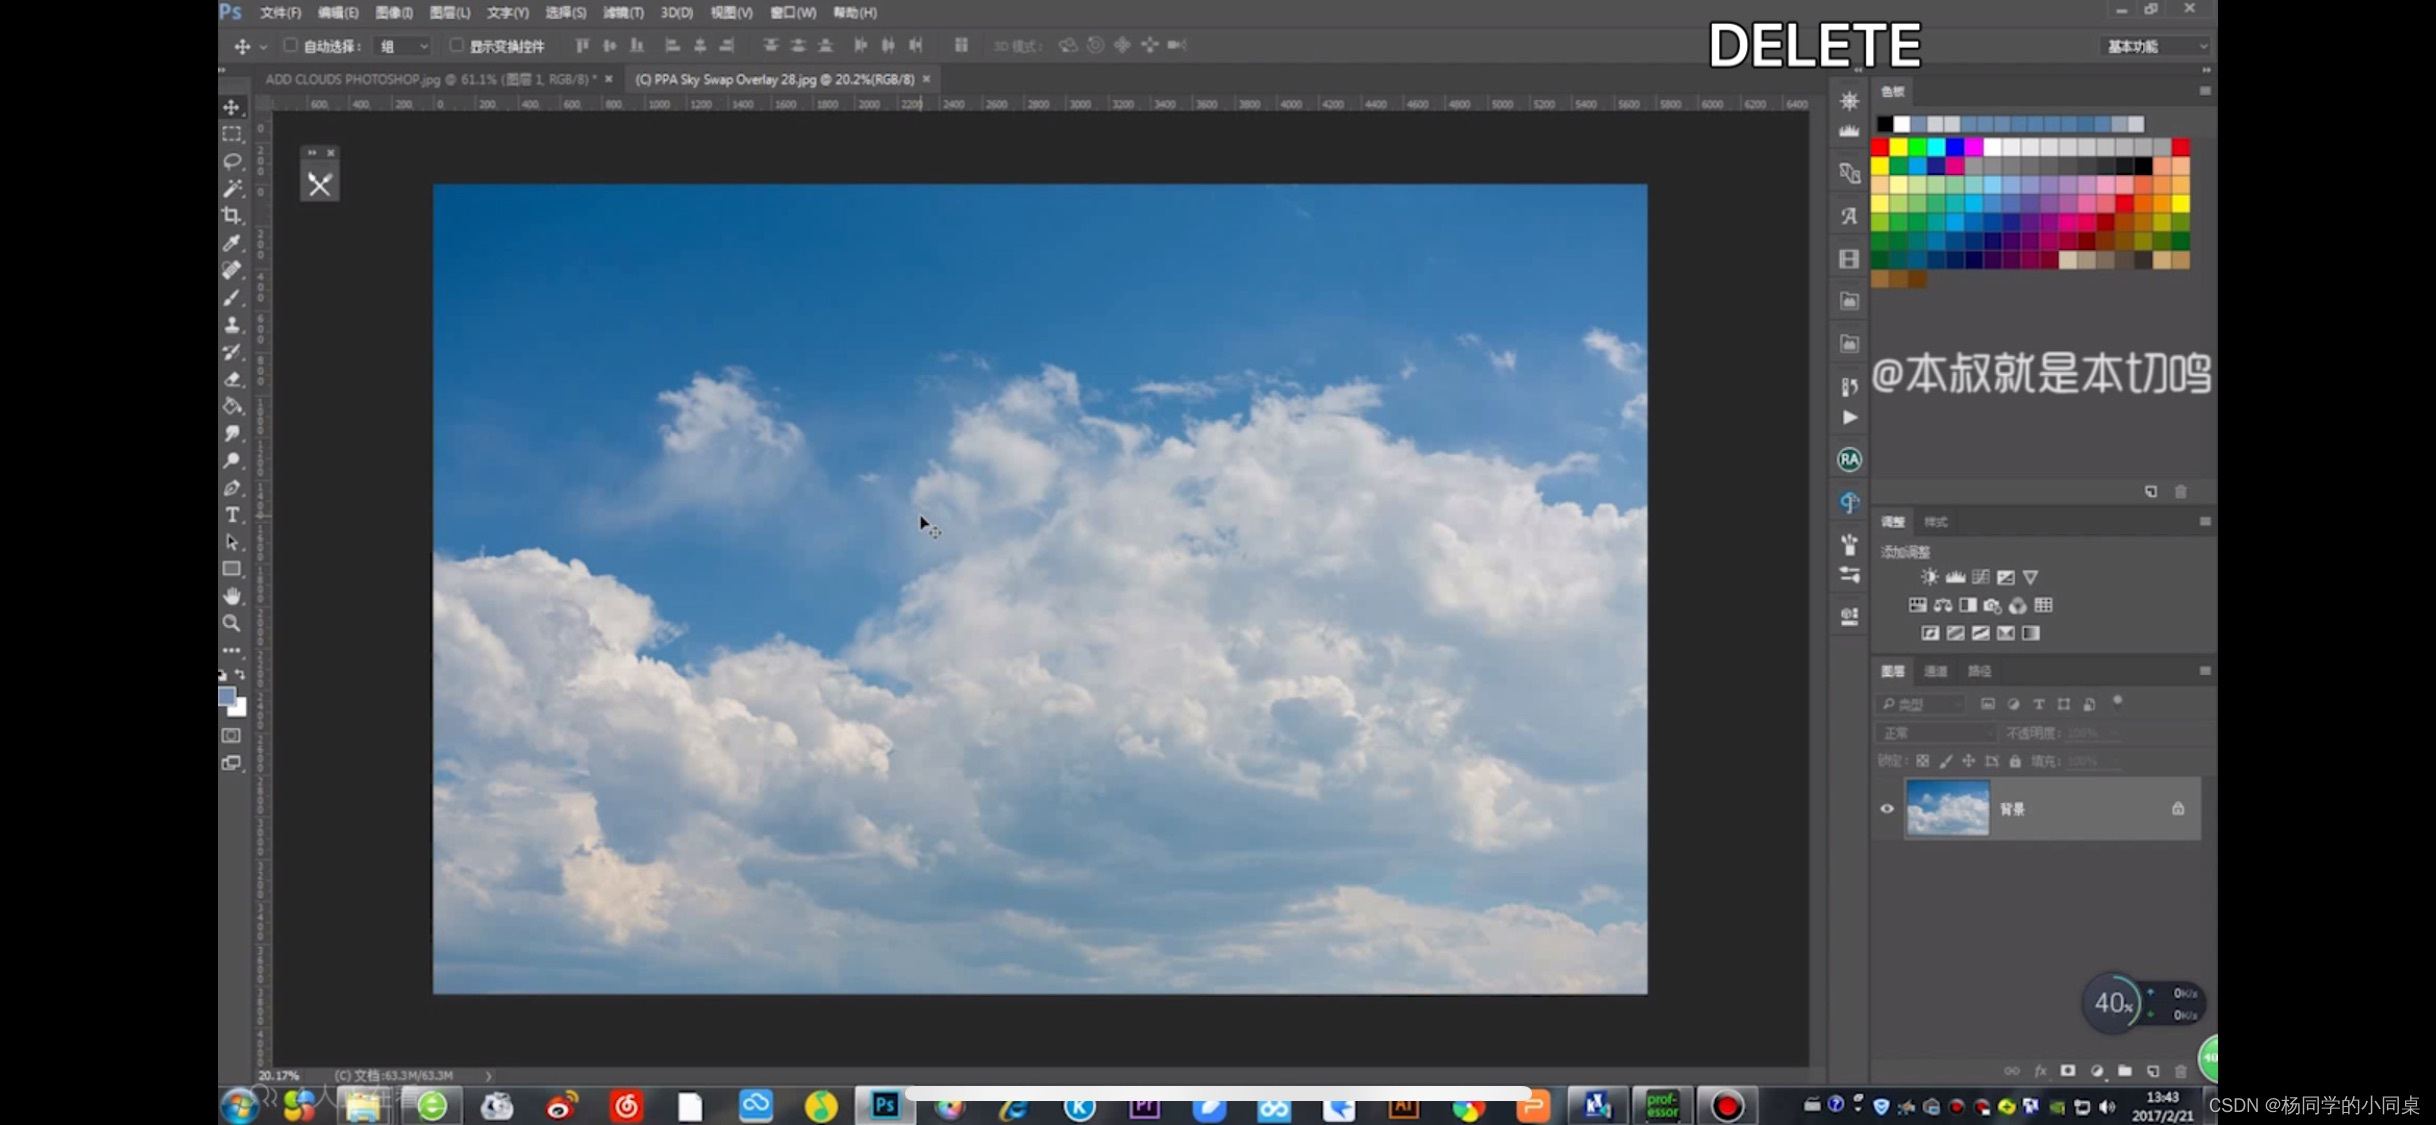
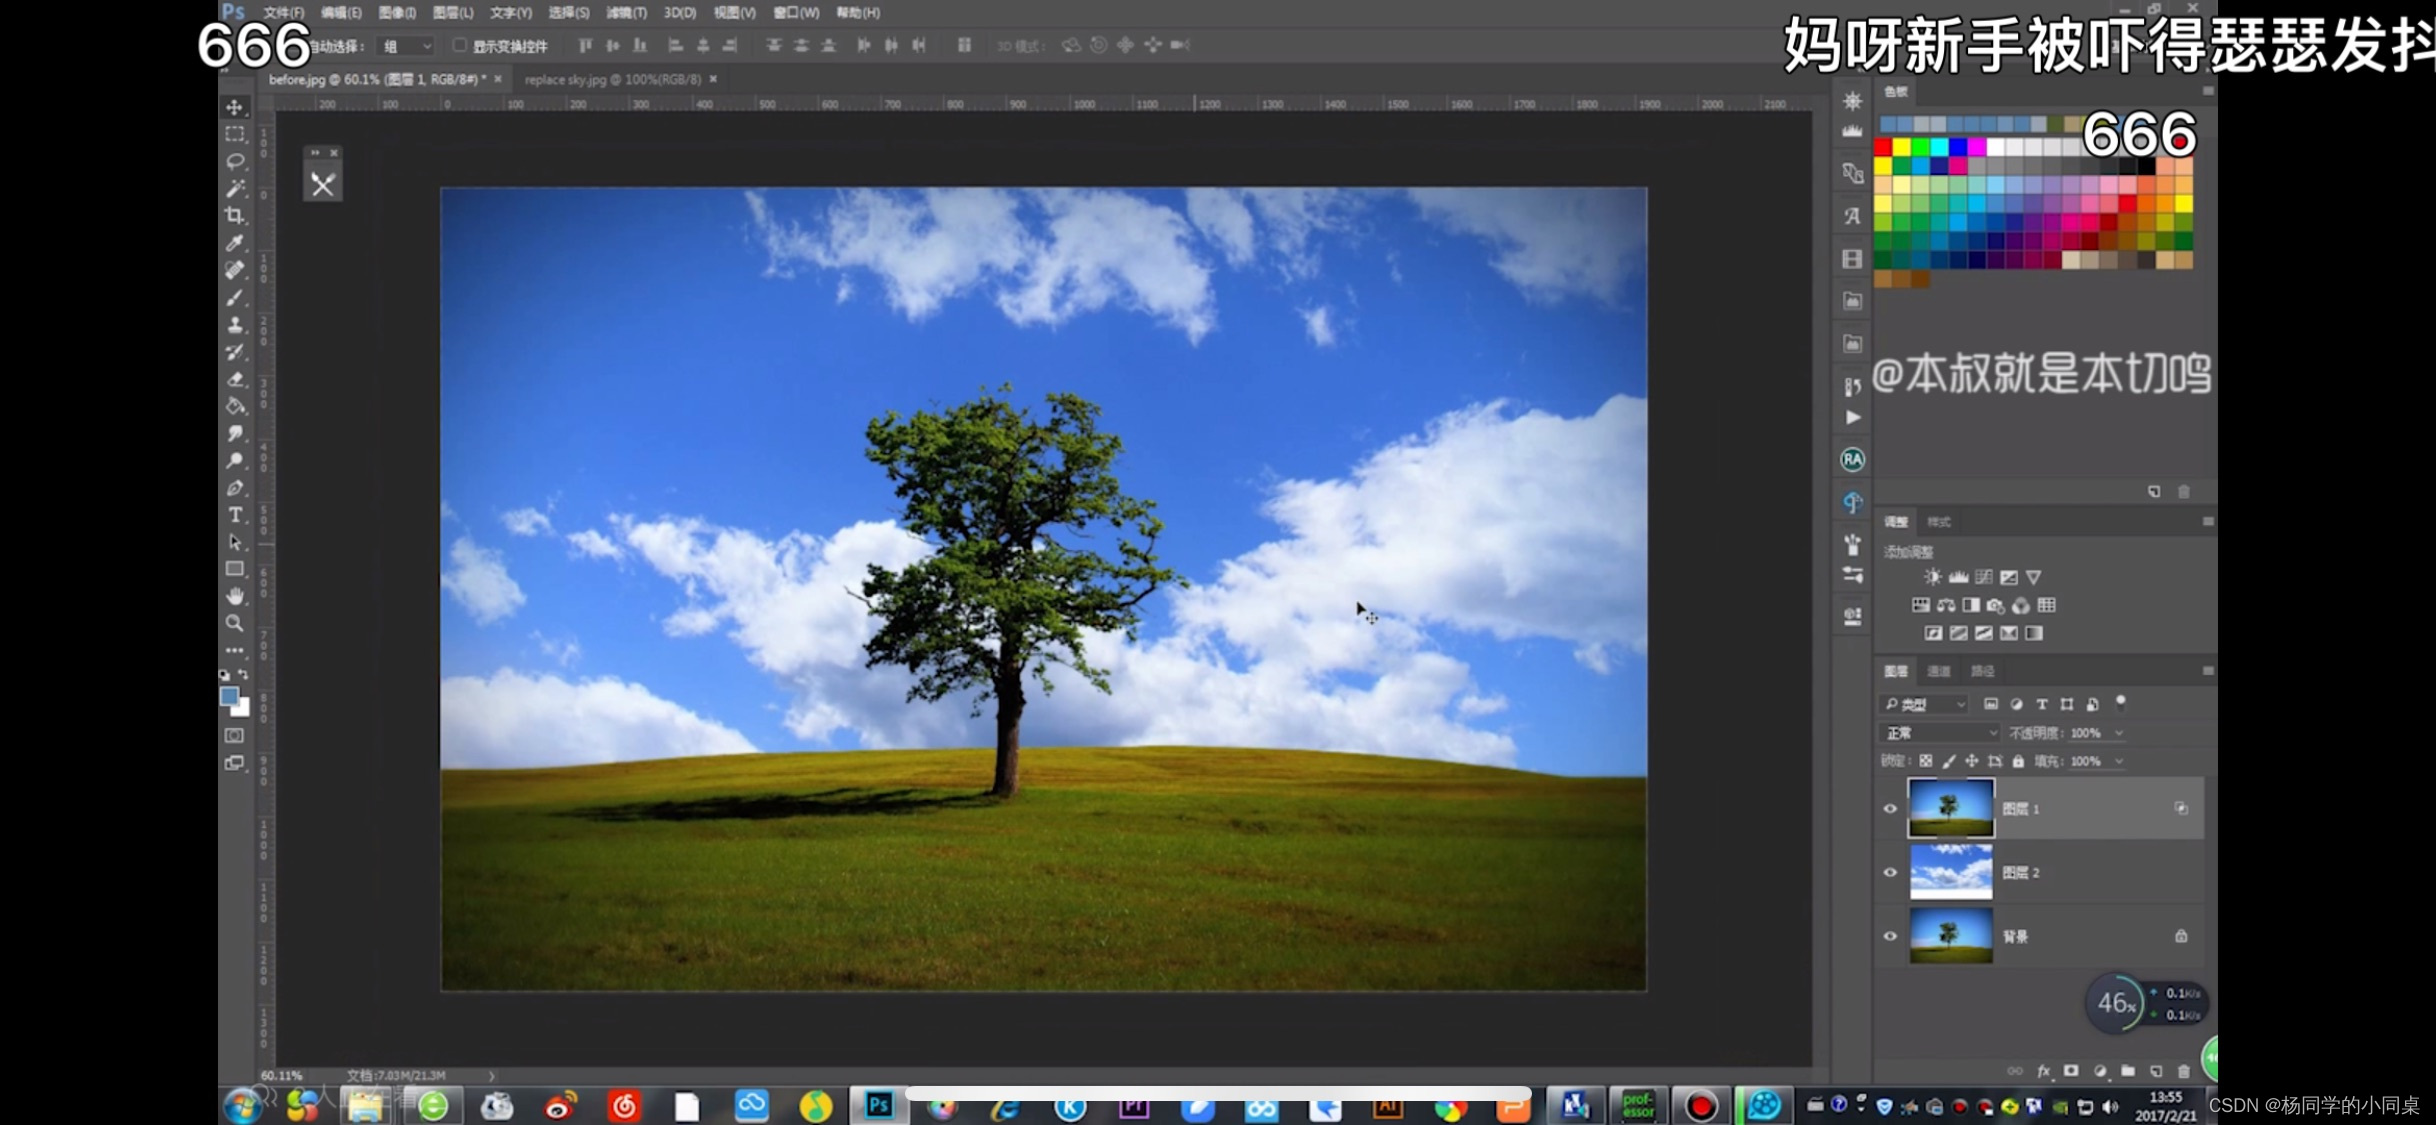
1. Magic Wand Tool
Now duplicate the layer, use the magic wand tool to select the sky in the duplicated layer and delete it. (If there are some unselected positions in the sky, then we hold down shift and use the mouse to click on the position that needs to be deleted, and it will be selected together)
This is the effect after we delete it.
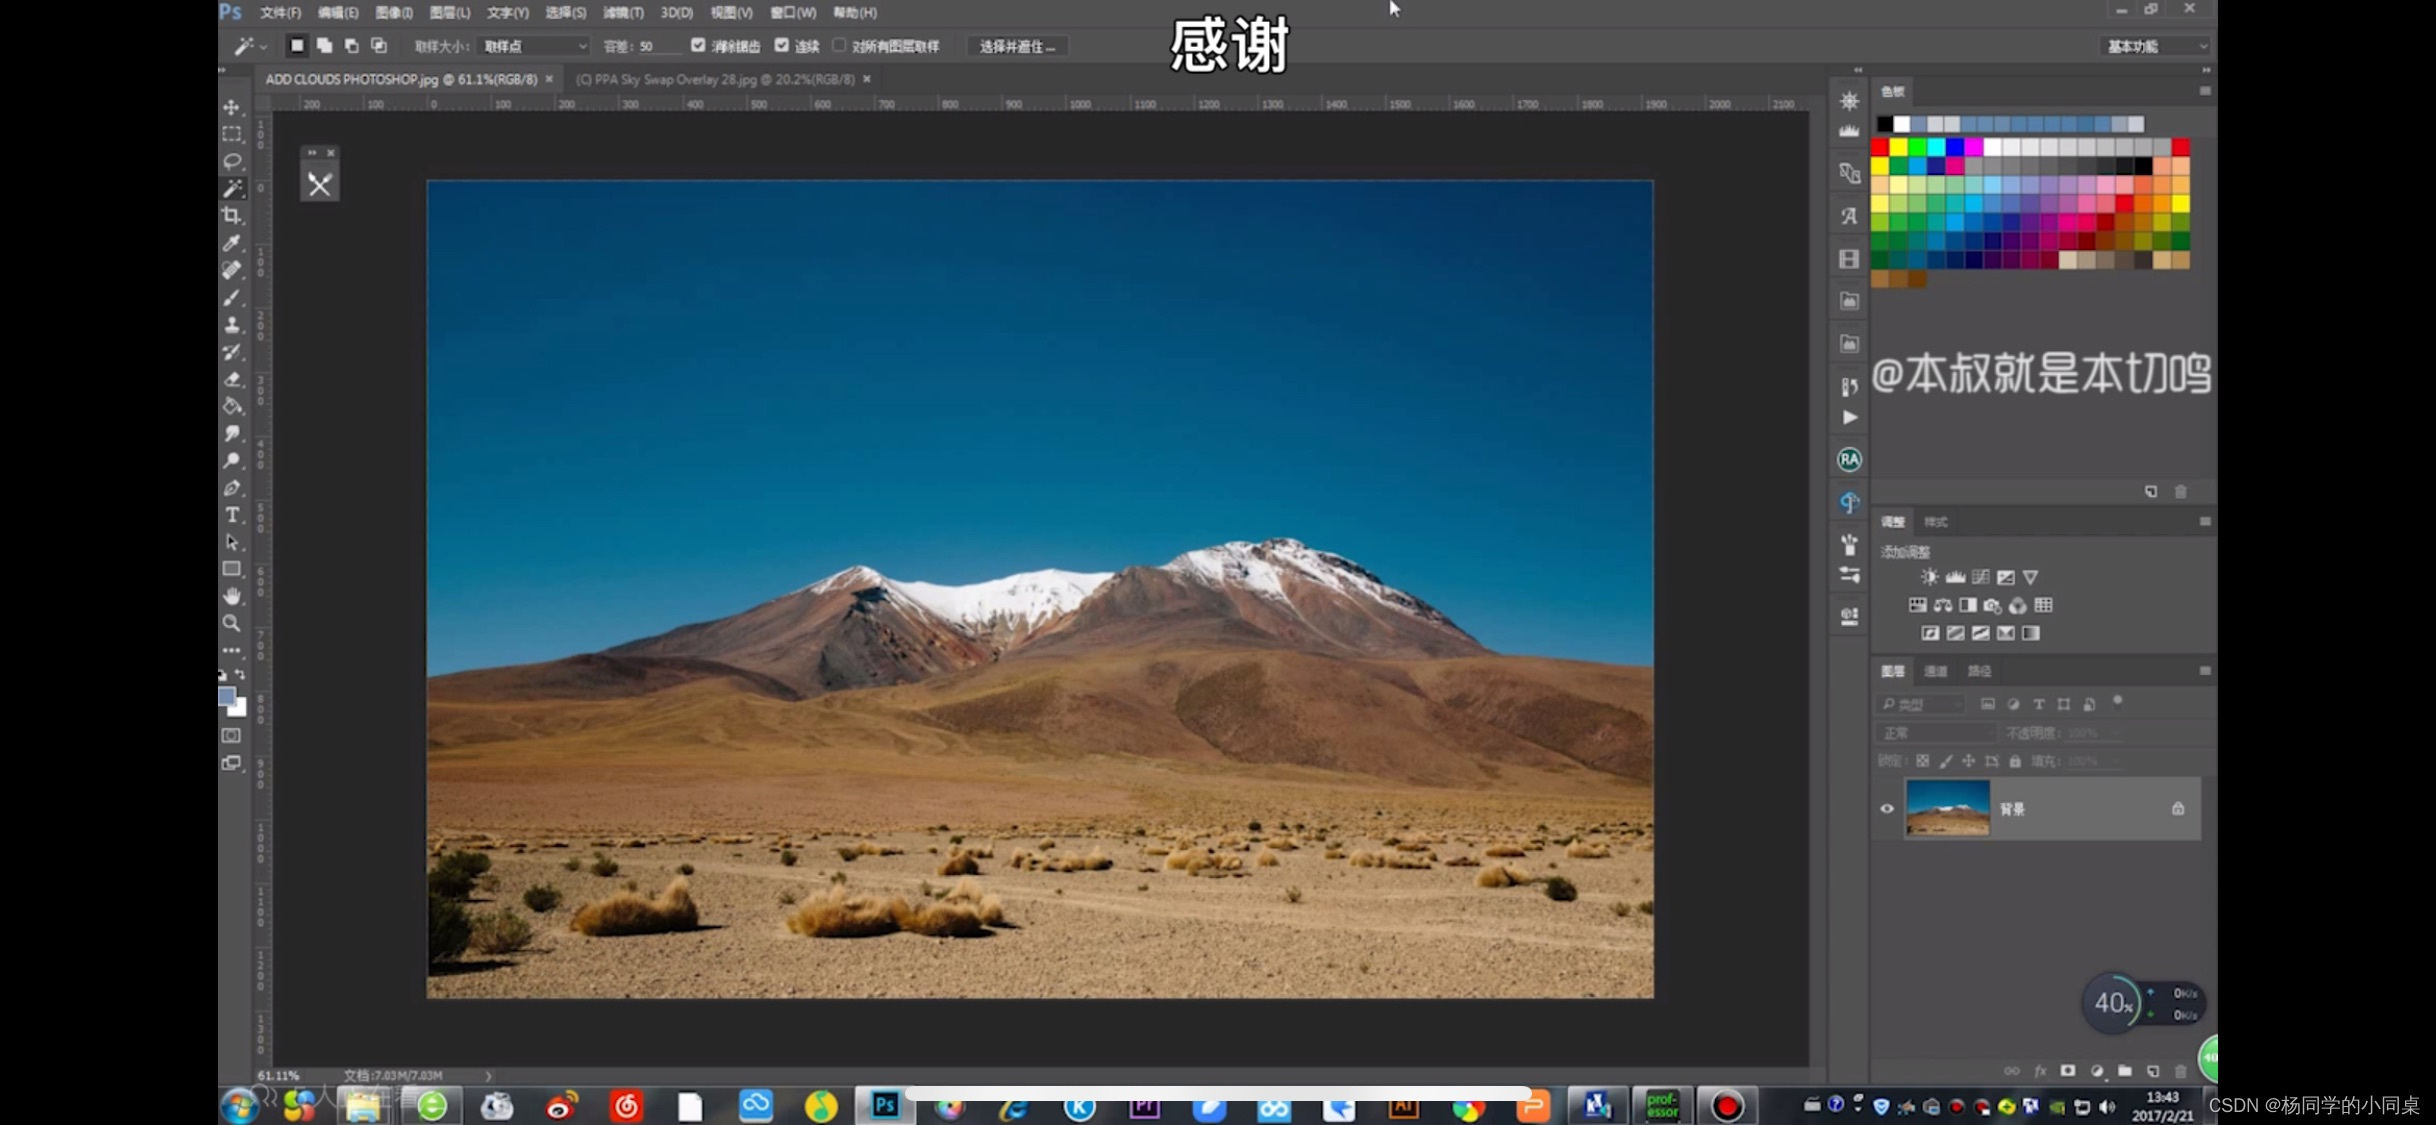
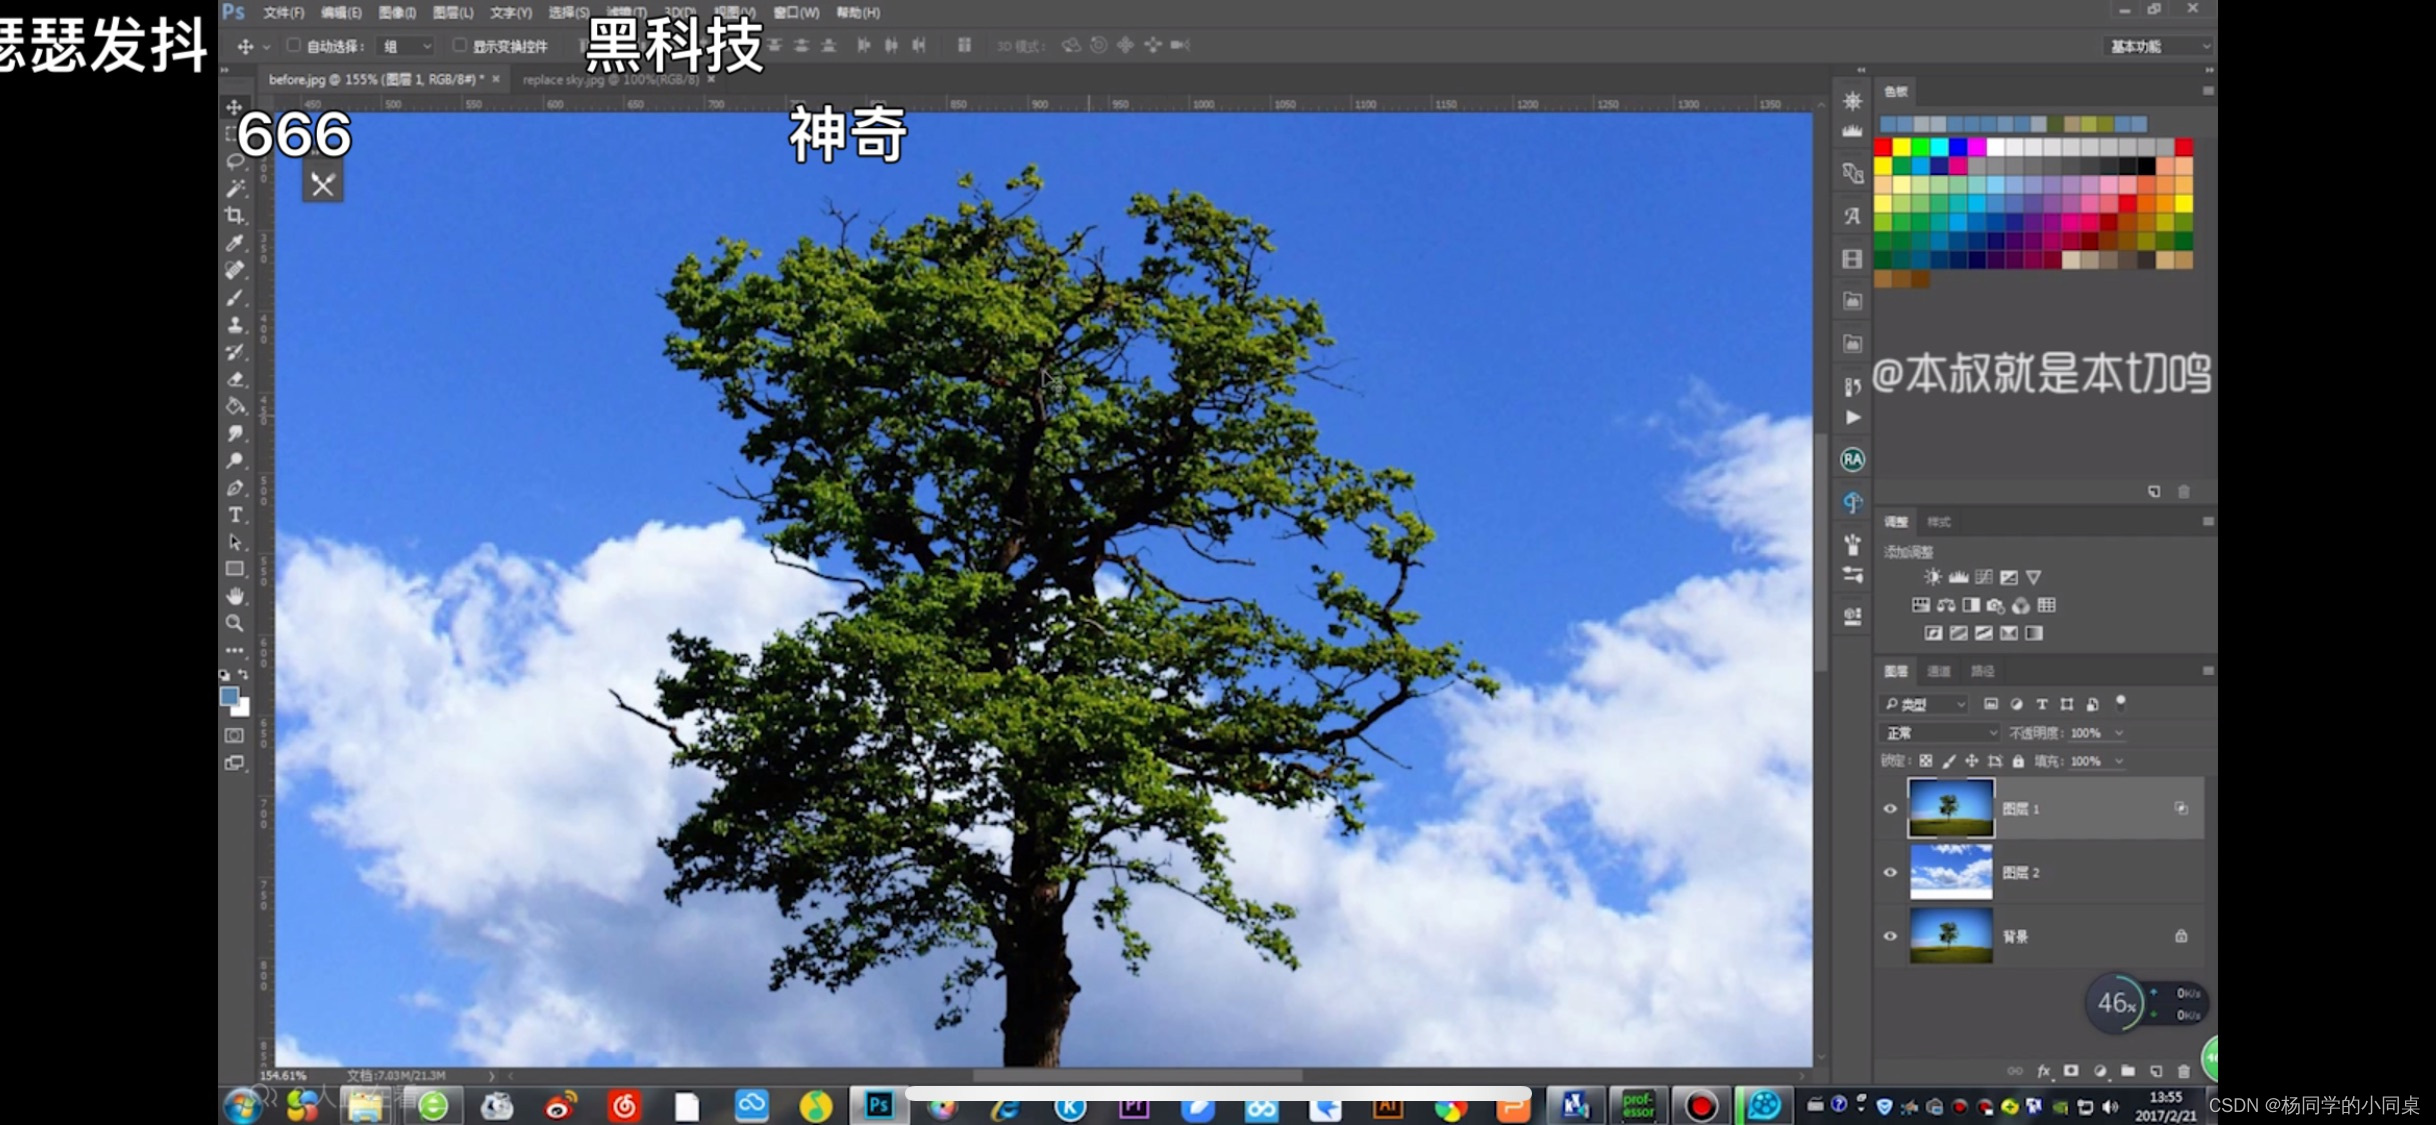
Then we open a picture of the sky that needs to be added,
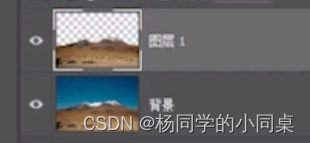
drag it into the picture file that needs to be changed,
and move its layer position to the next position of the duplicate layer

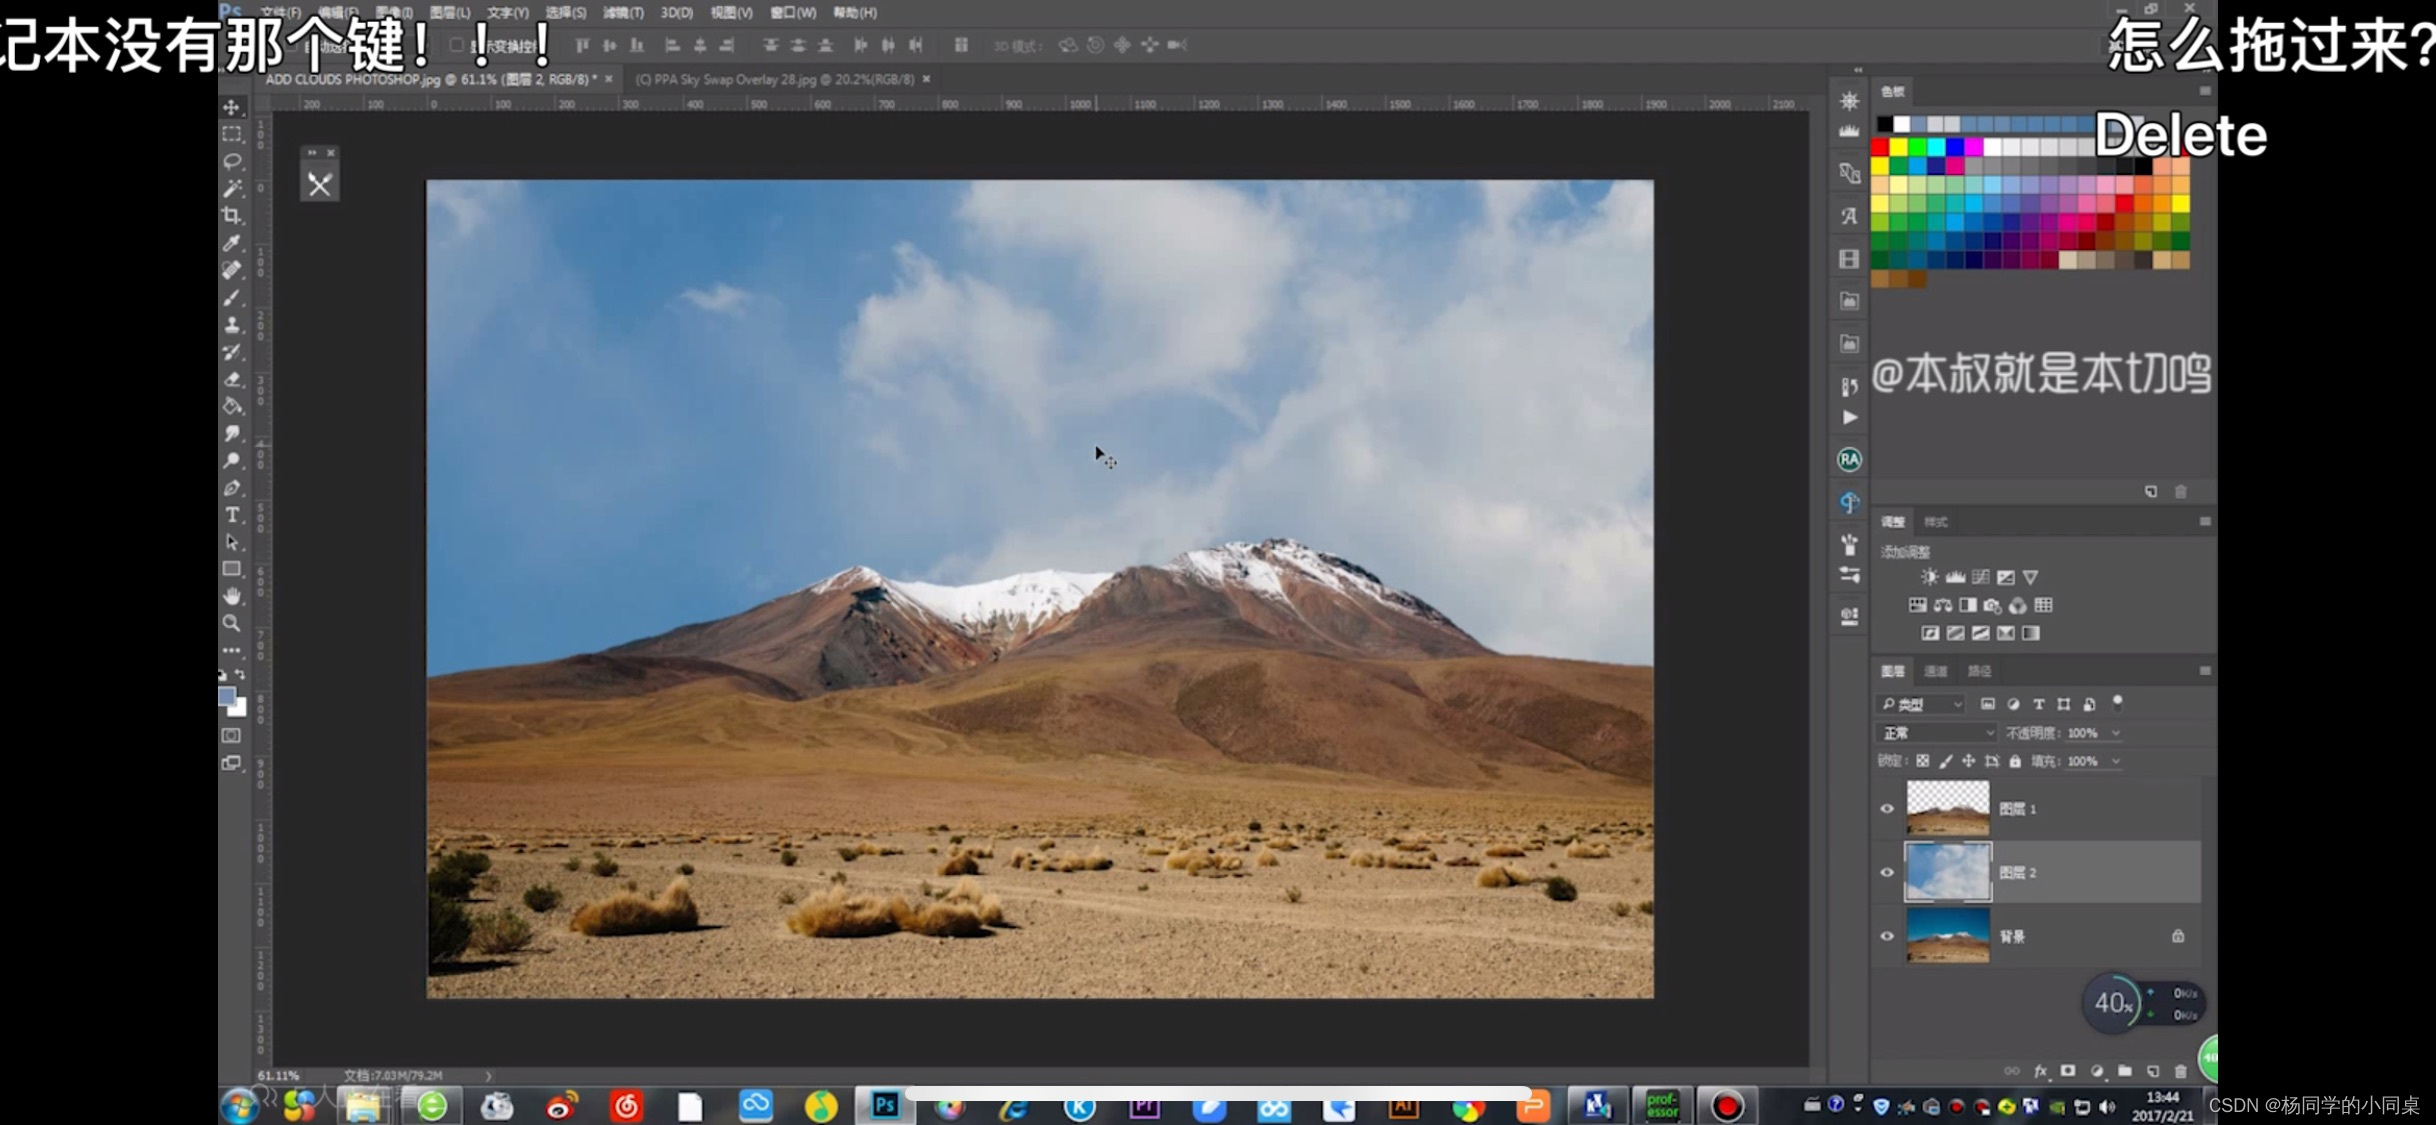
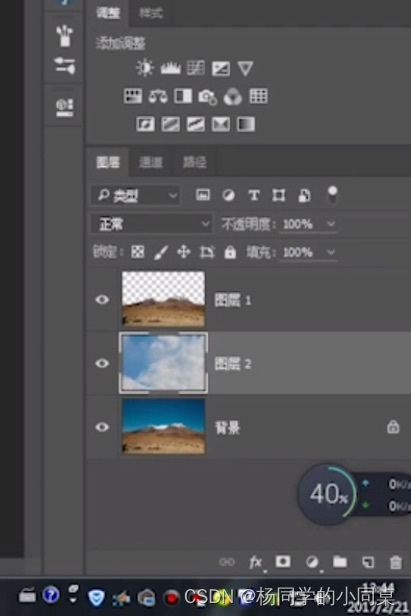
, and then use the deformation tool to adjust the appropriate size and position.
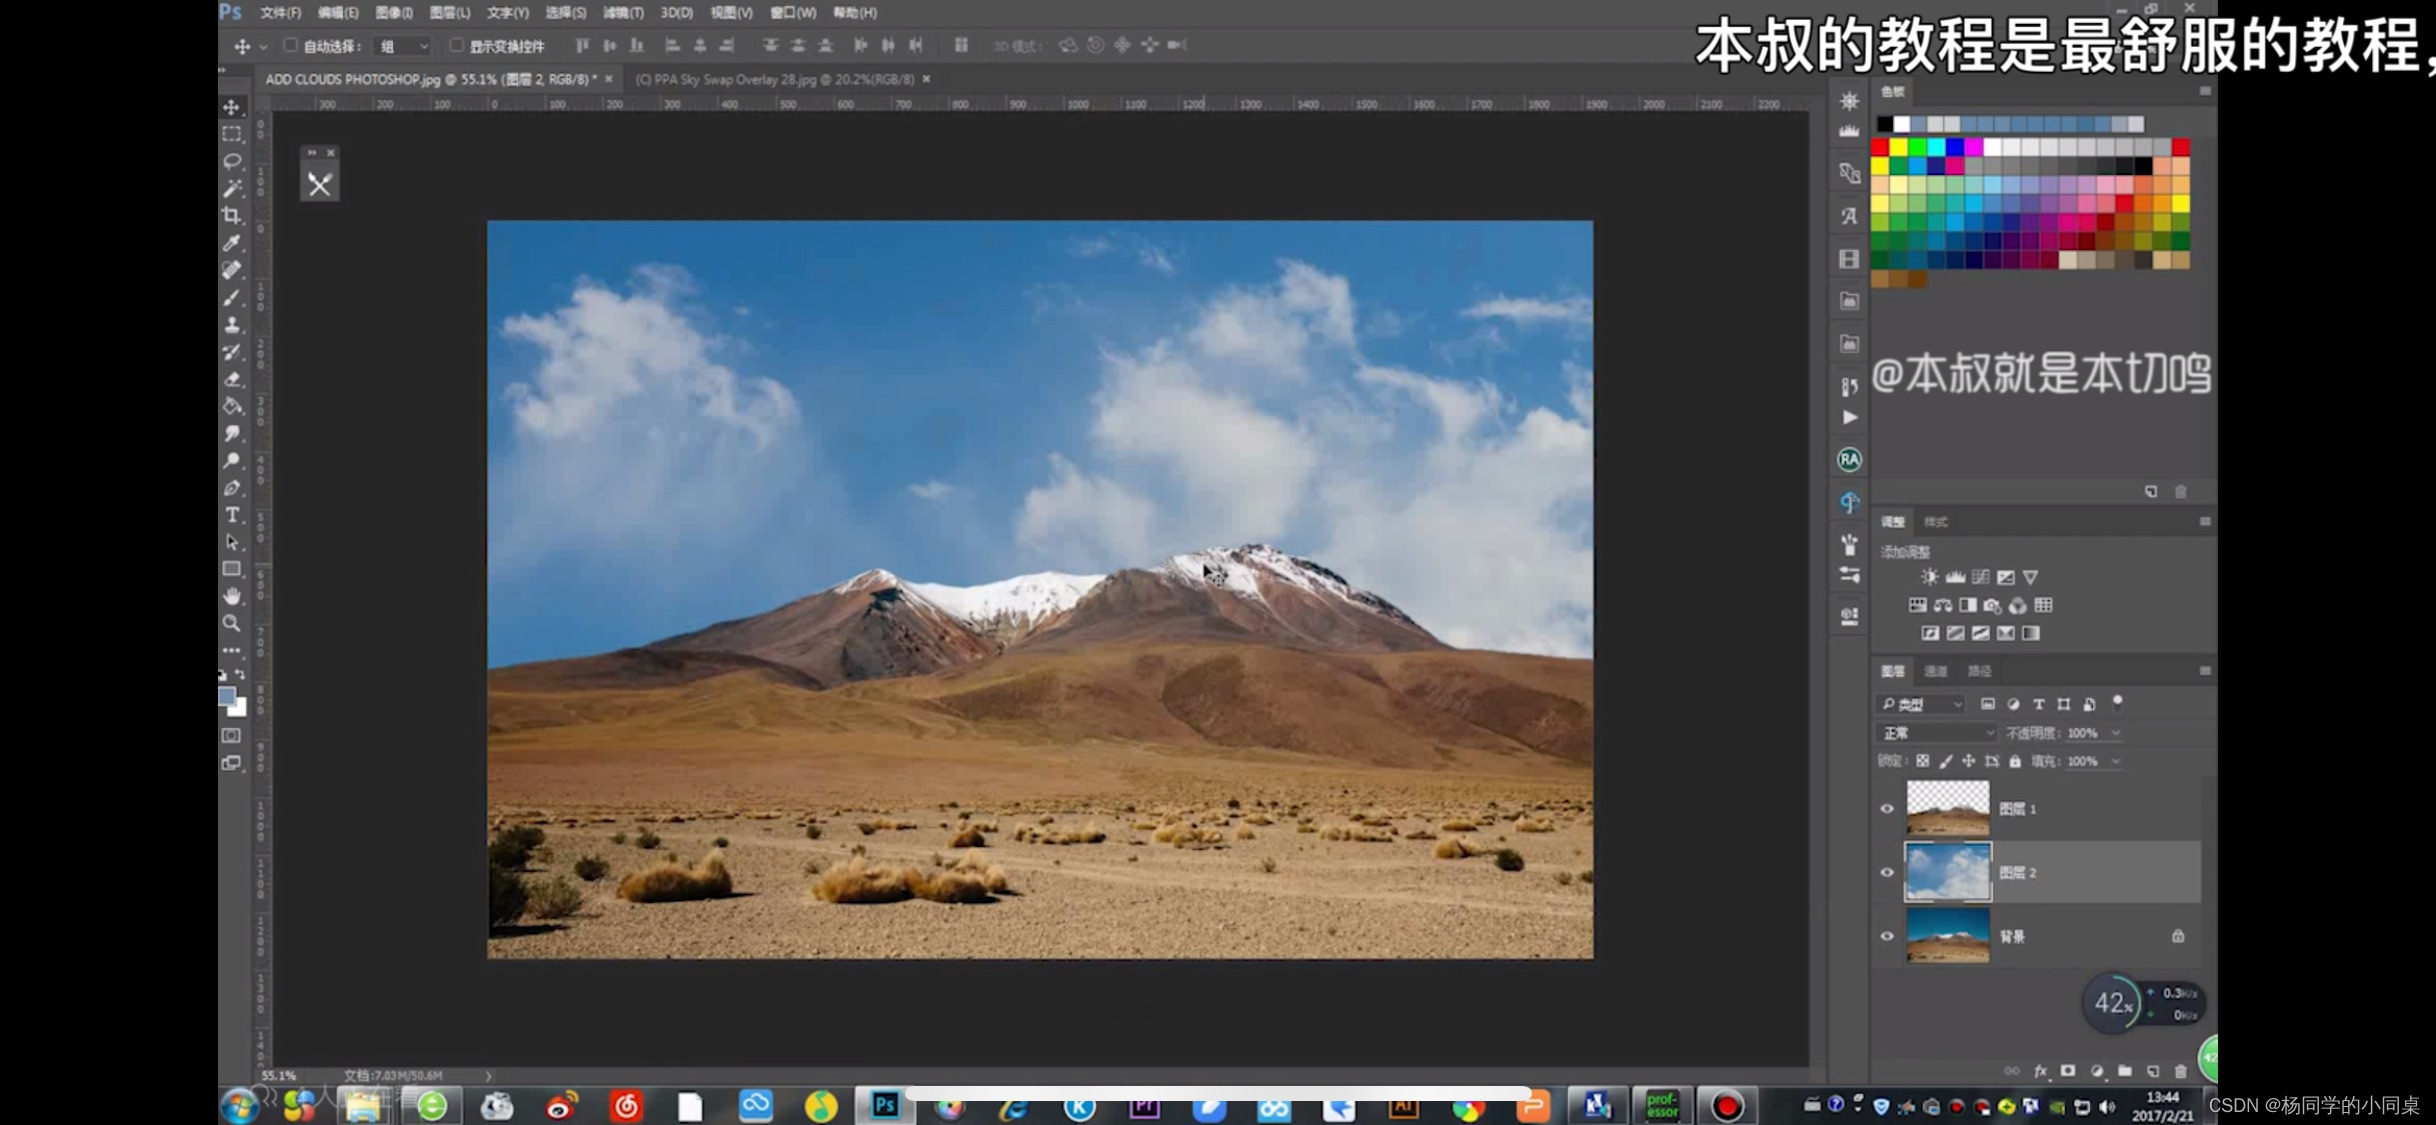
That's how we adjusted.
This method is only suitable for images with clean and more obvious edges.
2. Color range
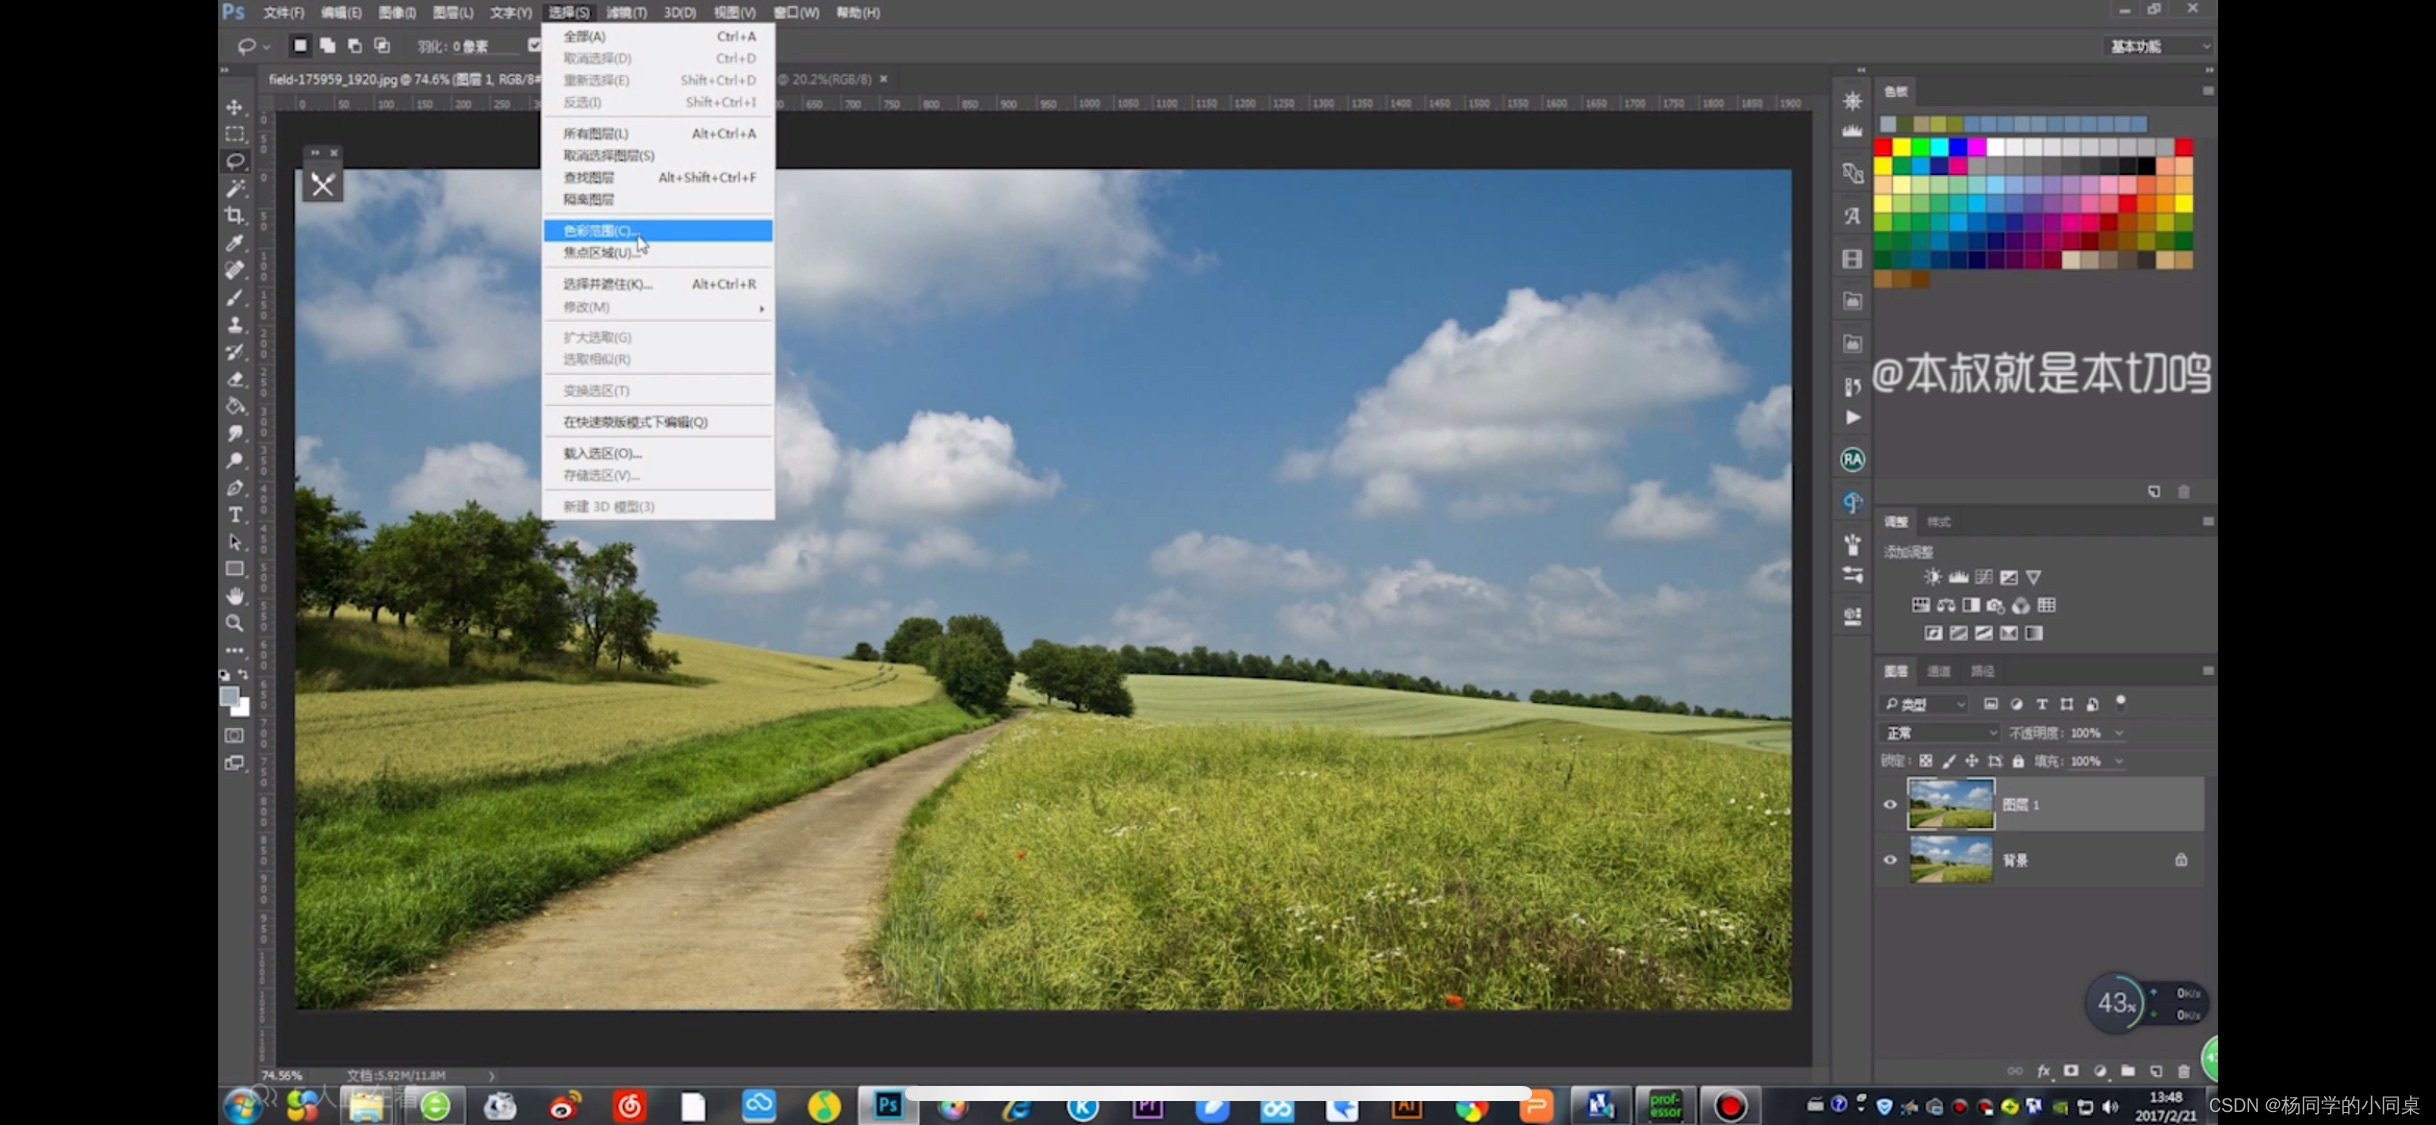
Duplicate a layer, select the duplicate layer and click Select Color Range.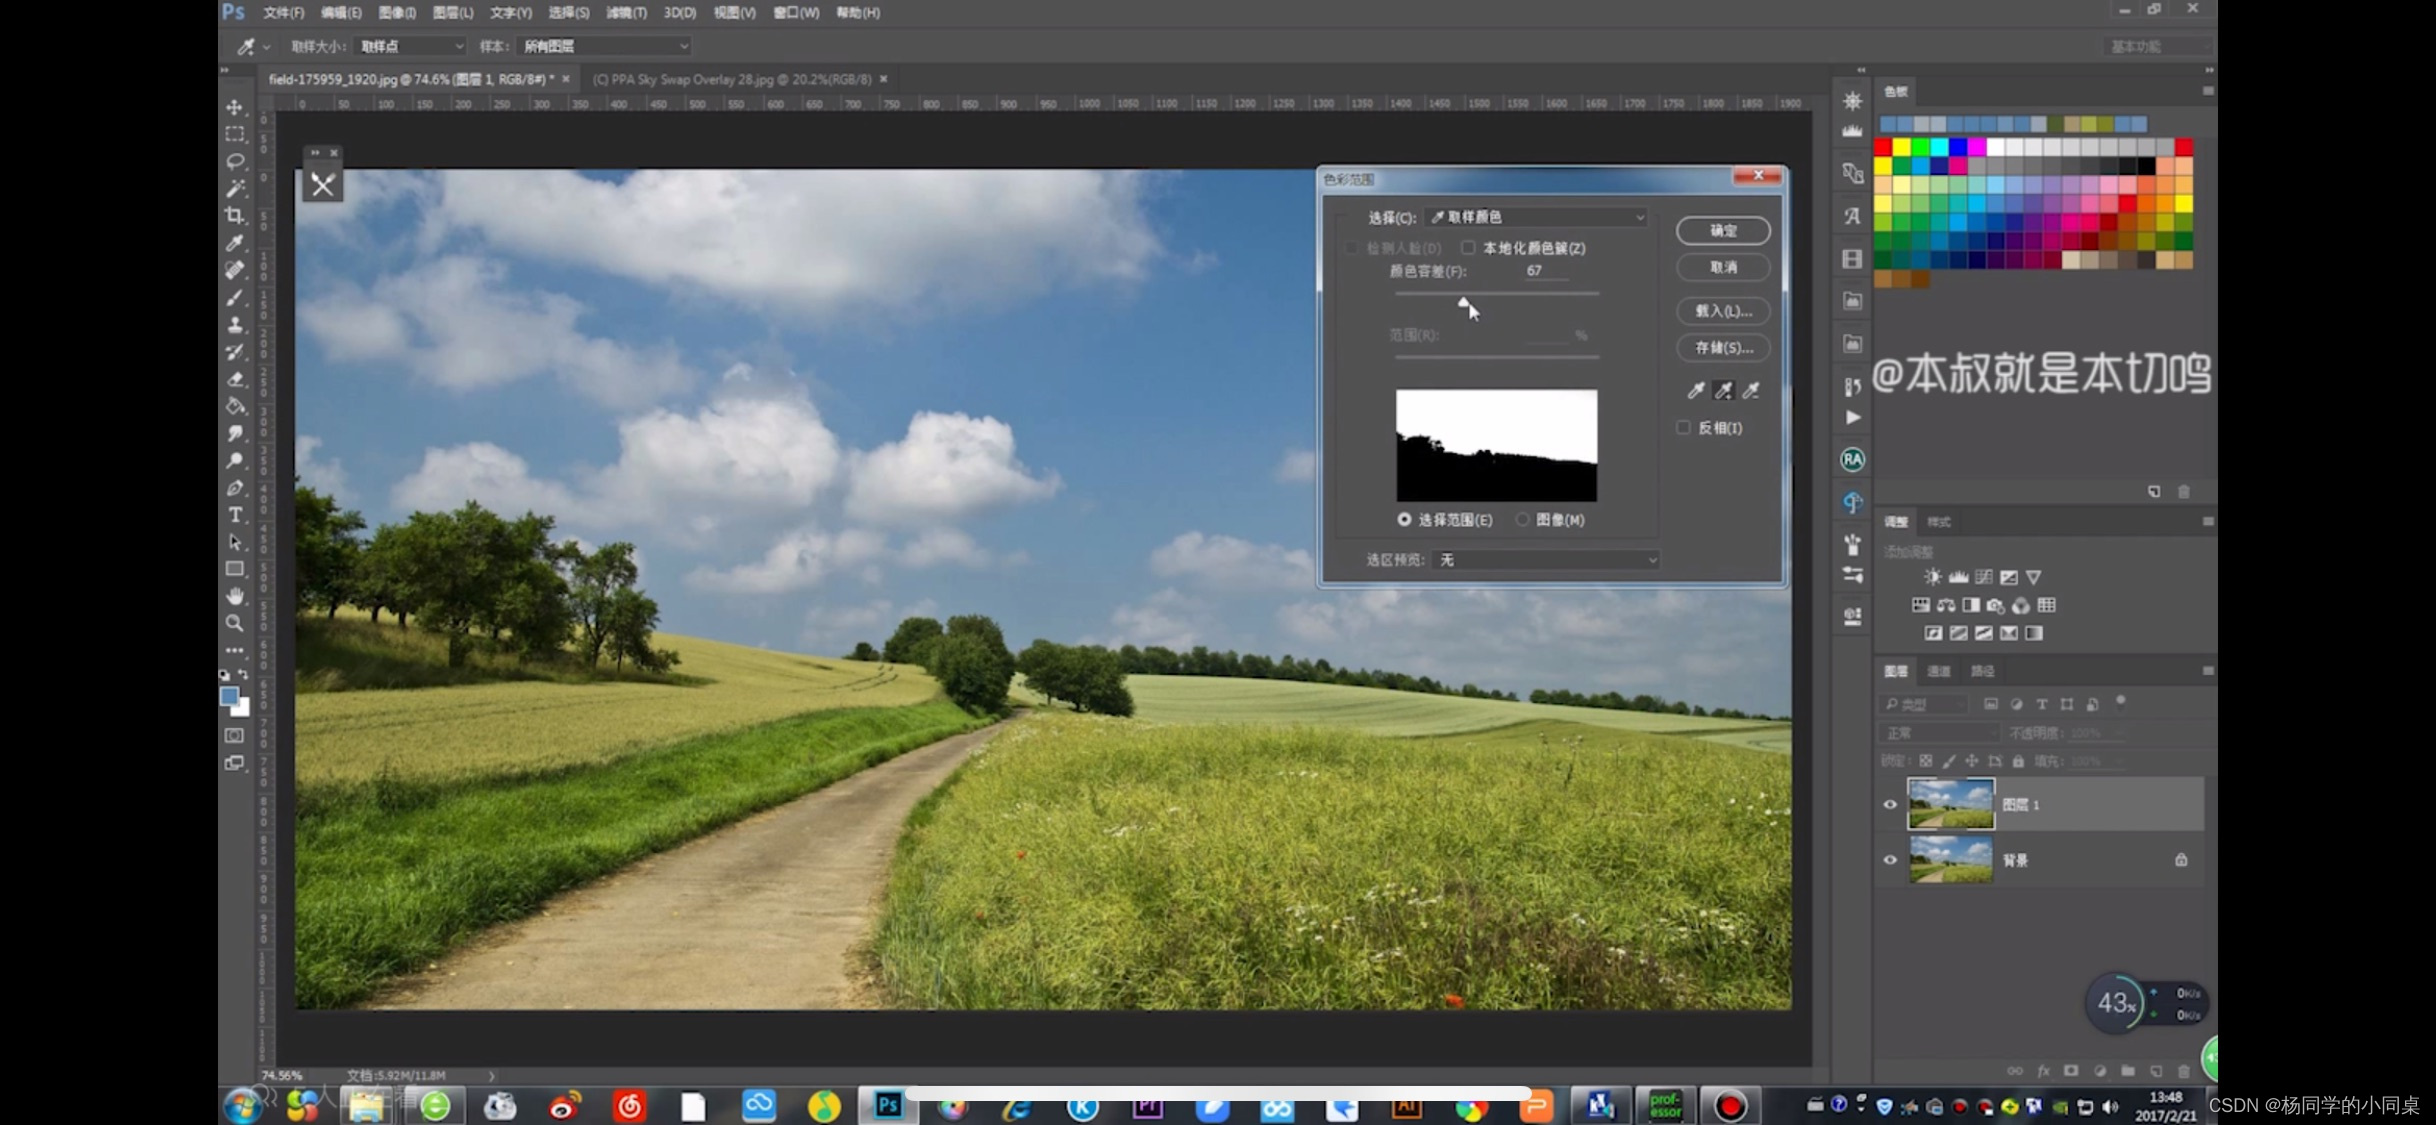
Select the eyedropper tool in the middle to absorb the white part of the sky in the picture, and the color tolerance can be adjusted appropriately by yourself.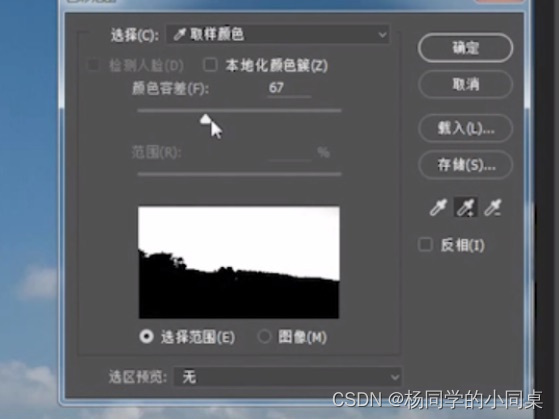
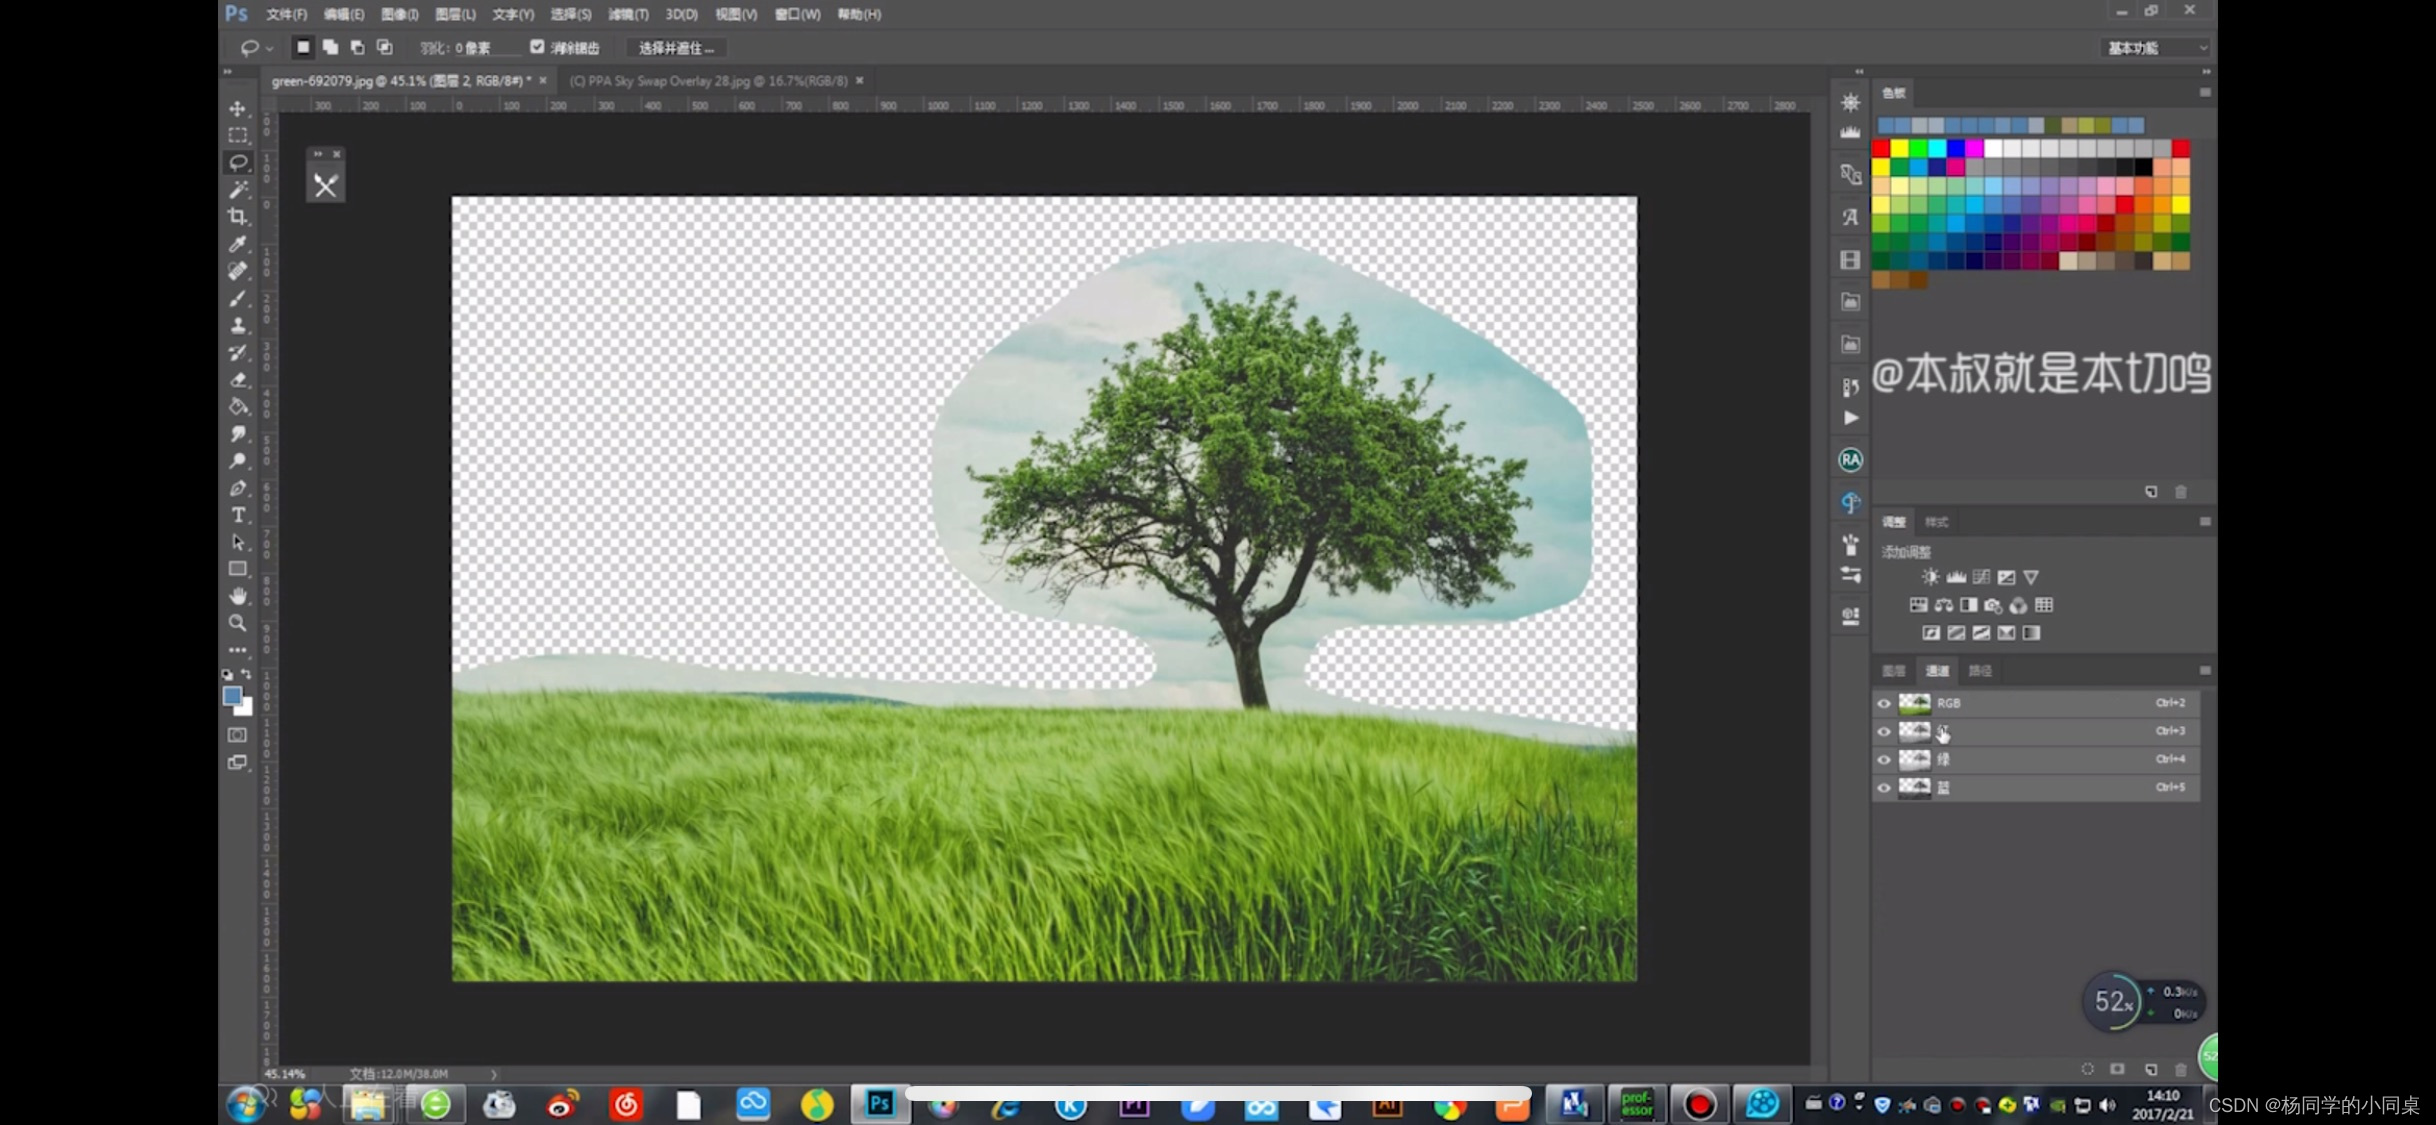
After clicking OK, it will automatically form a selection area, delete it and change the sky! (If there are redundant selections, we can also use the repair tool to click the mode of subtracting the selection area to subtract the redundant selection area)
It can be used when there are not many edges.
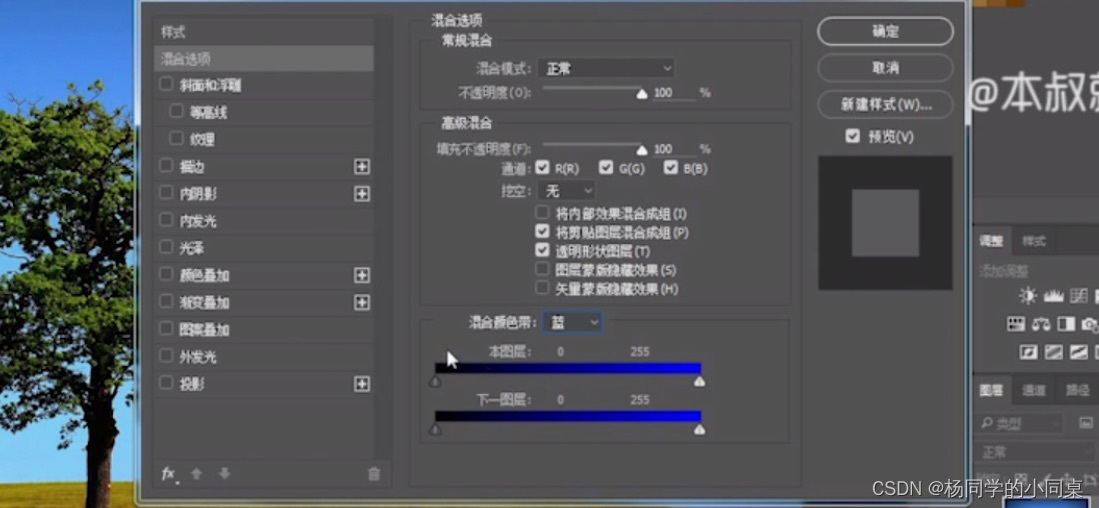
3. Layer Blending Options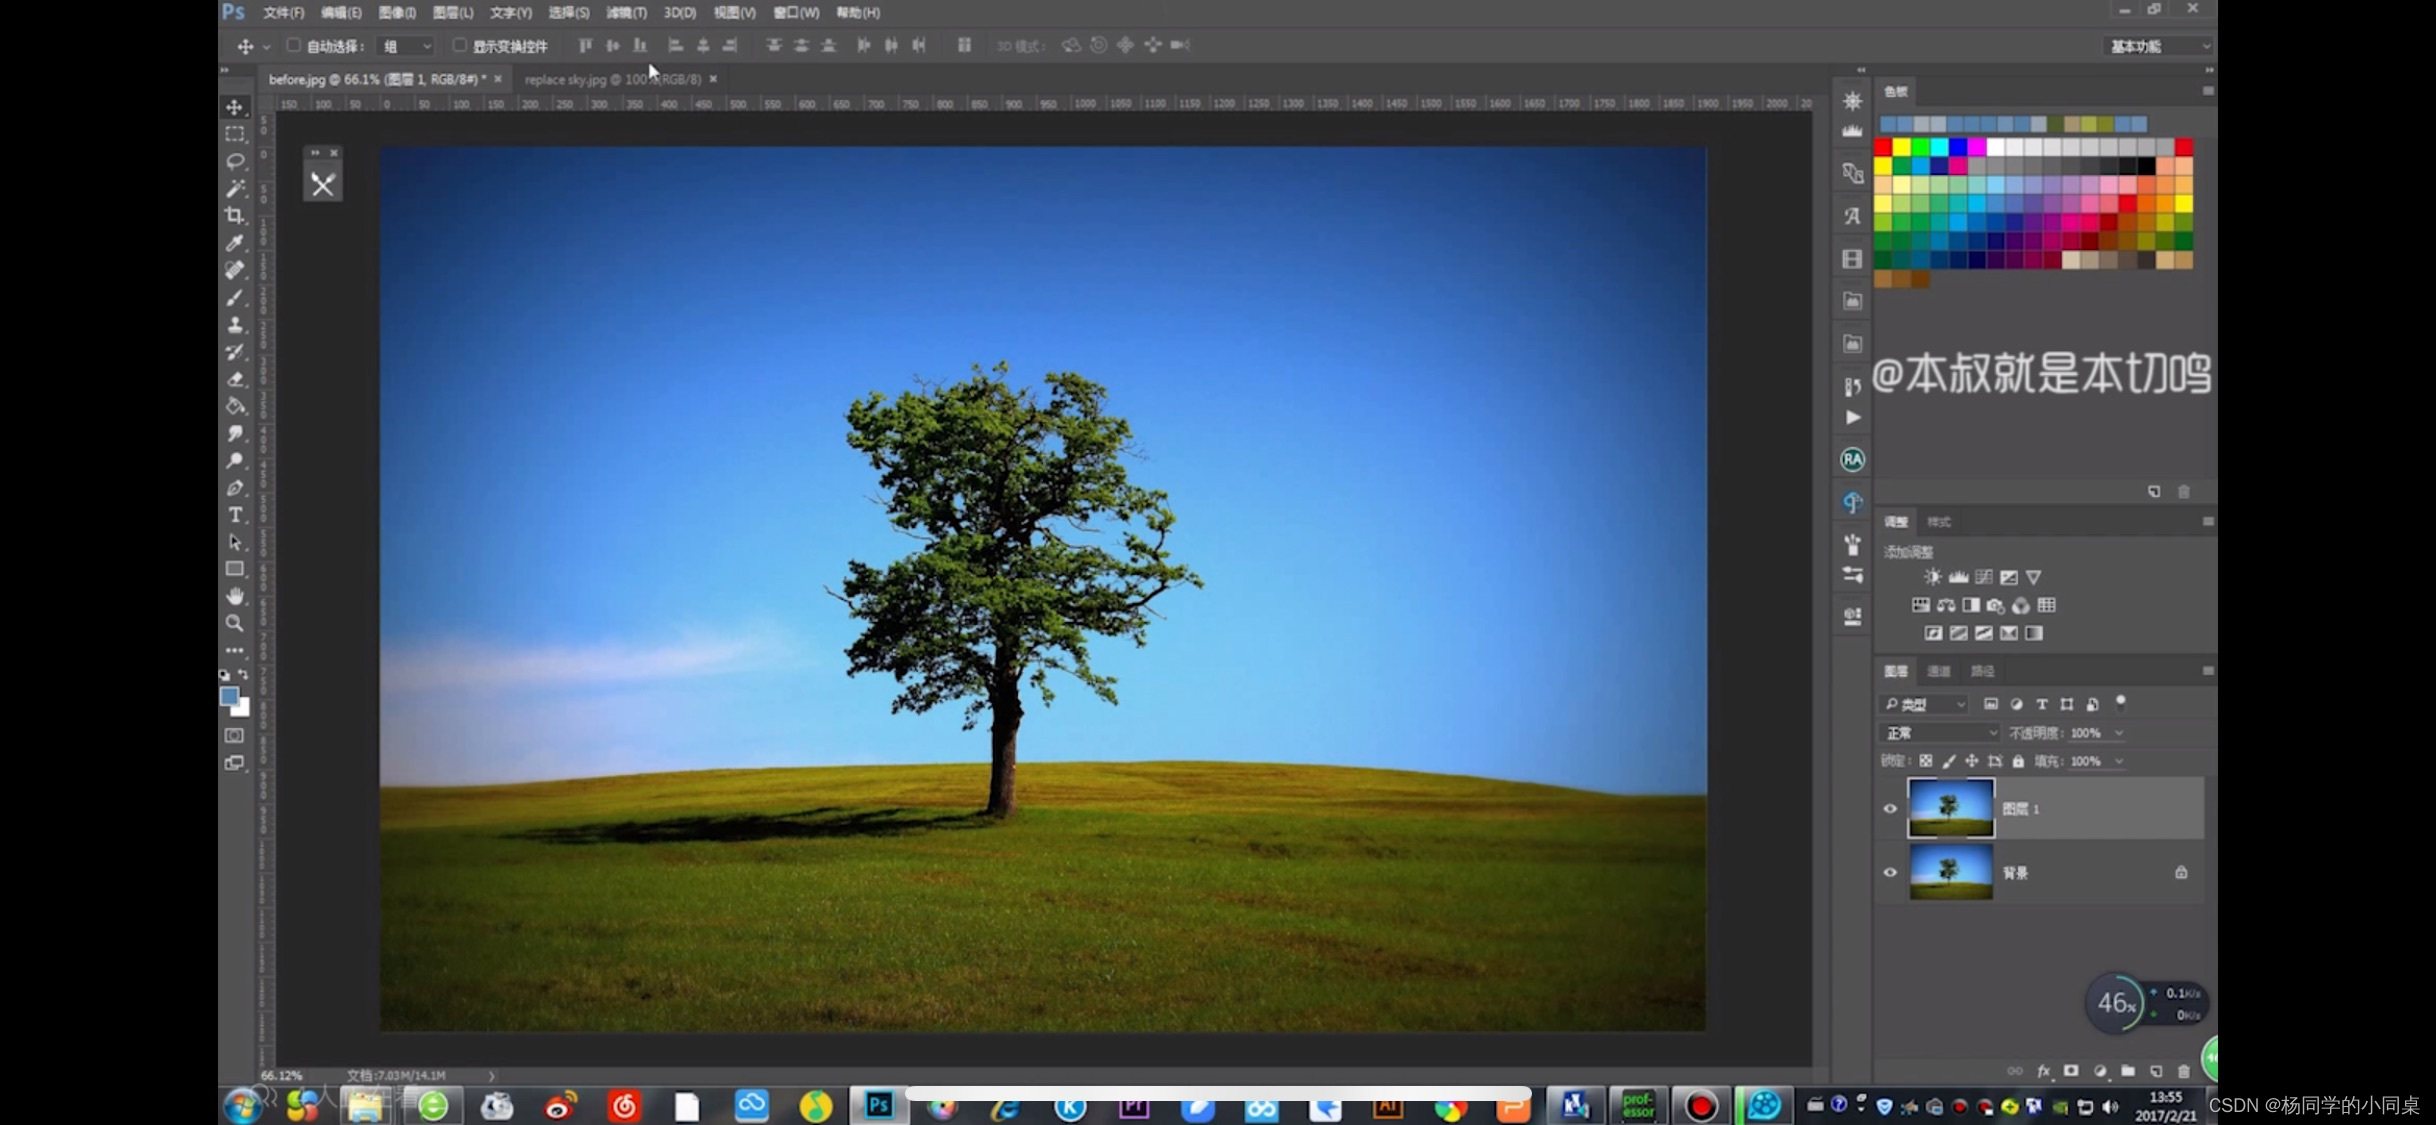
First, duplicate a layer and drag the cloud material over directly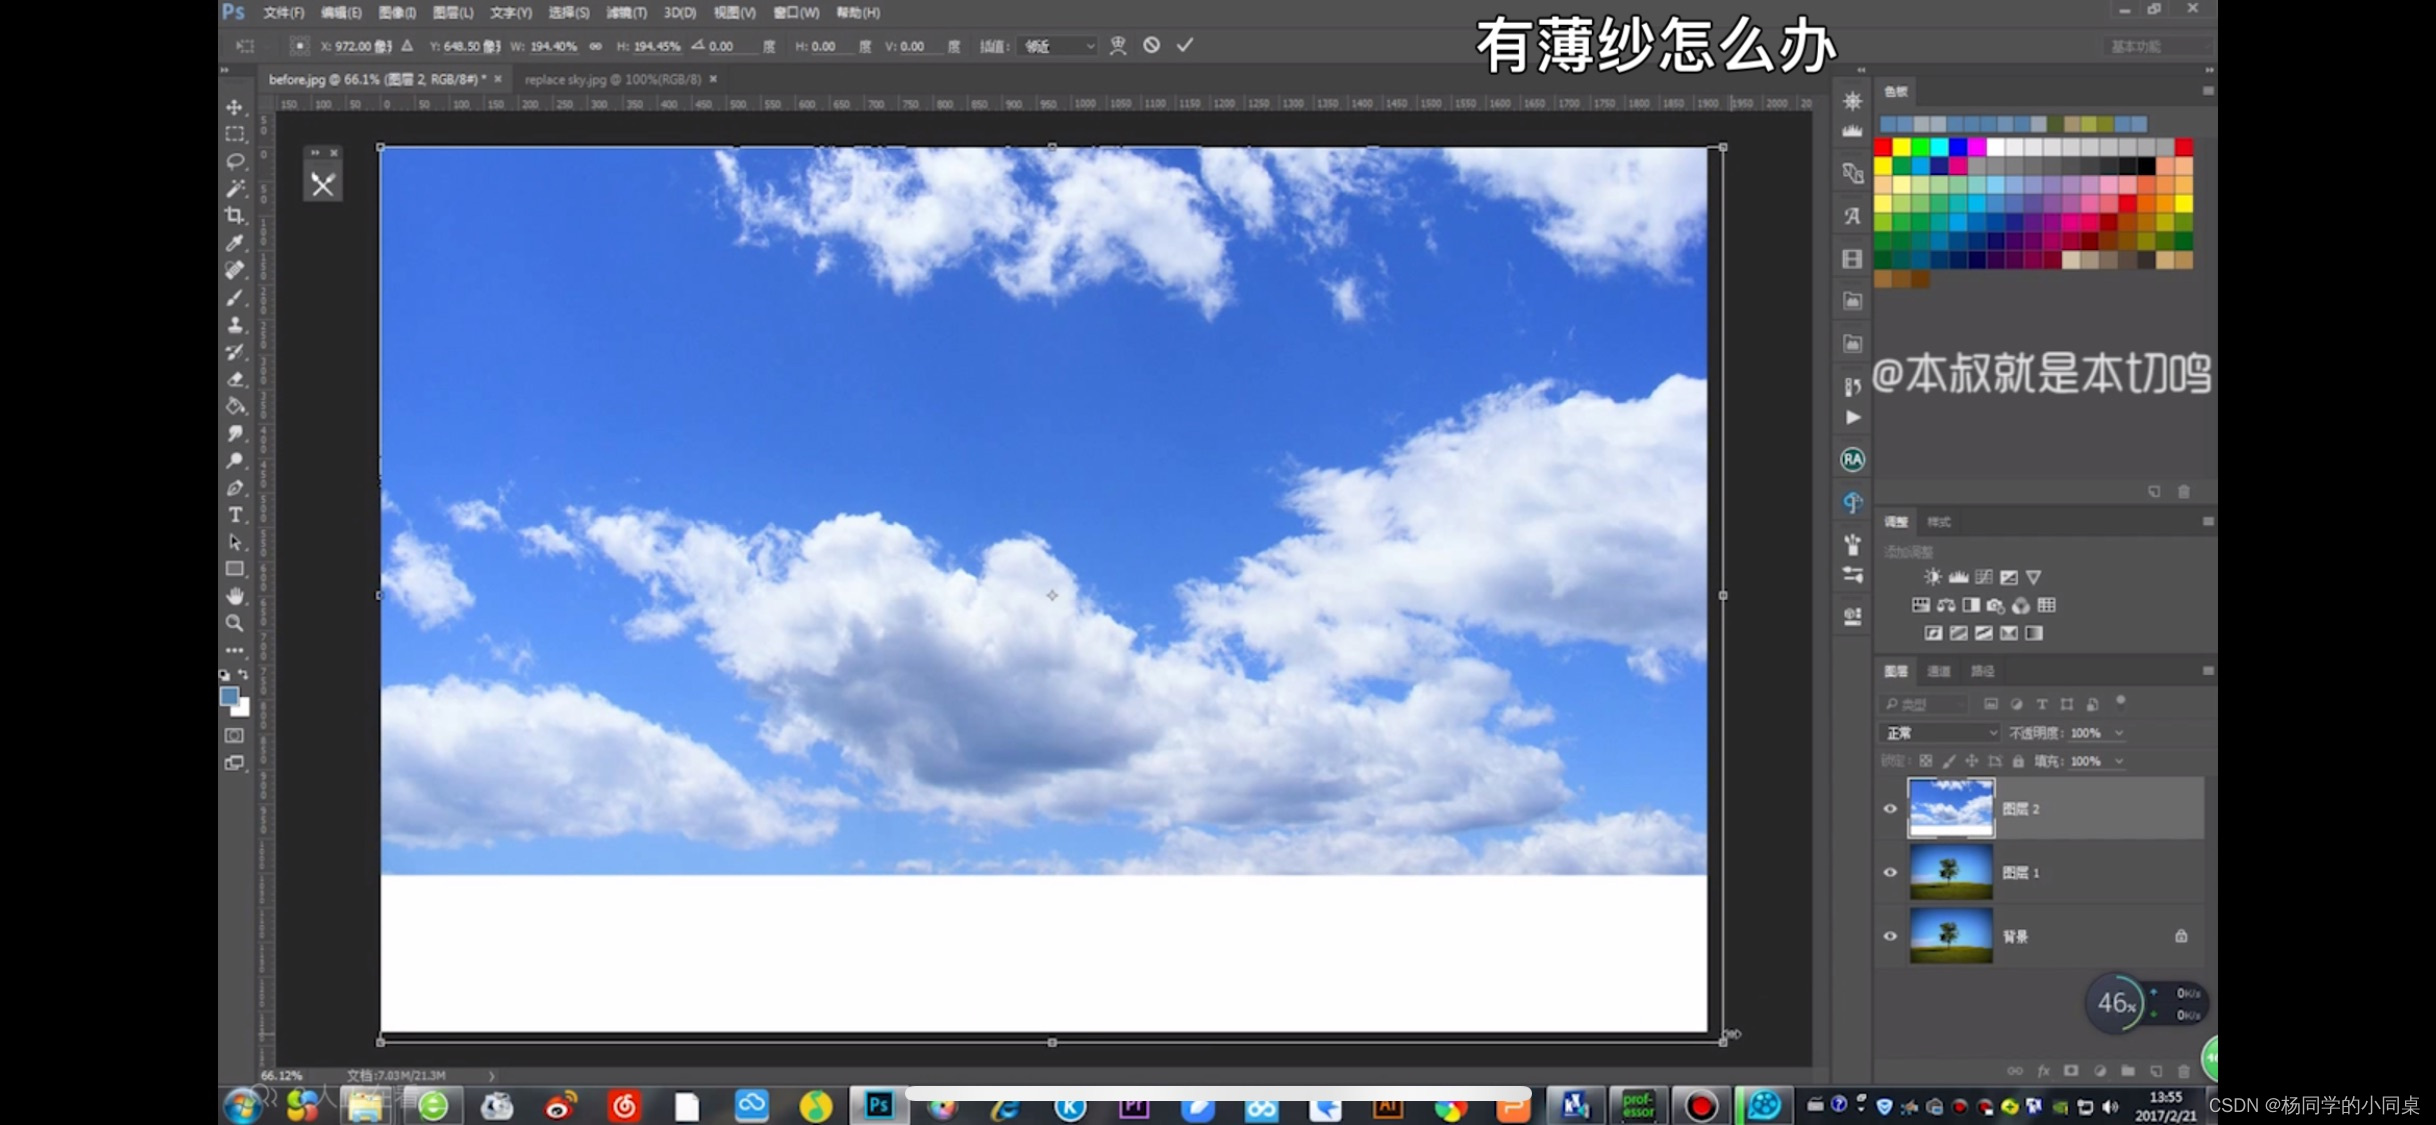
The cloud layer must be placed under the copy layer, and then double-click the copy layer, and a layer style will pop up at the position of the picture

Then we change the blending mode and the color band inside to blue
Select the color band of this layer, hold down the Alt key and drag it to the left, you will find that the clouds in the layer below will appear slowly,
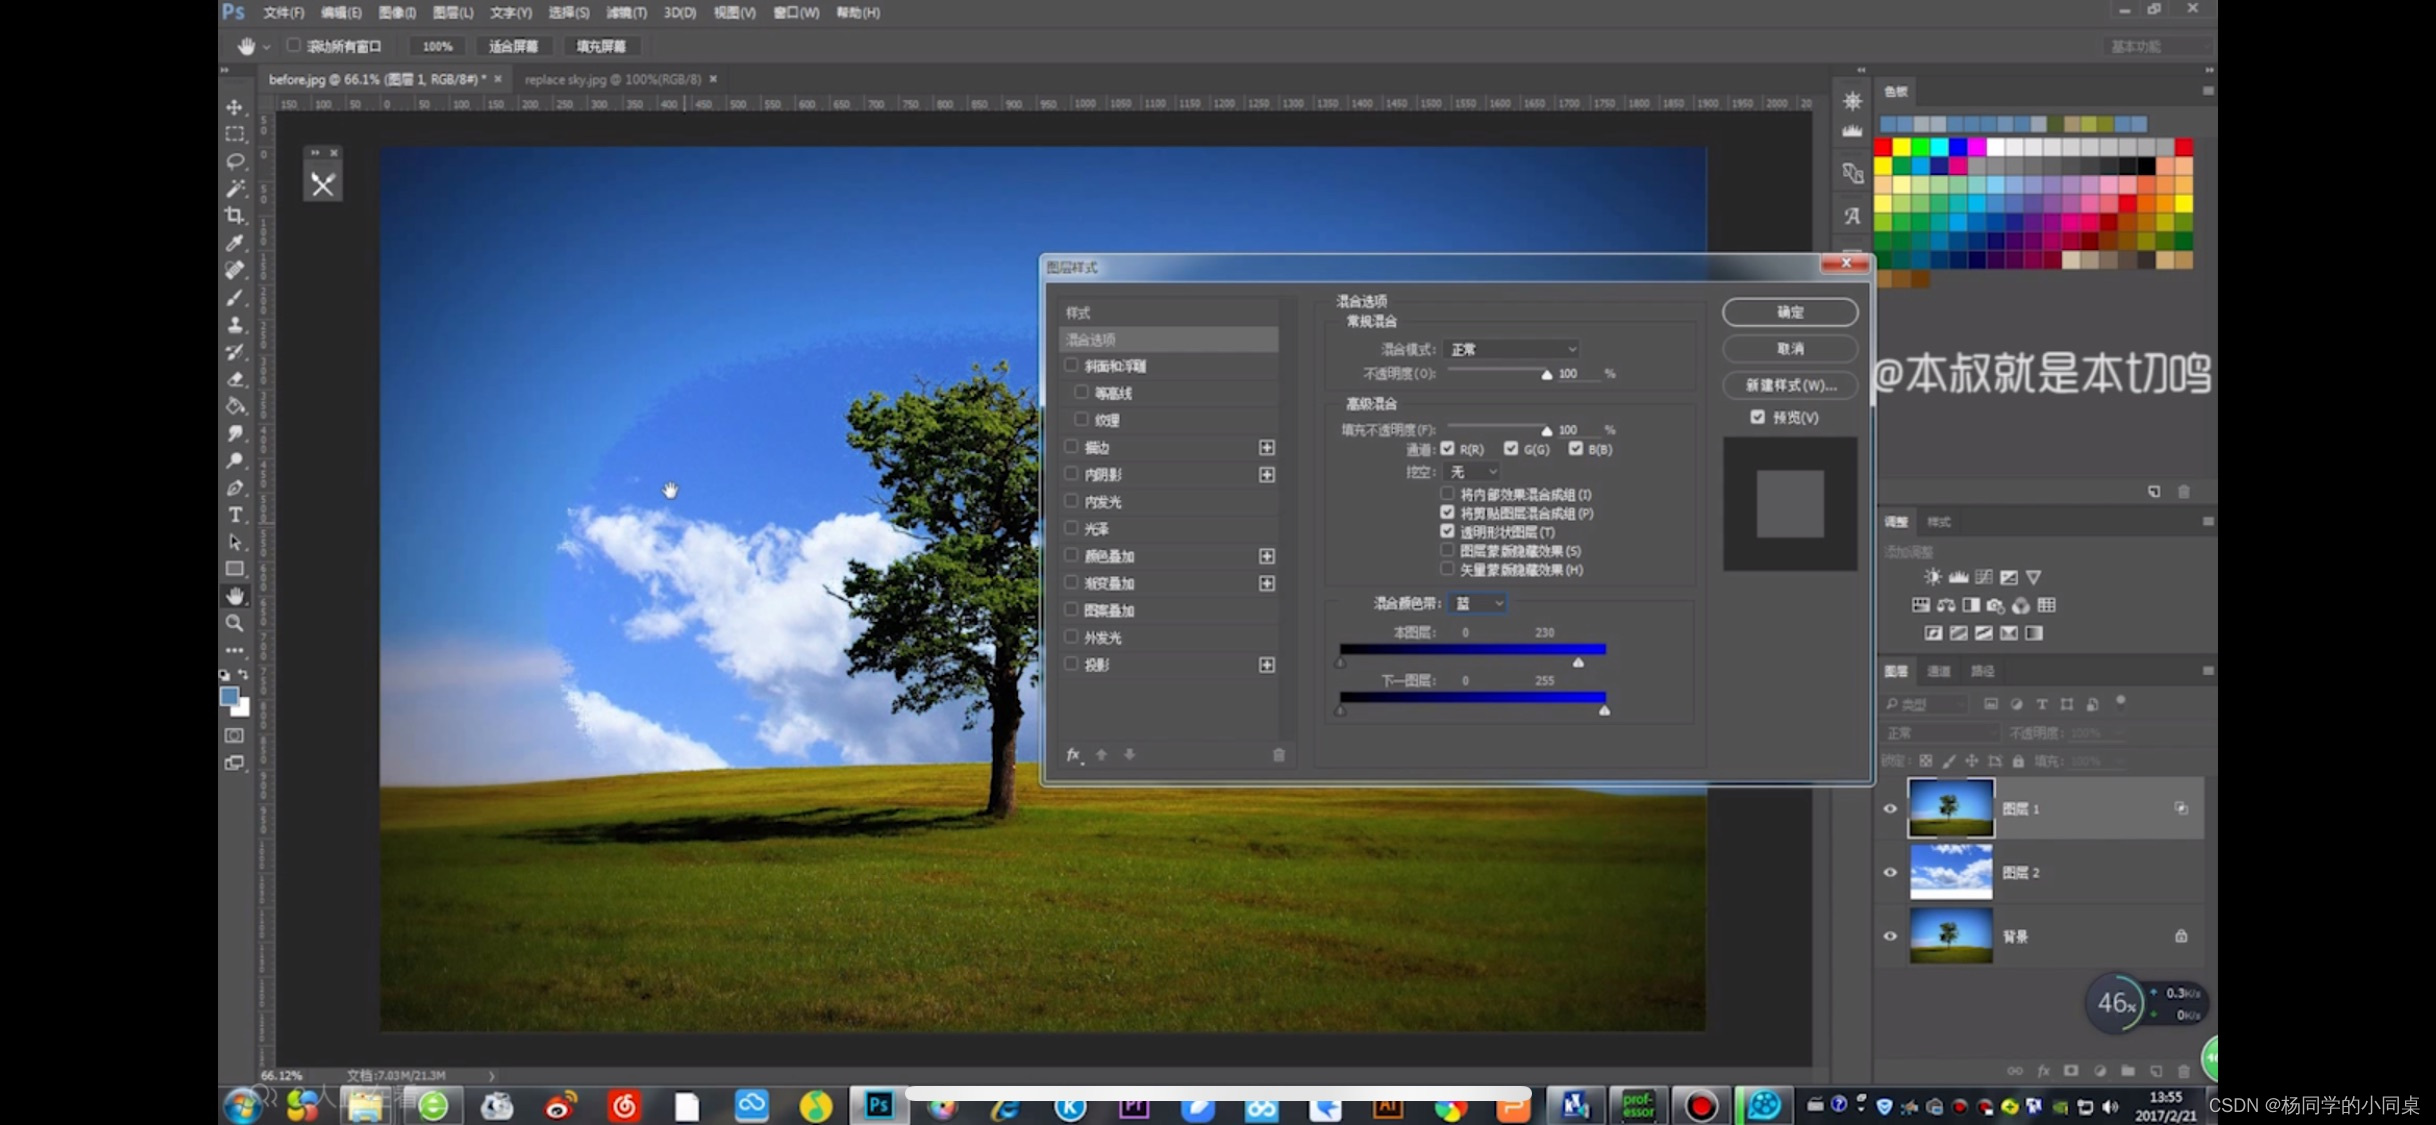
The leaves are also very detailed.
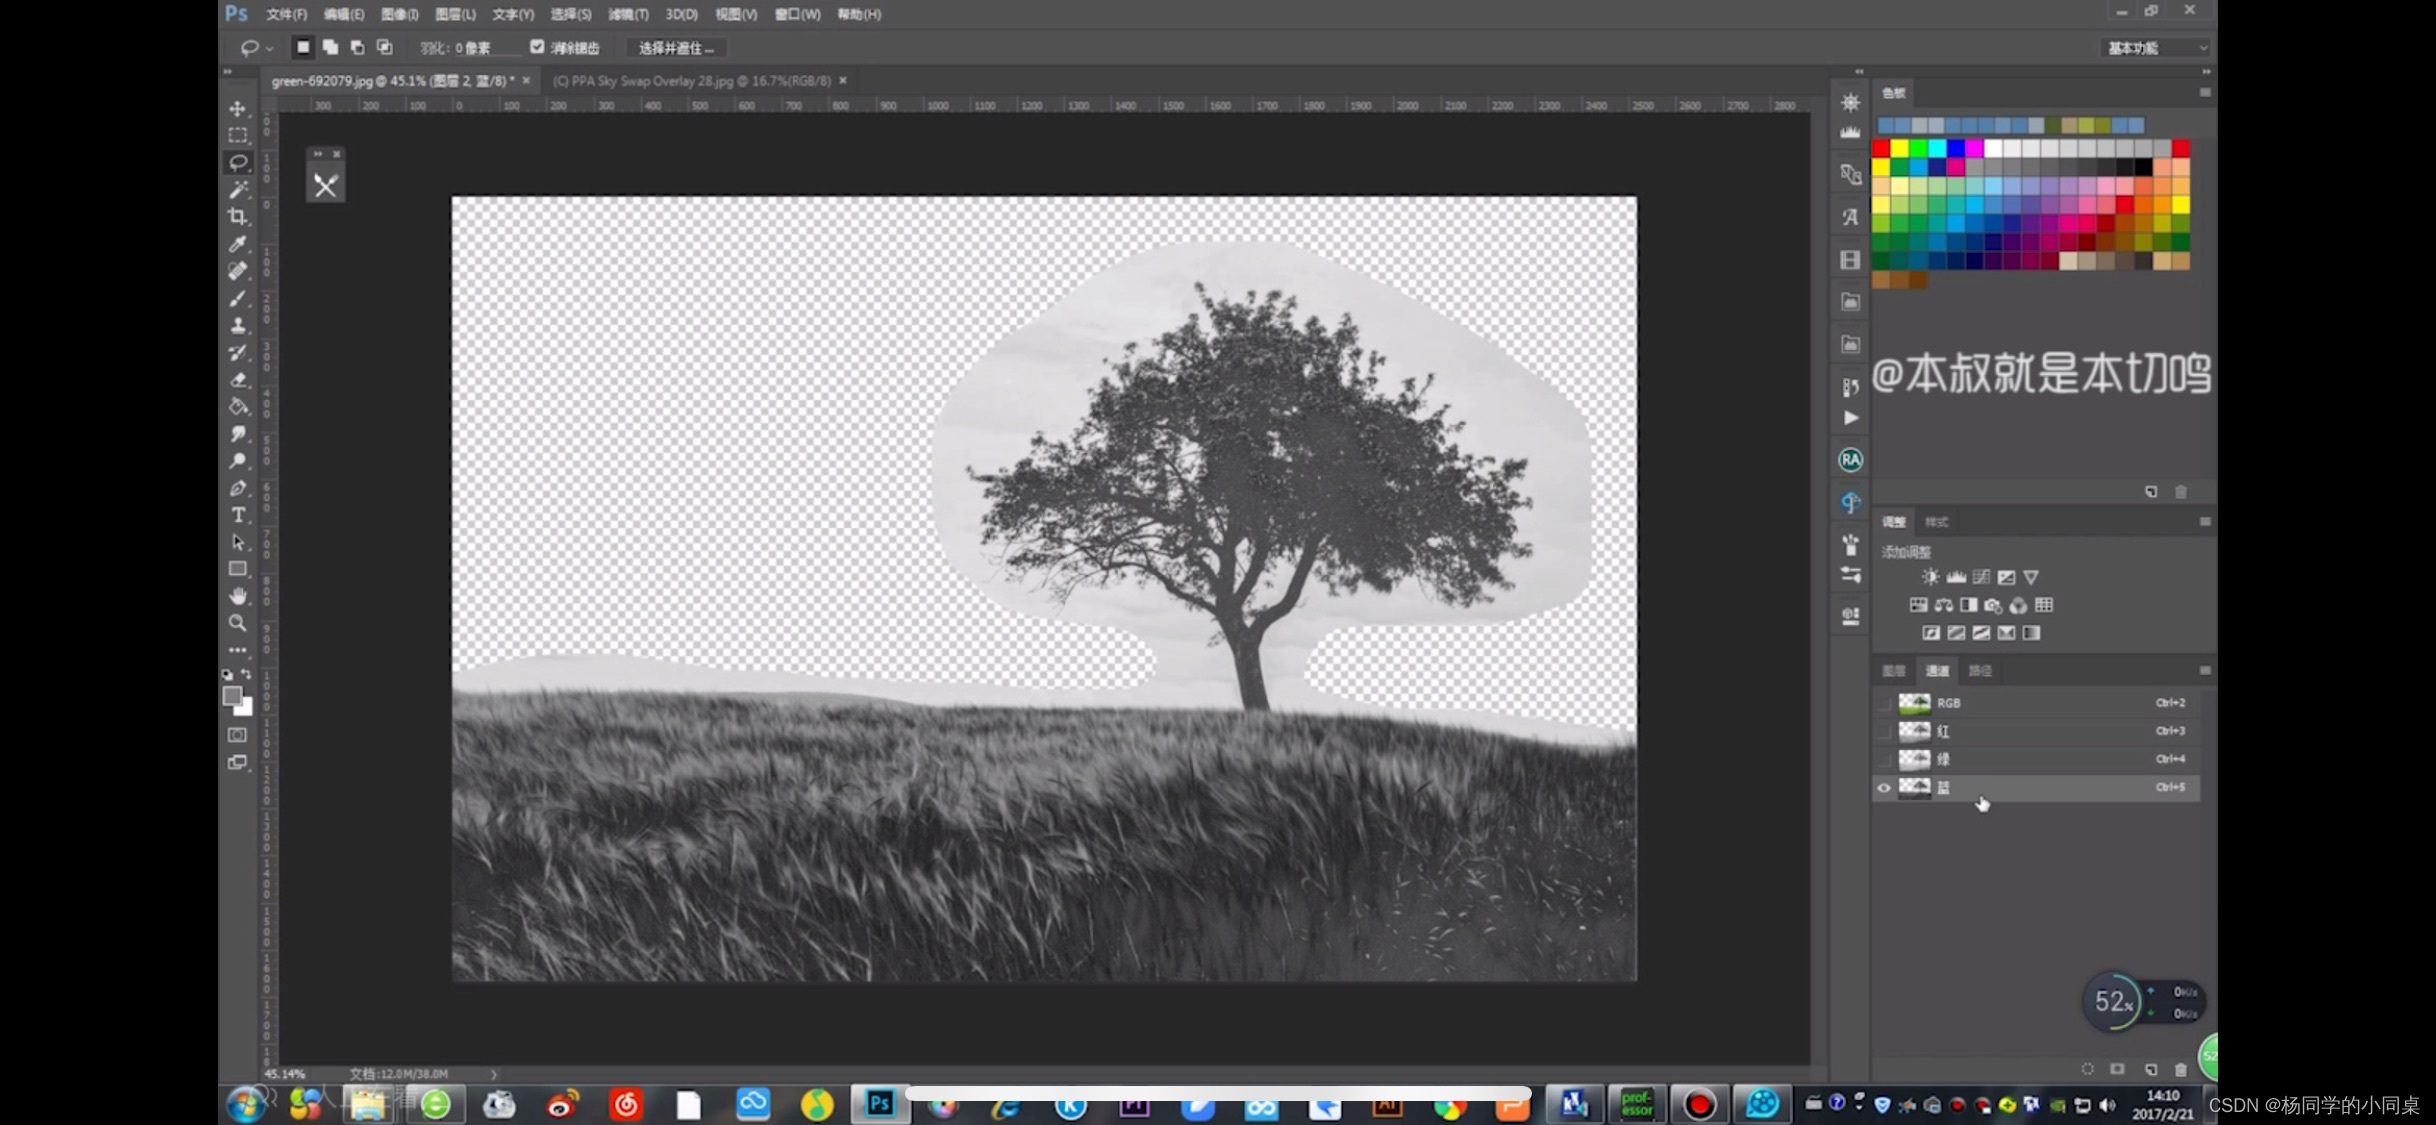
4. Change the channel

It is better to copy a layer first, first use the lasso tool to select the approximate sky to form a selection area to copy out, turn off the eyes of the two layers below, click to open the channel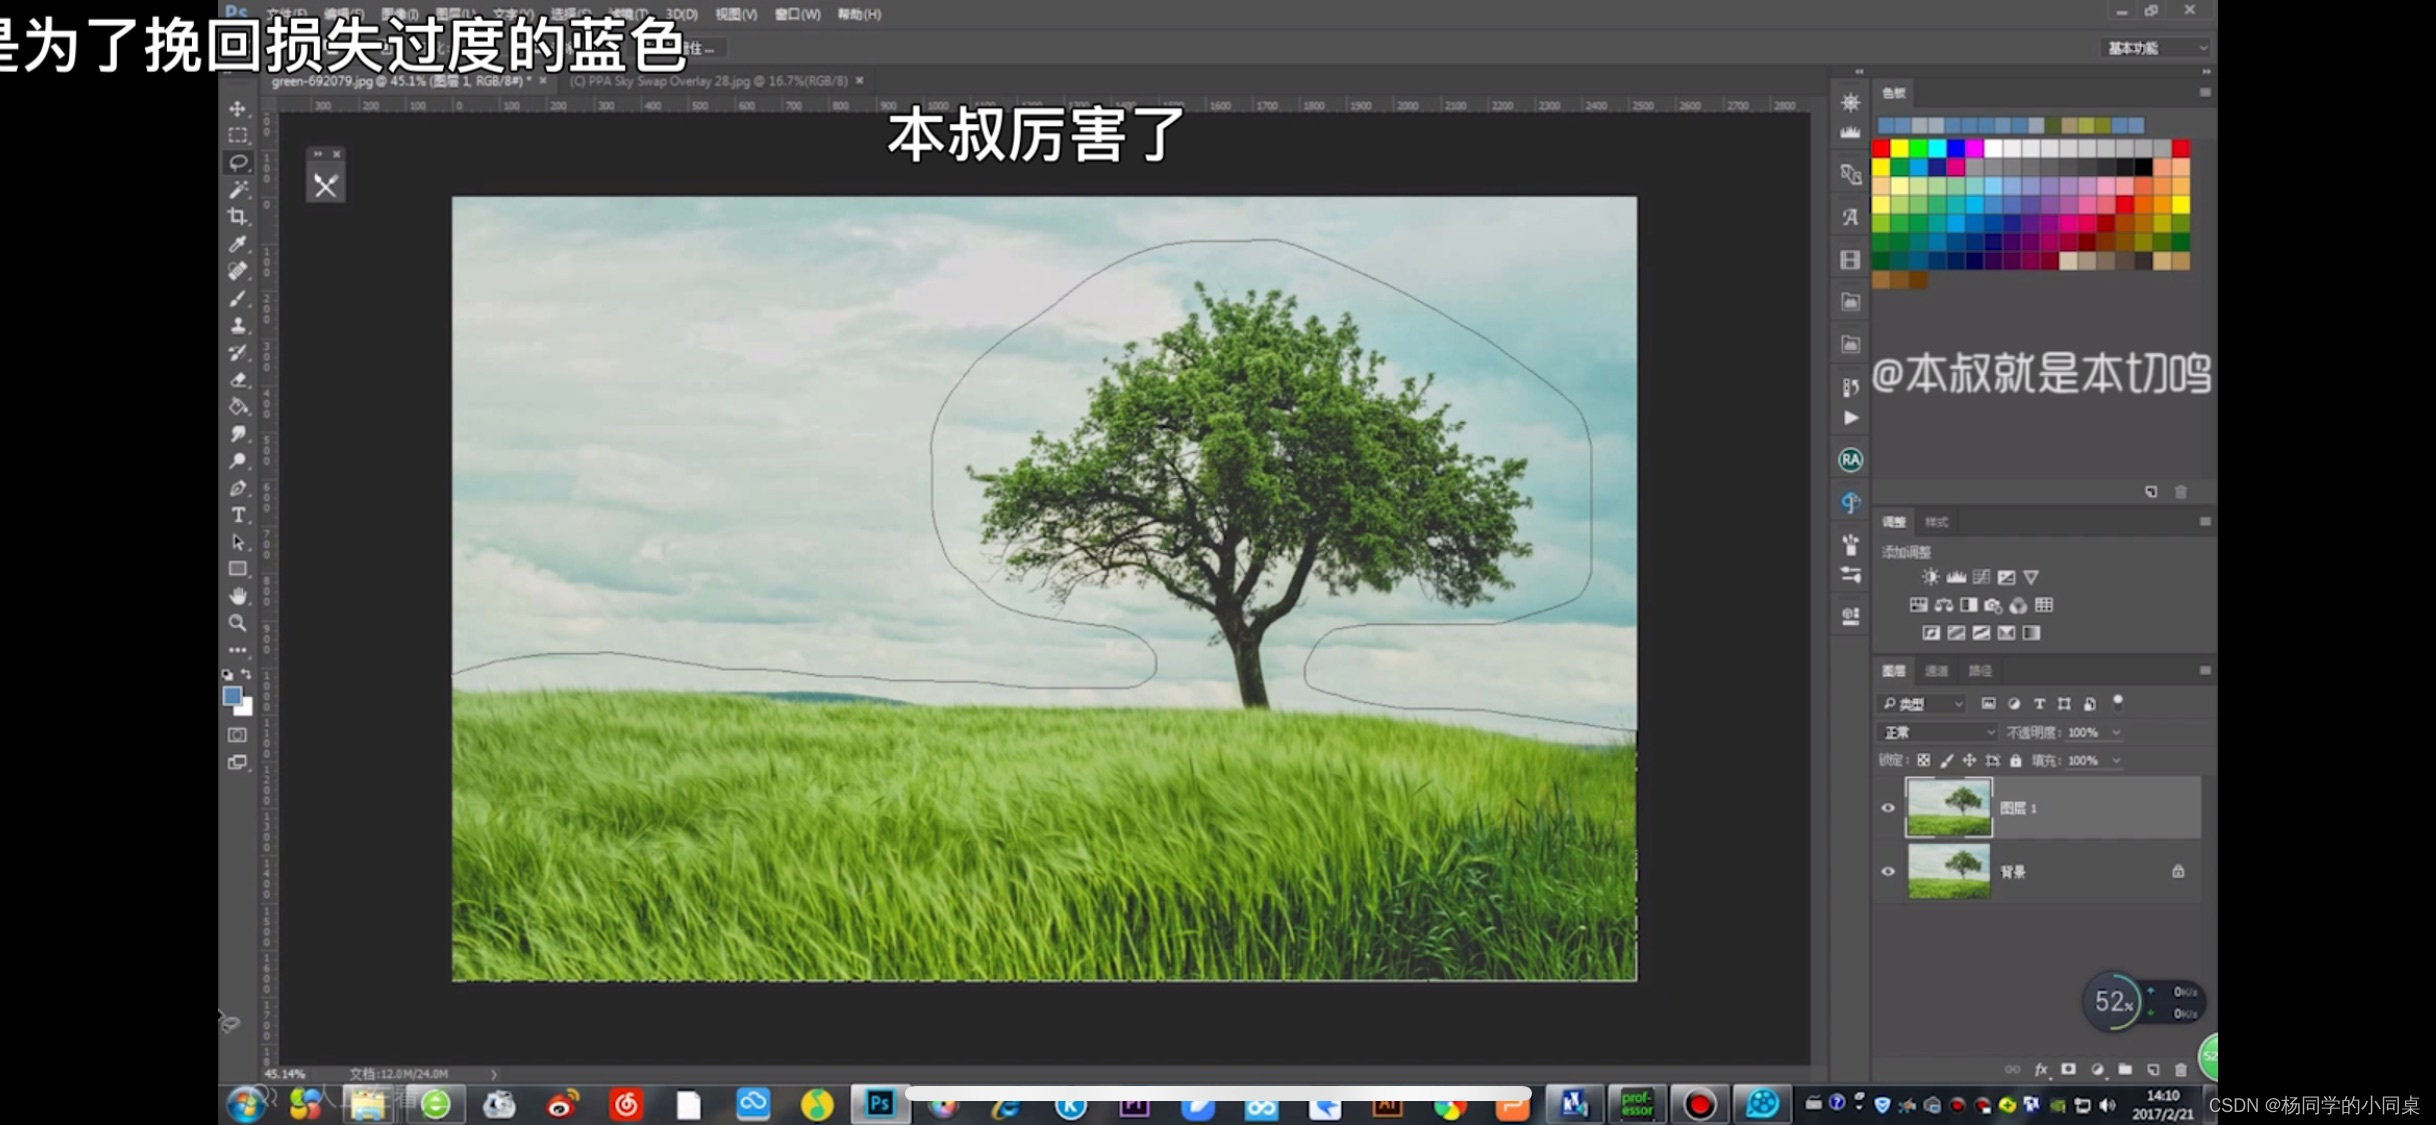
Select the most obvious contrast mode in the red, green and blue channels to copy a layer, and then open the color scale
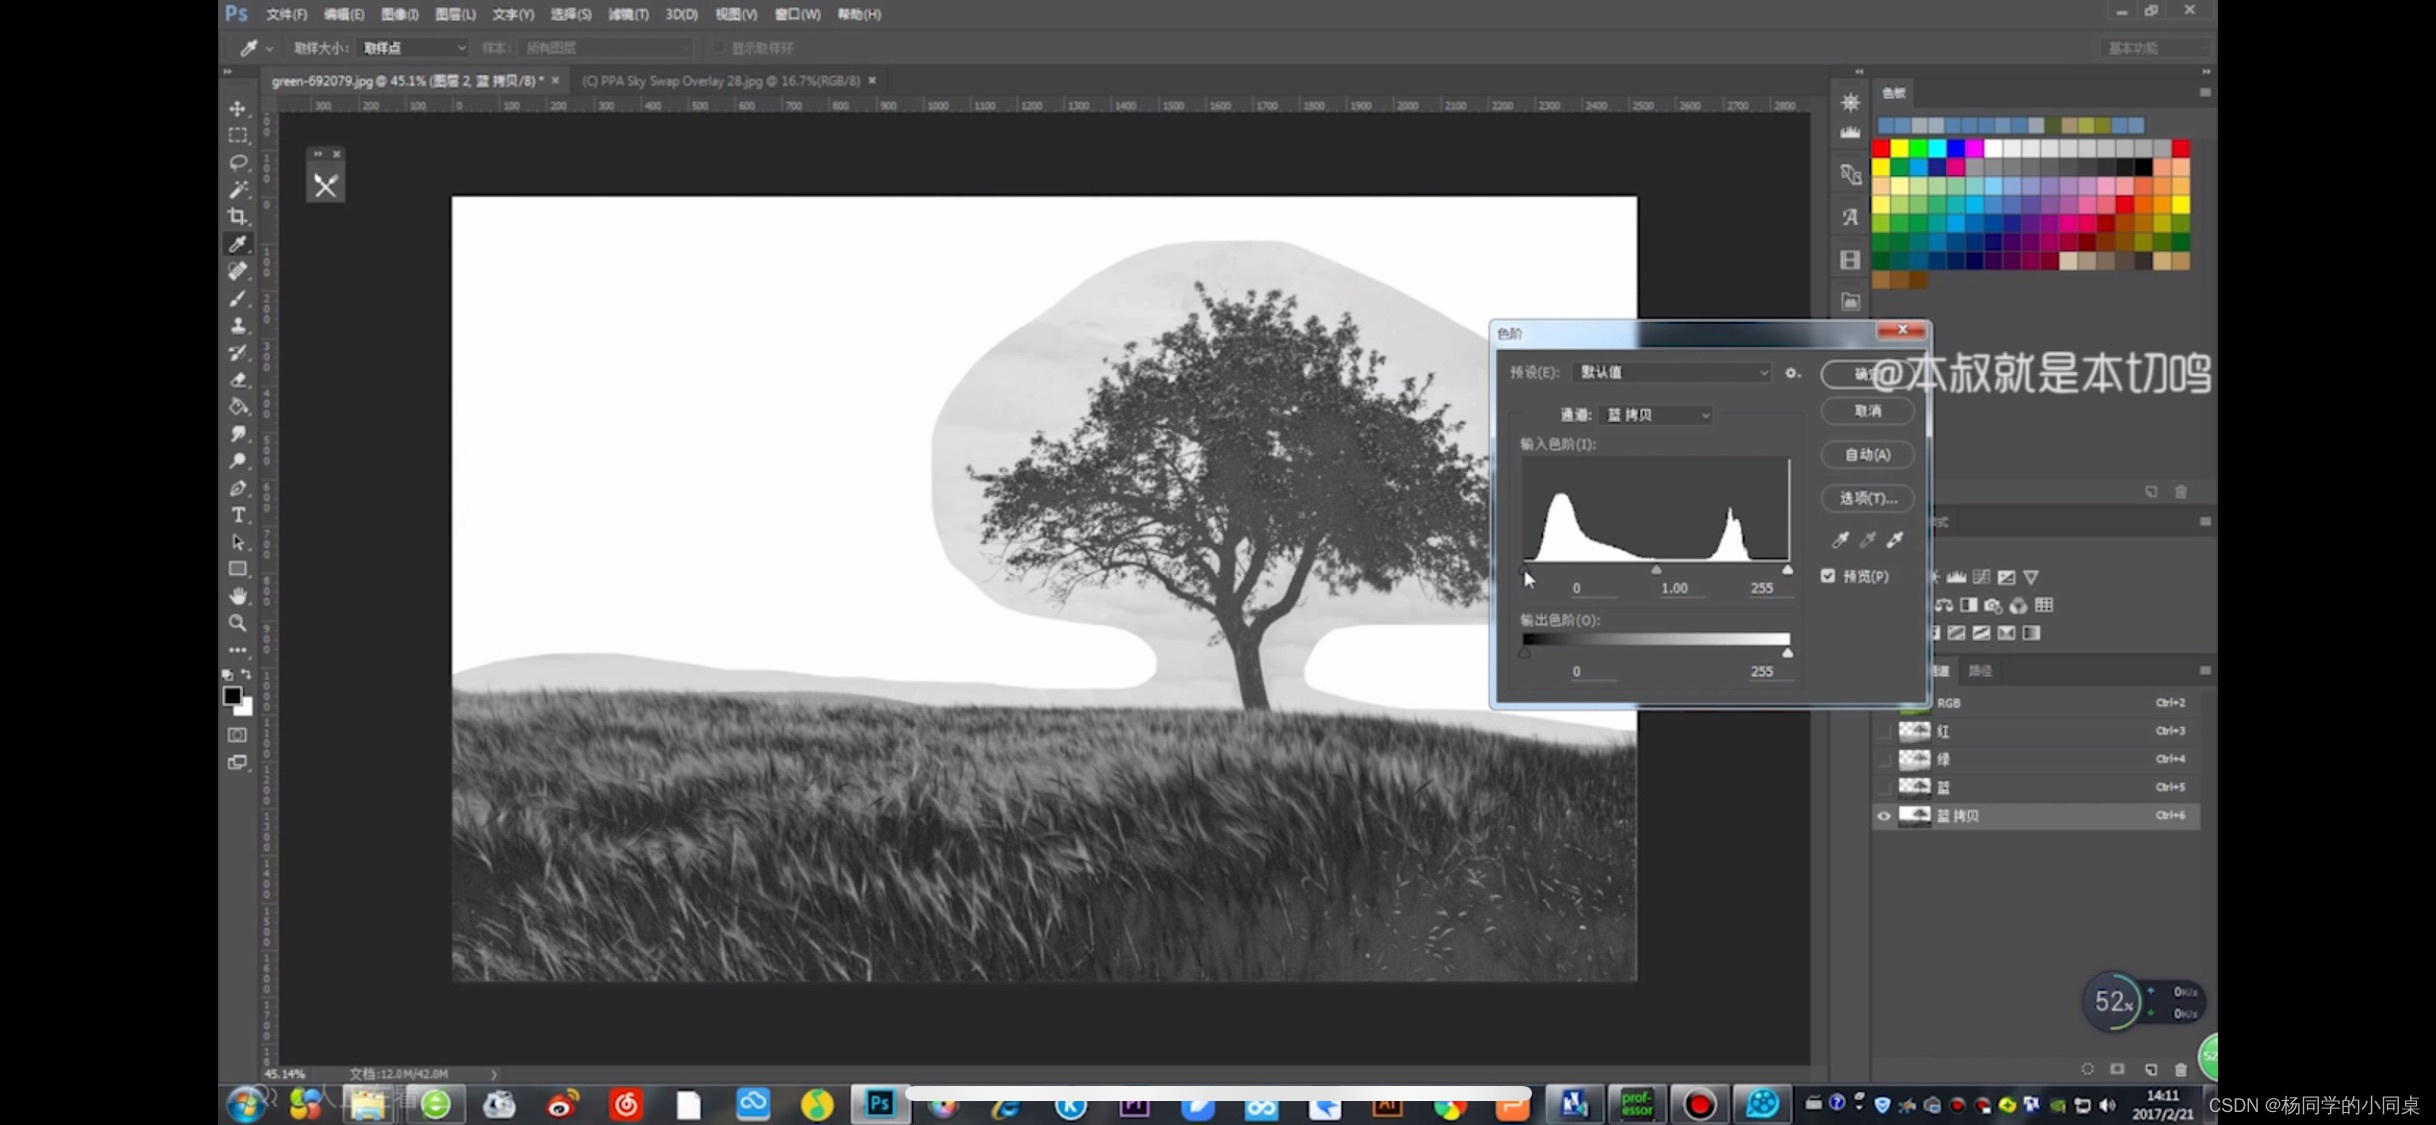
Pull the tones on both sides, black is more black and white, and then click OK

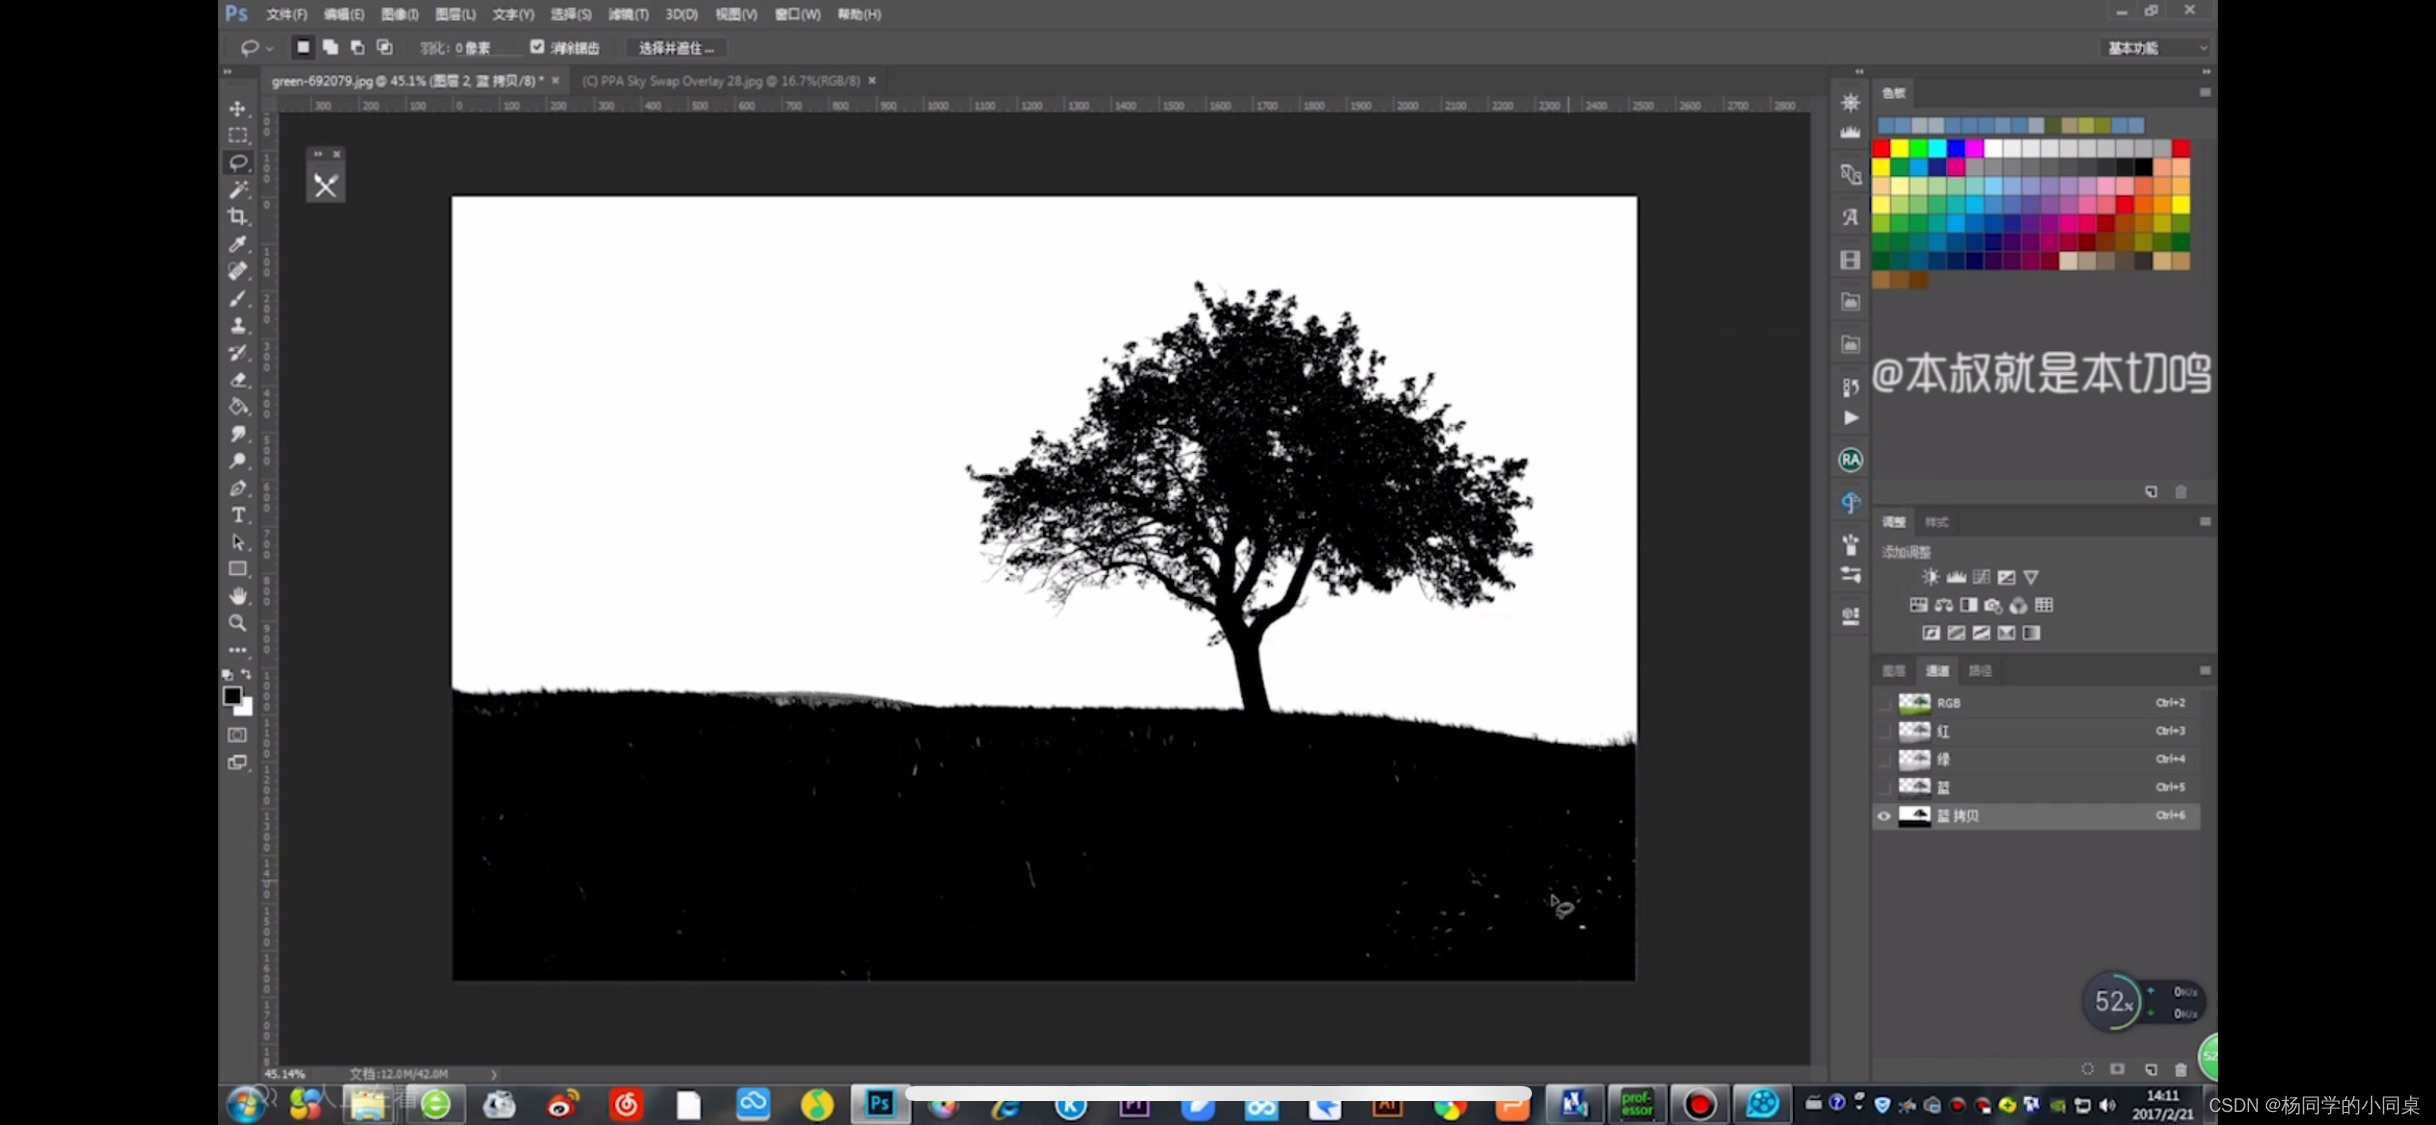
Then what if there are still white spots on the grass, use the brush tool to paint it black, and then use the lightening tool to paint the edges of the leaves (that is, clean up the gray area).
Then go back to the rgb picture mode, click on the channel that has just been made in the channel to create a selection area, reverse selection, delete and add the sky.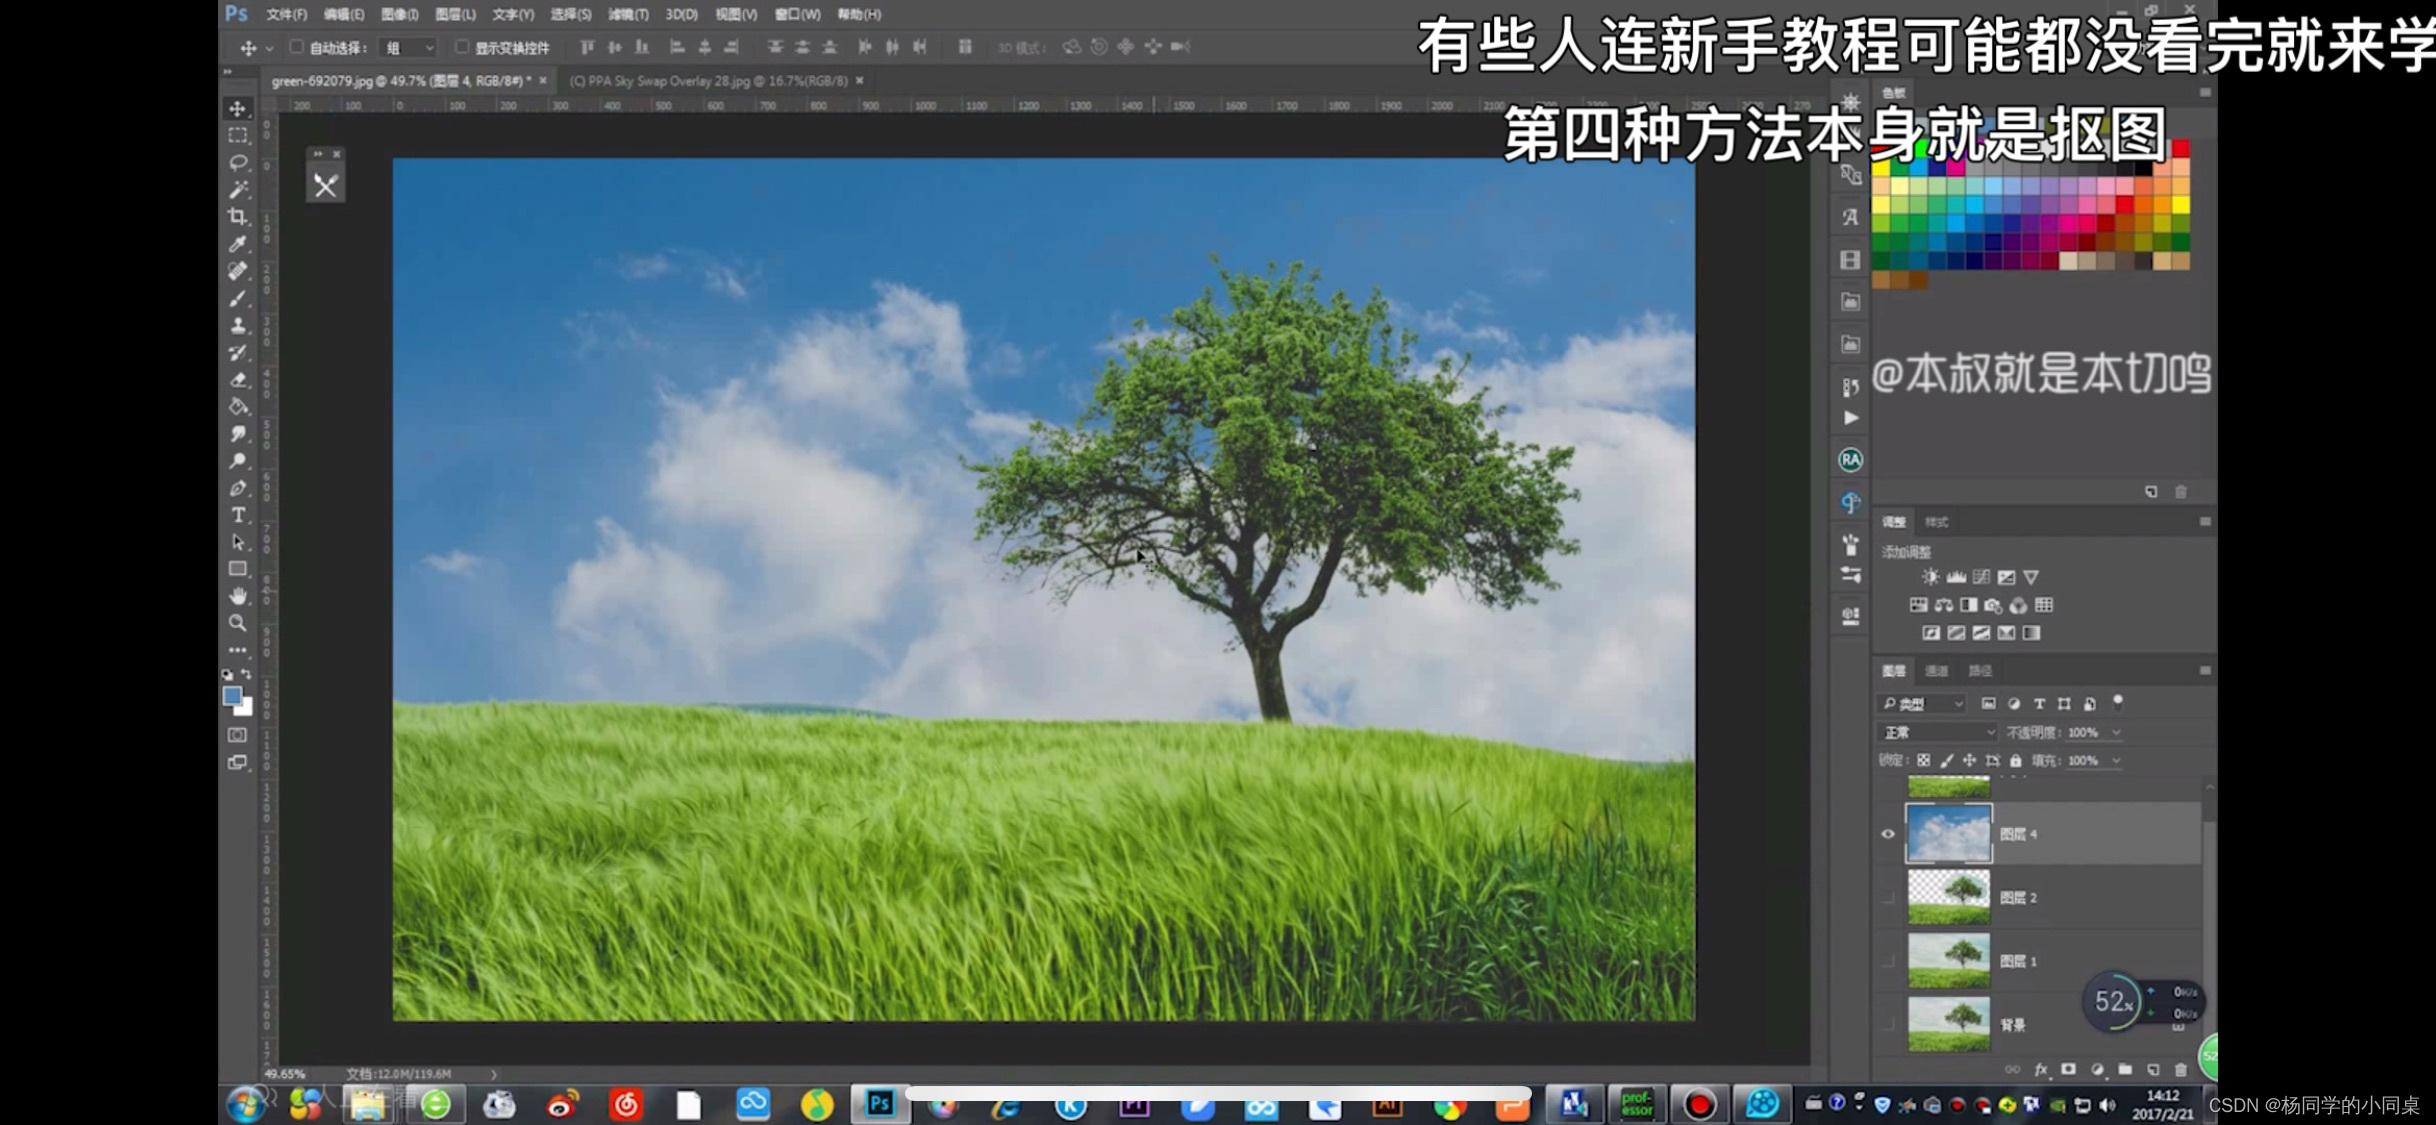
Be sure to choose the right way for the picture to change the sky. Masking is still very useful here.
Operation