Detailed plan for installing and configuring Anaconda environment based on remote server and creating python virtual environment
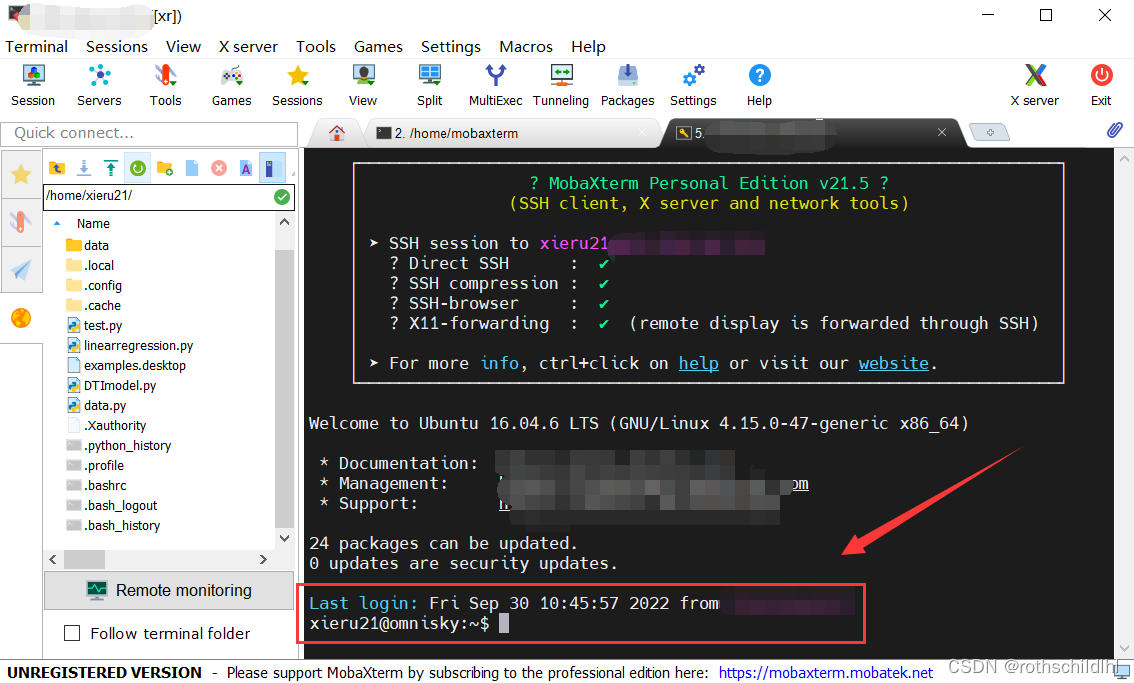
1. Open and connect to your own remote server (the blogger uses MobaXterm software, which is more convenient).
2. Check and select the Anaconda version. Click the link below to open the Tsinghua University Open Source Software Mirror Station to see the Anaconda version you need. The blogger chose the Anaconda3-5.3.1-Linux-x86_64.sh version (Note: You can not install Anaconda before Install Python, because Anaconda is a Python distribution, including Python and many common software libraries and a package manager Conda)
Tsinghua University Open Source Software Mirror Station: Click to open the link

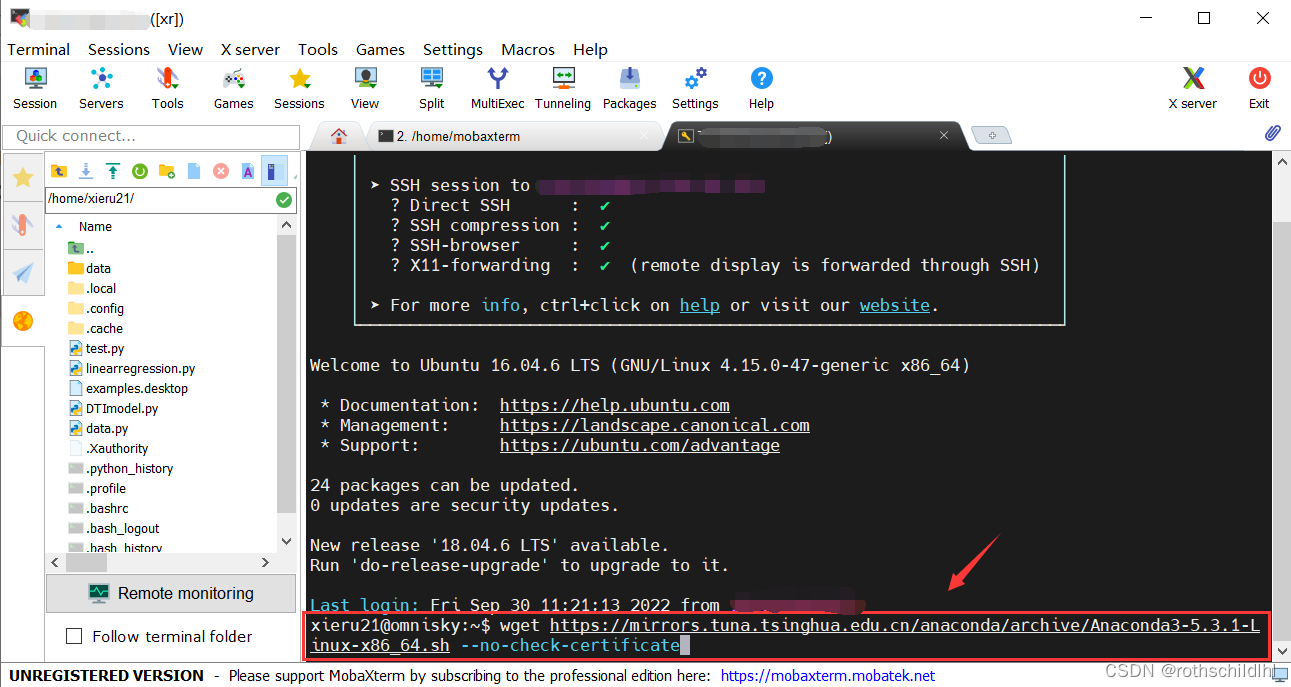
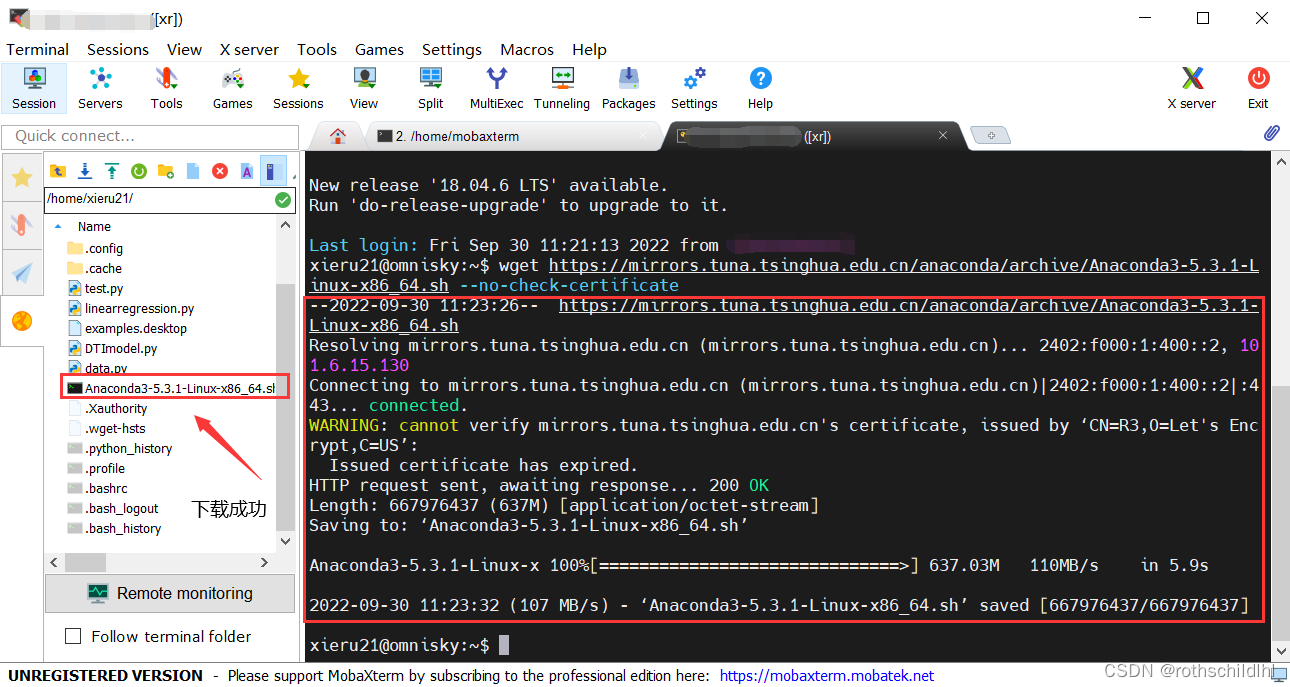
3. Download Anaconda to the remote server, copy the following command (wget + download Anaconda link + no verification settings) to run on the terminal of the remote server connected to the first step, note: the blogger chose Anaconda3-5.3.1- Linux-x86_64.sh version.
wget https://mirrors.tuna.tsinghua.edu.cn/anaconda/archive/Anaconda3-5.3.1-Linux-x86_64.sh --no-check-certificate
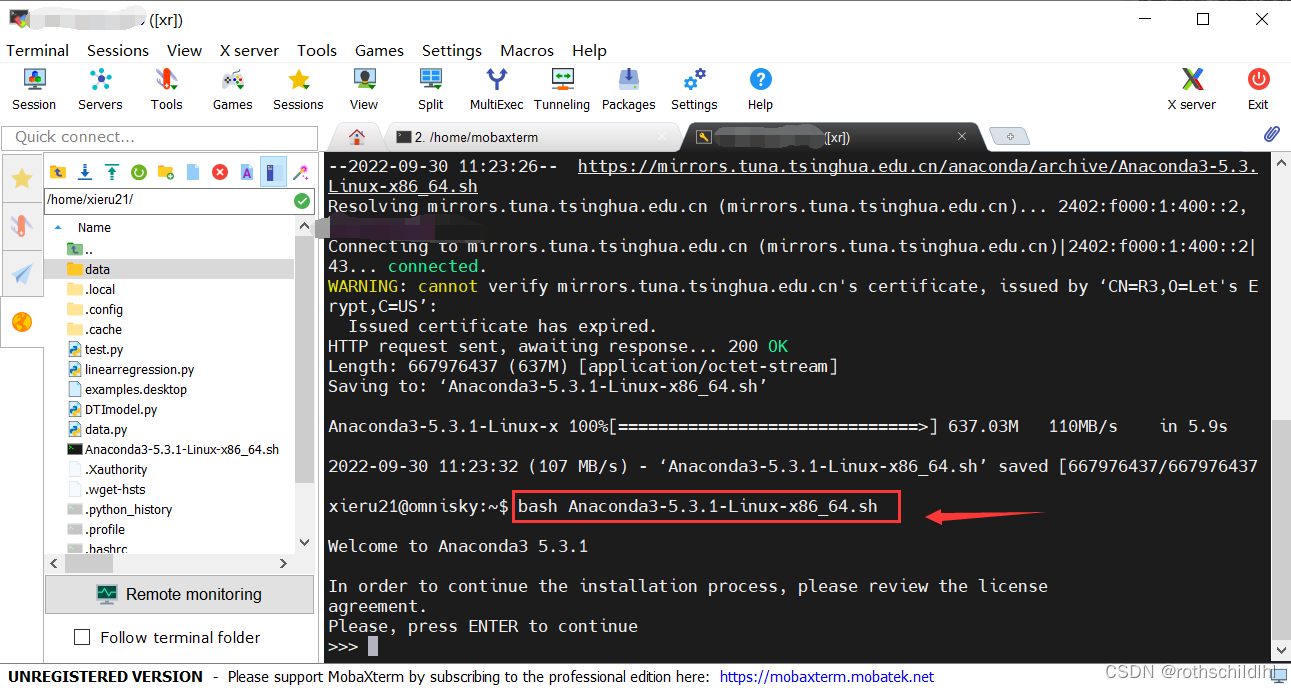
4. Install Anaconda, because the .sh file in the remote server Linux is an executable script file, you need to use the command bash to install, copy the following command and press the Enter key to the next step.
bash Anaconda3-5.3.1-Linux-x86_64.sh
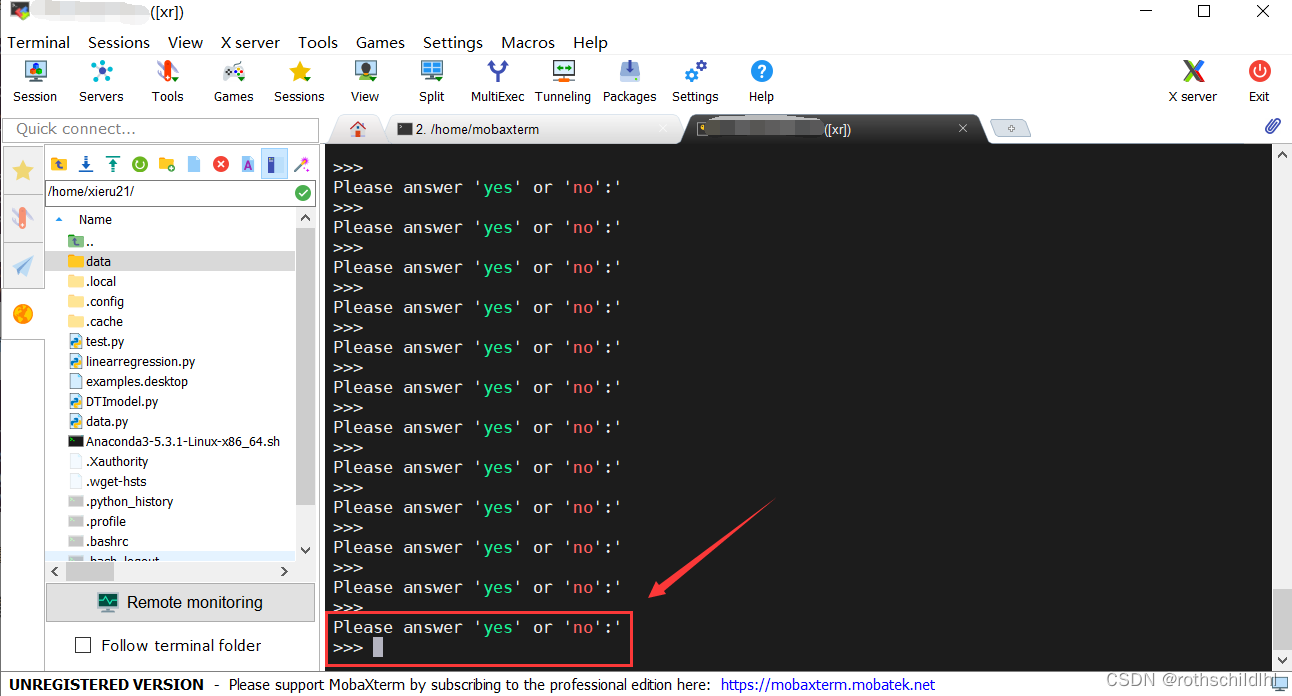
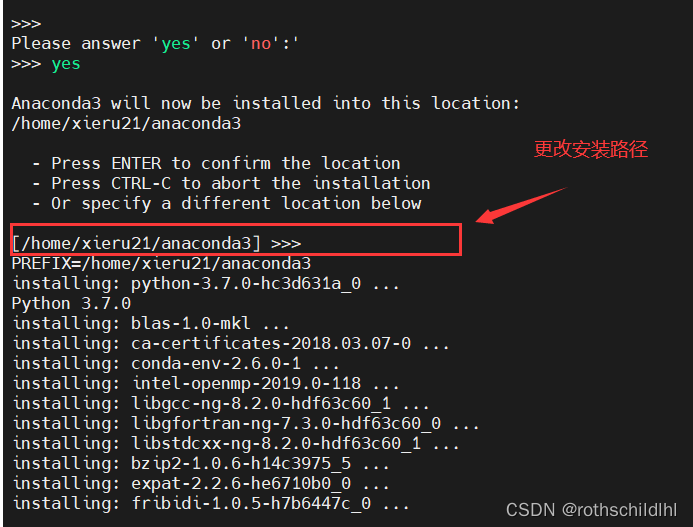
5. Enter yes to accept the Anaconda installation terms, then press the Enter key until the installation starts, and then wait for Anaconda to install. Note: You can change the Anaconda installation path in Figure 2 below. For example, if you want to change to the xieru22 subdirectory under the home folder, you can enter "/home/xieru22/anaconda3", anyway, do not install it directly in the root directory You can install it under the root, and it is recommended to install it in the home folder.
yes

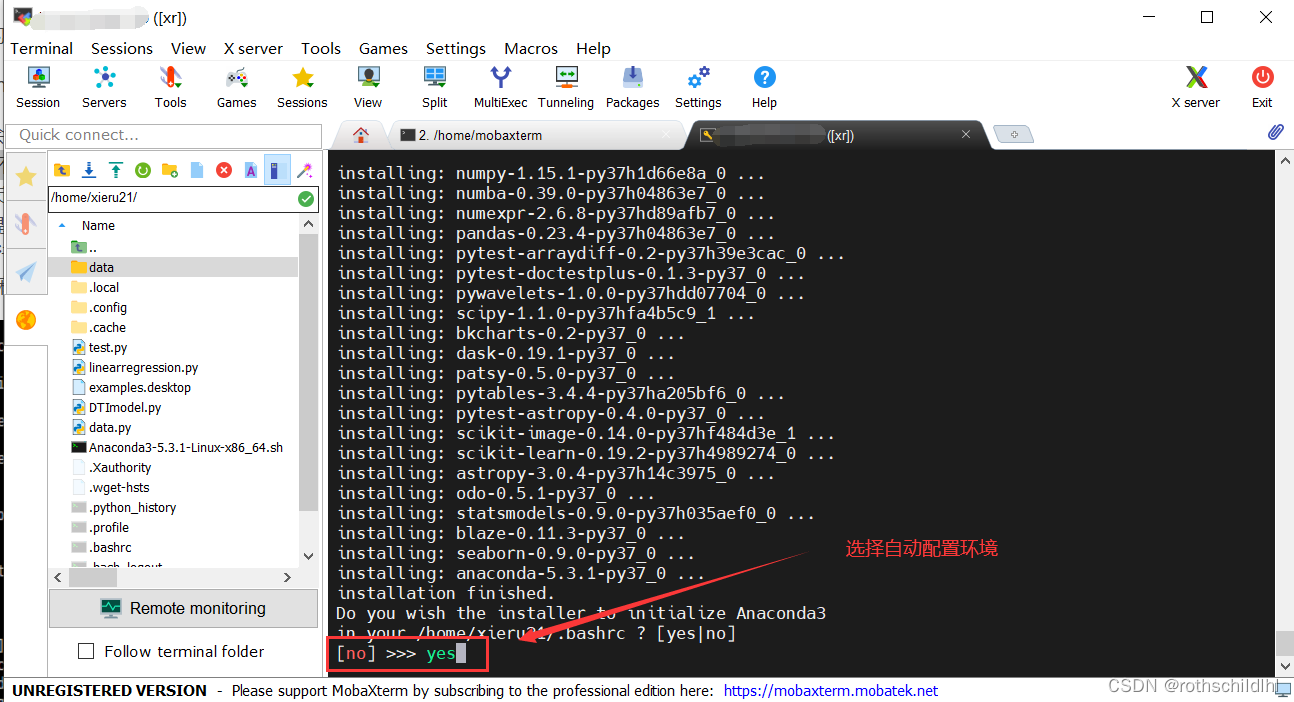
6. After the installation is complete, enter yes to choose to automatically configure the Anaconda environment.
yes
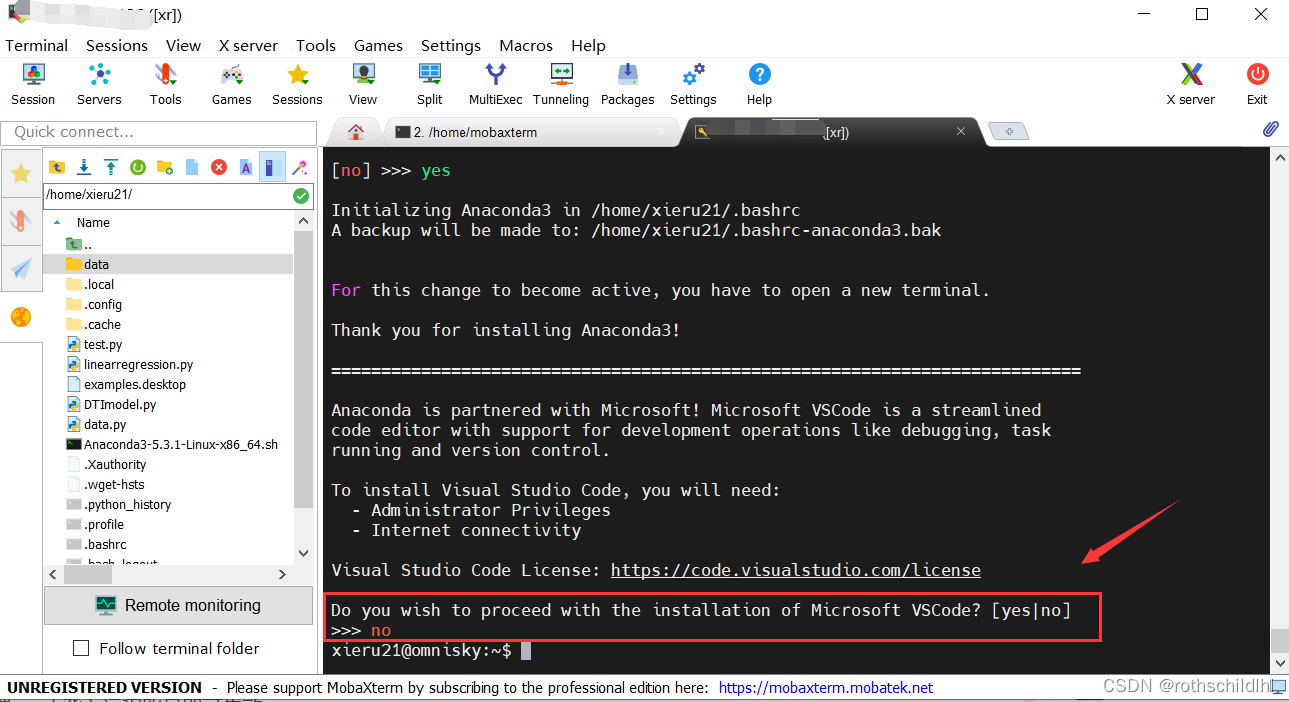
7. As for whether to install VSCode or not, it depends on the user's personal choice. The blogger did not choose to install it, so enter no.
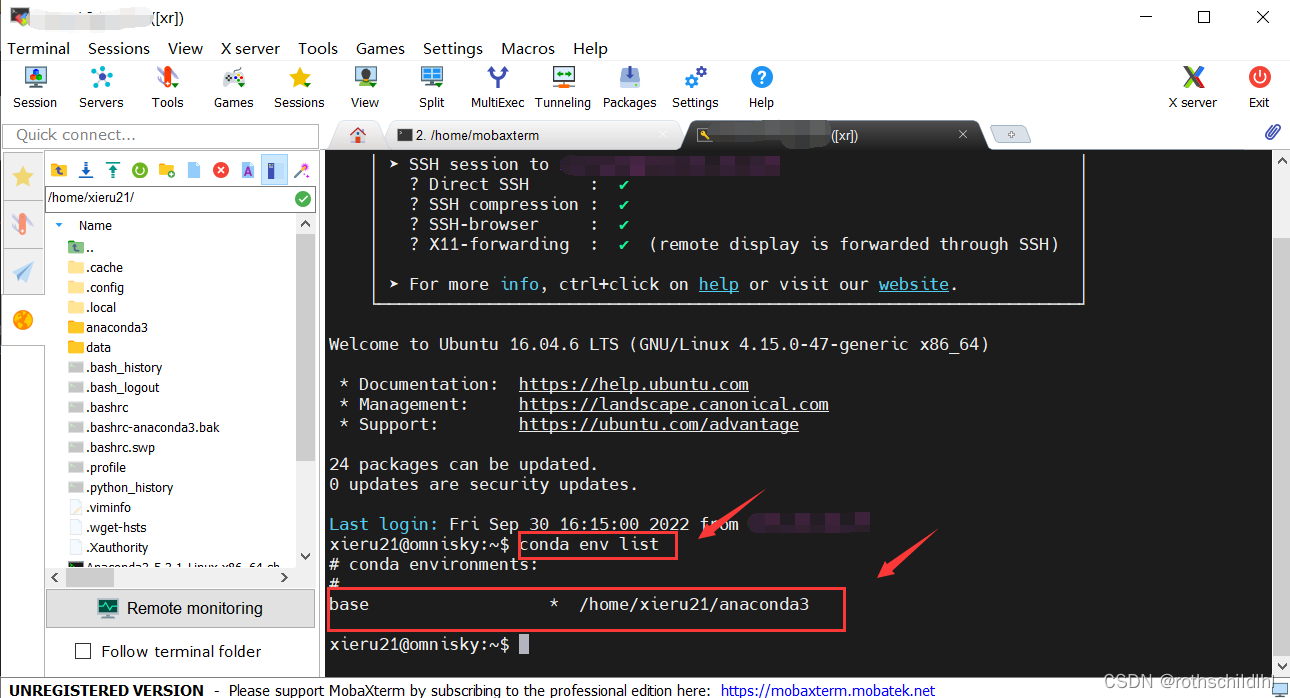
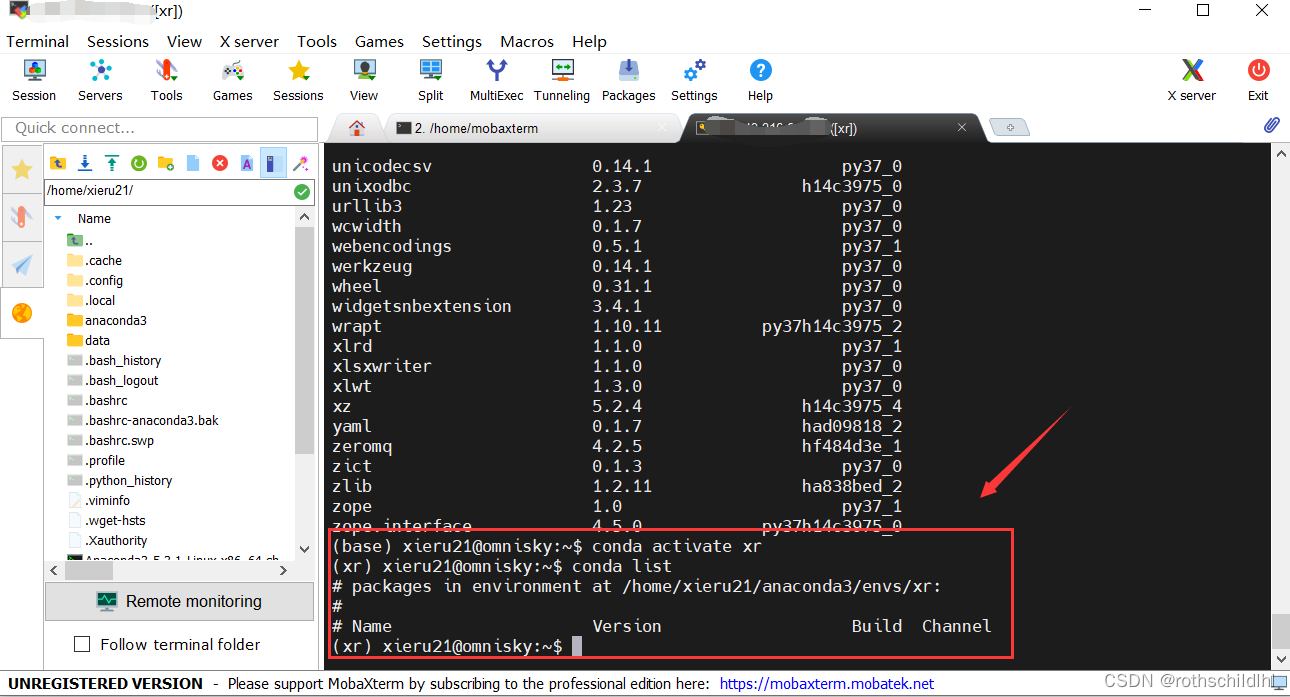
Eight, close the remote server terminal, and then reconnect to open. Enter the following command to verify whether the Anaconda environment is installed and configured successfully and check the virtual environment currently created by the installed Anaconda. If the content of the following picture appears, it means success.
conda --version
conda env list

Nine (can be skipped), the process and commands of creating a python virtual environment are the same as the following article, you can directly refer to the content of the following article for operation.
Reference article: Click to open the article "Creating a python virtual environment tutorial based on Anaconda under Windows"
10. Next, use a github project as an example to configure the environment corresponding to Requirements. First, enter the following command to query the Cuda version of the remote server, and then the Cuda version on the blogger’s remote server is 10.1.

nvidia-smi

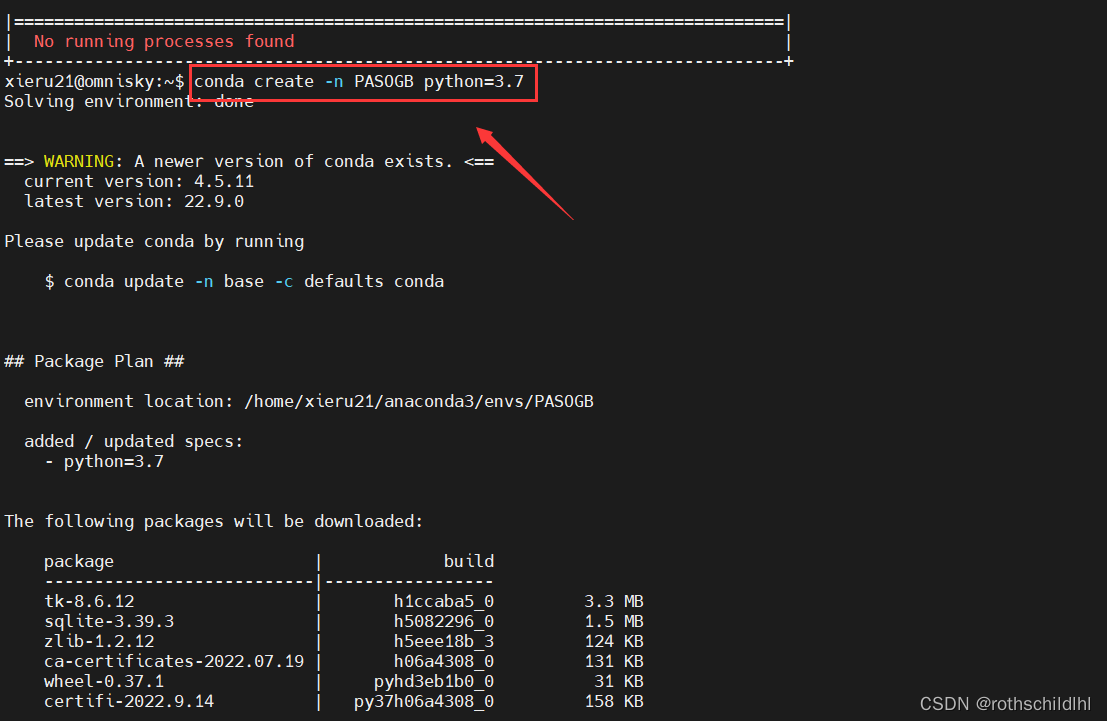
11. Enter the following commands in sequence to create a new python virtual environment. The blogger gave an example that the name of the virtual environment is PASOGB, and the python version is set to 3.7.
conda create -n PASOGB python=3.7
yes
12. Copy the following command to activate the virtual environment created in the previous step to prepare for the subsequent configuration project to run the virtual environment.
conda activate PASOGB

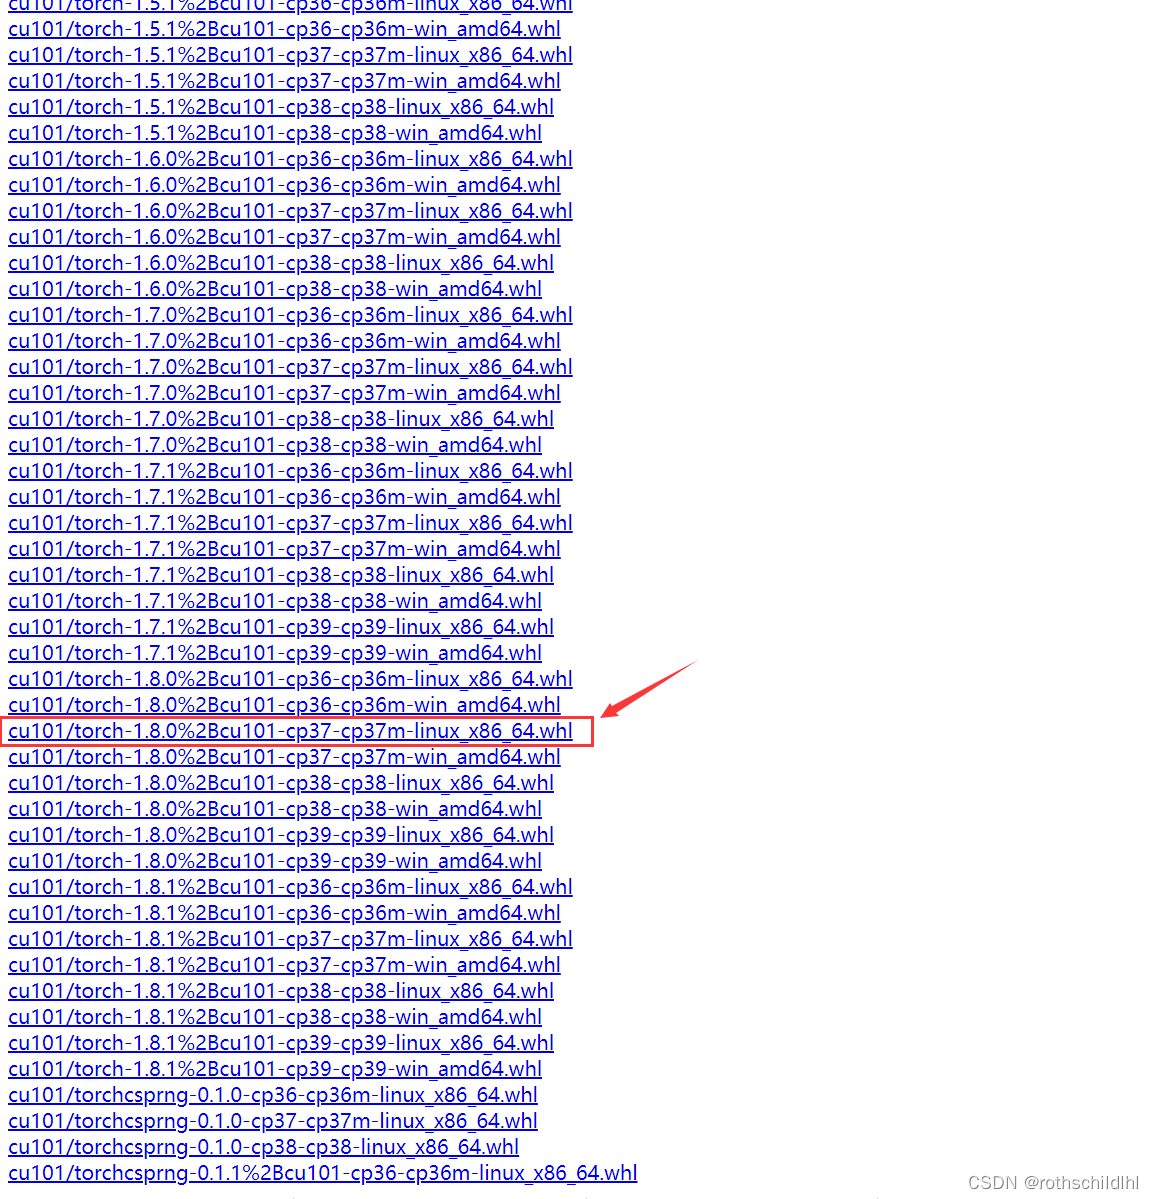
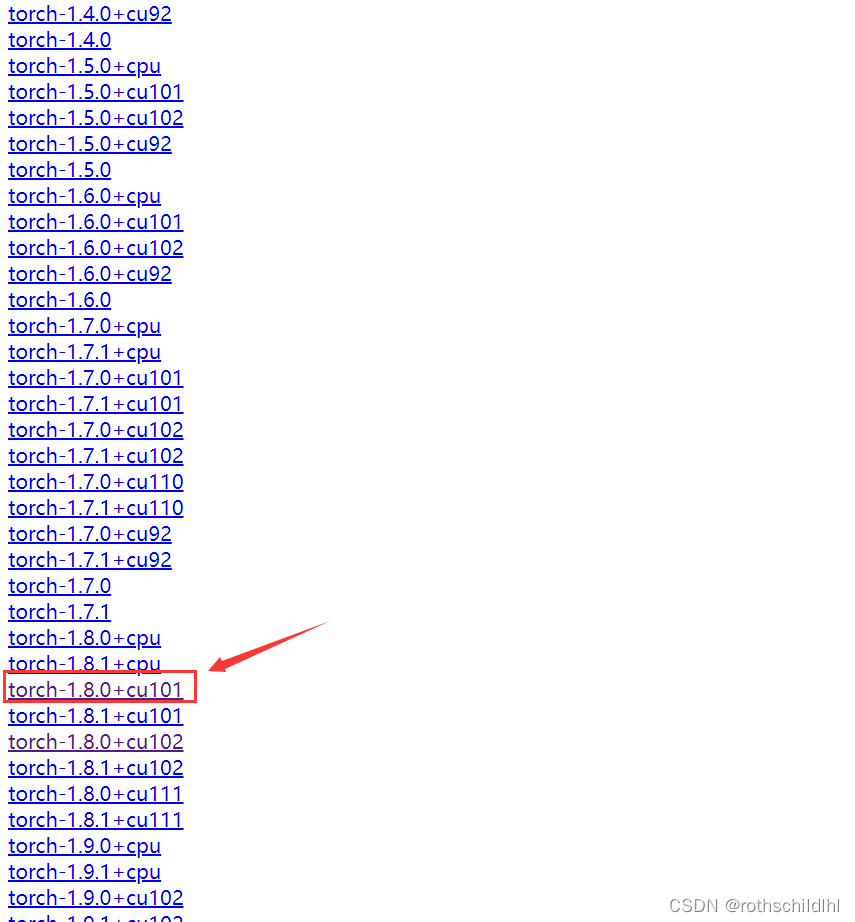
13. Open the web page and choose to download the corresponding Pytorch version. cu101 refers to the version number of Cuda. Because the blogger’s remote server is 10.1, choose 101. If your Cuda version is 10.2, you can choose 102, because the above project Requirements requires The Pytorch version is 1.8.0, so choose torch as 1.8.0, and then choose cp37m because the python version of the virtual environment is 3.7. Download to the local and then upload to the remote server.
Pytorch each version download page: click to open the link
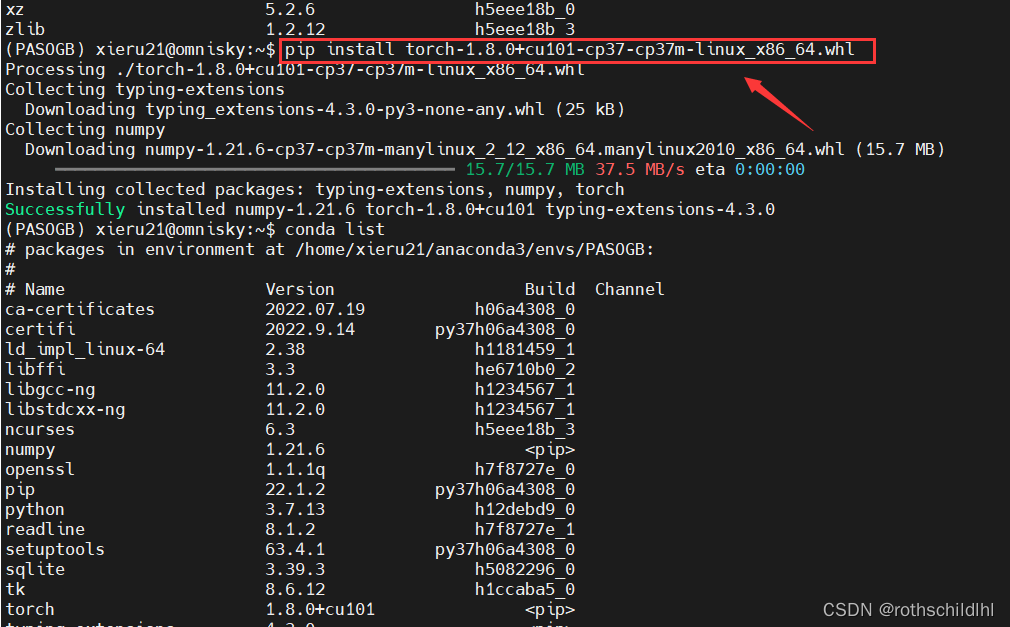
14. Copy the following command to install Pytorch in the previous virtual environment according to the project requirements.
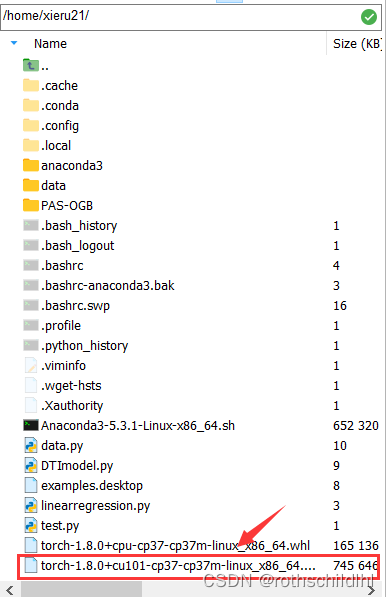
pip install torch-1.8.0+cu101-cp37-cp37m-linux_x86_64.whl
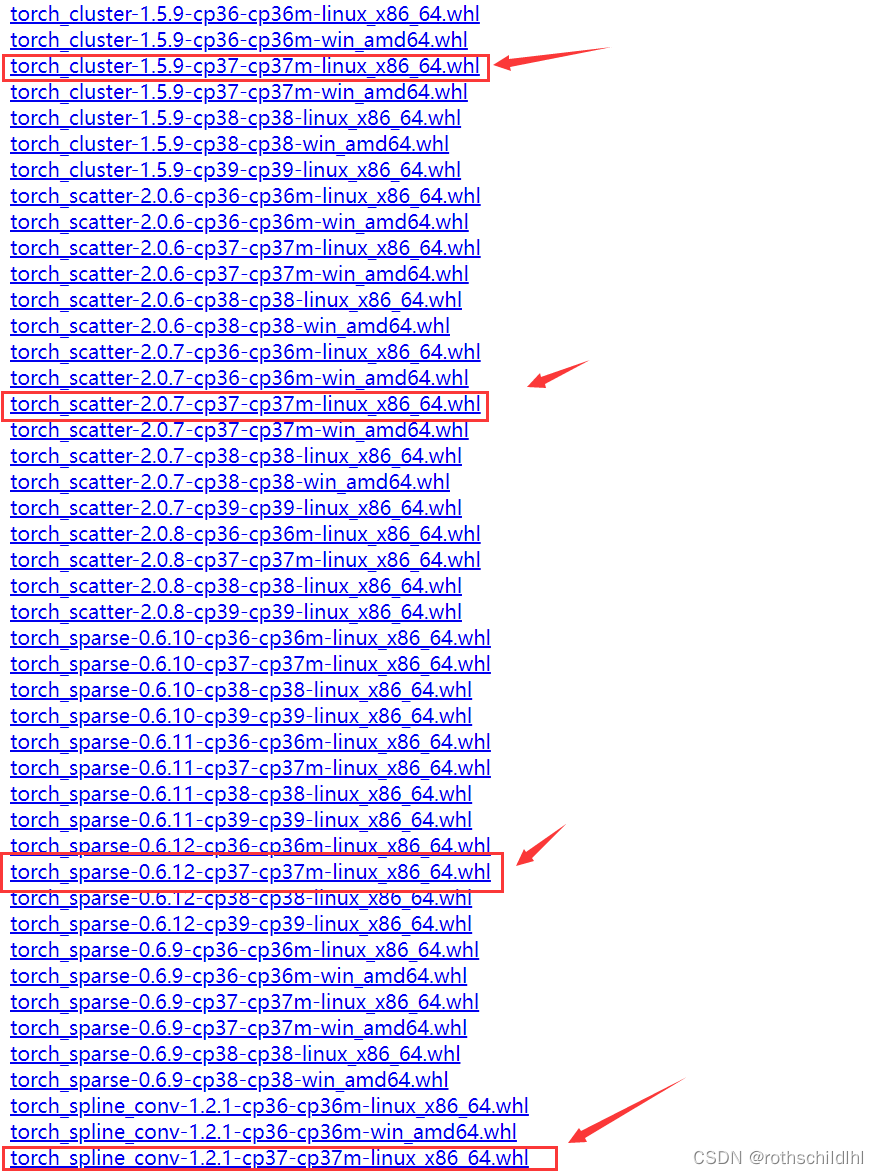
15. Install pytorch-geometric, click to open the link below, and then find and click the pytorch-geometric corresponding to the virtual environment, because the pytorch version of the virtual environment is 1.8.0, and the Cuda version is 10.1, so select the content in the picture below.
Download page of each version of pytorch-geometric: Click to open the link
16. Then download the four files in the red box in the picture below to the local, and then upload them to your remote server.

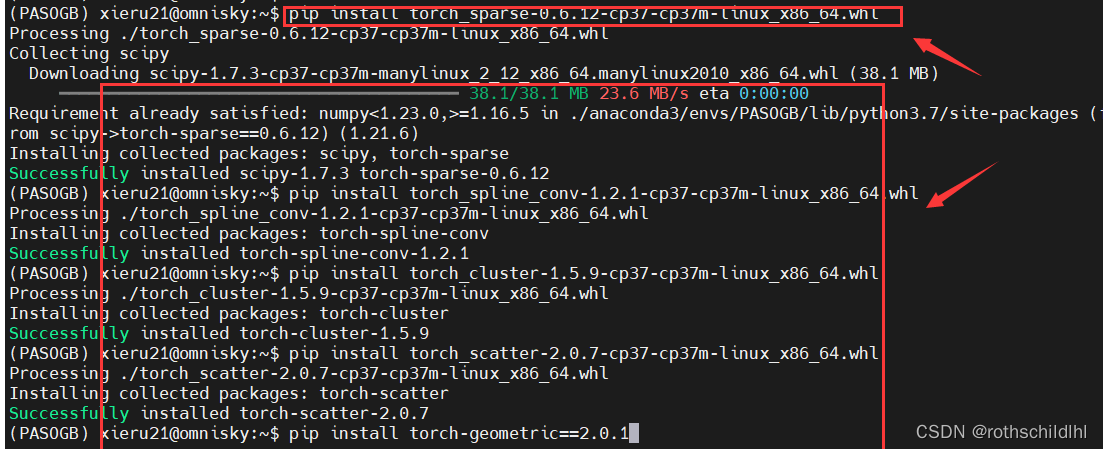
17. Copy the following command to install pytorch-geometric, because torch-geometric==2.0.1 is required by the project Requirements, so the version of pytorch-geometric is set in the command. Note: It will take some time to download and install, please wait patiently. You can also change the installation method, refer to the fifth part of this article .
pip install torch_sparse-0.6.12-cp37-cp37m-linux_x86_64.whl
pip install torch_spline_conv-1.2.1-cp37-cp37m-linux_x86_64.whl
pip install torch_cluster-1.5.9-cp37-cp37m-linux_x86_64.whl
pip install torch_scatter-2.0.7-cp37-cp37m-linux_x86_64.whl
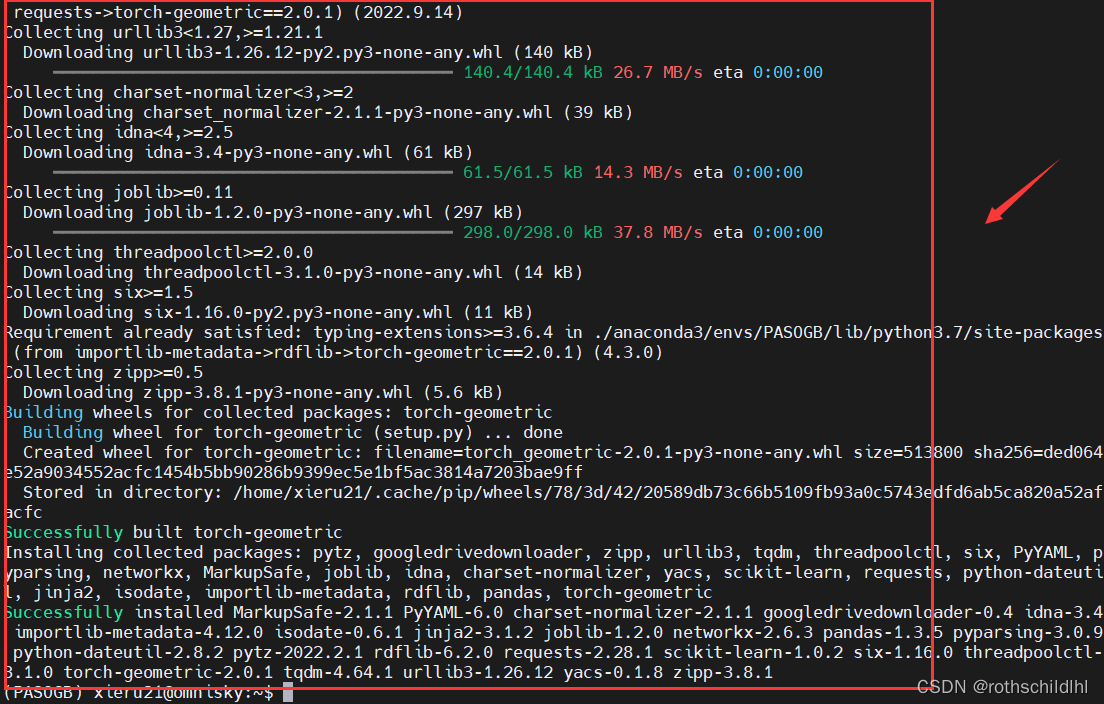
pip install torch-geometric==2.0.1
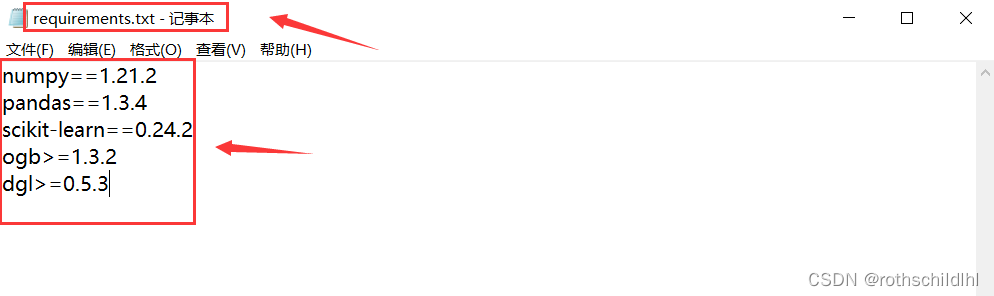
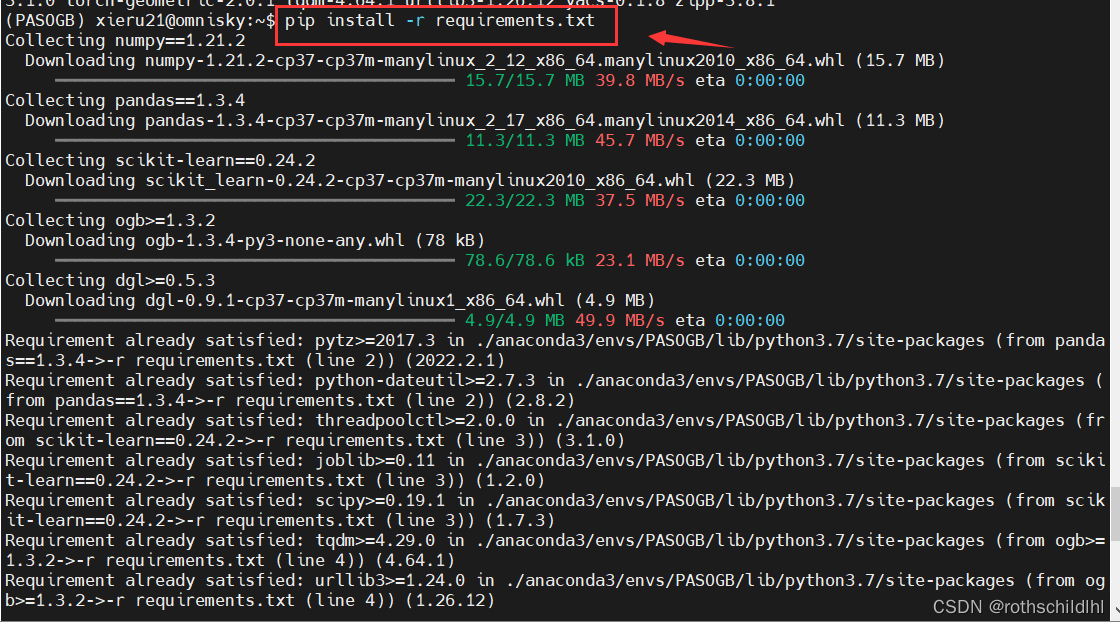
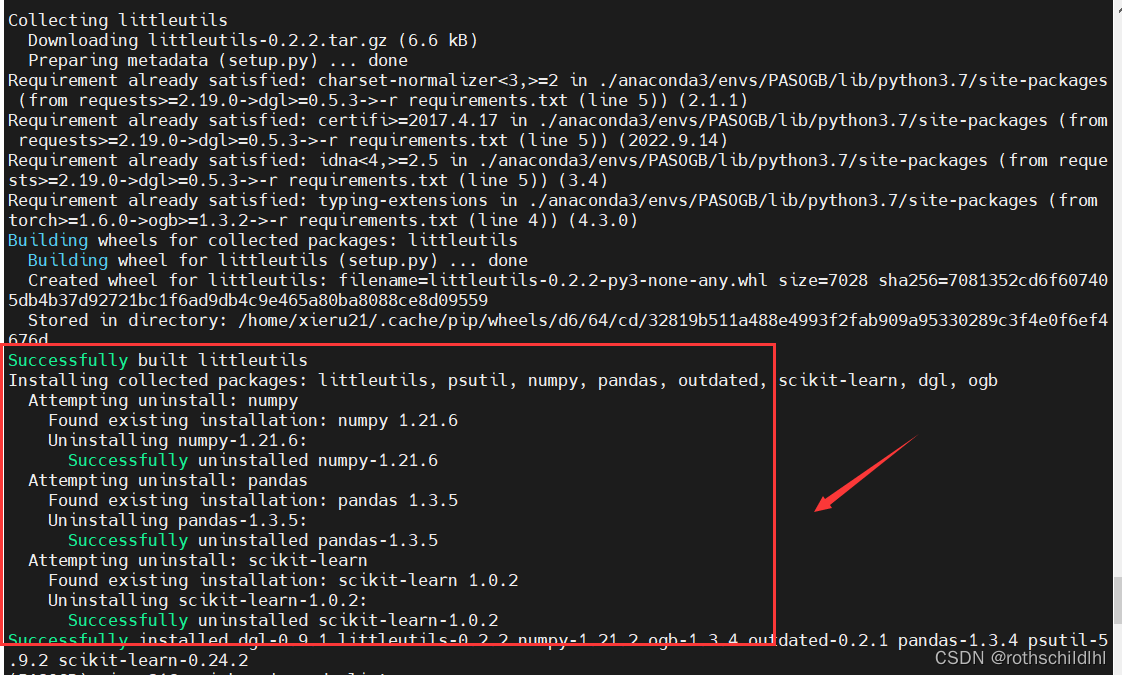
18. For the remaining requirements of the project Requirements, you can create a new requirements.txt text file locally, then copy the remaining requirements into the text, and then upload it to the remote server. Then copy the following command and run it in the virtual environment to install the corresponding library.
pip install -r requirements.txt