Table of contents
- LAMP overview and introduction
- Compile and install Apache http service
-
- 1. Turn off the firewall and transfer the software package required to install Apache to the /opt/apache directory
- 2. Install the software package required by http in the opt/apache directory
- 3. Unzip the following files
- 4. Move the decompressed two files to the corresponding directory
- 5. Install environment dependent packages
- 6. Configure software modules
- 7. Compile and install
- 8. Optimize configuration file path
- 9. Add httpd system service
- 10. Modify the httpd service configuration file
- 11. Browser access verification
- Compile and install Mysql service
-
- 1. Install the required software package for mysql in the opt/mysql directory
- 2. Install environment dependent packages
- 3. Configure software modules
- 4. Compile and install
- 5. Create mysql user
- 6. Modify the mysql configuration file
- 7. Change the owner and group of the mysql installation directory and configuration files
- 8. Set the path environment variable
- 9. Initialize the database
- 10. Add mysqld system service
- 11. Modify the login password of mysql
- Compile and install PHP parsing environment
-
- 1. Transfer the software package required to install PHP to the /opt/php directory
- 2. Install the GD library and GD library associated programs to process and generate pictures
- 3. Configure software modules
- 4. Compile and install
- 5. Copy the template file as the main configuration file of PHP and modify it
- 6. Optimize the PHP executable program file into the path environment variable directory for system identification
- 7. Modify the configuration file of the httpd service to allow apache to support PHP
- 8. Verify the PHP test page
- install forum
LAMP overview and introduction
The LAMP architecture is one of the mature enterprise website application modes at present. It refers to a complete set of systems and related software that work together to provide dynamic Web site services and an application development environment. LAMP is an acronym, specifically including Linux operating system, Apache web server, MySQL database server, PHP (or Perl, Python) web programming language.
Linux centos
Apache == "Static page == "Static request
Mysql == "database == "data storage/reading
PHP == "Dynamic page == "Dynamic request (HTTP protocol to request)
The main functions of each component are as follows:
(Platform) Linux : As the basis of the LAMP architecture, it provides an operating system for supporting Web sites, and can provide better stability and compatibility with the other three components (AMP components also support Windows, UNIX and other platforms).
(Foreground) Apache : As the front end of the LAMP architecture, it is a powerful and stable web server program. The server directly provides users with website access and sends web pages, pictures and other file content.
(Background) MySQL : As the backend of the LAMP architecture, it is a popular open source relational database system. In applications such as corporate websites and business systems, various account information, product information, customer information, business data, etc. can be stored in the MySQL database, and other programs can query and change these information through SQL statements.
(Intermediate connection) PHP/Perl/Python : As three programming languages for developing dynamic web pages, it is responsible for interpreting dynamic web page files, communicating with web servers and database systems to work together, and providing a development and operating environment for web applications. Among them, PHP is a widely used open source multi-purpose scripting language, which can be embedded in HTML, and is especially suitable for Web application development.
When building the LAMP platform, the installation order of each component is Linux, Apache, MySQL, and PHP. There is no strict order for the installation of Apache and MySQL. The installation of the PHP environment is generally placed last, and is responsible for communicating with the Web server and the database system to work together.
Compile and install Apache http service
1. Turn off the firewall and transfer the software package required to install Apache to the /opt/apache directory
systemctl stop firewalld
systemctl disable firewalld
setenforce 0
2. Install the software package required by http in the opt/apache directory

3. Unzip the following files

4. Move the decompressed two files to the corresponding directory
mv apr-1.6.2 /opt/apache/httpd-2.4.29/srclib/apr
mv apr-util-1.6.0 /opt/apache/httpd-2.4.29/srclib/apr-util

5. Install environment dependent packages
yum -y install
gcc \ #C language compiler
gcc-c++ \ #C++ compiler
make \ #Source code compiler (source code converted into binary files)
pcre \ #pcre is a Perl function library, including perl compatible Regular expression library
pcre-devel \ #perl interface development kit
expat-devel \ #used to support websites to parse HTML and XML files
perl #perl language compiler
yum -y install gcc gcc-c++ make pcre pcre-devel expat-devel perl

6. Configure software modules
cd /opt/apache/httpd-2.4.29/
./configure
–prefix=/usr/local/httpd \ #Specify the installation path of the httpd service program
–enable-so \ #Enable dynamic loading module support, so that httpd has further Ability to extend functions
–enable-rewrite \ #Enable web page address rewriting function for website optimization, anti-hotlinking and directory migration maintenance
–enable-charset-lite \ #Start character set support to support the use of various character set encodings Page
–enable-cgi #Enable CGI (Common Gateway Interface) script program support, which facilitates the external extension application access ability of the website
./configure --prefix=/usr/local/httpd --enable-so --enable-rewrite --enable-charset-lite --enable-cgi

7. Compile and install
make -j 2 && make install #make -j 2 means to open 2 cores and compile at the same time

8. Optimize configuration file path
Put the executable program file of the httpd service into the directory of the path environment variable for system identification
ln -s /usr/local/httpd/conf/httpd.conf /etc/
ln -s /usr/local/httpd/bin/* /usr/local/bin/
9. Add httpd system service
method one:
cp /usr/local/httpd/bin/apachectl /etc/init.d/httpd #for service service management
chmod +x /etc/init.d/httpd
vi /etc/init.d/httpd
#!/bin/ bash #Insert a new line before the first line, add these three lines
#chkconfig: 35 85 21 #35 level automatically runs the 85th start and the 21st close
#description: Apache is a World Wide Web server
chkconfig --add httpd #Add the httpd service to the service manager
systemctl start httpd.service
or
service httpd start
Method Two:
vim /lib/systemd/system/httpd.service
[Unit] #Service description
Description=The Apache HTTP Server #Description service
After=network.target #Dependence, when the dependent service is started, then start the custom service
[Service] #Service running parameter setting
Type=forking #Background running mode
PIDFile=/usr/local/httpd/logs/httpd.pid #PID file location
ExecStart=/usr/local/bin/apachectl $OPTIONS #Service running command
ExecReload= /bin/kill -HUP $MAINPID #Based on PID overload configuration
[Install] #Service installation related settings
WantedBy=multi-user.target #Set to multi-user
systemctl start httpd.service
systemctl enable httpd.service

10. Modify the httpd service configuration file
vim /etc/httpd.conf
– Line 52 – Modify
Listen 192.198.154.10:80
– Line 197 – Uncomment, modify
ServerName www.test.com:80 –
Line 221 – Default home page storage path
DocumentRoot “/usr/local/httpd /htdocs”
– line 255 – default home page file name setting
DirectoryIndex index.html
vim /etc/hosts #Configure dns domain name resolution

httpd -t or apachectl -t #Check if the configuration items in the configuration file are correct
cat /usr/local/httpd/htdocs/index.html
systemctl restart httpd.service


11. Browser access verification
netstat -anpt | grep 80
echo “192.168.154.10 www.test.com” >> /etc/hosts
http://192.168.154.10
http://www.test.com


Compile and install Mysql service
1. Install the required software package for mysql in the opt/mysql directory

2. Install environment dependent packages
yum -y install
gcc
gcc-c++
ncurses \ #Dynamic library
ncurses-devel \ #ncurses development package
bison \ #grammatical analyzer
cmake #mysql needs to be compiled and installed with cmake
yum -y install gcc gcc-c++ ncurses ncurses-devel bison cmake
3. Configure software modules
cd /opt/mysql
mv boost_1_59_0 /usr/local/boost
cmake
-DCMAKE_INSTALL_PREFIX=/usr/local/mysql \ #Specify the installation path of mysql
-DMYSQL_UNIX_ADDR=/usr/local/mysql/mysql.sock \ #Specify the storage path of the mysql process listening socket file (database connection file)
-DSYSCONFDIR =/etc \ #Specify the storage path of the configuration file
-DSYSTEMD_PID_DIR=/usr/local/mysql \ #Specify the storage path of the process file
-DDEFAULT_CHARSET=utf8 \ #Specify the character set encoding used by default, such as utf8
-DDEFAULT_COLLATION=utf8_general_ci \ # Specify the character set collation rules used by default
-DWITH_EXTRA_CHARSETS=all \ #Specify support for other character set encodings
-DWITH_INNOBASE_STORAGE_ENGINE=1 \ #Install INNOBASE storage engine
-DWITH_ARCHIVE_STORAGE_ENGINE=1 \ #Install ARCHIVE storage engine
-DWITH_BLACKHOLE_STORAGE_ENGINE=1 \ #Install BLACKHOLE storage engine
-DWITH_PERFSCHEMA_STORAGE_ENGINE=1 \ #Install FEDERATED storage engine
-DMYSQL_DATADIR=/usr/local/mysql/data \ #Specify the storage path of the database file
-DWITH_BOOST=/usr/local/boost \ #Specify the path of boost, if you use the mysql-boost integration package to install -DWITH_BOOST=boost
-DWITH_SYSTEMD=1 #Generate a file for systemctl management
4. Compile and install
make -j 2 && make install
#After the compilation is completed, there is a mysql folder in the /usr/local directory

5. Create mysql user
useradd -M -s /sbin/nologin mysql
6. Modify the mysql configuration file
vim /etc/my.cnf #Delete the original configuration item, and then re-add the following content
[client] #Client setting
port = 3306
socket = /usr/local/mysql/mysql.sock
[mysql] #Server setting
port = 3306
socket = /usr/local/mysql/mysql.sock
auto-rehash #Enable auto-completion function
[mysqld] #Service global setting
user = mysql #Set management user
basedir=/usr/local/mysql #Specify the installation directory
datadir of the database =/usr/local/mysql/data #Specify the storage path of the database file
port = 3306 #Specify the port
character-set-server=utf8 #Set the server character set encoding format to utf8
pid-file = /usr/local/mysql/mysqld .pid #Specify the pid process file path
socket=/usr/local/mysql/mysql.sock #Specify the database connection file
bind-address = 0.0.0.0 #Set the listening address, 0.0.0.0 means to allow all, if multiple IPs are allowed Separated by spaces
skip-name-resolve #Domain name resolution is prohibited, including the host name, so the IP address should be used when authorizing
max_connections=4096 #Set the maximum number of mysql connections
default-storage-engine=INNODB #Specify the default storage engine
max_allowed_packet=32M #Set the maximum value of a message transmission in network transmission. The default value of the system is 1MB, the maximum value is 1GB, and the multiple of 1024 must be set.
server-id = 1 #Specify service ID number
sql_mode=NO_ENGINE_SUBSTITUTION,STRICT_TRANS_TABLES,NO_AUTO_CREATE_USER,NO_AUTO_VALUE_ON_ZERO,NO_ZERO_IN_DATE,NO_ZERO_DATE,ERROR_FOR_DIVISION_BY_ZERO,PIPES_AS_CONCAT,ANSI_QUOTES
Common values for sql_mode are as follows:
NO_ENGINE_SUBSTITUTION
#If the required storage engine is disabled or not compiled, an error will be thrown. When this value is not set, the default storage engine is used instead, and an exception is thrown
STRICT_TRANS_TABLES
In this mode, if a value cannot be inserted into a transaction table, the current operation is interrupted, and no restrictions are imposed on non-transaction tables
NO_AUTO_CREATE_USER
prohibits GRANT creates a user whose password is empty
NO_AUTO_VALUE_ON_ZERO
The self-increasing column in mysql can start from 0. By default, the self-growth column starts from 1. If you insert data with a value of 0, an error will be reported.
NO_ZERO_IN_DATE
does not allow the date and month to be zero.
NO_ZERO_DATE
The mysql database does not allow inserting a zero date. Inserting a zero date will throw an error instead of warning
ERROR_FOR_DIVISION_BY_ZERO
During an INSERT or UPDATE, if data is divided by zero, an error is generated instead of a warning. By default, MySQL returns NULL when the data is divided by zero.
PIPES_AS_CONCAT
treats "||" as a string connection operator instead of an OR operator, which is the same as the Oracle database, and is also similar to the string concatenation function Concat
ANSI_QUOTES
With ANSI_QUOTES enabled, strings cannot be quoted with double quotes because it is interpreted as an identifier

7. Change the owner and group of the mysql installation directory and configuration files
chown -R mysql:mysql /usr/local/mysql/
chown mysql:mysql /etc/my.cnf

8. Set the path environment variable
echo ‘export PATH=/usr/local/mysql/bin:/usr/local/mysql/lib:$PATH’ >> /etc/profile
source /etc/profile

9. Initialize the database
cd /usr/local/mysql/bin/
./mysqld
–initialize-insecure \ #Generate the initialization password is empty
–user=mysql \ #Specify the management user
–basedir=/usr/local/mysql \ #Specify the installation directory of the database
– datadir=/usr/local/mysql/data #Specify the storage path of the database file

10. Add mysqld system service
cp /usr/local/mysql/usr/lib/systemd/system/mysqld.service /usr/lib/systemd/system/ #for systemctl service management
systemctl daemon-reload #refresh identification
systemctl start mysqld.service #start service
systemctl enable mysqld #Boot self-start
netstat -anpt | grep 3306 #View port

11. Modify the login password of mysql
mysqladmin -u root password "123" #Set the password for the root account to 123, and the original password is empty
mysql -uroot -p123
grant all privileges on . to 'root'@'%' identified by '123';
#Grant root users can Log in remotely from all terminals, use a password of 123, and have permission to operate on all databases and tables
show databases; #View the current existing databases

Compile and install PHP parsing environment
1. Transfer the software package required to install PHP to the /opt/php directory

2. Install the GD library and GD library associated programs to process and generate pictures
yum -y install
gd
libjpeg libjpeg-devel
libpng libpng-devel
freetype freetype-devel
libxml2 libxml2-devel
zlib zlib-devel
curl curl-devel
openssl openssl-devel

3. Configure software modules
cd /opt/php/php-7.1.10/
./configure
–prefix=/usr/local/php7 \ #Specify the installation path of the PHP program
–with-apxs2=/usr/local/httpd/bin/apxs \ # Specify the file location of the apxs module support program provided by the Apache httpd service
–with-mysql-sock=/usr/local/mysql/mysql.sock \ #Specify the storage path of the mysql database connection file
–with-config-file-path=/ usr/local/php7 #Set the location where the PHP configuration file php.ini will be stored
–with-mysqli \ #Add MySQL extension support #mysqli extension technology can not only call MySQL stored procedures, handle MySQL transactions, but also enable access to databases Work becomes more stable
–with-zlib \ #Support zlib function, provide data compression
–with-curl \ #Open curl extension function, realize HTTP Get download and Post request method
–with-gd \ #Activate the support of gd library
–with-jpeg-dir \ #Activate jpeg support
–with-png-dir \ #Activate png support
–with-freetype-dir
–with-openssl
–enable-mbstring \ #Enable multi-byte string function for support Chinese and other codes
–enable-xml \ #Open the extensible markup language module
–enable-session \ #Session
–enable-ftp \ #Text transfer protocol
–enable-pdo \ #Function library
–enable-tokenizer \ #Token interpreter
–enable-zip #ZIP compression format

4. Compile and install
make -j2 && make install

5. Copy the template file as the main configuration file of PHP and modify it
/usr/local/php7/bin/php --ini
cp php.ini-production /usr/local/php7/php.ini
#Use the php.ini-development file in the test environment, and use php in the production environment. ini-production file
vim /usr/local/php7/php.ini
– line 1170 – modify
mysqli.default_socket = /usr/local/mysql/mysql.sock –
line 939 – uncomment, modify
date.timezone = Asia/Shanghai


6. Optimize the PHP executable program file into the path environment variable directory for system identification
ln -s /usr/local/php7/bin/* /usr/local/bin/
php -m #Check which modules are loaded by PHP

7. Modify the configuration file of the httpd service to allow apache to support PHP
vim /etc/httpd.conf
– line 393 – insert the following content
AddType application/x-httpd-php .php
AddType application/x-httpd-php-source .phps –
line 255 – modify the homepage file name and set
DirectoryIndex index.html index .php


8. Verify the PHP test page
mv /usr/local/httpd/htdocs/index.html
<?php phpinfo(); ?>
vim /usr/local/httpd/htdocs/index.php
systemctl restart httpd.service


install forum
1. Log in to the database and authorize
mysql -uroot -p123
CREATE DATABASE bbs;
#Create a database
GRANT all ON bbs.* TO 'bbsuser'@'%' IDENTIFIED BY 'admin123';
#Grant the authority of all tables in the bbs database to bbsuser, and set the password admin123
flush privileges;
#refresh database
show databases;


2. Decompress the forum compressed package
unzip /opt/Discuz_X3.4_SC_UTF8.zip -d /opt/dis
cd /opt/dir_SC_UTF8/
cp -r upload/ /usr/local/httpd/htdocs/bbs #Upload site update package

3. Change the owner of the forum directory
ps aux #View and find that the user name of the forum process is daemon
cd /usr/local/httpd/htdocs/bbs
chown -R daemon config/ data/ uc_*

4. Browser access verification
Visit the forum page
http://192.168.80.10/bbs

and then change the owner directory of the forum, otherwise it cannot be written
cd /usr/local/httpd/htdocs/bbs
chown -R daemon config/ data/ uc_*
is step 3

Database server: localhost # Use localhost for local setup, if not on this machine, you must fill in the IP address and port number
Database name: bbs
database user name: bbsuser
Database password: admin123
Administrator account: admin
Administrator password: admin123


Forum background administrator page
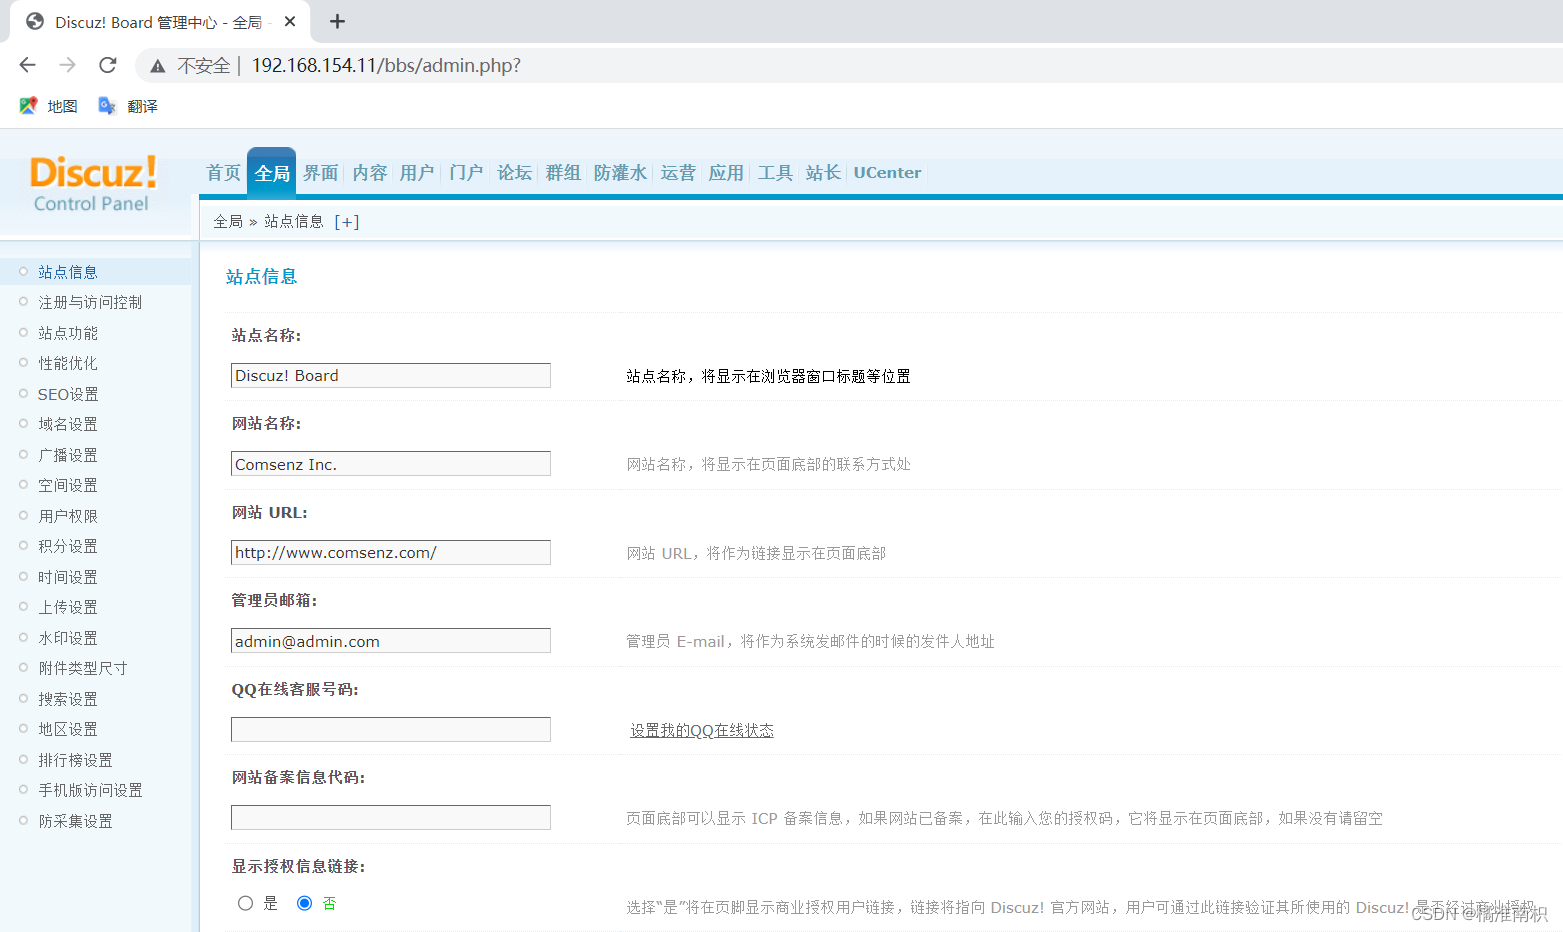
http://192.168.154.11/bbs/admin.phpAdministrator
account: adminAdministrator
password: admin123