Docker builds zabbix service
Introduction to zabbix
Zabbix (pronounced zæbix) is an enterprise-level open source solution that provides distributed system monitoring and network monitoring functions based on the WEB interface.
Zabbix can monitor various network parameters to ensure the safe operation of the server system; and provide a flexible notification mechanism to allow system administrators to quickly locate/solve various problems.
As an enterprise-level distributed monitoring system, Zabbix has many advantages, such as: distributed monitoring, support node and proxy distributed mode; automatic registration, according to the rules, automatically register the host to the monitoring platform, automatically add monitoring templates; support agentd, snmp, There are many communication methods such as ipmi and jmx. However, to deploy a complete set of zabbix, you need to install a database, web server, zabbix-server and zabbix-agent. The process of these services is more complicated, and mistakes may occur if you don’t pay attention, so today I used a docker container to build a set. The zabbix service is not only fast to build, but also less prone to errors. This article is suitable for friends who understand docker.
1. Install the mirror version of zabbix this time
mysql:8.0.28
zabbix/zabbix-server-mysql:alpine-6.0.6
zabbix/zabbix-web-nginx-mysql:alpine-6.0.6
zabbix/zabbix-agent2
zabbix/zabbix-snmptraps:alpine-6.0.6
download mirror
docker pull mysql:8.0.28
The following images are downloaded by analogy.
2. zabbix components
The following are the components to quickly create a Zabbix6.0 containerized cluster through Docker.
2.1 Create a subnet
Before creating a zabbix service, a new Zabbix component virtual subnet needs to be created. It is necessary to add the subsequent zabbix-server, mysql, web and other containers to this network to facilitate mutual access. Create it using the following command in the terminal.
docker network create --subnet 172.17.0.0/16 --ip-range 172.17.200.0/24 zabbix-net
You can also create a network directly without setting the ip range
docker network create -d bridge zabbix-net
2.2 MySQL container
Select MySQL8.0.28 as the Zabbix backend database. (The ip address can be removed without setting a fixed ip)
docker run --name zabbix-mysql -t -e MYSQL_DATABASE=“zabbix” -e
MYSQL_USER=“zabbix” -e MYSQL_PASSWORD=“zabbix” -e MYSQL_ROOT_PASSWORD=“root123” -e
TZ=“Asia/Shanghai” -e ZBX_DBTLSCONNECT=“required” --network=zabbix-net –
ip=172.17.201.1 --restart=always --privileged=true -d mysql:8.0.28 --characterset-server=utf8
–collation-server=utf8_bin
2.3 zabbix-server-mysql container
docker run --name zabbix-server-mysql -t -e DB_SERVER_HOST=“zabbix-mysql” -e MYSQL_DATABASE=“zabbix” -e MYSQL_USER=“zabbix” -e MYSQL_PASSWORD=“zabbix” -e MYSQL_ROOT_PASSWORD=“root123” -e TZ=“Asia/Shanghai” --network=zabbix-net --ip=172.17.201.3 -p 10051:10051 --restart=always --privileged=true -d zabbix/zabbix-server-mysql:alpine-6.0.6
2.4 zabbix-web-nginx-mysql container
docker run --name zabbix-web-nginx-mysql -t -e ZBX_SERVER_HOST=“zabbix-server-mysql” -e DB_SERVER_HOST=“zabbix-mysql” -e MYSQL_DATABASE=“zabbix” -e MYSQL_USER=“zabbix” -e MYSQL_PASSWORD=“zabbix” -e MYSQL_ROOT_PASSWORD=“root123” -e TZ=“Asia/Shanghai” -e PHP_TZ=“Asia/shanghai” --network=zabbix-net --ip=172.17.201.4 -p 8081:8080 --restart=always --privileged=true -d zabbix/zabbix-web-nginx-mysql:alpine-6.0.6
2.5 zabbix-agent2 container
docker run --name zabbix-agent-2 -e ZBX_SERVER_HOST=“zabbix-server-mysql” -e ZBX_HOSTNAME=“Zabbix server” -e TZ=“Asia/Shanghai” --network=zabbix-net --ip=172.17.201.5 -p 10050:10050 --restart=always --privileged=true -d zabbix/zabbix-agent2
2.6 zabbix-snmptraps container
docker run --name zabbix-snmptraps -e ZBX_SERVER_HOST=“zabbix-server-mysql” -e ZBX_HOSTNAME=“Zabbix server” -e TZ=“Asia/Shanghai” --network=zabbix-net --ip=172.17.201.15 -p 161:161 --restart=always --privileged=true -d zabbix/zabbix-snmptraps:alpine-6.0.6
3. Zabbix access
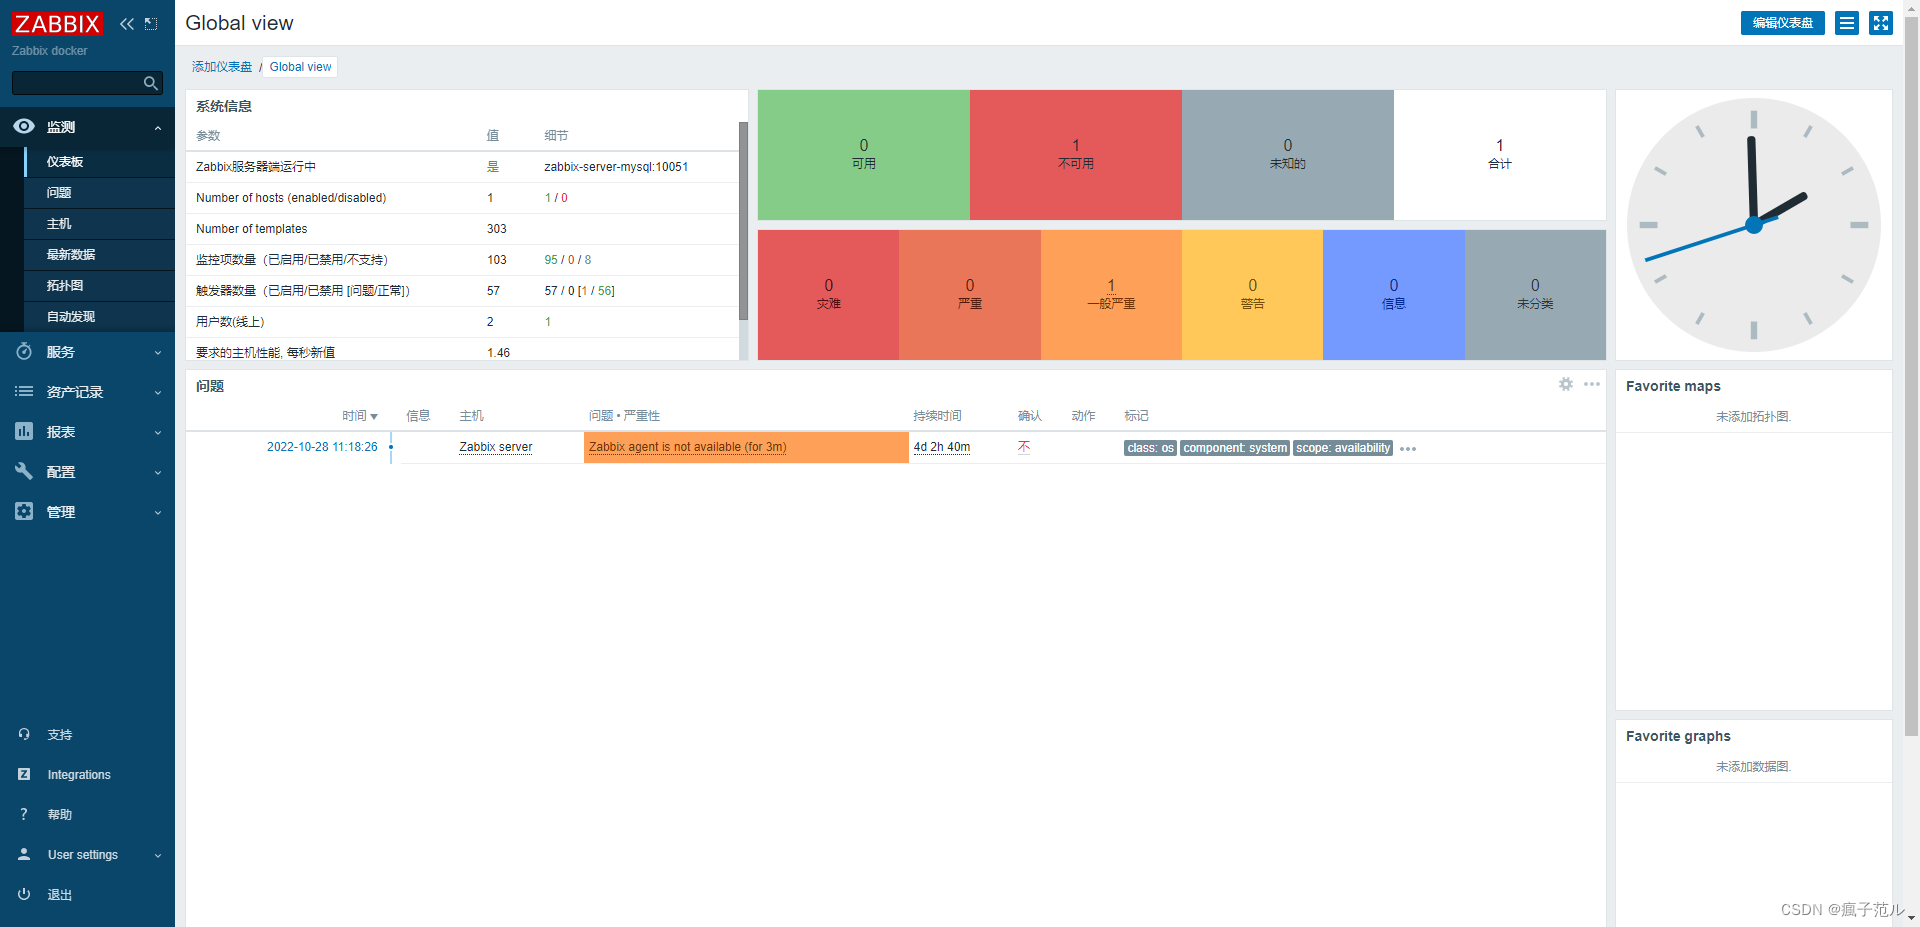
Enter http://ip:8081 in the browser to open the zabbix homepage, where the username and password are Admin/zabbix.
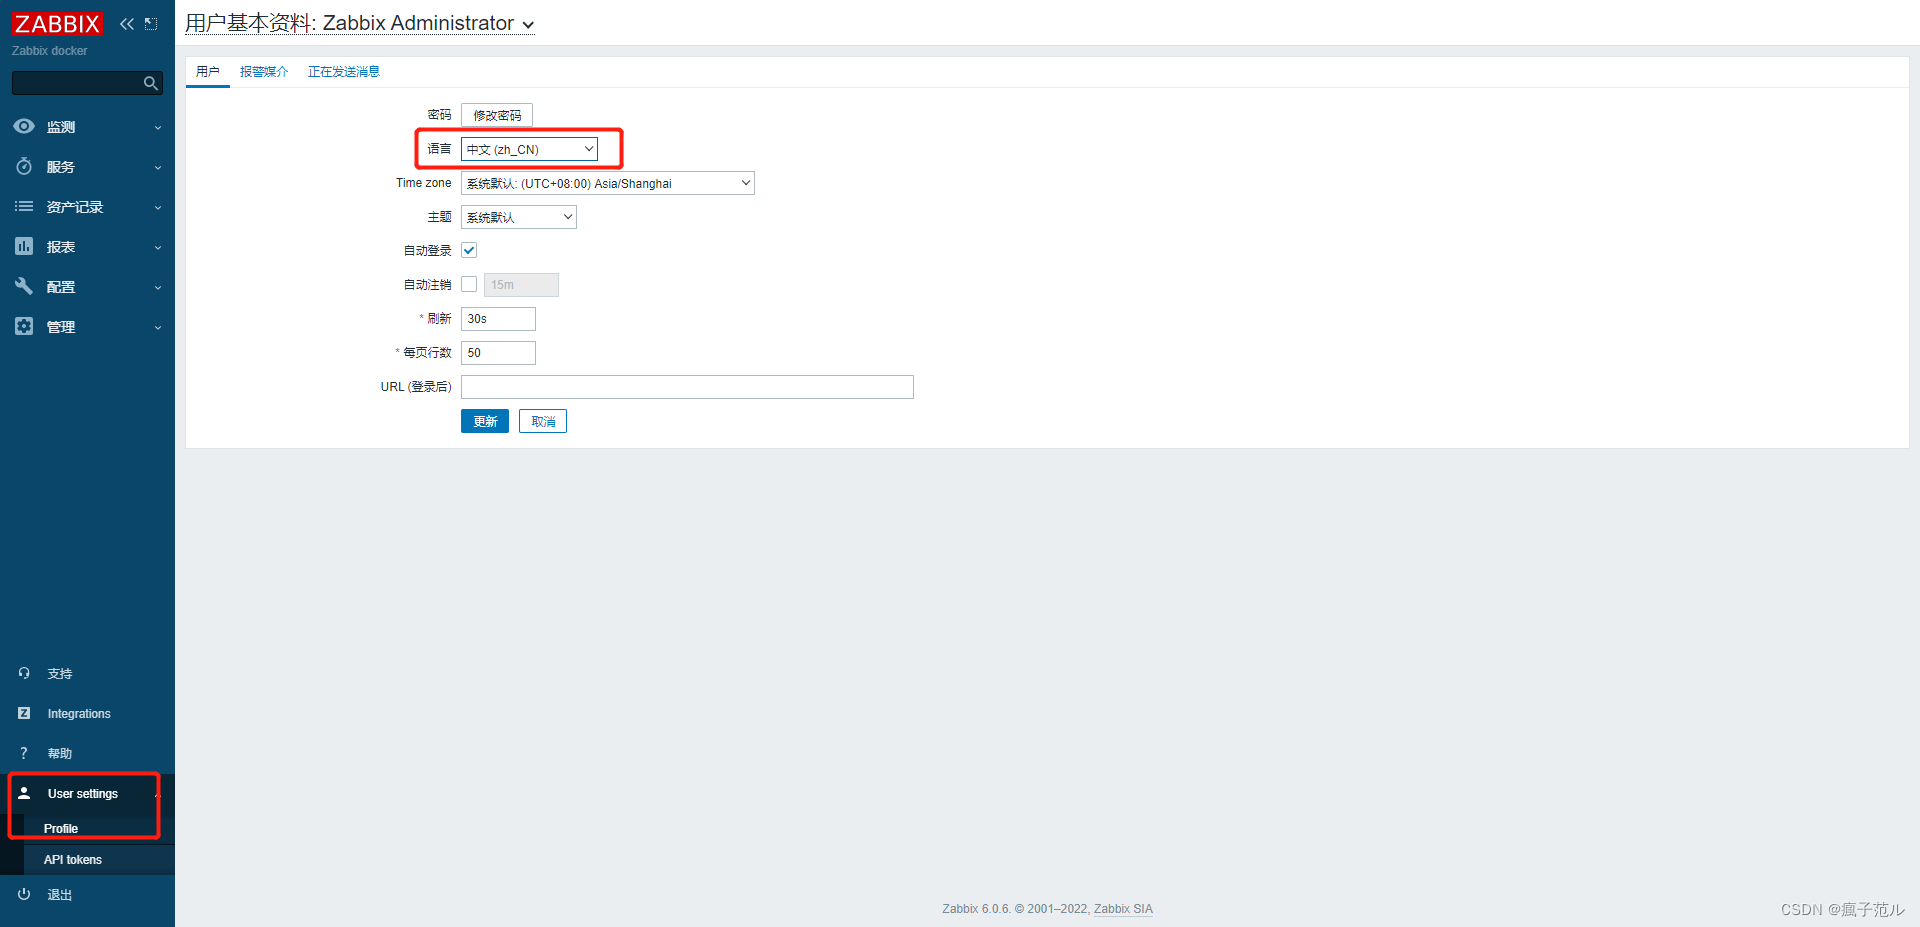
3.1 Chinese font modification
zabbix supports multiple languages, you can modify the zabbix language according to the figure below.