Modification and editing of the ground: use of the ground plugin
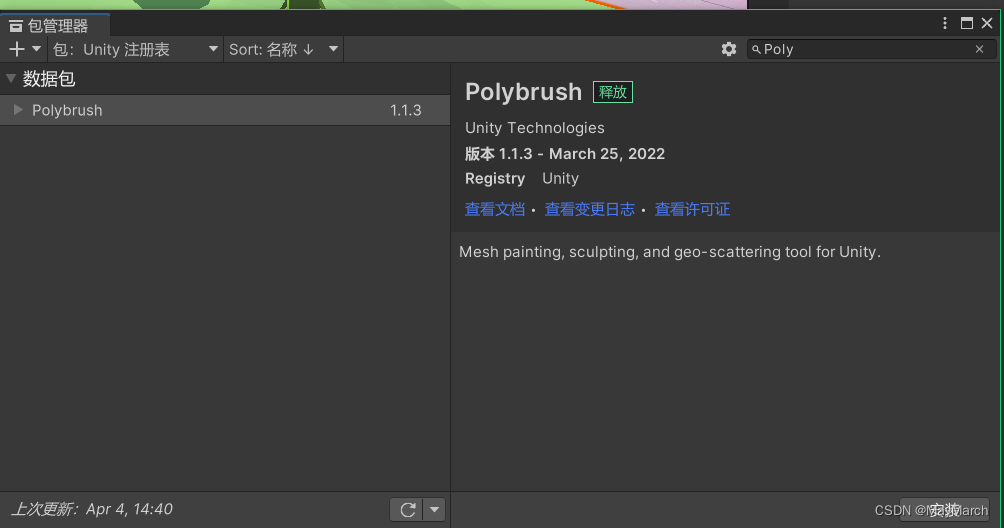
Open the package manager, select "Unity Registry" in the package on the left, search for "Polybrush" on the right, and then select Install in the lower right corner
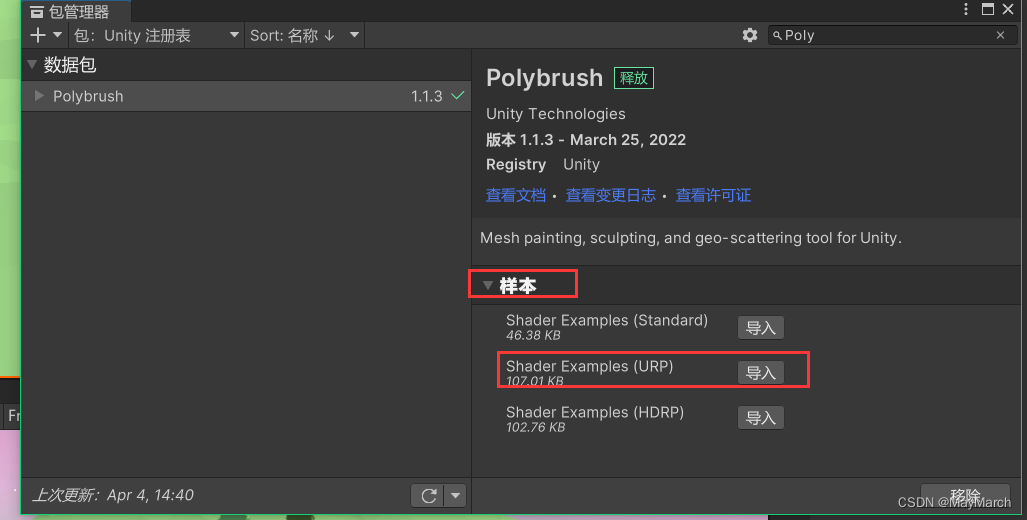
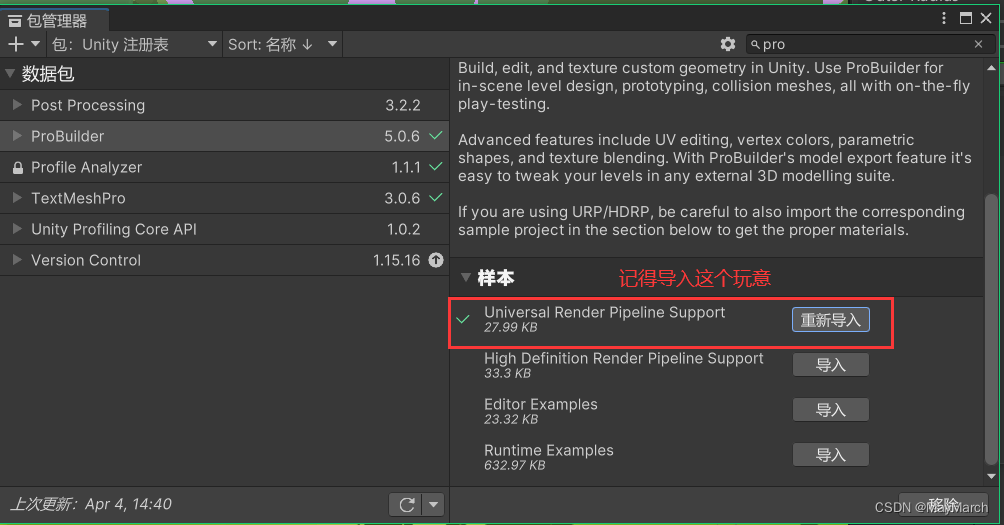
After installation, you need to select the URP in the sample to import, because our project is a URP rendering pipeline, you can also choose according to your own project needs, if it is an ordinary project, choose the first one, if it is a URP rendering pipeline If the item is selected, choose the second
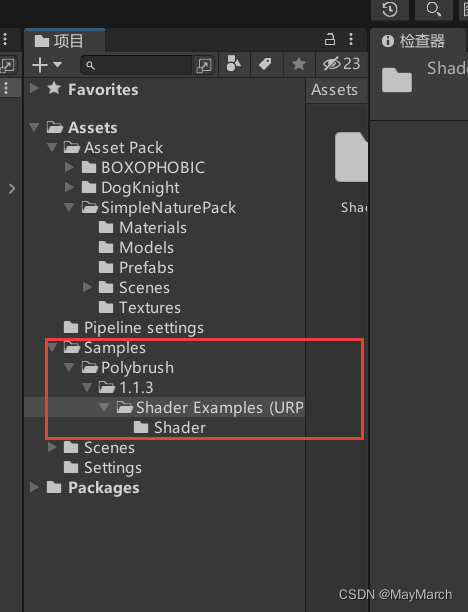
After installation, the folder Sample as shown in the figure below will appear in the project. We can create a new folder to store all the plug-ins involved in the project for easy management.
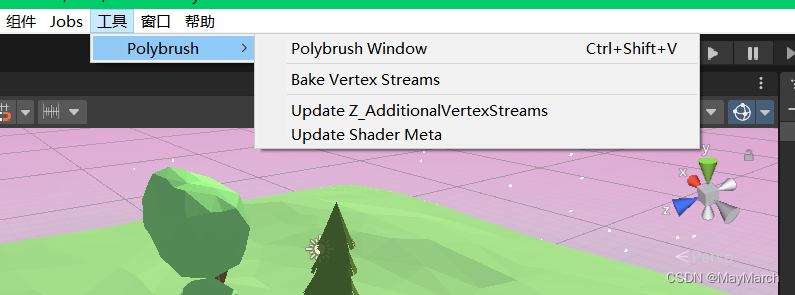
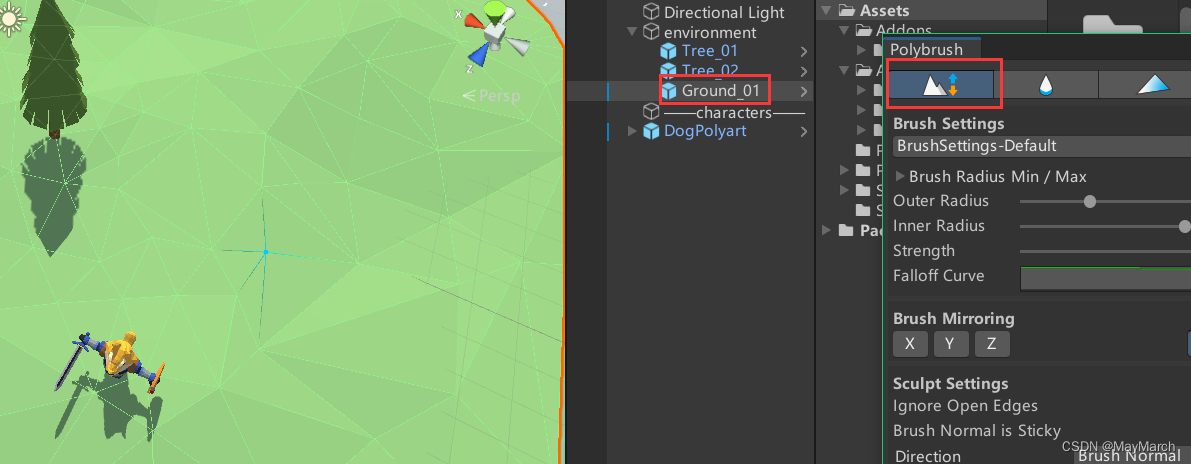
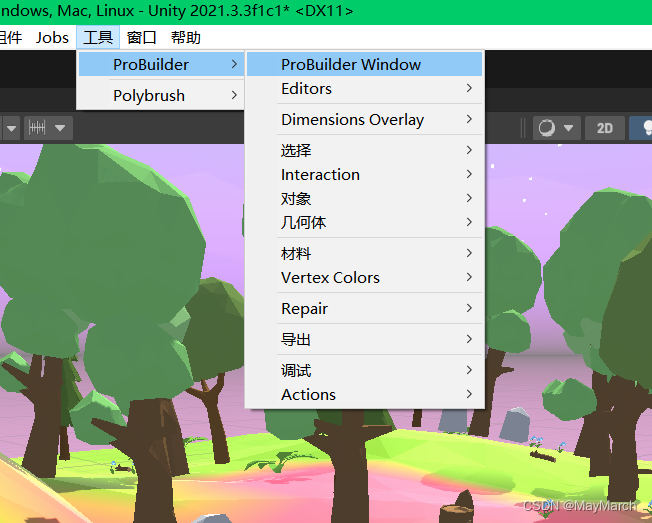
After installation, this tool will appear in the toolbar, click on the first one to open its menu
In the pop-up panel, there will be five patterns:
The first can adjust the height of the ground
The second one is used for softening. After selecting, adjust the sharp corners of the terrain to soften
The third one can paint the currently selected object with different colors
The fourth one can brush different prefabs into the scene
The fifth one can quickly brush some textures into the scene (grass or ground texture, etc.)
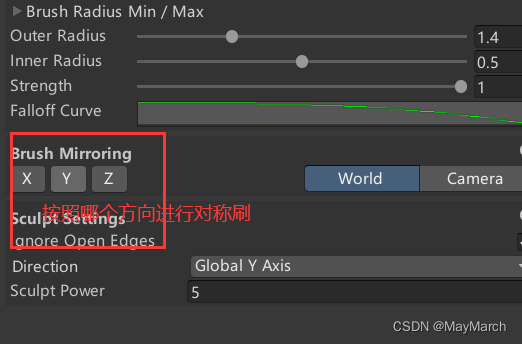
Choose the first one, a lot of triangles appear, this is the vertex of the lowpoly triangle model, you can raise it arbitrarily if you click it, if you want to lower it, press and hold the control keyboard, you can adjust other parameters, and then carry out the terrain edit something
In the terrain we adjusted, there may be sharp corners in some places, we can choose the second one to soften the sharp corners
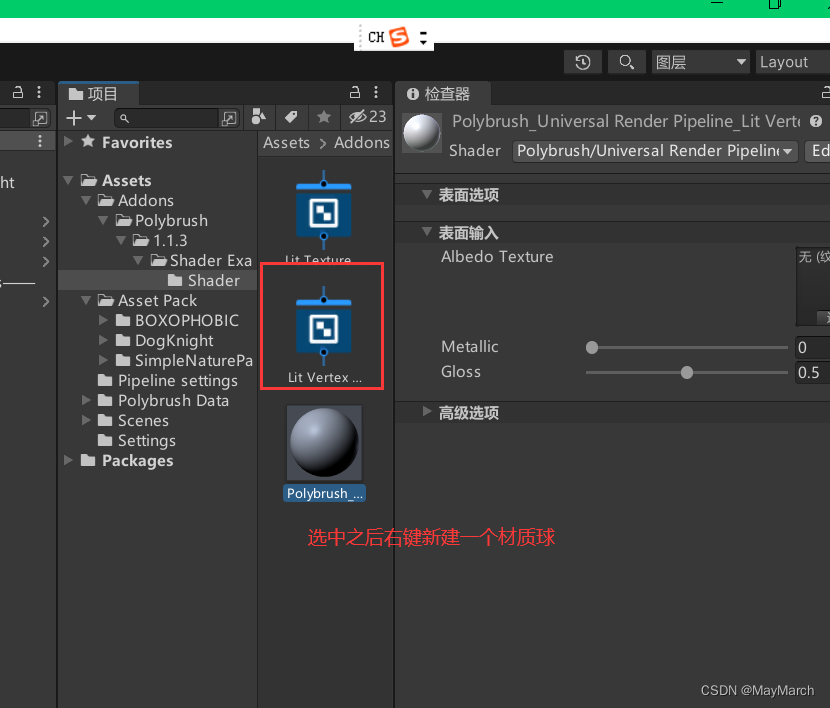
Choose the third one. After selecting the brush, the color cannot be painted on the ground, because the material of the ground is its own. We need to create a new material ball and use the shader graph brought by this plug-in to create the material.
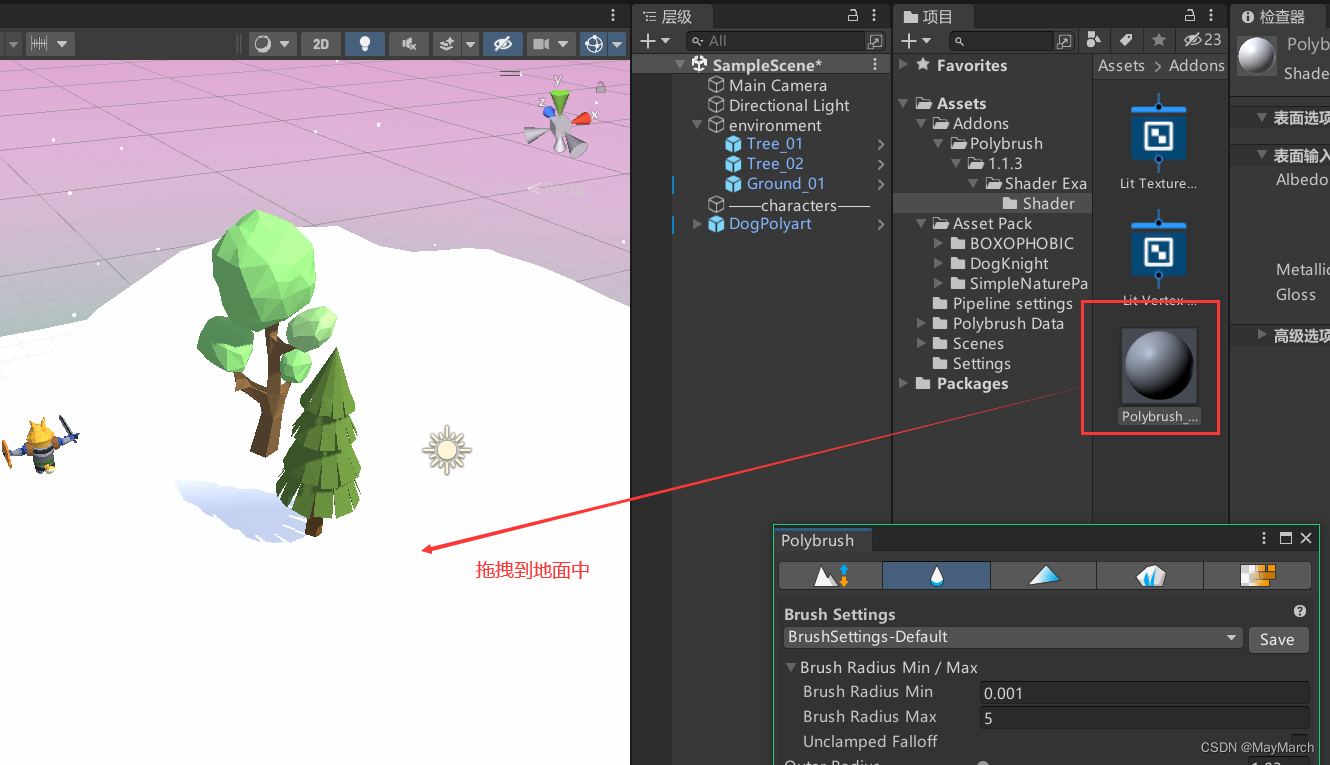
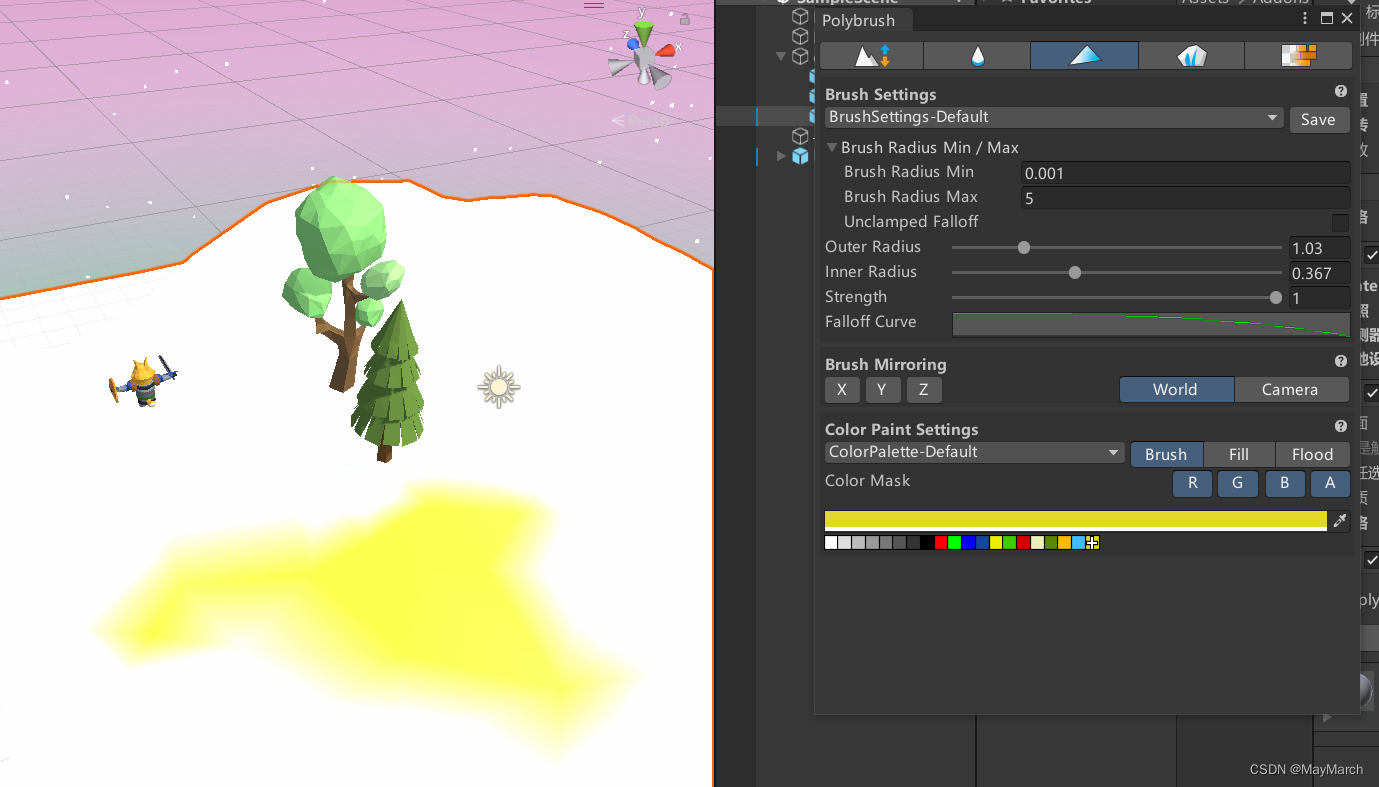
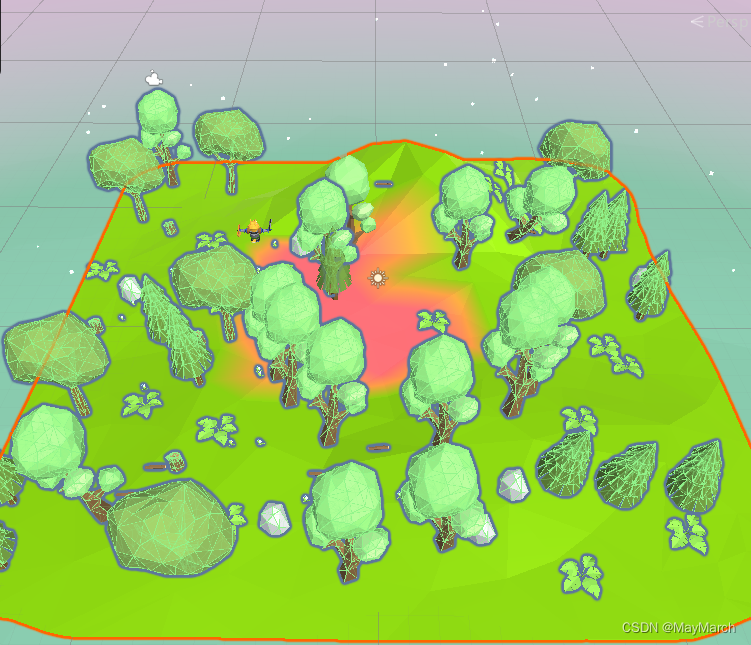
In this way, the color will be displayed after brushing. The function of this is to specify the area. Some color areas have enemies, and some have treasures. The following is the result after I casually brush.

Next, go to the fourth one, brush up prefabs and other things in batches
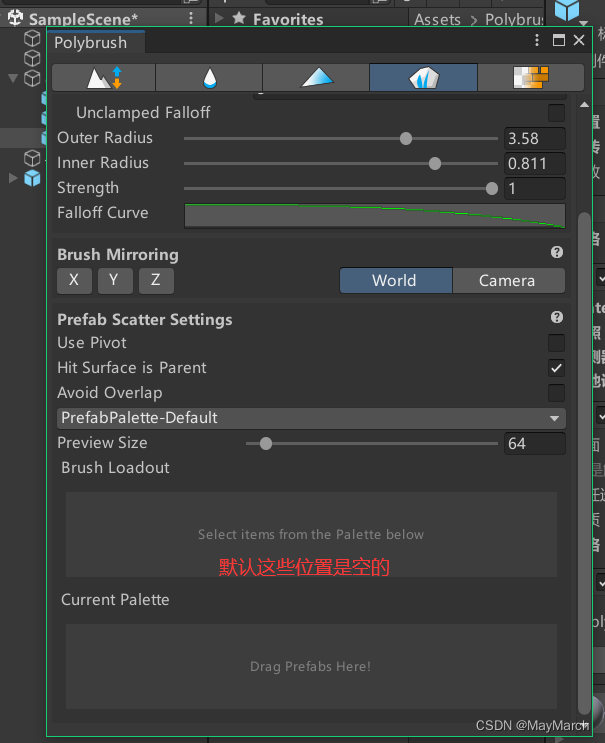
Find the material in the prefab, such as trees, grass, etc., and drag those things into the Palette


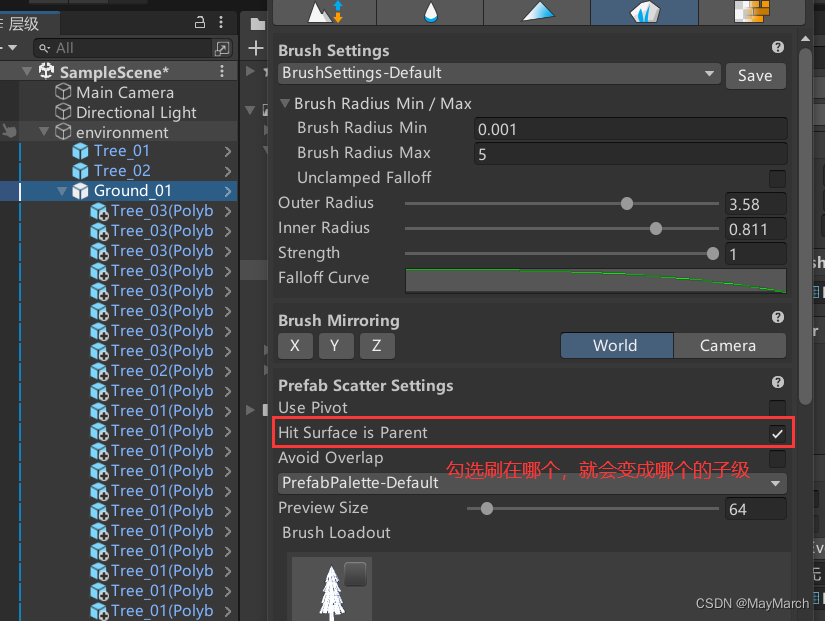
Check what you want to brush, and then it will be displayed in the above Brush. When you click on the scene, the items in the Brush will be randomly brushed. The circle in the Brush indicates the probability of appearance. Hold down Ctrl in the scene and click The words of an object are the cancellation of an object
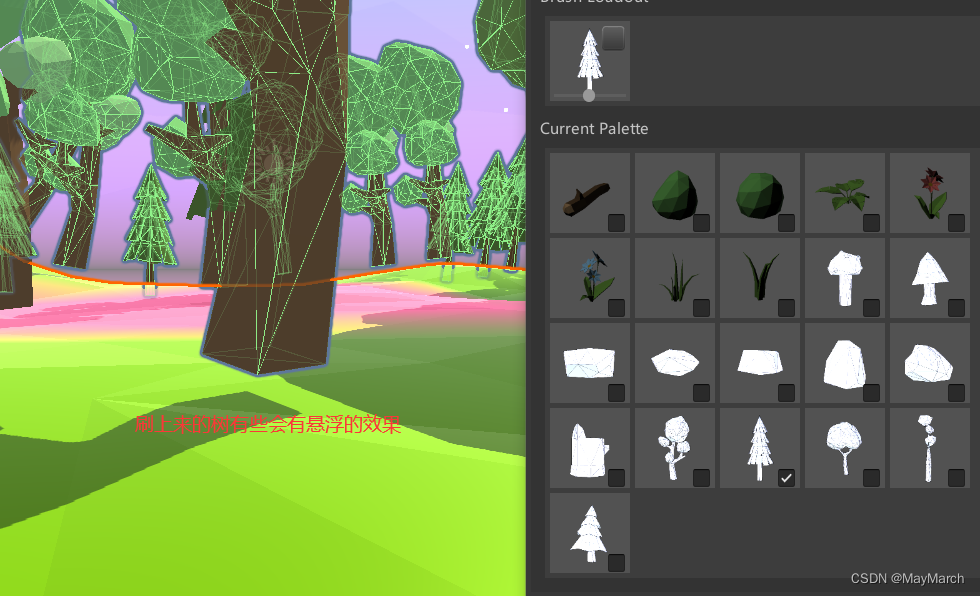
The suspension effect requires us to adjust the trees one by one. First cancel the selection of the brush, then select the suspended tree in the scene, select the move button, press and hold V, and a square will appear in the moving coordinates of the tree. Select the square to move the tree. Move, you can move wherever you want, it can have a good adsorption effect
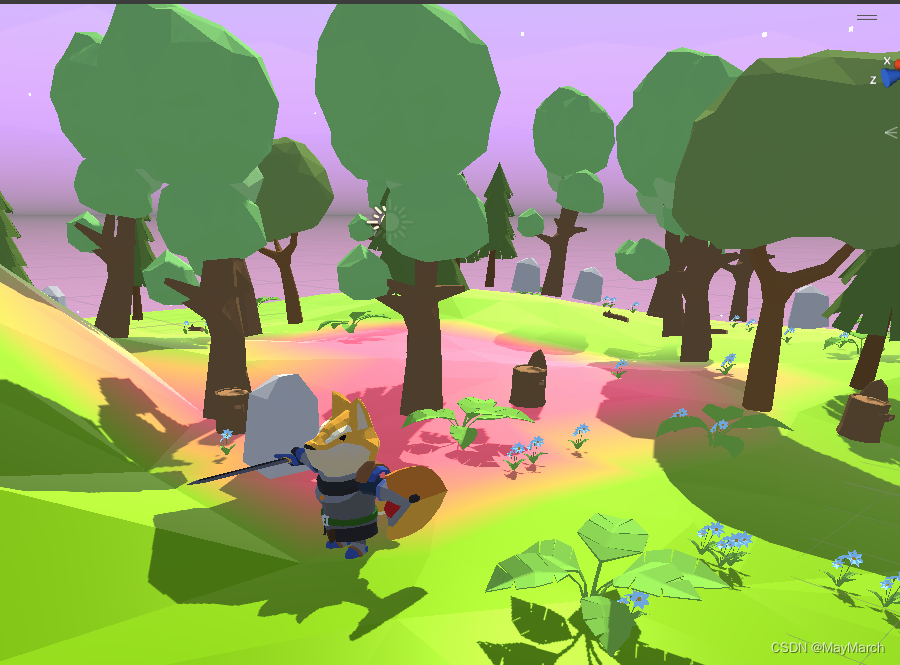
After brushing it like this, the next step is to adjust some trees or objects, because some things do not fit the ground after being brushed. At this time, uncheck the fourth button, and then go back to the scene and select the one you want. To adjust things, choose to move the position or rotate the angle, press and hold V to make it fit the ground. This is basically what I adjusted.
The scene map is too small, how to make it bigger? ?
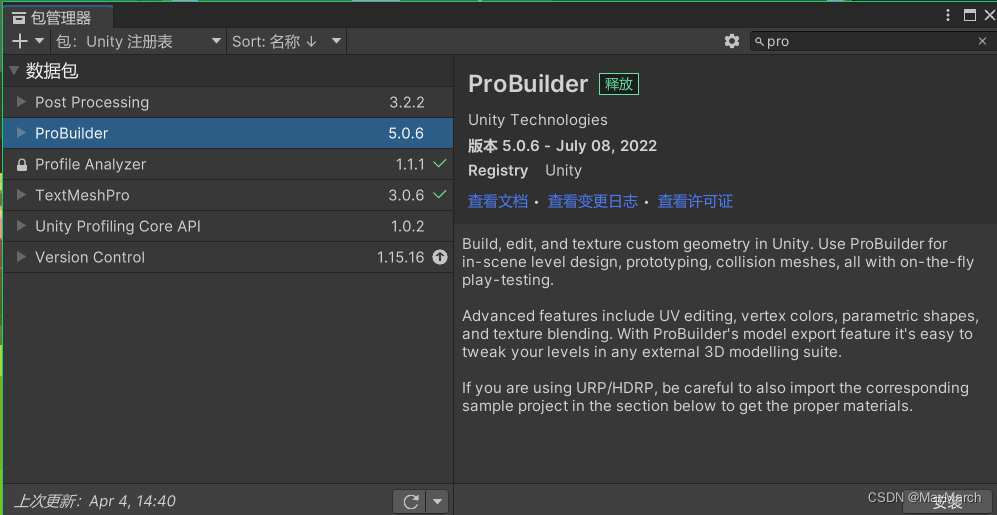
Add the plug-in probuilder. If you don’t add a plug-in, just simply changing the size of the ground will be a stretching effect, and the number of vertices on the ground will not change.
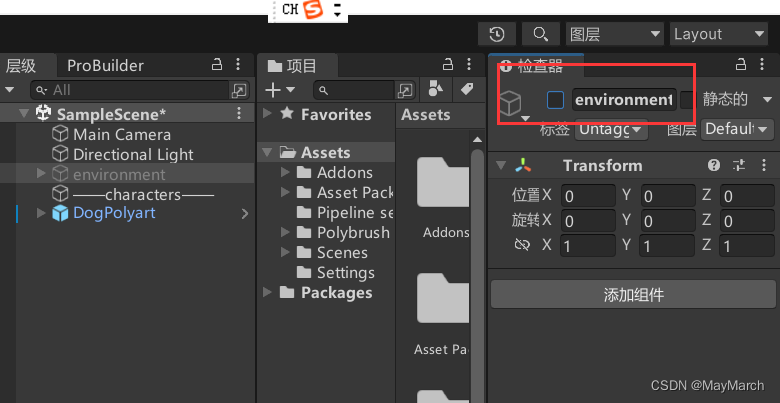
In order to test this plug-in, we delete our own ground (but I don’t recommend you to delete it, because you may not be able to succeed in the next operation), if you don’t want to delete it, you can directly uncheck this button in the inspector, That way you won't see those things in the scene
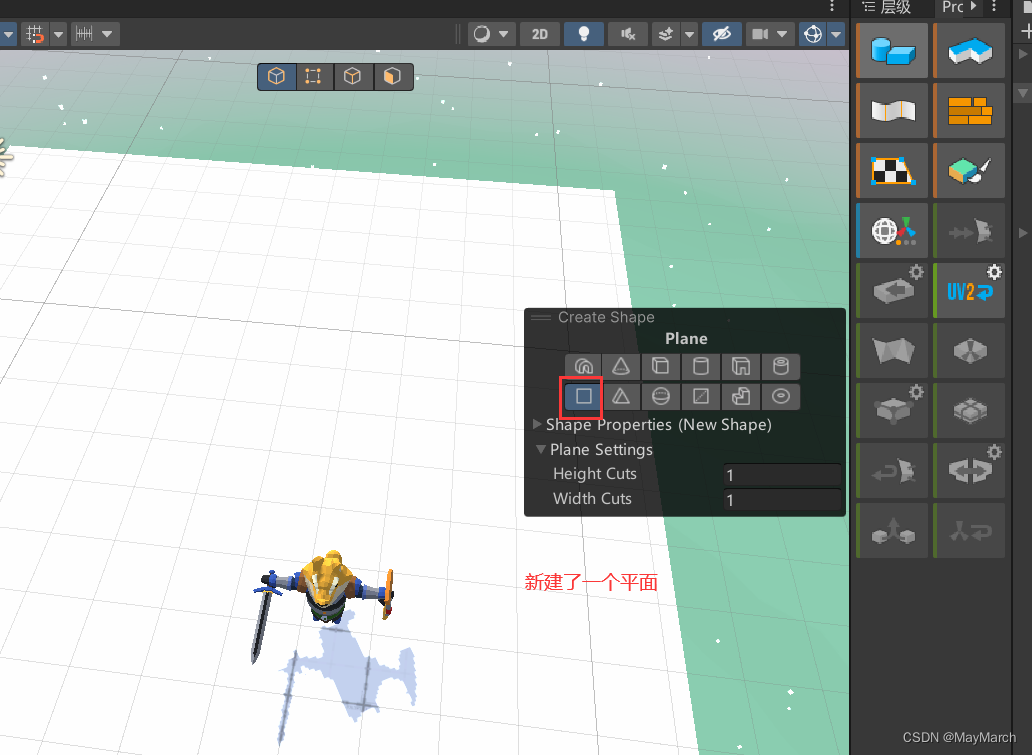

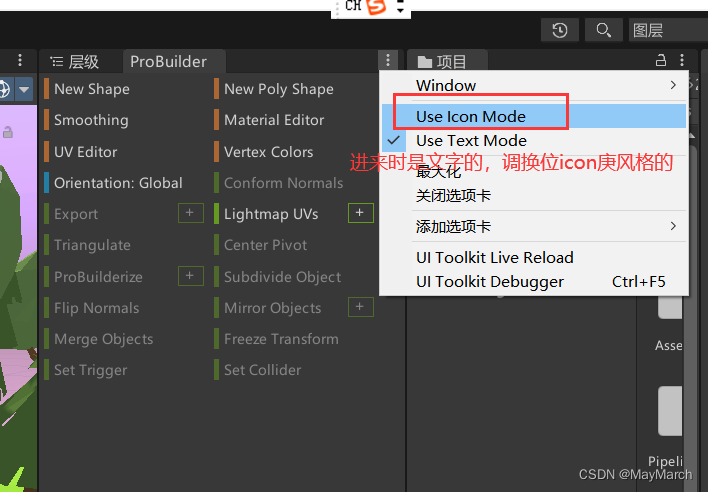
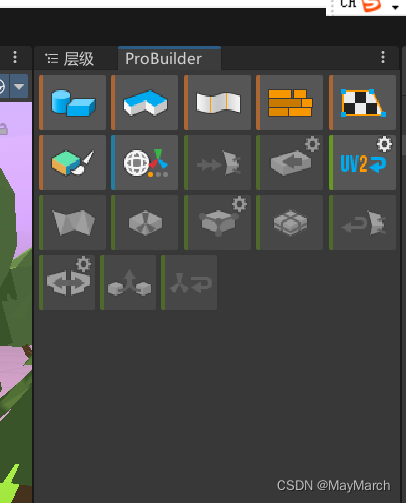
You can modify the size of the plane, and then select the brush in the first plug-in to draw mountains, ravines, etc. After drawing, you will find that the scene map is still a square. At this time, we need to convert the triangle, and choose the third in the second plug-in. A button (the one that is all white, like the origami one), can be transformed after selection, and then it is the placement and design of some objects in the scene. After finishing the scene, the scene will be built. Try it yourself right~
It's over! The next section is about the knowledge of smart navigation map baking~