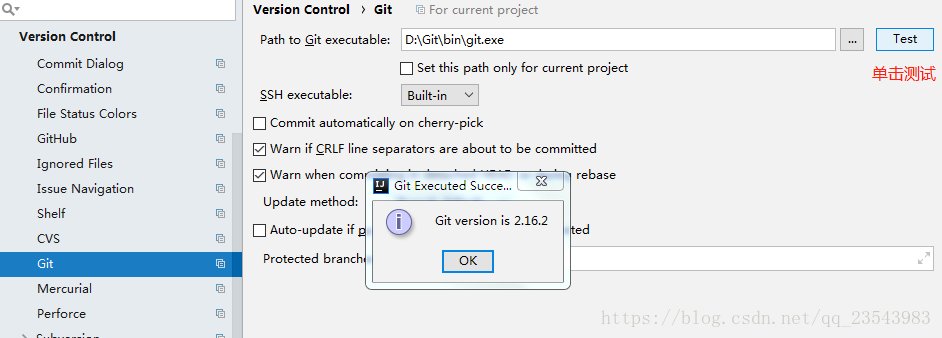
After the Git installation is complete, open IntelliJ IDEA, click File->Setting->Version Control->Git
Select the path of git.exe after installation, left-click on the test, and the following content appears, indicating that the connection is successful.
Then set up GitHub, click Create API Token to log in to generate a Token
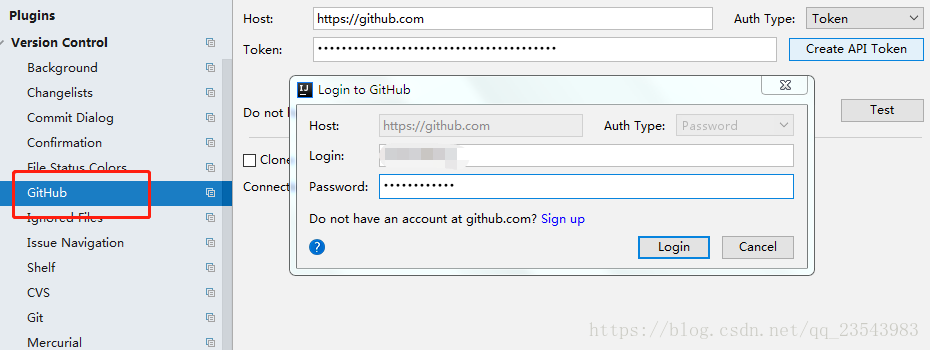
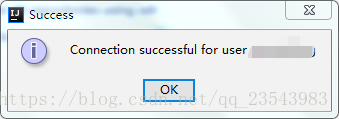
Click Test, and the following content will pop up, indicating that the setting is successful. Apply -> OK.
Create a local repository
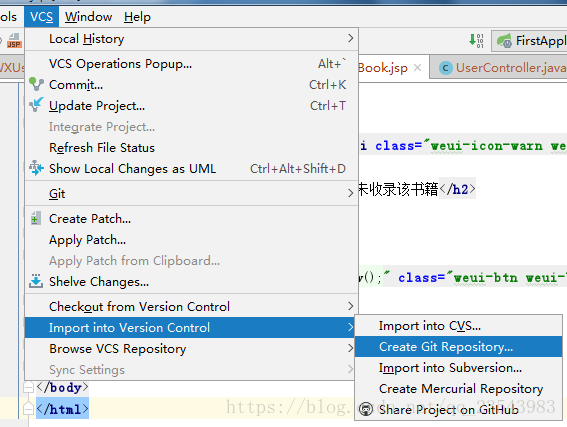
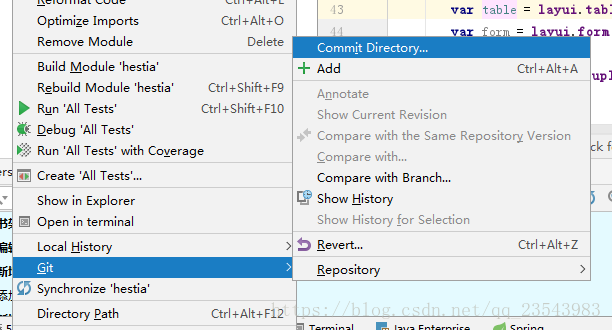
Select the path where your project is located, confirm, then all your project files will turn red, then select the project right->Git->Add, the project files will all turn green at this time (the project is placed in temporary storage at this time area), then right-click on the project -> Git -> Commit Directory
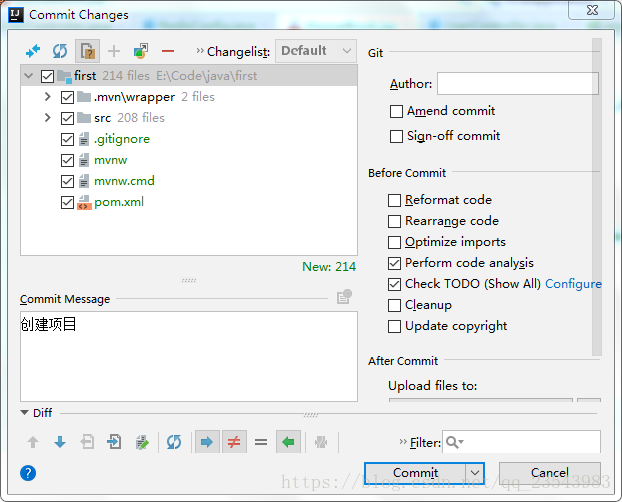
Select the entire project, write the comments you want to add in the Commit Message (fill in meaningful content when updating the code later), Commit and Push
Create a new warehouse in GitHub, get the warehouse address, and configure the Push URL. After the configuration is complete, push, and then your project will be placed in the remote repository.