The installation of Anaconda is very detailed on her official website, and the installation is done according to the official specified steps.
Anaconda integrates with jupyter notebook, so you only need to configure it after installation.
http://www.brianlv.com/20170401.html
https://www.cnblogs.com/jackzone/p/8387635.html
The process of configuring jupyter notebook draws on the above two articles, but because I installed it under the root user, the paths are different:
We first need to generate a jupyter configuration file.
jupyter notebook --generate-config #The generated config file is in /root/.jupyter/jupyter_notebook_config.py |
Then, in order to access server resources more securely, we need to set the login password and set https to achieve secure login. If conditions permit, the secret key and certification can be issued through the security certification center. First open ipython and generate the sha1 password, as follows:
from notebook.auth import passwd passwd() #Enter password #output sha1:49acd1a985cc:beb1fb6859665bfa721e65e78fc511c41basdasa. |
Then generate a self-signed authentication key, as follows:
openssl req -x509 -nodes -days 365 -newkey rsa:4096 -keyout jkey.key -out jcert.pem |
The final configuration is as follows:
emacs /home/user/.jupyter/jupyter_notebook_config.py
c.NotebookApp.password = 'sha1:<your-sha1-hash-value>'
c.NotebookApp.port = 8888
c.NotebookApp.ip = '*'
c.NotebookApp.open_browser = False
c.NotebookApp.certfile = '/root/jcert.pem'
c.NotebookApp.keyfile = '/root/jkey.key'
# save and exit
add environment variable
export PATH=/root/anaconda3/bin:$PATH
source  ~/.bash_profile
run the code
jupyter notebook --ip=0.0.0.0 --no-browser --allow-root
run in local browser
Open the browser and enter http://xxx.xxx.xxx.xxx:8888/ (XXX is the ip address)
Since jupyter uses 8888 as the default port, I need to open the port and restart the firewall (or close the firewall directly). Set by the following code:
firewall-cmd --zone=public --add-port=8888/tcp --permanent systemctl restart firewalld.service |
All the installation and basic settings have been completed here, you can enter: jupyter notebook on the command line to use.
After installing and configuring jupyter notebook, you can open the ipynb file.
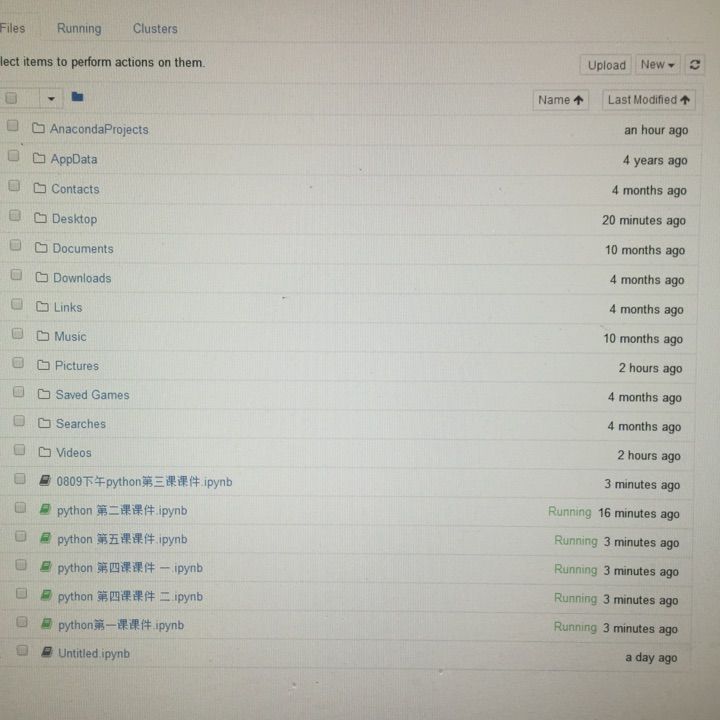
Open the jupyter notebook and click the upload button in the upper right corner to upload the .ipynb file on your computer. After uploading, you can open it directly and display the following interface:
