1. Starting jupyter notebook, creating python files and running code
When installing Anaconda, Jupyter Notebook will also be installed. Next, let’s talk about how to execute Python code under Jupyter Notebook on Mac system.
1. Double-click the [Anaconda-Navigator] icon in [Applications] to start Anaconda.

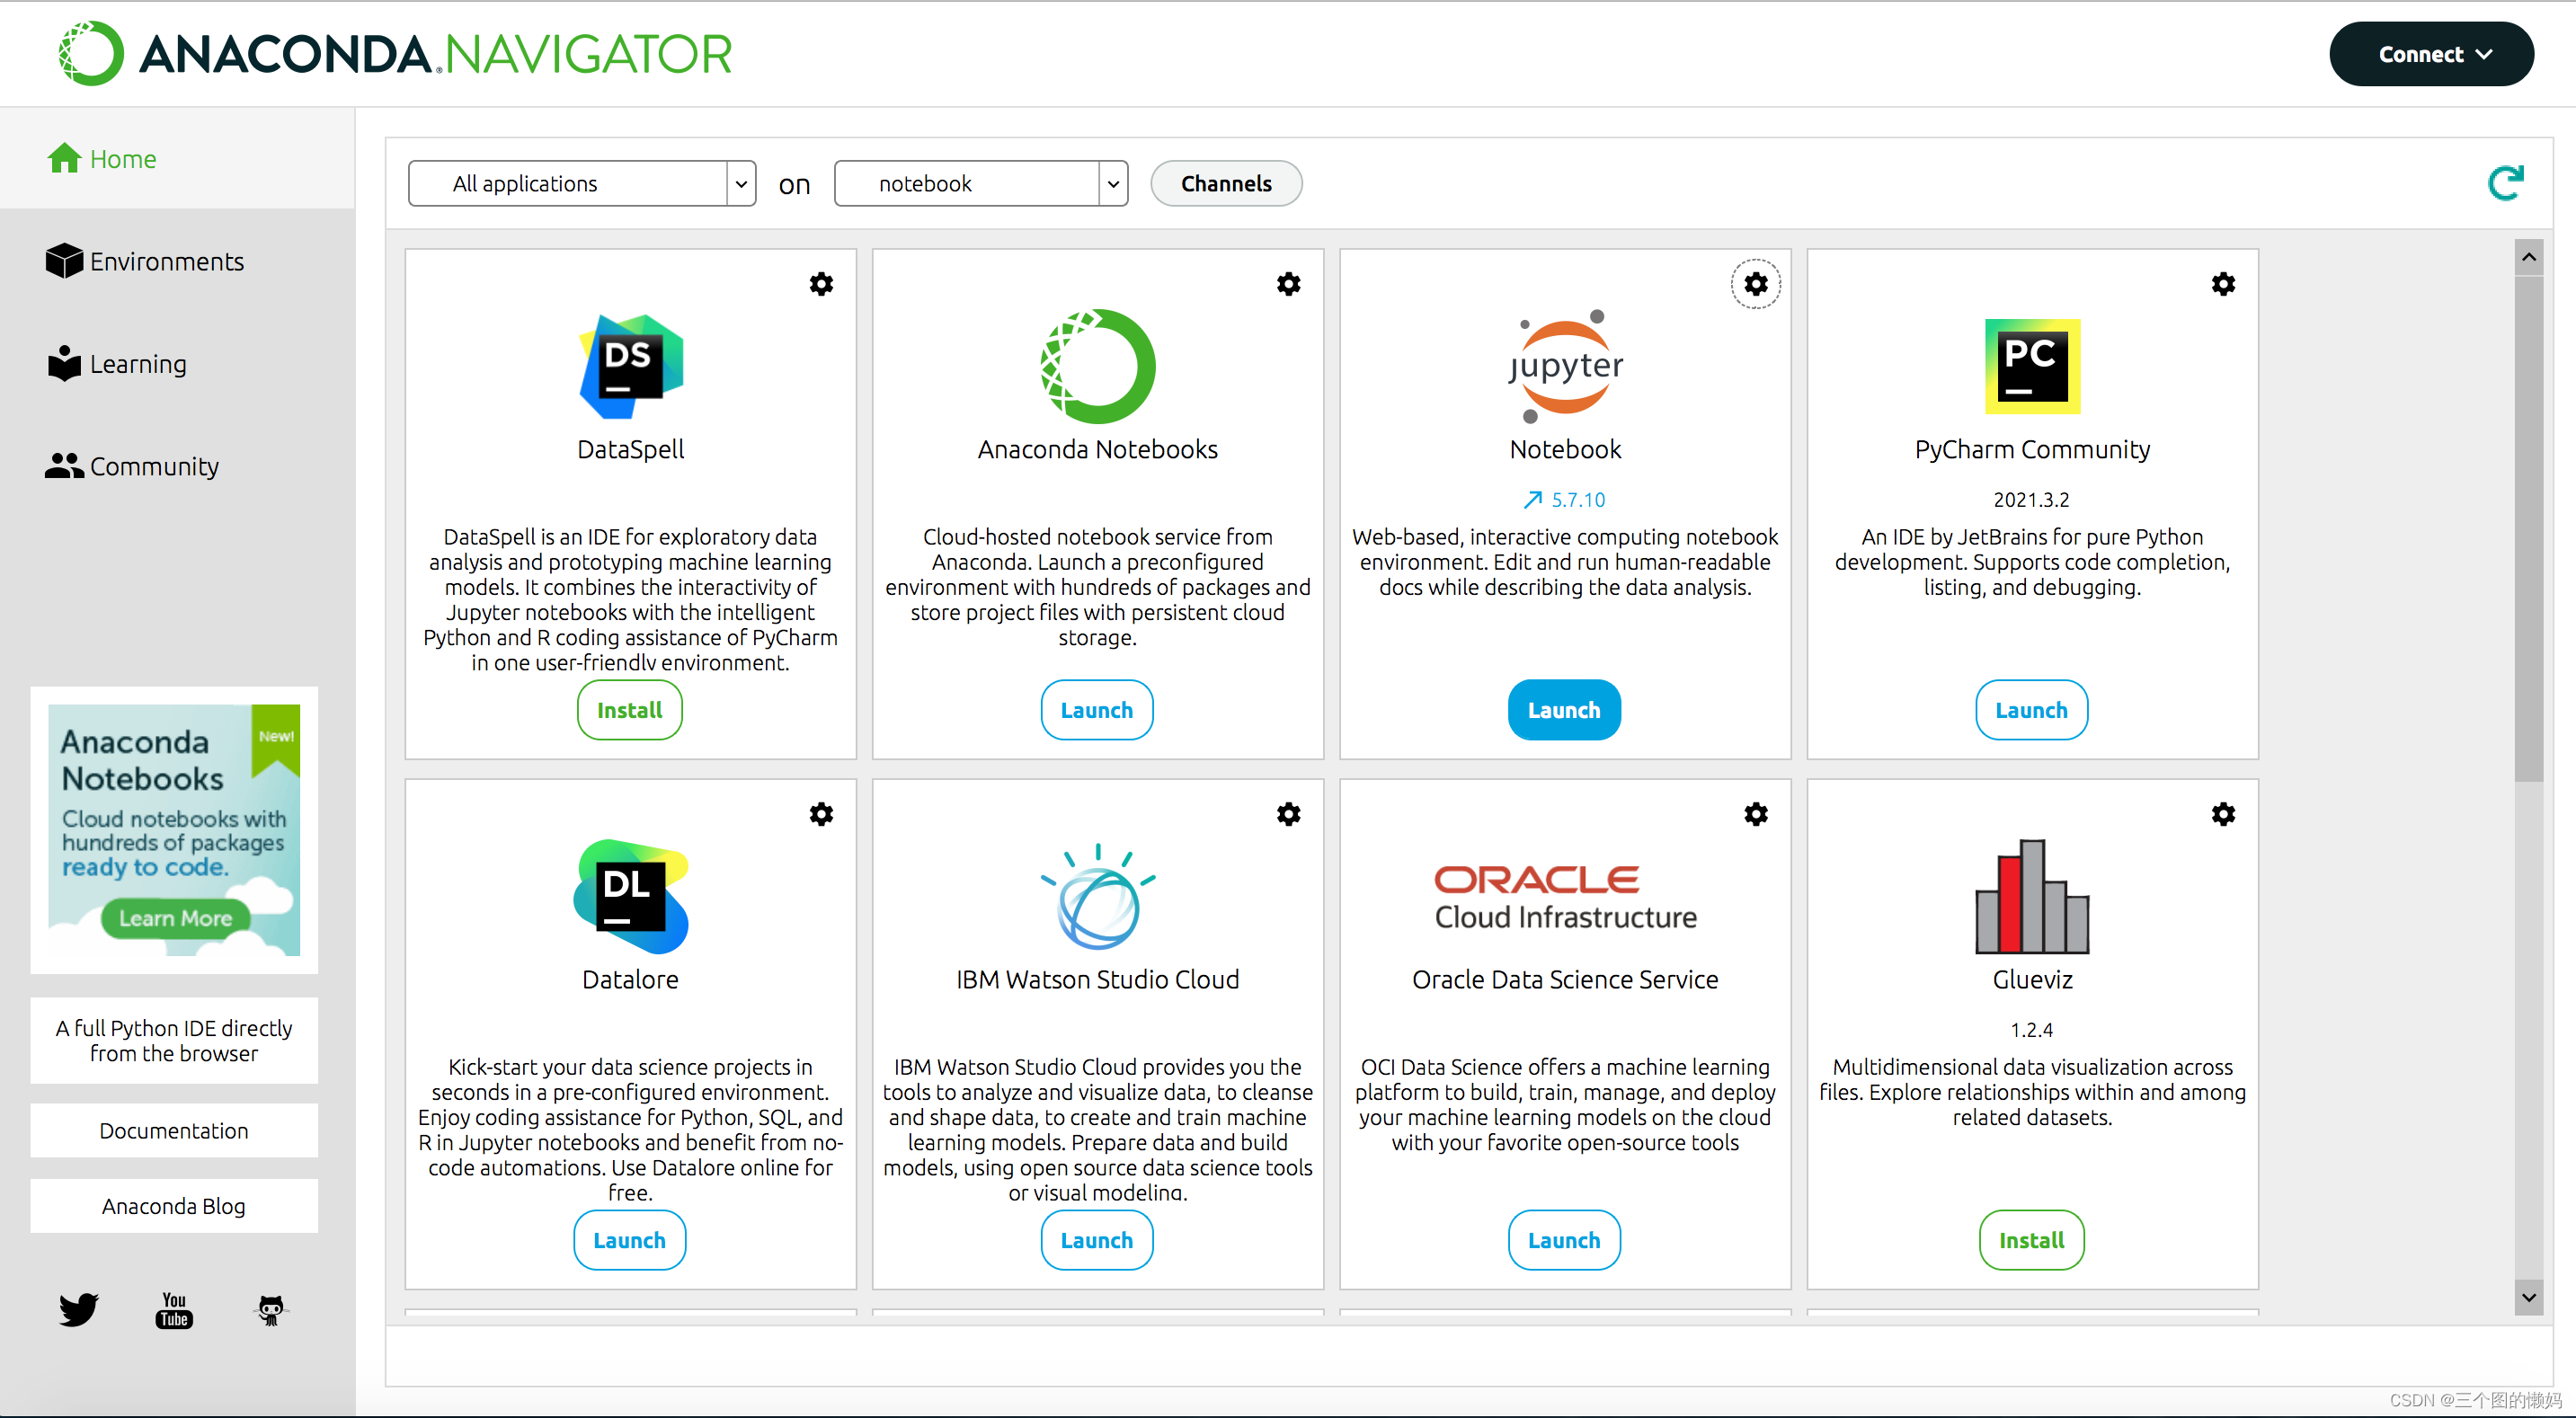
2. After startup, you will enter the interface shown in the figure below, which is rich in content. Click the [Launch] button in the Jupyter Notebook dialog box to start Jupyter Notebook.
3. Afterwards, the terminal automatically starts the kernel and a command line window pops up, as shown in the figure below. Just wait for the startup to complete. Note: This command line window cannot be closed, otherwise it will affect Pythonthe execution of subsequent programs!

4. Then the Chrome browser will automatically open, as shown in the picture below, and it Jupyter Notebookwill start successfully.

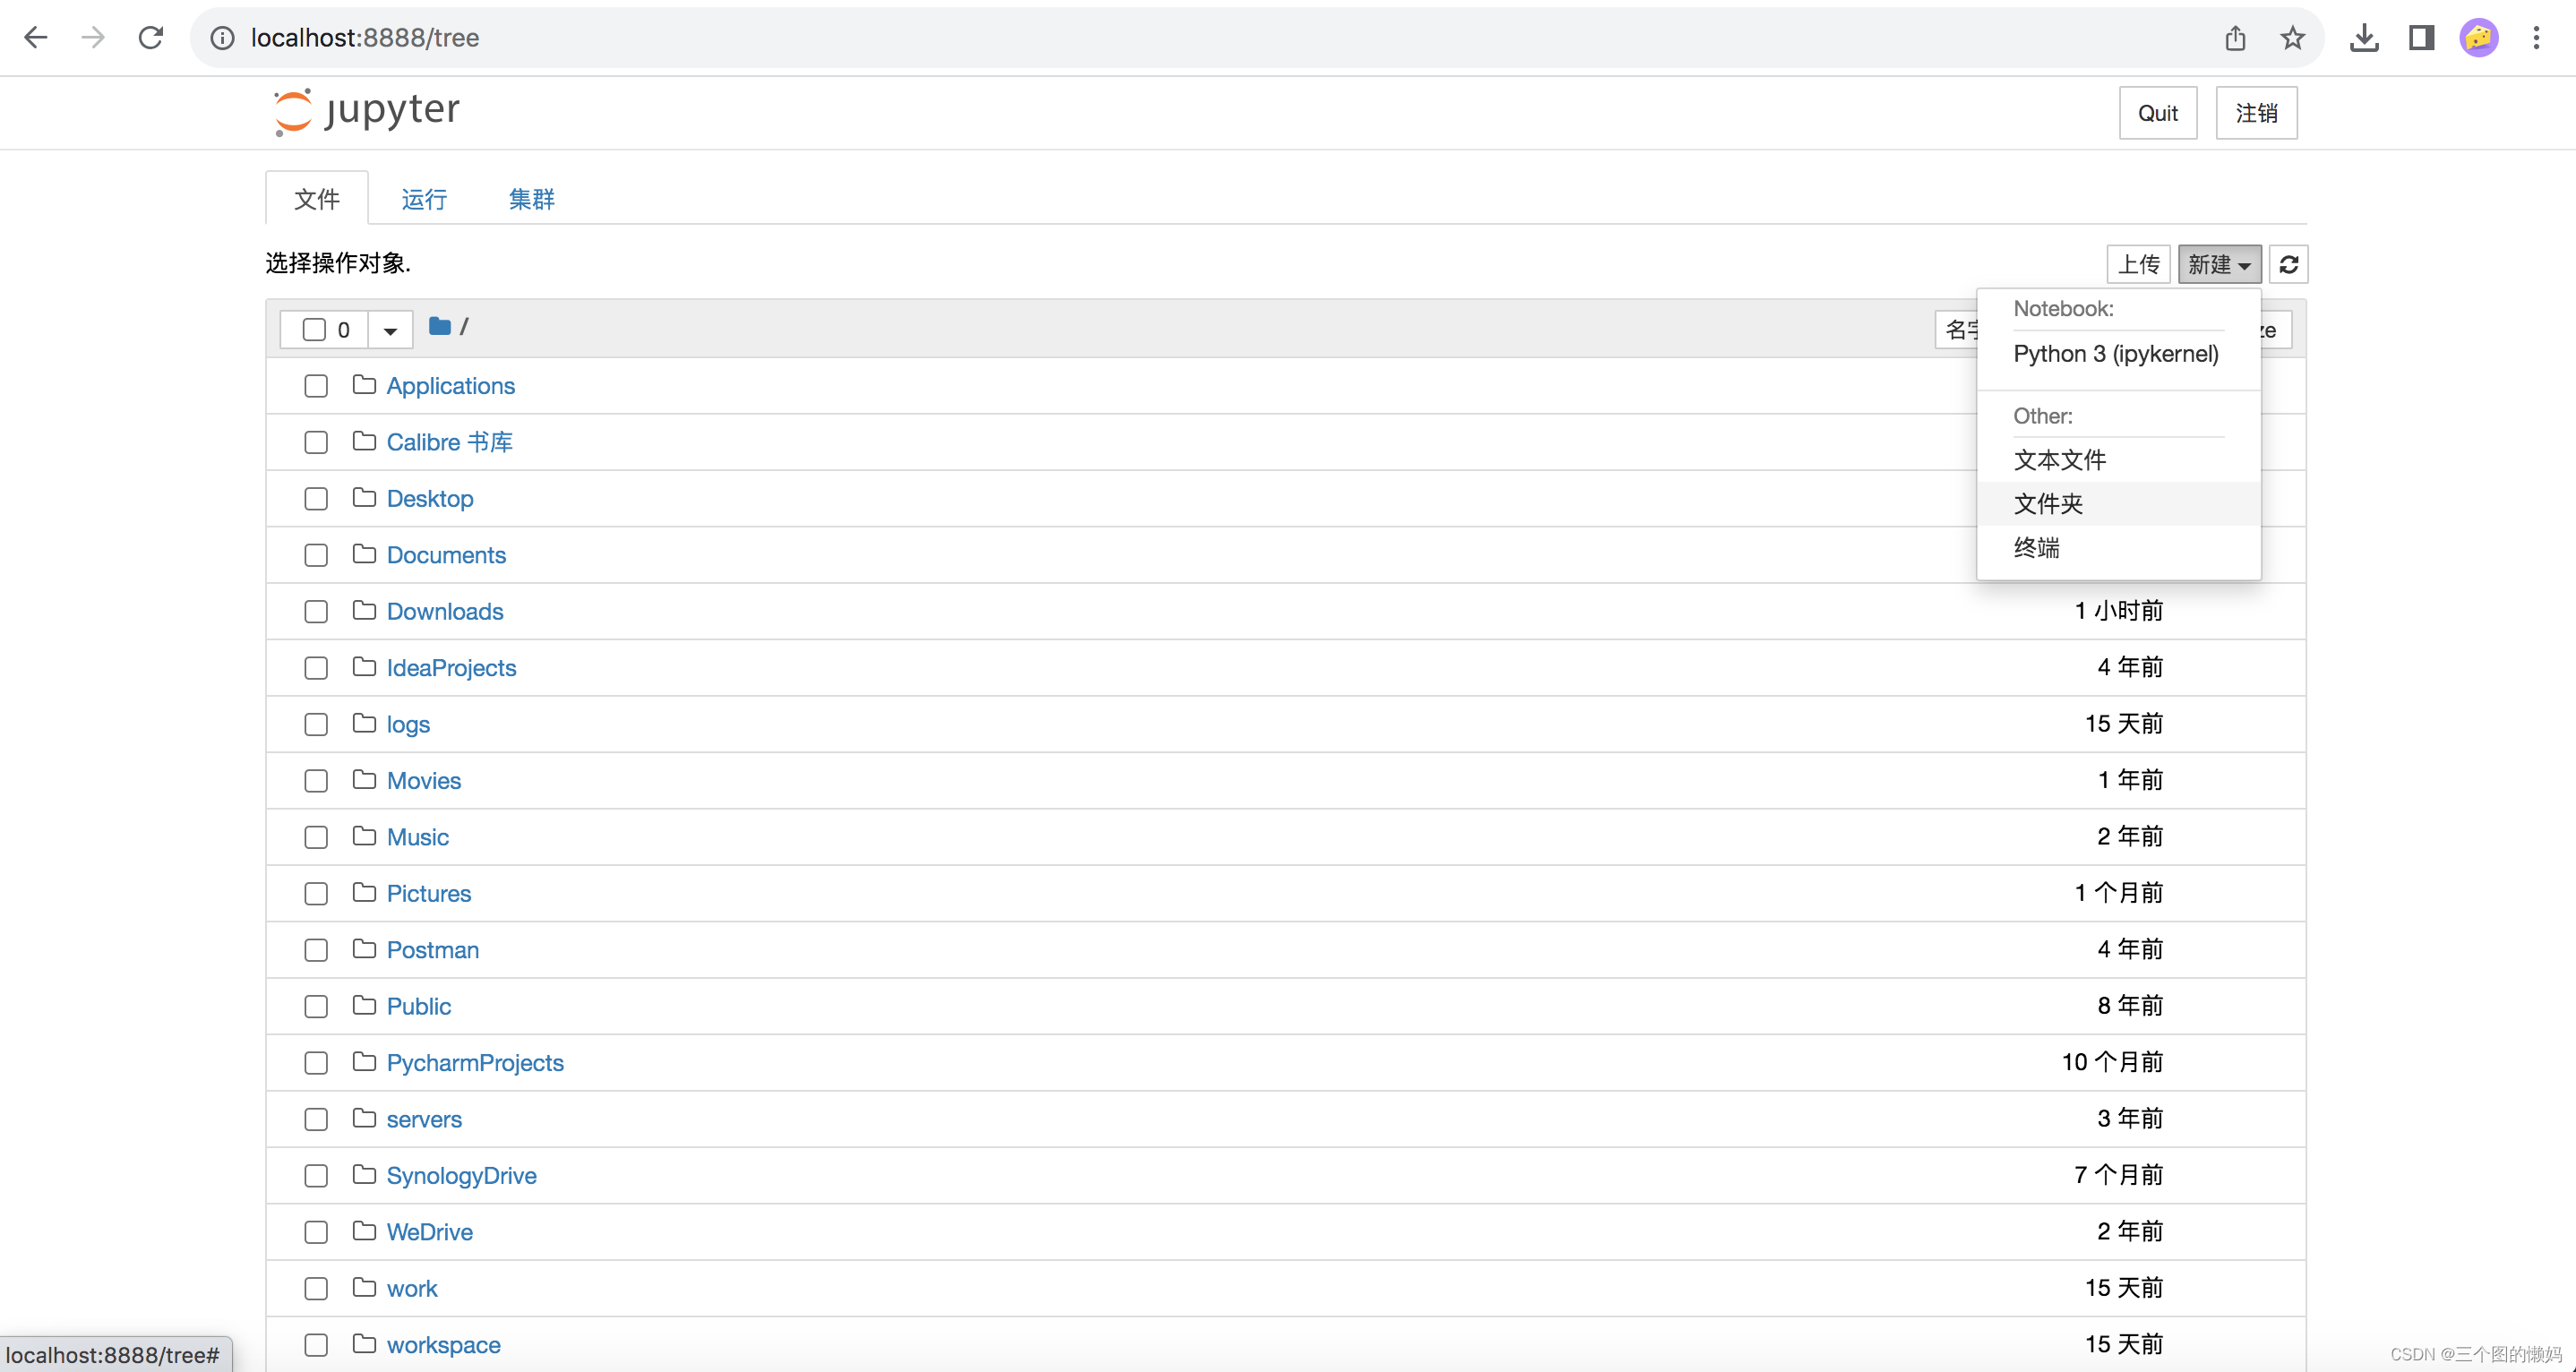
5. Click Jupyter Notebookthe [New] button in the upper right corner and click the [Folder] button in the drop-down menu to create an unnamed folder [Untitiled Folder], as shown in the figure below.
6. Select the [Untitiled Folder] just created and you can change the name, move or delete it. Here I click the [Rename] button and customize a name in the pop-up window. Here it is named [Python2022 Level], as shown in the figure below.


7. Click the [Python2022 level] folder, enter this folder, click the [New] button in the upper right corner, and select the [Python3 (ipykernel)] option in the drop-down box, as shown in the figure below, you can create a new python file . (If you select a text file, a new .txt Notepad file will be created.)

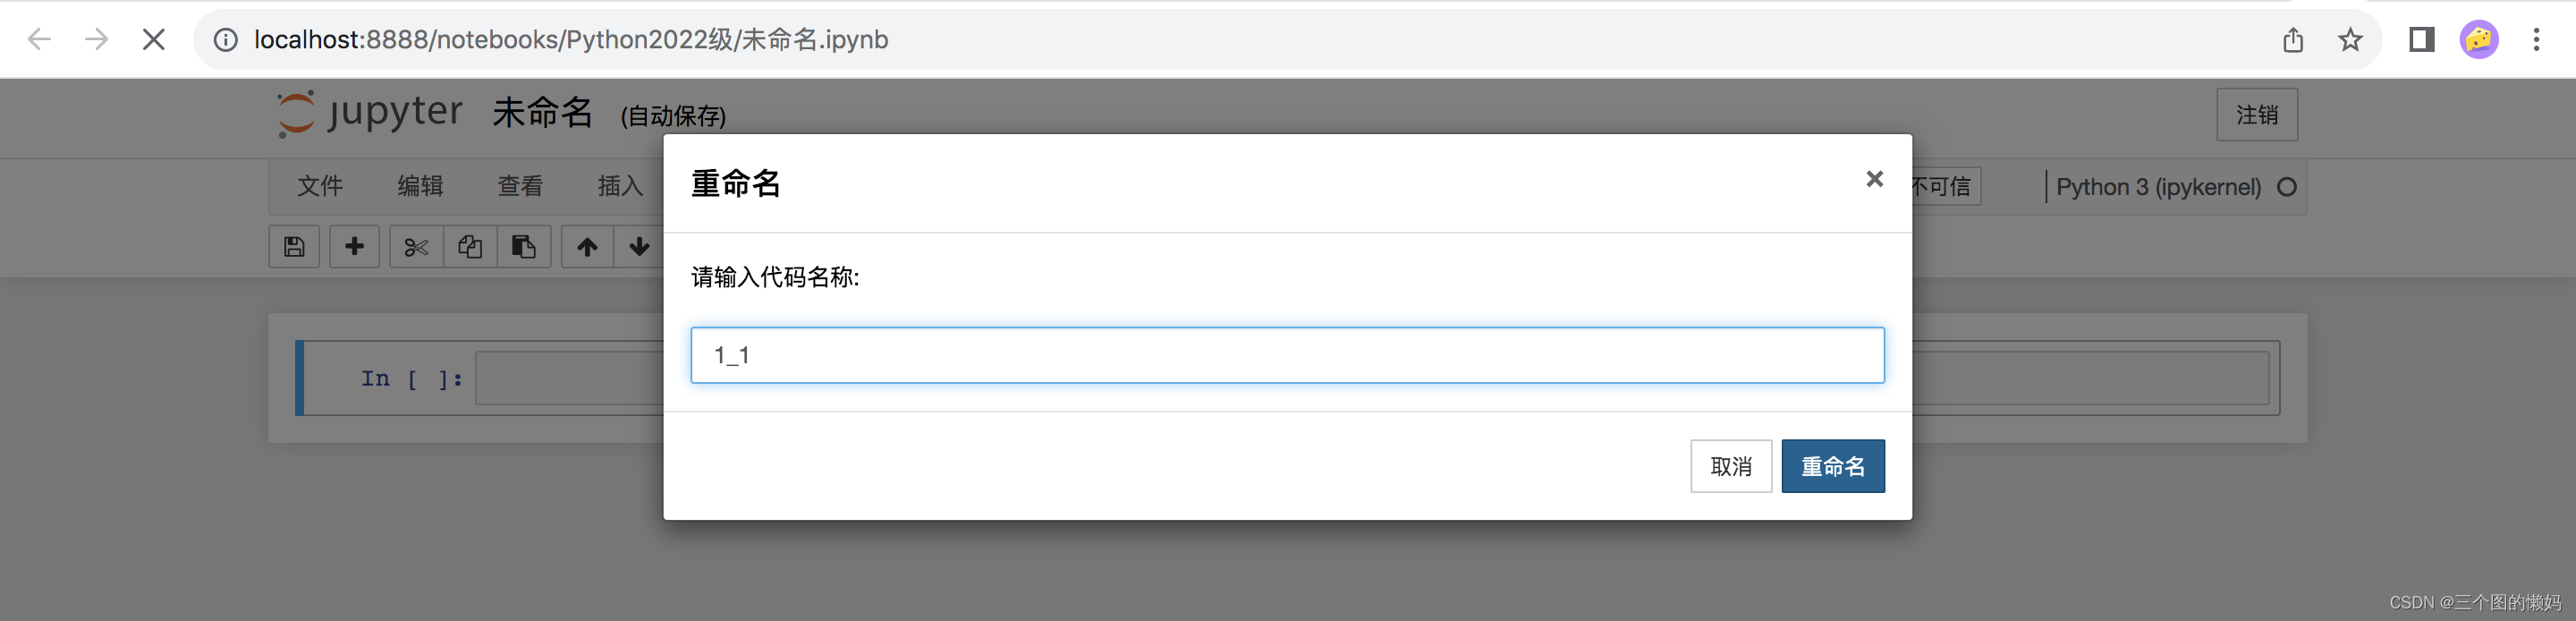
8. The newly created Jupyter Notebook的python文件page is as shown in the figure below. Click [Unnamed] in the title bar to rename it (if a 500 error occurs, please see this post for the solution → Mac computer jupyter notebook reports error 500_three pictures when creating python files Lazy Mom’s Blog-CSDN Blog ). Rename it here to [1_1].

9. Now write the code and test it. Note: Punctuation must be in English mode! After entering the code, click the [Run] button in the menu bar, and you can see the output results in the next line, as shown in the figure below.

ok, the code has been successfully run here Python. Let's take a look at how to use the "notepad" function in notebook.
2. Use of the "notepad" function of jupyter notebook
The jupyter notebook you just created is an interactive notebook. In addition to writing and running python code, you can also add text before and after the code and use its "note taking" function.
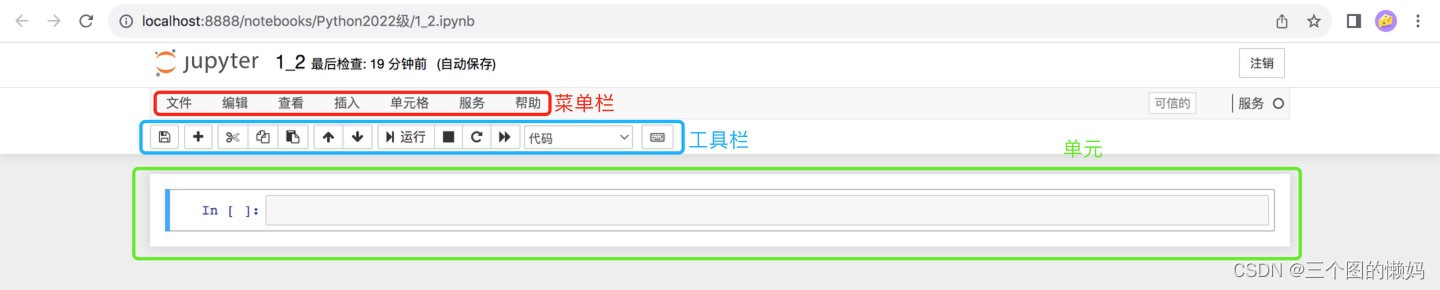
1. Jupyter notebook interface
The interface of a jupyter notebook mainly consists of three parts: menu bar, toolbar and cell, as shown in the figure below.
2. Two modes of jupyter notebook
The units in jupyter notebook have two modes: Command Mode and Edit Mode. Different operations can be performed in different modes.
Edit Mode: In this mode, the cell frame line is green, the left border line of the unit is green, and a pencil icon appears in the upper right corner, allowing the user to type code or text into the unit; click the Esc key or run Cell (ctrl-enter) switches back to command mode.

Command Mode: In this mode, the cell frame line is gray, the left border line of the unit appears blue, the pencil icon disappears, the keyboard enters the run program command, press the Enter key or click the cell to enter the editing state.
3. How to switch to the "note" state (marking state)?
It can be seen that after creating the jupyter notebook, each unit is in code status, and the drop-down menu is also prompted with code:

Click the drop-down menu and you can see that there are four options: code, tag, native NBConvert, and title.

Code: This is where you enter code.
Markdown: It’s where you enter text. You can add conclusions after running the code, add comments, etc.
Raw NBConvert (Raw NBConvert): is a command line tool that can convert notebooks to another format (such as HTML)
Heading (Heading): You can add headings to separate sections and make your Notebook look clean and tidy. This option is now integrated into the Markdown options. Add a "##" to ensure that subsequent typing will be treated as a title.
Select [Mark] in the drop-down box, and you can see that the unit becomes as shown in the figure below. At this time, there is no In[ ]: in front of the unit, indicating that the unit is in the marked state, that is, the "note" state, which can be understood as It's a "sticky note" where you can write.

In addition to switching to the mark state through the drop-down box, it can also be switched with the shortcut key [M]. Select the unit and press capital M in command mode to switch.
[Title] is similar to tags. You can enter text. You need to add # in front (there must be a half-width space after #) to distinguish it from tags. Titles at different levels have different sizes, which is the same as the title concept in word (the second picture below is the result after running).


4. How to switch back to the code state?
There are two ways, one is through the drop-down menu and the other is through the shortcut keys. The drop-down menu method is similar to switching to the marked state, so I won’t go into details here. The shortcut key is to switch via [Y]. Select the unit and press uppercase Y in command mode to switch.
5. Commonly used shortcut keys in command mode
Shift+Enter: Run this unit, select the next unit
Ctrl+Enter: Run this unit
Alt+Enter: Run this unit, insert a new unit under it
Y: The unit moves to the code state
M: The unit moves to the markdown state
A: In Insert a new unit above the current unit
B: Insert a new unit below the current unit
X: Cut the selected unit
Shift +V: Paste unit above
DD: Delete the selected unit
h: Display a list of shortcut keys and their functions in various modes
3. Summary
This post mainly shares with you how to MacOSstart and use it under the system Jupyter Notebook. Looking forward to communicating with you more!