Now with the development of HTML5 and mobile, Hybrid and Web App have become the development trend. I also found that the pure source Android App can no longer meet the daily needs, so I also began to learn HTML5, CSS and JavaScript and other web development technologies.
I am using the HBuilder development tool. It has two ways to generate a Web App. One is the cloud packaging method, which is relatively simple. After registering an account, setting some attributes such as id and icon can automatically generate an apk file. The difficulty is the offline packaging method, that is, using development tools such as Android Studio for offline offline packaging. After I checked a lot of information and tested it myself, I finally successfully completed the offline packaging. Below I will introduce the main process for reference by other developers:
1. First, go to the official website to download
the official website address of the SDK http://ask.dcloud.net.cn/article/103
There is a complete demo: HBuilder-Integrate-AS
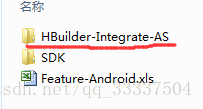
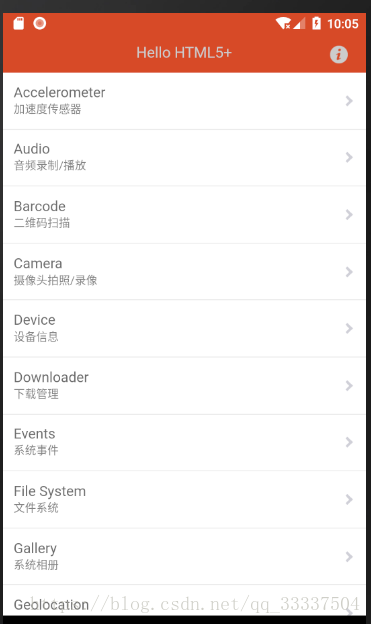
After importing using Android Studio, it can basically run independently. Then there is an official demo, which is full of functions
. 2. Then open HBuilder and export the relevant resource files of our Web App.
Click Release → Local Packaging → Generate Local Packaged App Resources
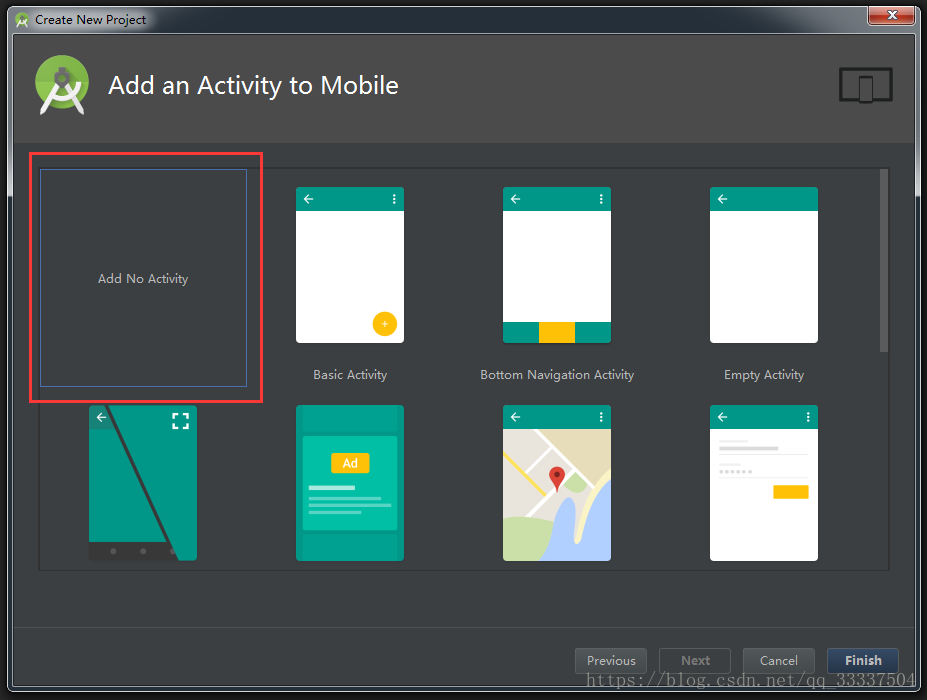
3. Create a new Project in Android Studio, do not select Any Activity
4. Copy the key code in the AndroidManifest in HBuilder-Integrate-AS to our newly created Project
<supports-screens
        android:anyDensity="true"
        android:largeScreens="true"
        android:normalScreens="true"
        android:resizeable="true"
        android:smallScreens="true"/>

    <application
        android:name="io.dcloud.application.DCloudApplication"
        android:allowBackup="true"
        android:allowClearUserData="true"
        android:icon="@mipmap/ic_launcher"
        android:label="@string/app_name"
        android:largeHeap="true"
        android:supportsRtl="true">


        <!--===========================================广告联盟配置相关 开始===================================-->

        <activity
            android:name="io.dcloud.PandoraEntry"
            android:configChanges="orientation|keyboardHidden|screenSize|mcc|mnc|fontScale"
            android:hardwareAccelerated="true"
            android:screenOrientation="user"
            android:theme="@style/TranslucentTheme"
            android:windowSoftInputMode="adjustResize">

            <intent-filter>

                <action
                    android:name="android.intent.action.MAIN"/>

                <category
                    android:name="android.intent.category.LAUNCHER"/>
            </intent-filter>
        </activity>
        <!--开发者须自行配置该字段对应value值,替换appid和adid为自己应用的appid和广告联盟会员id,否则可能影响统计结算-->
        <!--<meta-data-->
        <!--android:name="DCLOUD_STREAMAPP_CHANNEL"-->
        <!--android:value="io.dcloud.HelloH5|HelloH5|adid" />-->

        <!--===========================================广告联盟配置相关 结束===================================-->

    </application>
5. Then copy the resource file just exported from HBuilder to Project.
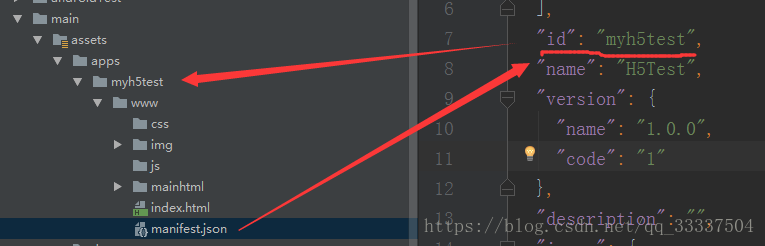
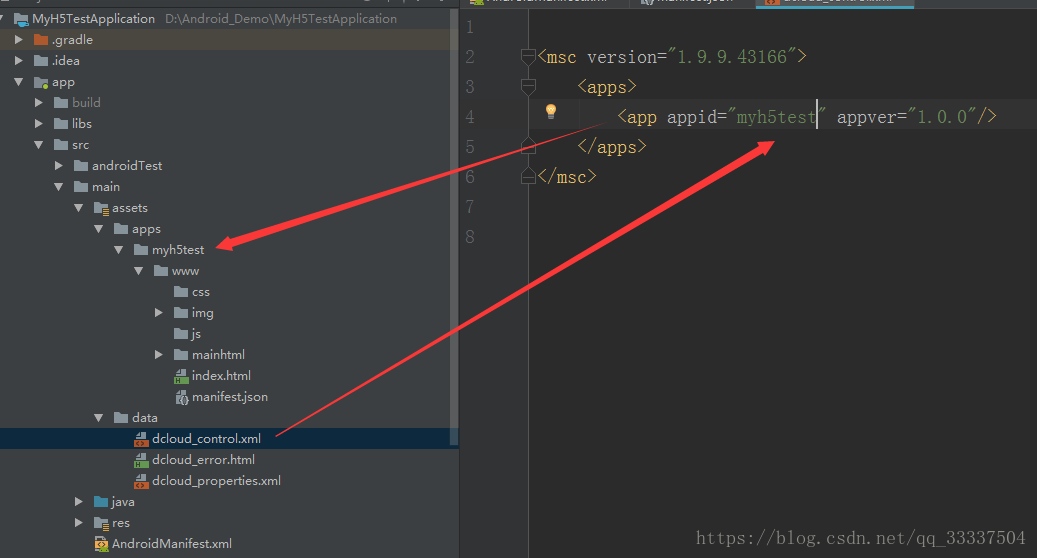
In the main directory of the src directory, create a new assets resource folder, then create a new apps folder, and then create a new [id] folder. This id must be the same as manifest. The id in json is the same, and then copy the resource folder www of HBuilder to this
directory Modify the appid, which is the name of the folder we mentioned in the fifth step, and appver is the name of the version (officially said that it must be consistent, and I found nothing wrong by writing it myself, maybe this is related to version control)
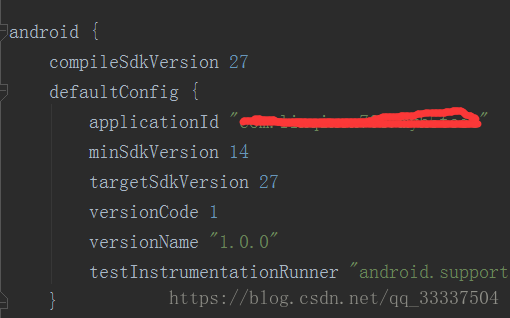
7. Note, build The applicationId in .gradle needs to be consistent with the package in the manifest, otherwise an error will occur.

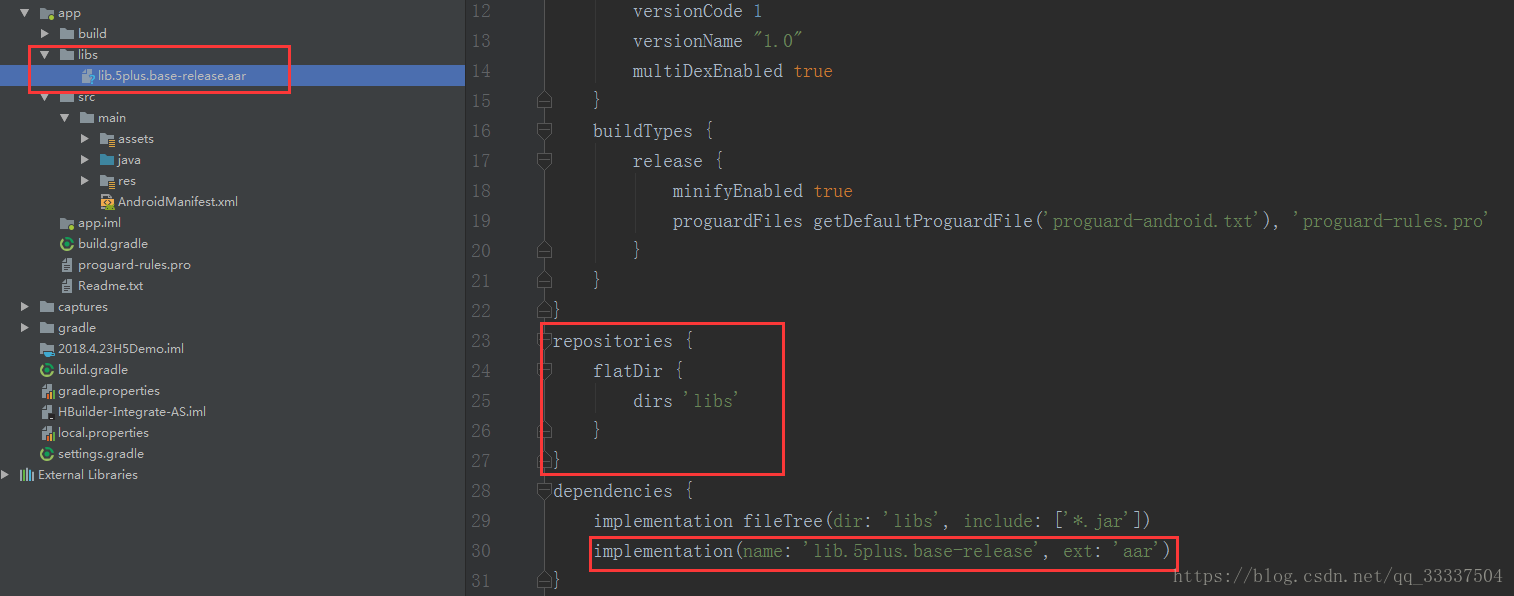
8. Find the lib.5plus.base-release.aar file in the libs folder in HBuilder-Integrate-AS and copy it to your own Project , and configure relevant information in build.gradle
9. At this time, friends can run their own APP to see the effect
PS: If you find that there are circles on the screen after running the app, please carefully pay attention to whether the 5th, 6th, and 7th steps are correct. If the relevant id is inconsistent, please correct it