超简单实现小程序用户授权登录与退出
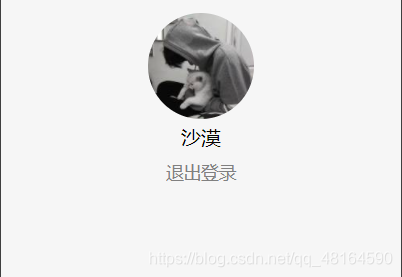
先看效果,一睹为快
1. 话不多说,上代码
1.1 wxml
<view class="header">
<button class="button" wx:if="{

    {!userInfo}}" bindtap="login" type="primary">授权登录</button>
<view wx:else class="root">
 <image src="{

    {userInfo.avatarUrl}}" class="toxiang"></image>
 <text class="nicheng">{

    {

    userInfo.nickName}}</text>
 <text class="login_out" bindtap="loginout">退出登录</text>
</view>
</view>
1.2 css
.header{


  height: 450rpx;
}
.button{


  margin-top: 150rpx;
  width: 60%;
}
.nicheng{


  color: rgb(5, 5, 5);
}
.root{


  display: flex;
  align-items: center;
  flex-direction: column;
}
.toxiang{


  width: 200rpx;
  height: 200rpx;
  border-radius: 50%;
  margin-top: 30rpx;
  margin-bottom: 10rpx;
}
.login_out{


  font-size: 33rpx;
  color:grey;
  margin-top: 20rpx;
}
1.3 js
Page({


  data: {


    userInfo:''
    },
    onLoad(){


     let user=wx.getStorageSync('user')
     this.setData({


      userInfo:user
    })
    },
    //授权登录
  login(){


    wx.getUserProfile({


      desc:'必须授权才能上使用',
      success:res=>{


      let user=res.userInfo
      //把用户信息缓存在本地
      wx.setStorageSync('user', user)
      this.setData({


        userInfo:user
      })
      },
      fail:res=>{


        console.log("失败",res)
      }
    })
  },
  //退出登录
  loginout(){


    this.setData({


      userInfo:''
    })
    //清理本地缓存
    wx.setStorageSync('user', null)
  },
})
2.原理解析
主要用到了微信提供的 wx.getUserProfile API接口,当页面产生点击事件(例如 button 上 bindtap 的回调中)后才可调用,每次请求都会弹出授权窗口,用户同意后返回 userInfo,用户登录以后需要把信息缓存到本地,这样当用户再次进入小程序时就不会频繁的进行登录处理,提高用户的体验。
缓存到本地,是通过使用 wx.setStorageSync把信息缓存到本地。
3.大家可以关注我的公众号,里面有更多的小程序项目