QT creates application framework
This article is an introduction to creating a program framework with QT. I only have one year of development experience, and the solution is not necessarily the best, but the method provided in this article is guaranteed to be effective. And give hints to the pits that will be encountered in the development. This article is completely original, please quote the source.
Development environment
This article adopts Qt5.10.0+VS2015, and the creation of the interface adopts Qt designer. This scheme is used to decouple the interface and the processing program to facilitate the development of industry software. There are many tutorials for building development environment, so I won't repeat them here.
create project
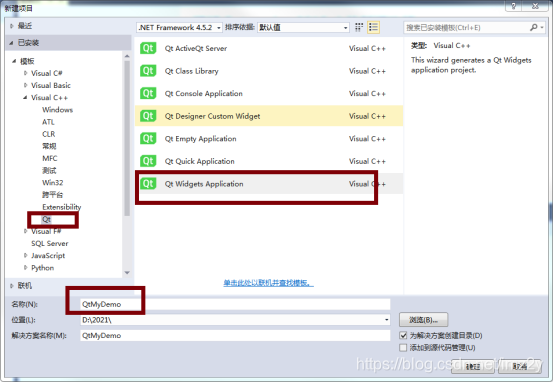
Open VS2015, click [File]-"[New]-"[Project], select [Qt] under [Visual C++] under [Template], and select [Qt Widget Application], enter [QtMyDemo] in the [Name] position ]. [Location] Select the folder where the solution is located. See the figure below:
select [Next] in the pop-up dialog box, and [Next] is omitted.
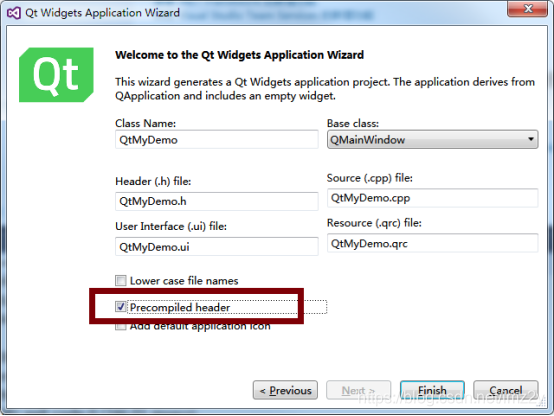
Check "Precompiled header" in the figure below. This option uses a predefined header file. Click [Finish] to complete the new project navigation.
Now click the right mouse button in the solution window to take [QtMydemo], and click Generate. The project can be compiled successfully, and it runs without problems.
Now there is a big hole: there are red lines under some classes and objects, indicating that no definition files were found. Even QtWidgets in stdafx.h cannot be opened. Solution:
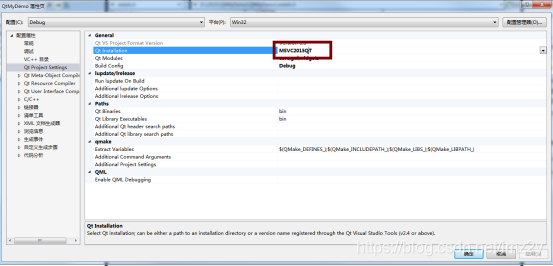
Click on the [Qt project setting] in the menu [Qt VS TOOLS], re-select the qt version (change to another version, click the application, and then click back) so that the qt environment is set.
Add menu and response function
Add menu
Double-click [QtMyDemo.ui] in [Resource File], and use Qt designer to edit the interface.
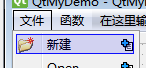
1. Click [Enter here] and enter the menu name.
Objective, another pit: You must enter the English name when you enter it for the first time, so that the project name can be named after the menu name.
2. Modify the menu name. Click the menu, modify [text] in the attribute editor
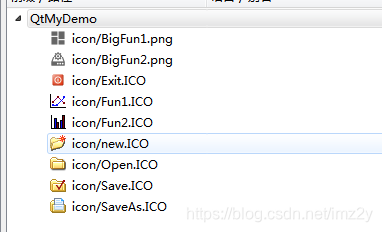
3. Add icons to the menu. Copy the pre-prepared icon files, prn files and jpg files to the program directory (all kinds of files are supported, very convenient). In this example, create an icon folder and copy the icon file into it.
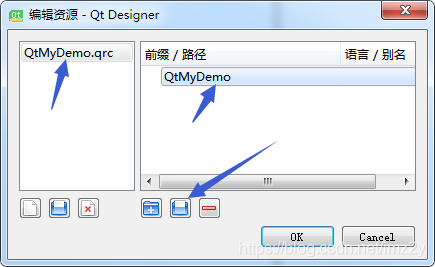
Select the drop-down menu behind the icon in the property editor, and then click [Select Resource]-"[Edit Resource]-" [Add File]. The arrow in the following figure should be selected: After
 selecting the icon file and confirming, the icon file is added to the resource. Select "new.icon" and click [OK], then the menu text and icon settings are completed. See below. .
Modify all menus according to the above operations (add icon resources only need to select the icon in the resource).
Add menu response function
The signal-slot mechanism of Qt is very convenient. There are many information on the Internet. You can use Qt designer to complete the menu response function. There is an inconvenience here, that is, the corresponding function needs to be defined first. My method of operation is to arrange a button first, and then add many slot functions. If the interface has a lot of content, it will be messy to use Qt designer to create signal-slot functions. Here is another method: write the slot function directly.
Add directly below the constructor of QtMyDemo.h:
public slots:
	void on_actionFun1_triggered();
	void on_actionFun2_triggered();
。。。。。。
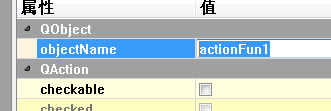
This Qt macro is written, where "actionFun1" is the object name of the menu attribute.
Then add the function body in QtMyDemo.cpp, on_actionFun1_triggered(); and set a breakpoint in the function body, compile and click the menu after running, you can see that the program calls the function body.
Window layout
1. Remove "toolbar" and "status bar".
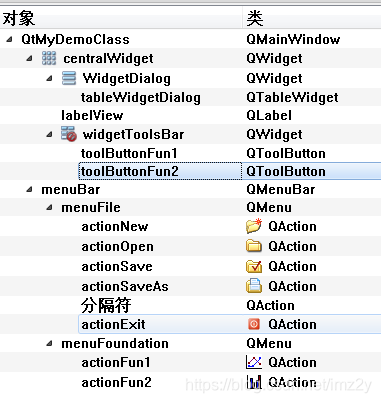
2. Add two widgets to the window, one label, named widgetToolsBar, widgetDialog and labelView.
3. Set centralWidget to grid layout.
4. The minimum height and maximum height of widgetToolsBar are set to 50; the minimum width and maximum width of widgetDialog are set to 300. This is done so that when the window size is adjusted, the dimensions of the above two spaces remain unchanged in one direction and full in the other direction. Give the labelView the largest area.
 5. Set the background color of widgetToolsBar, widgetDialog and labelView, omitted.
6. Add a tableWidget plug-in to widgetDialog for input data. You can also embed a dialog box to enter data here. This method is introduced in another article.
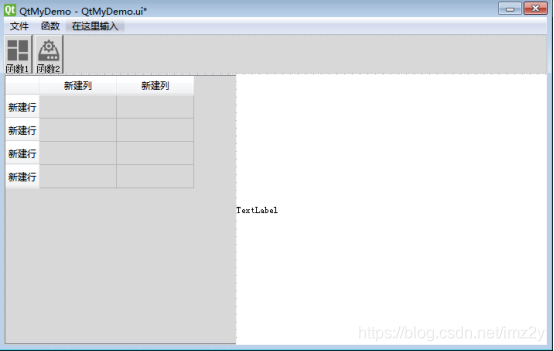
Test: Drag the lower right corner of the window in Qt Designer, and the control is set correctly when the window is full. See below:
Add toolbar buttons and corresponding functions
1. Drag two tool Buttons into widgetToolsBar and name them toolButtonFun1 and toolButtonFun2 respectively.
2. Modify the text in the attribute to: "Function 1", "Function 2"
3. Select the icon. Two png files have been added to the resource here. The size of the icons in the format can be set at will, while the ICO file only has a fixed size. The adding method is similar to the ico file.
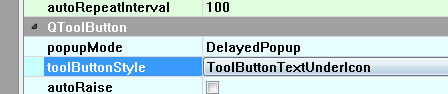
 4. The value of toolButtonStyle is selected as the text under the icon. See below.
5. Add the corresponding function
Similar to the method of defining the menu file, add it directly below the constructor of QtMyDemo.h:
public slots:
	void on_toolButtonFun1_clicked();
	void on_toolButtonFun2_clicked();
Then add the function body in QtMyDemo.cpp.
summary
Designers who use Qt can easily build a program interface framework and use Qt's macro mechanism to add menu and tool button response functions. Qt supports png and jpg images as icons. There are some skills that need to be paid attention to during the operation, otherwise the code cannot be written, such as: the setting of the Qt installation version; the object name of the menu is entered in English; the parent window of several controls should be selected when setting the layout.
Complete code download