install nginx in contos system
The whole process was carried out by the boss. I just wanted to prevent myself from forgetting, so I wrote a blog to record it. One is to prevent a place to check when I forget it in the future, and the other is to provide it to people who see my blog. A little help, because after I bought the server, I found that I didn't know how to start. It was really uncomfortable. All kinds of information are wrong.
Install nginx on the server
Because I wanted to do it, I bought a server when Alibaba Cloud had activities. Now, first enter Alibaba Cloud, log in, and enter the console. I have already bought the server and enter it directly. I bought ECS.

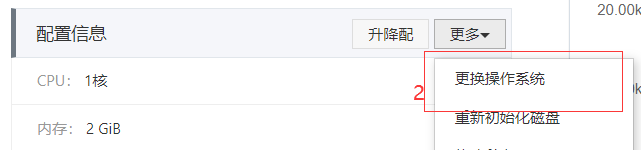
Now I need to change the operating system to centos. Before changing the operating system, I need to shut down the server. The operation steps as shown in the figure below are one or two. In step two, there is an option to change the operating system. select.

A custom password is required for later connection, which is simple and easy to remember.

After that, turn on the server and enter the remote control interface. As shown in the figure
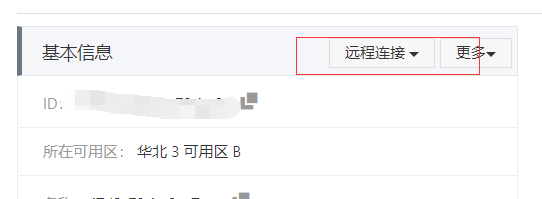
below, enter the following interface, enter the user name and password, the user name is root, and the password is the custom password when you just changed it to the centos system.

Enter the following interface and enter "yum install nginx", output a bunch of information, and then ask whether you want to install the "y/n" and select "y"

when the prompt "complete" is displayed, the installation is successful, then enter:
1. "Yum i nginx"
2, "y"
3, "service nginx start"
as shown in the figure,

this part is completed.
Then return, enter the server security group, click Configure Rules,

click to add one manually, then the destination is 80, the source is 0.0.0.0/0, and then save. Then you can access the server. Enter the public IP address: 80 on the webpage, and you can access it.


It will be successful if it appears! ! !
Upload your own project deployment to the server
At this step, the computer needs to download a software called Xftp.
Official website: XFTP official website
says that individuals can use the free version, otherwise you can find Baidu Cloud!
Not much to say here.
Fool-style installation, just click the next step, if you need to change the installation directory.
After the installation is successful, run and open XFTP.
The interface is as follows:
click to connect to the server, fill in the information according to the instructions in the figure below, and connect.

After success, it is the following interface:

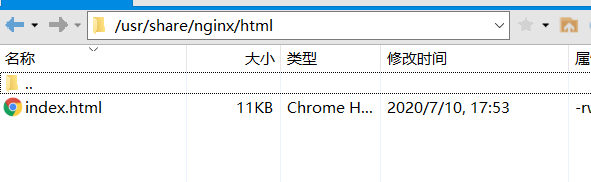
If you want to upload the project, you need to find the server directory, and then upload the project to this directory, "/usr/share/nginx/html".
To upload the project, right-click the project on the computer and select transfer.

Okay, that's it! ! !
Thanks for your help! Then I did this step as the boss said and experimented myself.