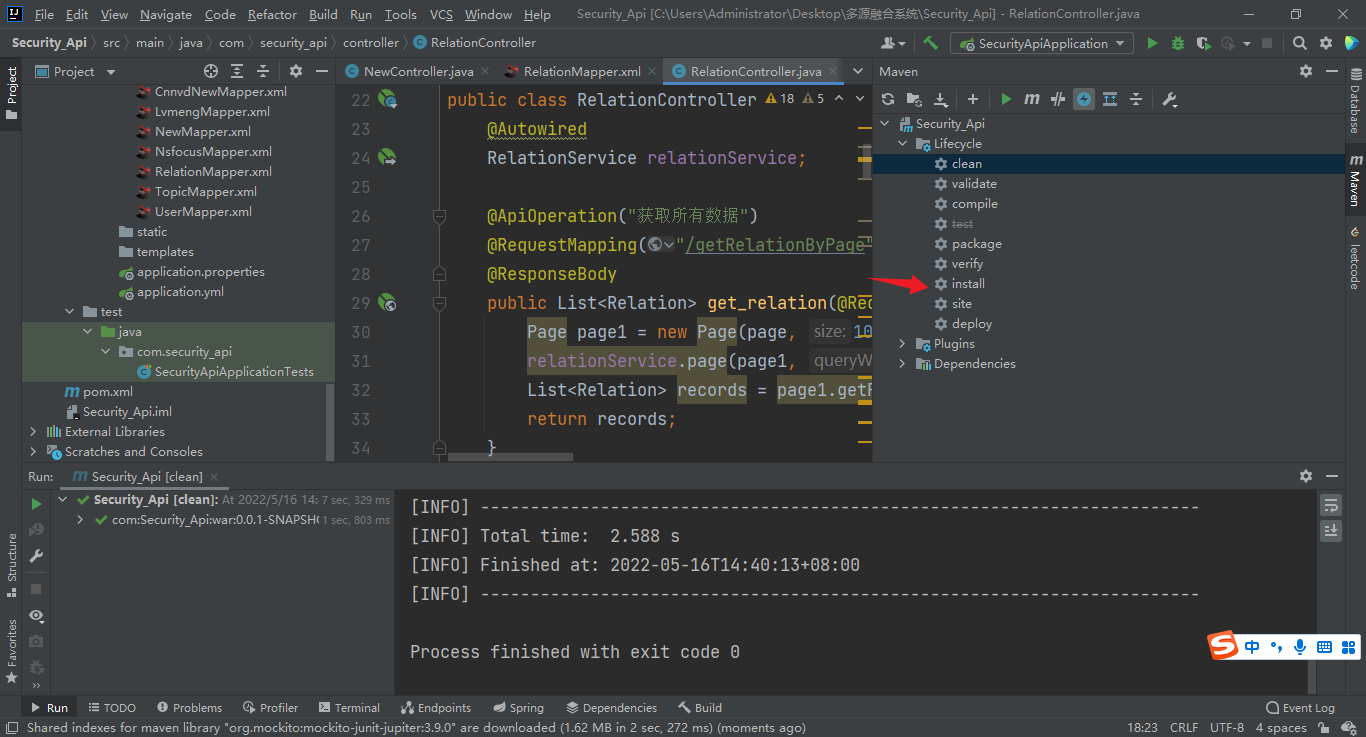
1. Clean the project
After we finish writing the project, first click Maven on the right side of IDEA, and then click clean to clean the project.

2. Package and install the project
After the first step of clean is completed, in the second step we click install or package to package the project.
3. Take out the war package
After the second step is completed, a war package will be generated in the target directory, as shown in the figure below. We first copy a copy and put it on the desktop, and then change the name to the name you want (because of the needs of our project, change it to Security_Api_V1 .war)

4. Log in to the server
Use Xshell software to create a new session and enter the IP address
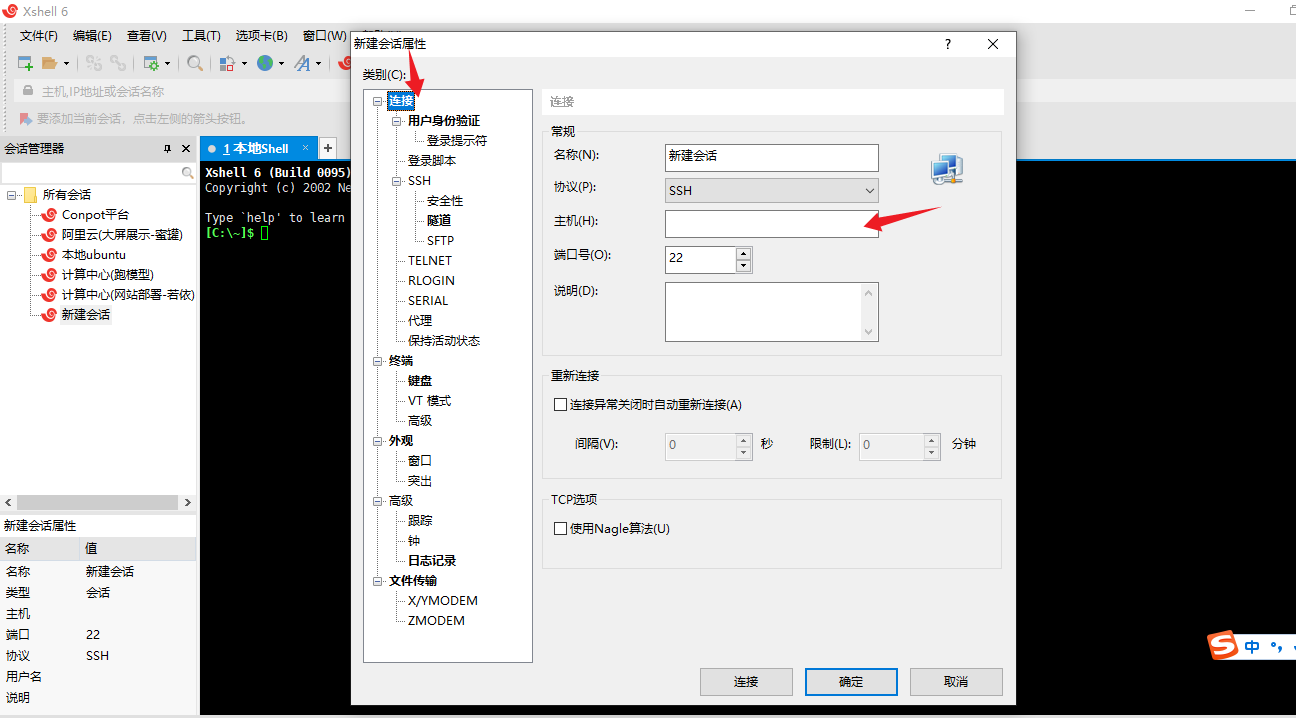
Then click User Authentication, enter the server account and password, and click OK to connect to the server.

5. Close the tomcat service
Use the command to enter the bin directory under the tomcat server
cd /usr/local/tomcat/bin/Then use the following command to shut down the tomcat service first
./shutdown.sh 6. Enter the target folder (referring to the webapp folder of tomcat)
Use the command to enter the target folder
cd /usr/local/tomcat/webapps/Then click on this part of Xshell, as shown below,
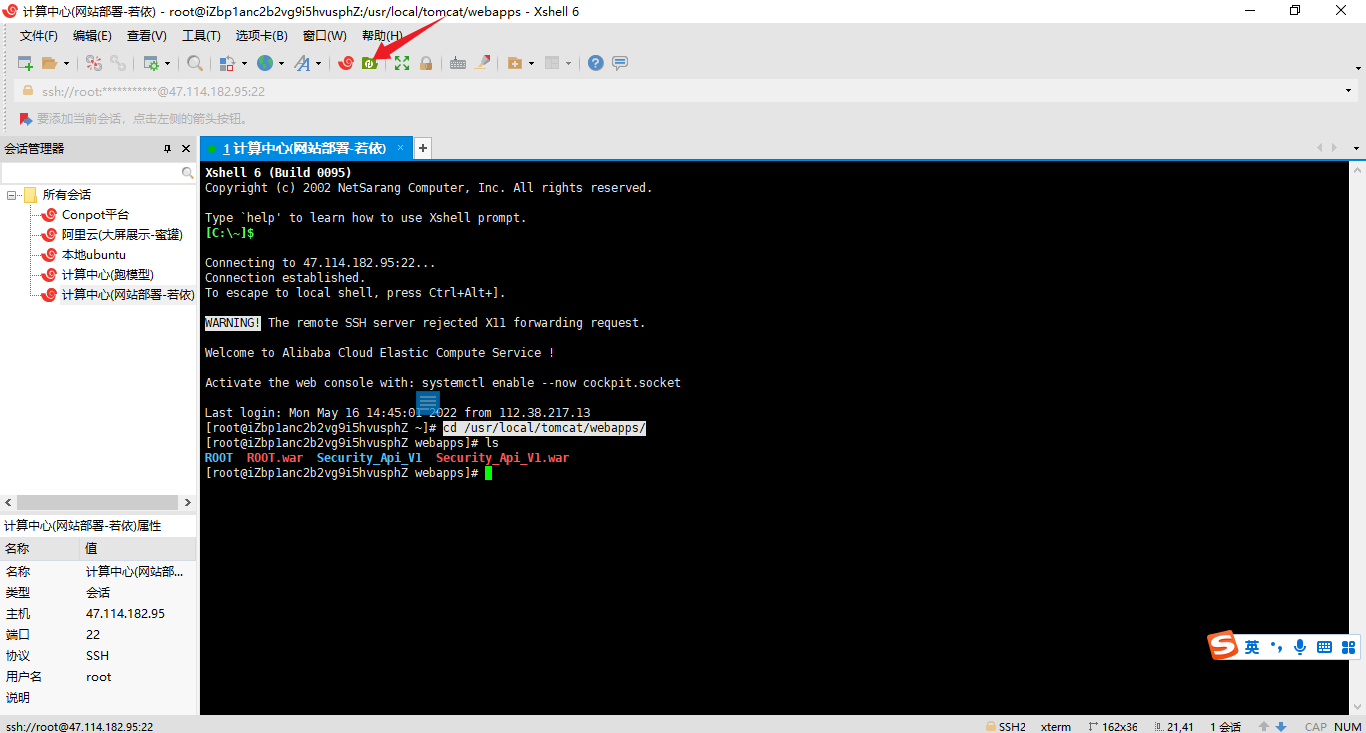
The following interface will appear

7. Delete the old Security_Api_V1 folder
We delete the two files Security_Api_V1 folder and Security_Api_V1.war
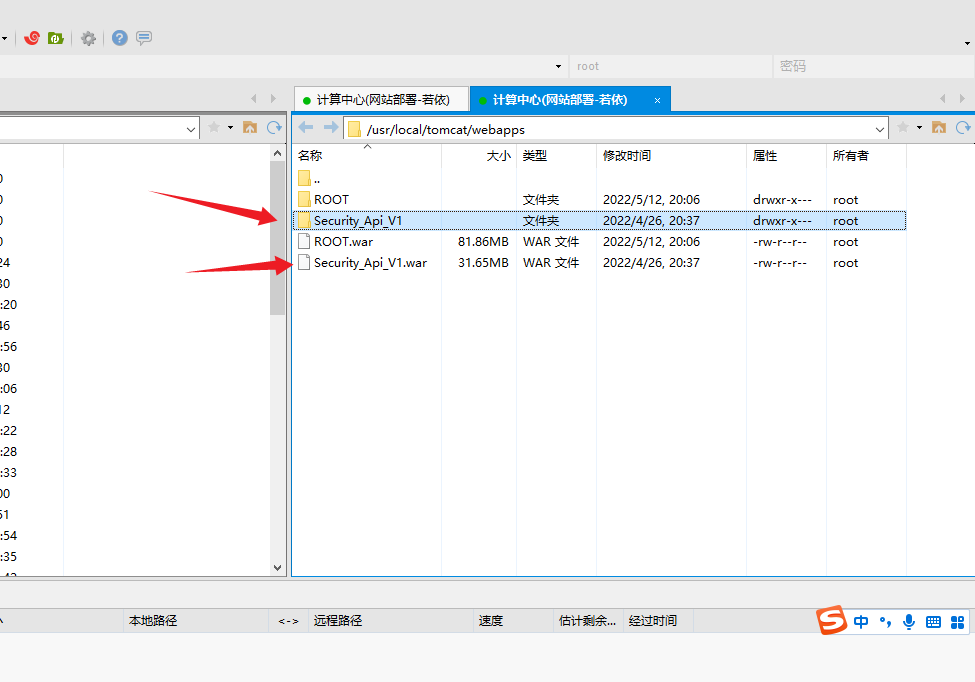
8. Upload the new Security_Api_V1.war to the server
We click on the Security_Api_V1.war package placed on the desktop on the left, and then it will be uploaded to the server

9. Open the tomcat server
Then we open the Xshell command input interface and enter the following command
cd /usr/local/tomcat/bin/Then open the tomcat service
./startup.sh10.Testing
When we enter ip:port/project name/swagger-ui/index.html in the browser, we can see the swagger interface that successfully opened the new deployment project.
![]()