written in front
Hello everyone, I am Huang Xiaohuang. Not long ago, we perfected the blogging system based on servlet and jdbc. This article will take this system as an example to demonstrate how to deploy the blog system to a Linux cloud server.
Blog system portal:
[JavaEE] Separation of front-end and back-end to realize blog system (page construction)
[JavaEE] Separation of front-end and back-end to realize blog system (back-end implementation)
What do I have to do?
If we want to build a Java runtime environment on a Linux system and be able to deploy Java Web programs, the following points need to be met (for the blog system written before):
- Install JDK
- Tomcat
- MySQL
Without further ado, the text begins!

Article directory
1 Cloud server environment configuration
1.1 JDK installation
For the installation of JDK, we use the method based on yum. Yum is a "package manager", which can be understood as the application store in our mobile phone~
You can list all the packages and their names on the store server with the following command :
yum list
However, for an application store, the amount of software packages it contains is very large~ If you type this command hastily, it will cause the screen to refresh~ At this time, there is a high probability that you can only face the screen Big eyes and small eyes!

We use the following command to match the results:
yum list | grep jdk
|: Pipeline, its function is to use the output of the previous command as the input of the next command;- grep: string filtering;
- grep jdk: According to the output result of yum list, match the text lines containing three letters of jdk.
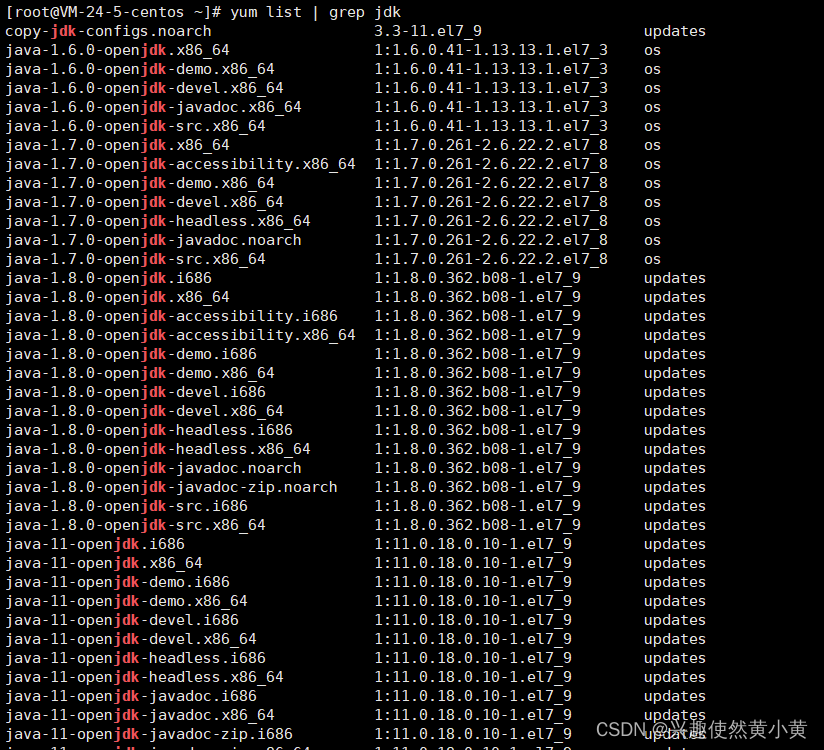
Select java-1.8.0-openjdk-devel.x86_64 to download.
- devel: Indicates the development tool, that is, jdk, the most complete thing~
- x86_64: Indicates that this software package is suitable for 64-bit x86 CPU (x86 is the most mainstream CPU architecture, which describes the approximate specifications of the CPU)
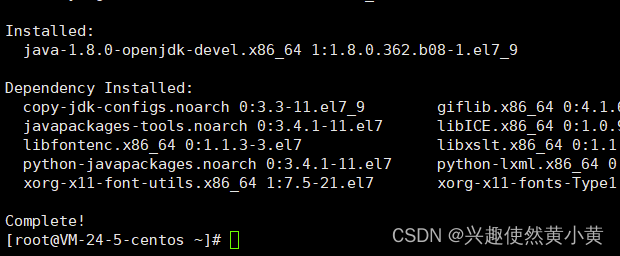
Execute the following command to install, and type y to confirm:
yum install java-1.8.0-openjdk-devel.x86_64
1.2 Tomcat installation
1.2.1 Installation steps
yum list | grep tomcat
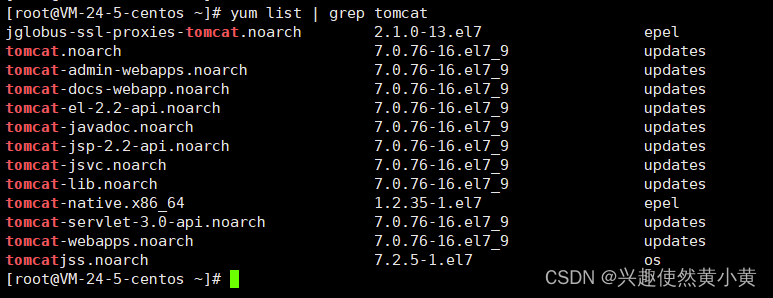
It can be seen that using the yum method, the packages are relatively old. The Tomcat used in the blog system we wrote before is the 8.5 series version. In order to avoid program bugs caused by version issues, we use other methods to install Tomcat. (Tomcat, JDK and Servlet versions must match)
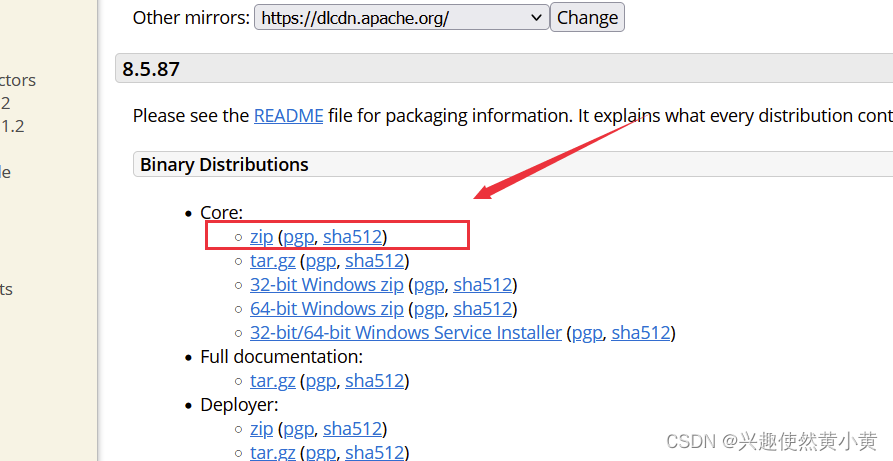
Enter Tomcat official website, select apache-tomcat-8.5.87.zip and click to download
https://tomcat.apache.org/download-80.cgi
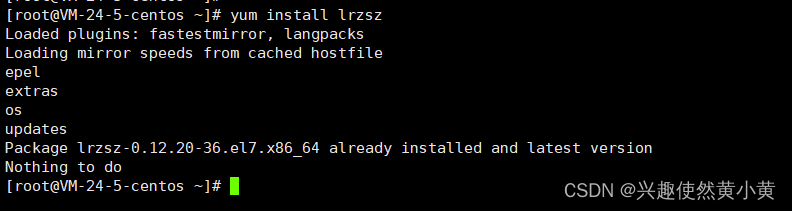
After downloading, you can directly drag and drop it into xshell to upload to the server. However, by default , drag and drop is generally unsuccessful, because drag and drop upload depends on the rz command, and you need to use the following command to install the dependent command before uploading:
yum install lrzsz
- rz command: transfer files on windows to Linux server
- sz command: transfer files on Linux to windows
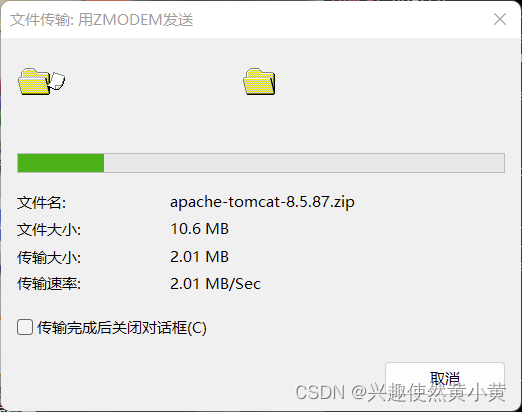
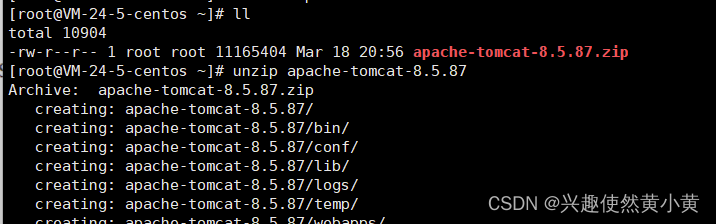
Directly drag the downloaded apache-tomcat-8.5.87.zip into xshell to upload to the server.
Unzip it with the following command
unzip apache-tomcat-8.5.87
 If you can’t unzip, you can use yum to install first. I have to say that yum is really convenient~
yum install unzip
To start tomcat, you need to use the startup script.
- .bat: used by windows
- .sh: used by Linux

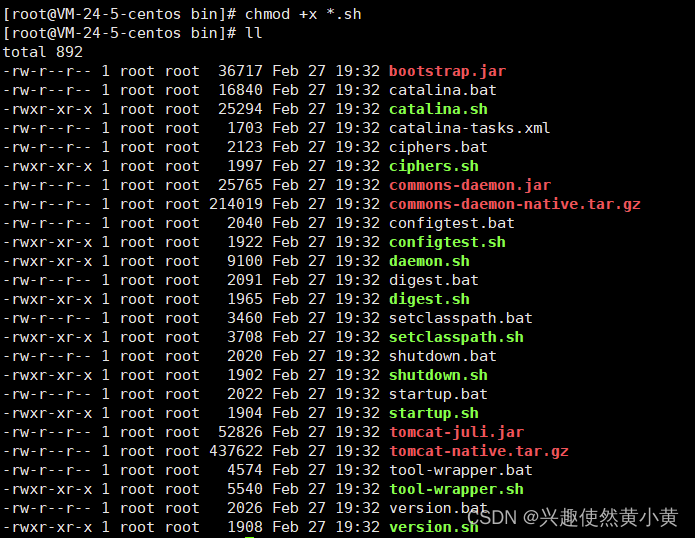
But in the Linux environment, it cannot be started by double-clicking, what should I do?
- For the first use, you need to set executable permissions for all .sh files (execute the following instructions in the bin directory):
chmod +x *.sh
Green means executable!
- Start Tomcat! (Execute the following command in the bin directory):
sh startup.sh

1.2.2 How to verify whether Tomcat starts successfully?
Method 1️⃣: Check the tomcat process
ps aux | grep tomcat
- ps command: equivalent to the task manager on Linux, it will print out all the processes of the current host.
- grep tomcat: match the tomcat process (matching according to the tomcat keyword)

Method 2️⃣: Check the port number, the default port of tomcat is 8080
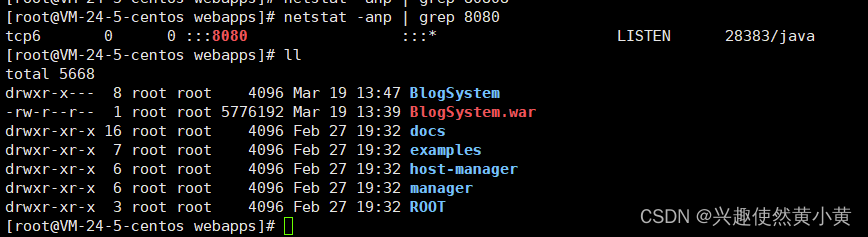
netstat -anp | grep 8080

As shown in the figure above, it means that Tomcat has started successfully. On a host, a port can only be bound by one process. If there is a port number conflict, you can modify the server.xml configuration file through vim and modify the port number to solve it.
Method 3️⃣: You can verify whether you can access the tomcat welcome page, and if you can access it, the startup is successful.
The access address is: 服务器的外网IP : Tomcat端口号, for example: 101.40.252.157 : 8080
However, under normal circumstances, the connection will time out. Cloud server manufacturers, in order to protect the server from hackers, have strictly restricted which ports can be accessed externally. It is necessary to configure the ports that allow external access on the cloud server background interface~Take Tencent Cloud as an example: so you can access

normally La!

1.3 MySQL installation
1.3.1 yum install MariaDB
MariaDB and MySQL are twin brothers. (The new code branch after the acquisition of MySQL generally does not perceive the difference between MariaDB and MySQL)
Install mariadb service
yum install -y mariadb-server
Install mariadb command line client
yum install -y mariadb
Install the mariadb C library
yum install -y mariadb-libs
Install mariadb development package
yum install -y mariadb-devel
1.3.2 Change configuration
The configuration database supports utf8 , use cd to enter the corresponding directory and then use vim to modify.
-
Add a line of configuration under the change
/etc/my.cnf.d/client.cnffile[client]default-character-set=utf8

-
Add a line of configuration under the change
/etc/my.cnf.d/mysql-client.cnffile[mysql]default-character-set=utf8

-
Add configuration under the change
/etc/my.cnf.d/server.cnffile :[mysqld]

collation-server = utf8_general_ci
init-connect='SET NAMES utf8'
character-set-server = utf8
sql-mode = TRADITIONAL
1.3.3 Start the service
start service
systemctl start mariadb
Set the service to start automatically at boot
systemctl enable mariadb
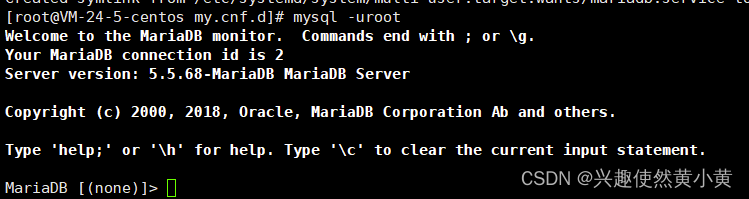
test connection
mysql -uroot
2 Deploy the blog project
2.1 The data that the project depends on is ready on the server
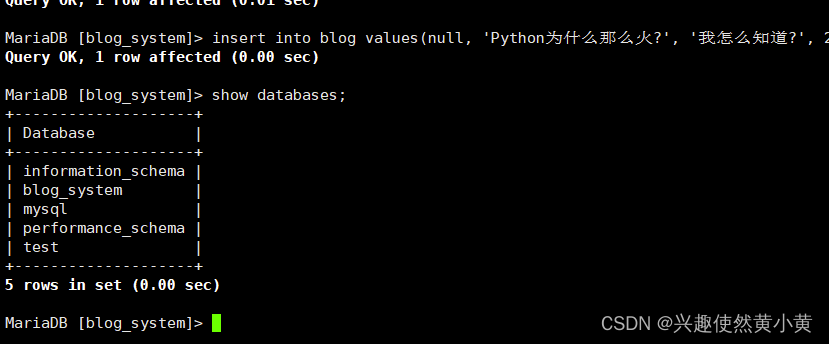
Paste the db.sql in the blog system project to the server and run it to build the database, data tables and necessary data required by the blog system.
In order to make the code run on the server and JDBC can also connect to the database normally, the code needs to be fine-tuned: mainly to change the password in the previous DBUtil.java to match the password of the database on the server~

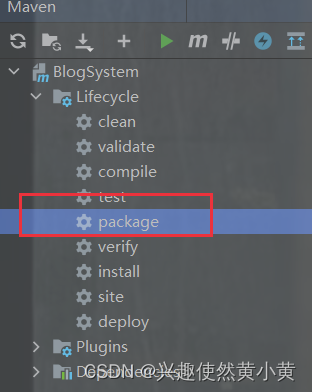
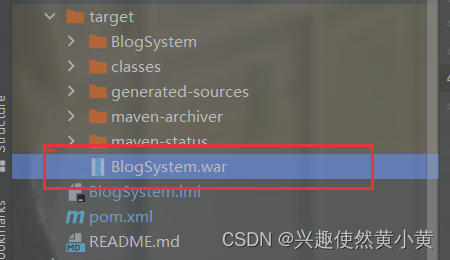
2.2 Use Maven to repackage the project
Generate War package based on Maven's Package operation. Add the following configuration to the pom.xml file, then double-click the package.
    <packaging>war</packaging>
    <build>
        <finalName>BlogSystem</finalName>
    </build>
will end up with a BlogSystem.warfile
2.3 Upload the war package to the cloud server
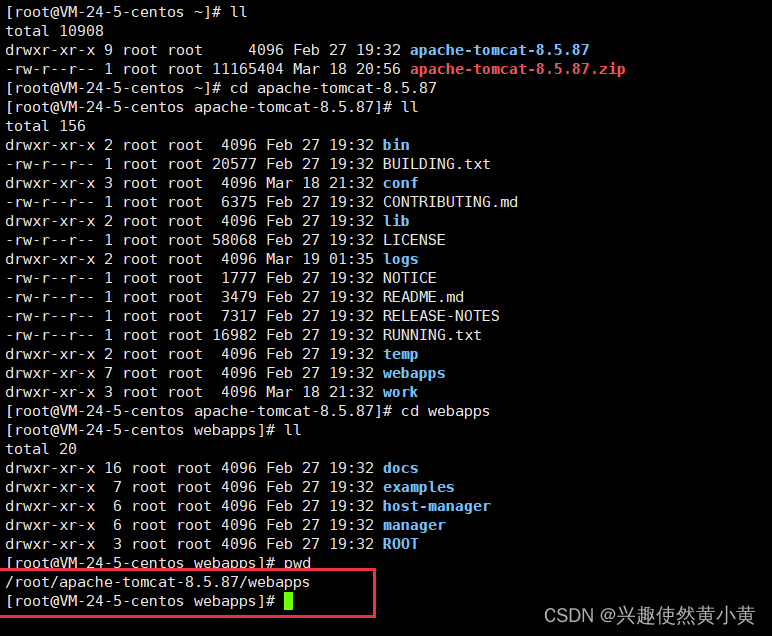
First cd to /root/apache-tomcat-8.5.87/webappsthe directory , which is the webapps directory of the Tomcat just installed.
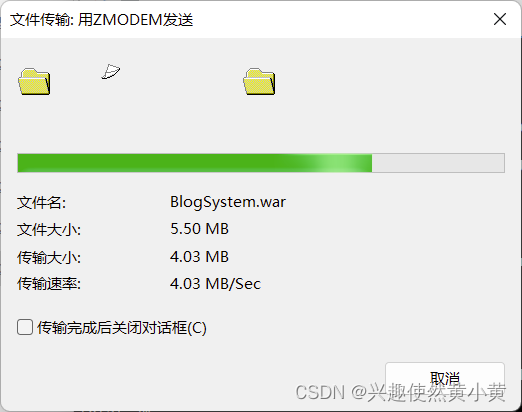
Drag the newly packaged war package, ie BlogSystem.warthe file , into Xshell and upload it to the server.
When Tomcat is running, it will automatically decompress the war package.
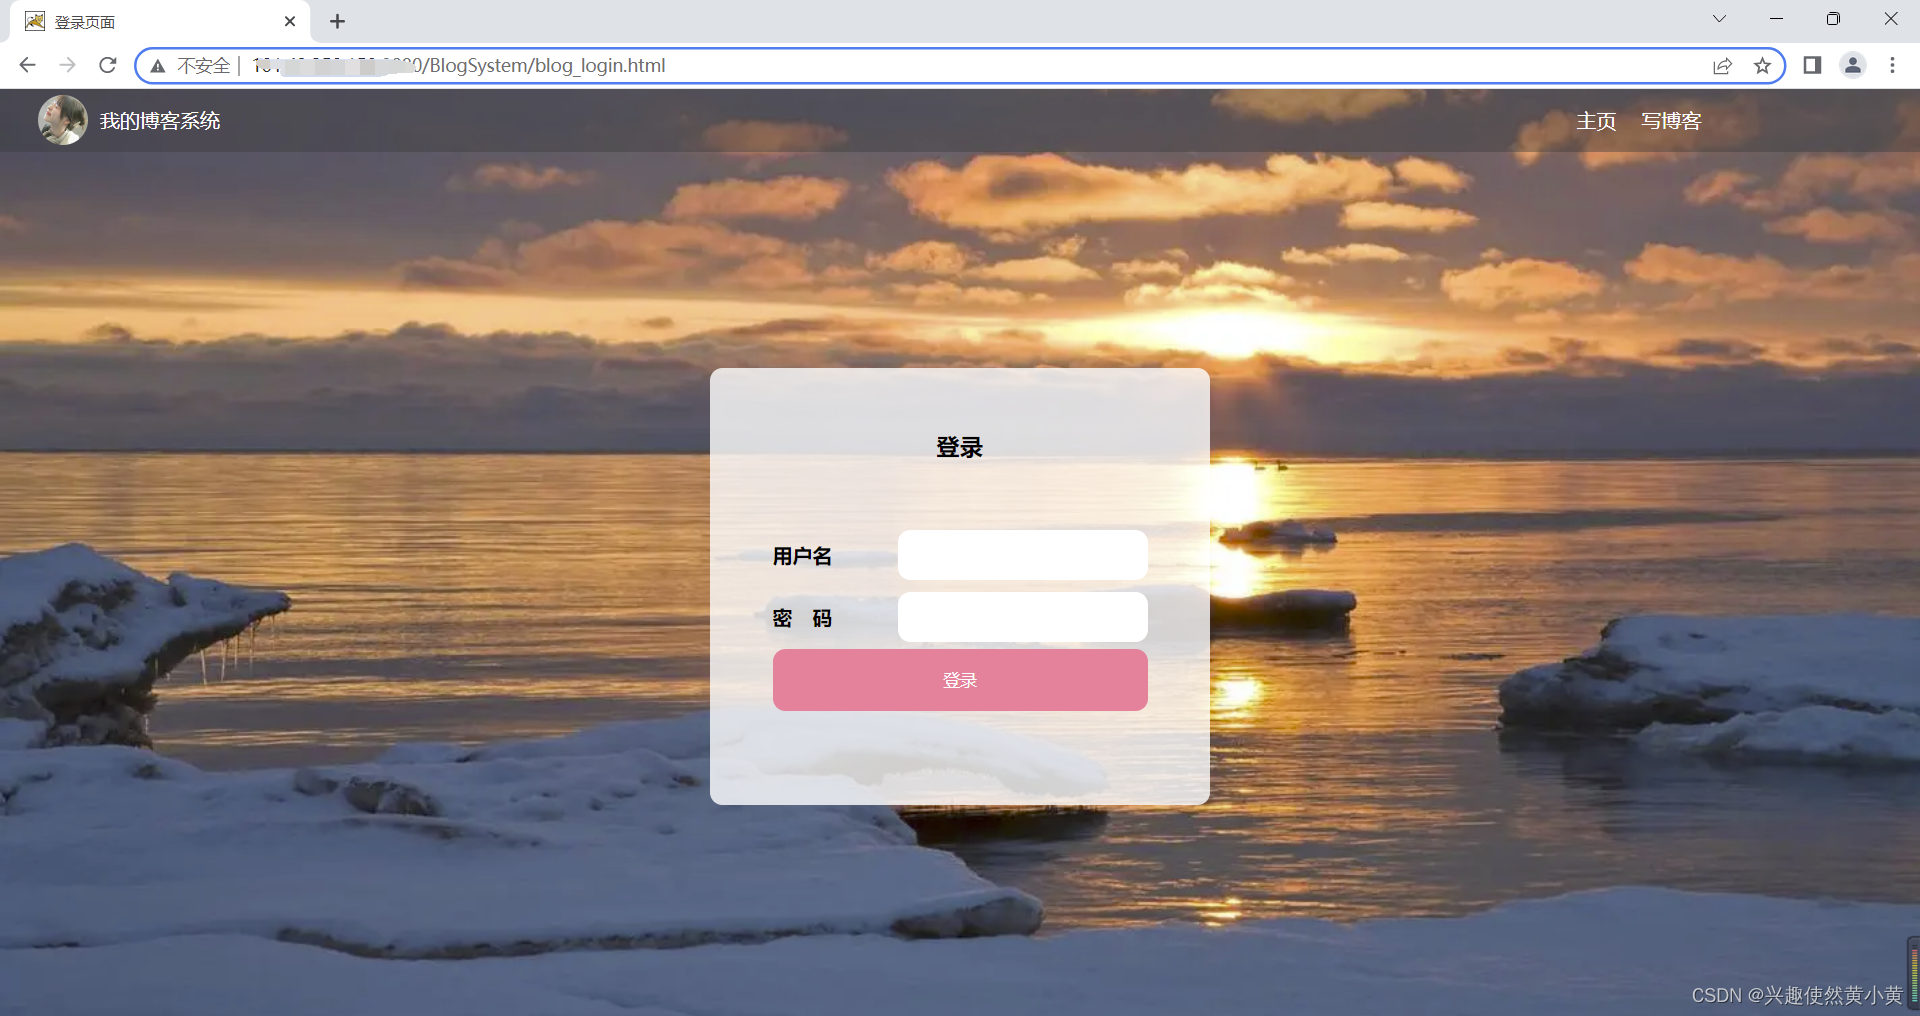
3 Access the deployed blog project through the public network ip
The URL is: 云服务器公网IP : Tomcat 端口号 / 项目路径
Example: http://101.40.252.157:8080/BlogSystem/blog_login.html
write at the end
The complete code of the blog system has been uploaded to gitee, please pick it up if necessary: https://gitee.com/hxh2001/blog-system
The above is the entire content of this article! Creation is not easy, if you have any questions, welcome to private message, thank you for your support!