The first part: JSON Introduction
<!DOCTYPE html>
<html lang="en">
<head>
    <meta charset="UTF-8">
    <title>JSON</title>
</head>
<body>
<script>

    //定义一个JSON对象
    var obj = {
        "class":"university",
        "name":2,
        "student":111
    };

    //可读性
    console.log(obj);
    console.log(obj.class);
    // 可写行
    obj.student = "学生真棒";
    console.log(obj.student);

    console.log(typeof obj);        //object  是一个json对象

    // JSON遍历
    for(var key in obj){
        console.log(key + ":" + obj[key]);
    }

    // JSON对象转字符串
    var obj1 = JSON.stringify(obj);
    console.log(typeof obj1);       //string
    // 字符串转JSON对象
    var obj2 = JSON.parse(obj1);
    console.log(typeof obj2);       //object

</script>
</body>
</html>
Part II: before and after the interaction
1. Environment Configuration :: :( using Virtualbox, pycharm, python3.6)
(1) virtual machine:
workon py3env  			#进入虚拟环境
pip install tornado  	#安装tornado库
pip list				#观察是否安装tornado库成功
(2) pycharm in :::
first step:
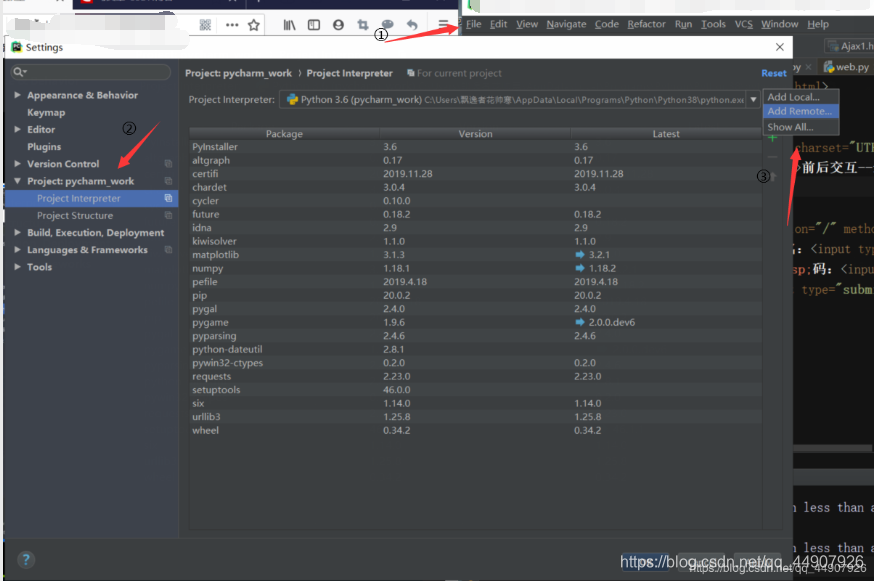

python interpreter path ::: / home / pyvip / .virtualenvs / py3env / bin / python3.6
Step two:
Change file uploaded from pycharm into a virtual machine, instead always automatically uploaded!
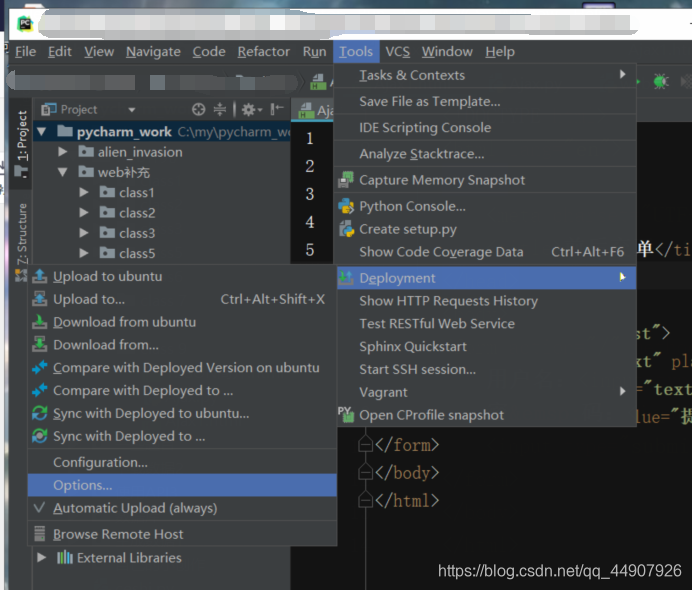
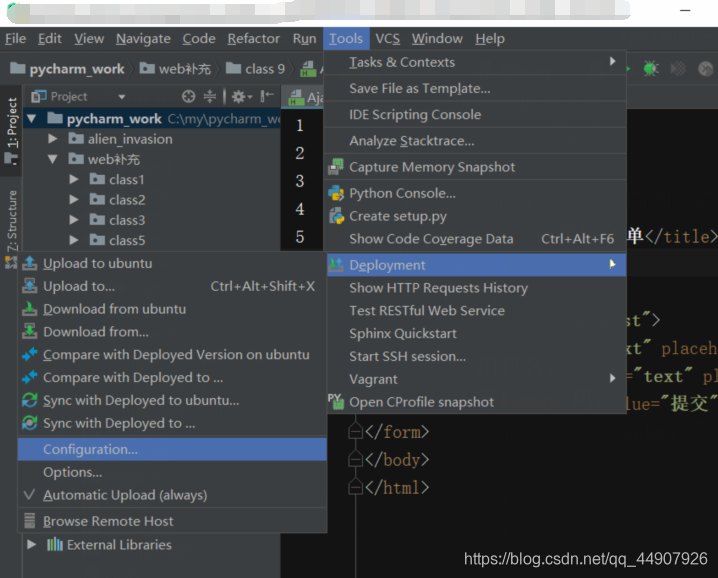
third step:
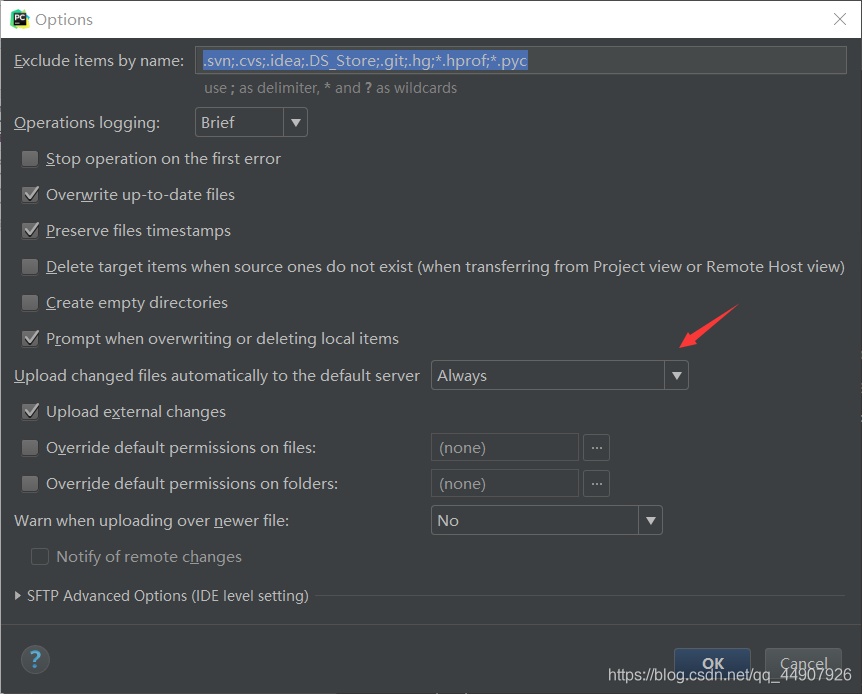
Setting synchronization paths, i.e. the virtual machine codes uploaded to the path
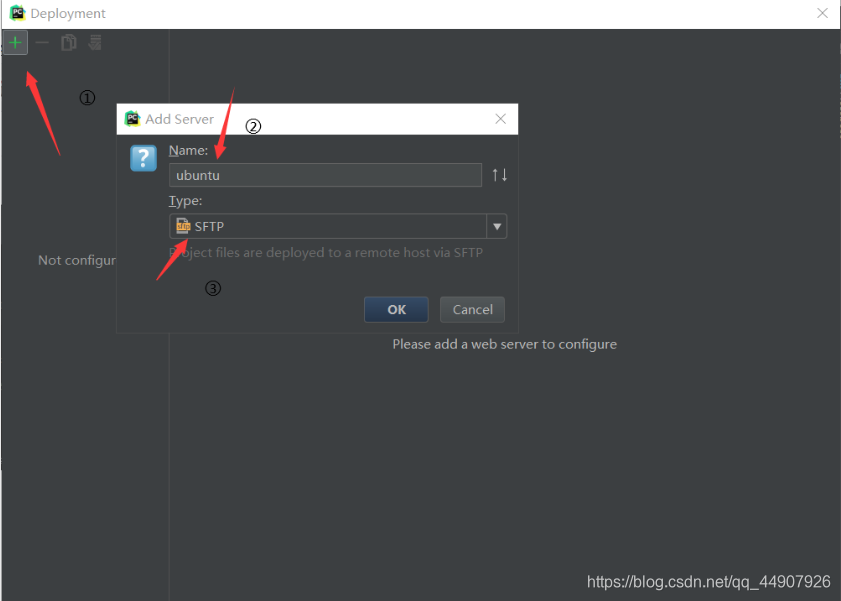
 Root path as long as / home / pyvip / can be selected in the directory, but can not choose the system folder (files beginning folder).
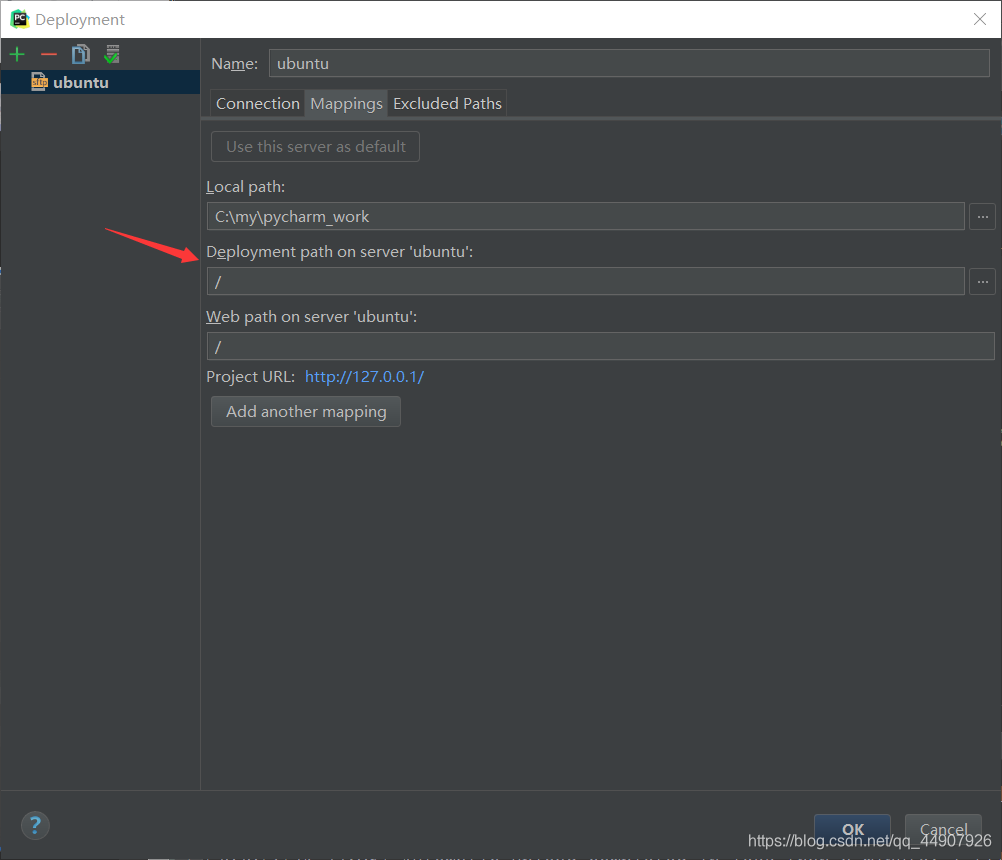 Root path two paths here and just write only a specific path, the other / can be.
2. described here before and after the interaction of two ways:
(1) using a single form of the name attribute for the front and rear side interaction
First of all!
import tornado.web
web view tornado in the original code, CV Dafa in which the 26-38 row
then! HTML code:
<!DOCTYPE html>
<html lang="en">
<head>
<meta charset="UTF-8">
<title>前后交互--form表单</title>
</head>
<body>
<form action="/" method="post">
用户名:<input type="text" placeholder="请输入用户名" name="user"><br>
密 码:<input type="text" placeholder="请输入密码" name="pwd"><br>
<input type="submit" value="提交">
</form>
</body>
</html>
At last! Python code:
import tornado.web

import tornado.ioloop
import tornado.web


class MainHandler(tornado.web.RequestHandler):
    def get(self):
        self.render("Ajax1.html")           #需要进行前后交互的HTML文件的路径
    def post(self, *args, **kwargs):        #此处的用post还是get取决于HTML文件中form表单的method属性(二者一样)
        #通过打印在控制台进行查看,有没有成功从前端拿到信息
        print(self.get_argument("user"))    #.get_argument()拿到的是单个的参数,里面参数是form表单里name属性的属性值。
        print(self.get_argument("pwd"))
        self.write("提交成功!")			#提交成功即可在前端页面显示  提交成功!

if __name__ == "__main__":
    application = tornado.web.Application([
        (r"/", MainHandler),             #r""里面的是需要进行同步的路径,需要和form表单里的action一致。
    ])
    application.listen(8888)             #端口号   对应虚拟机里设置的端口号
    tornado.ioloop.IOLoop.current().start()
How to achieve:
First of all: run .py file
after an error-free run HTML file
and then use the address bar instead of front-end interface: 127.0.0.1: 8888 and enter
no error shall be forwarded success
last to enter a user name and password, and click on the submit button displays the user name and password pycharm console.
(2) using the front and rear ends for interacting AJAX
** 1 using form form front and rear ends for interacting (conventional interactive mode) at the time of filing of the entire page is refreshed;.
Utilize asynchronous AJAX is loaded, the partial refresh can be performed without reloading the entire page at the premise.
2. What is Ajax?
Is an asynchronous loading technology, without reloading the entire page in the premise of local refresh.
3.Ajax how to use?
The use of Ajax into native and jq (Jquery) two kinds.
**
using the above method and that method exactly the same! ! !
JQ is used below the Ajax :::
1.python Code:
import tornado.ioloop
import tornado.web


class MainHandler(tornado.web.RequestHandler):
    def get(self):
        self.render("3.Ajax_jquery.html")      #需要进行前后交互的HTML文件的路径
    def post(self, *args, **kwargs):           #此处的用post还是get取决于HTML文件中form表单的method属性(二者一样)
        #通过打印在控制台进行查看,有没有成功从前端拿到信息
        aaa = int(self.get_argument("aa"))     #.get_argument()拿到的是单个的参数,里面参数是通过ajax传输过来的数据的键值对的键
        bbb = int(self.get_argument("bb"))
        c = aaa + bbb
        # 将后台处理过后的前端的数据回显到前端
        return_data = {"result":c}             #都是以JSON形式进行传输,将需要传输的数据构造成JSON对象
        self.write(return_data)                #将后台需要传递给前端的数据回显给前端


if __name__ == "__main__":
    application = tornado.web.Application([
        (r"/", MainHandler),             #r""里面的是需要进行同步的路径,需要和form表单里的action一致。
    ])
    application.listen(9999)             #端口号   对应虚拟机里设置的端口号
    tornado.ioloop.IOLoop.current().start()
2.HTML Code:
<!DOCTYPE html>
<html lang="en">
<head>
    <meta charset="UTF-8">
    <title>Ajax_jquery</title>
    <!--同步:向服务器发送请求之后,需要等待服务器响应结束完毕,-->
    <!--才能发送第二个请求。如果没有等待服务器响应结束就发送别的请求,会出现卡顿现象。-->
    <!--异步:向服务器发送请求之后,可以直接发送别的请求,它们之间没有任何干扰。可以实现局部刷新。-->
</head>
<body>
<h1>AJAX + JQUERY 实现前后交互</h1>
<input type="text">+
<input type="text">=
<input type="text">
<button id="btn1">计算</button>
<script src="https://cdn.bootcss.com/jquery/3.4.1/jquery.js"></script>   <!--要用网址引用-->
<script>
    // 获取元素
    var ipt = $("input");
    var btn = $("#btn1");
    btn.click(function () {
        // 获取值
        var a = ipt.eq(0).val();        //eq是获取下标对应的标签;val()是得到该标签内用户输入的值
        var b = ipt.eq(1).val();
        // 使用JQ里面封装好的Ajax方法将前端的数据传输给后端
        $.ajax({
            "type":"post",   //数据传输的方式:post,get
            "url":"/",       //提交的路径
            "data":{         //键值对形式    传输的数据(需要传输到后台的数据)
                "aa":a,
                "bb":b
            },
            // 前后端成功之后的回调函数success   Ajax请求发送成功后,自动执行此函数
            "success":function (data1) {        //callback==服务器write的数据
                x = data1["result"];
                ipt.eq(2).val(x);       //将回显的数据放进前端指定的位置
            },
            // 失败之后的回调函数
            "error":function (error) {
                console.log(error);
            }
        })
    })

</script>
</body>
</html>
