cento7 install kvm-line installation and other virtual machines (Red Hat) by qemu command
1. Material preparation (in blue can click to download)
Links:
centos7
extraction code: 3h2k
Links:
RedHat
extraction code: 12jm
Links:
QEMU
extraction code: kz9b
2. Start
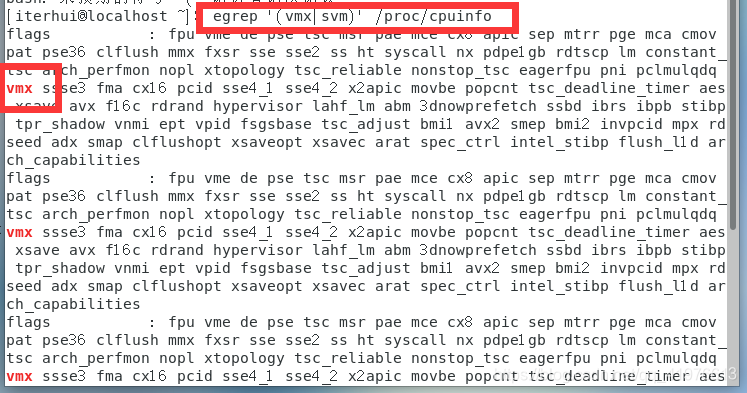
1) Open centos, check for virtualization
under Pictured support virtualization
have vmx or svm identification of the job. vmx logo intel, svm on behalf of AMD
If not, follow the steps below
to turn off the virtual machine, and then check the following 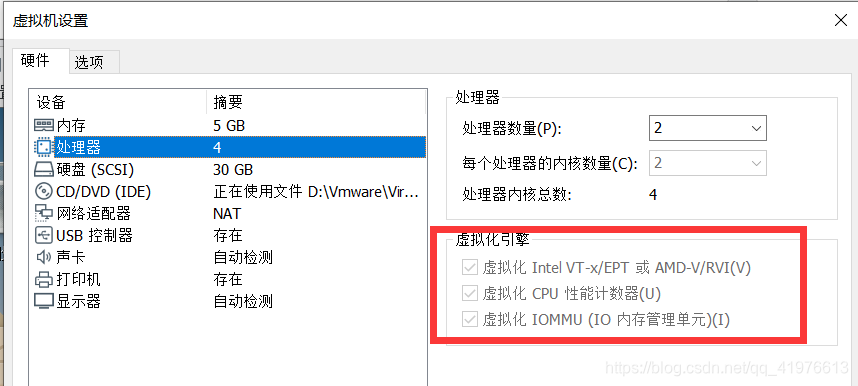
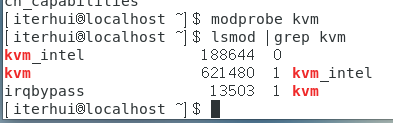
2) installation of KVM (in fact, is already installed, do not need to be installed, this is not the Redhat)
due to the Linux kernel has been the KVM collection, the installation of the system has joined the KVM, we only need to enable KVM at the command line mode:
enabled KVM module:
3) to install the required components KVM
[root@localhost ~]# yum install -y virt-* libvirt bridge-utils qemu-img qemu-kvm
You may not succeed, as follows
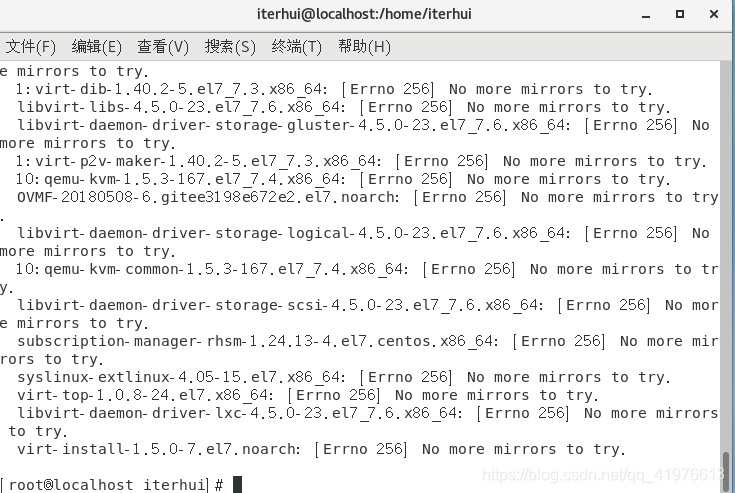
Is downloaded by a wall, and no longer knew how to understand the explanation, here's how to solve
(daily thanks to Ali cloud image library)
1)mv /etc/yum.repos.d/CentOS-Base.repo /etc/yum.repos.d/CentOS-Base.repo.backup
2)wget -O /etc/yum.repos.d/CentOS-Base.repo http://mirrors.aliyun.com/repo/Centos-7.repo
3)wget -O /etc/yum.repos.d/epel.repo http://mirrors.aliyun.com/repo/epel-7.repo
注意,如果没有wget命令可以使用curl 命令
curl -o /etc/yum.repos.d/CentOS-Base.repo http://mirrors.aliyun.com/repo/Centos-7.repo
curl -o /etc/yum.repos.d/epel.repo http://mirrors.aliyun.com/repo/epel-7.repo
If you encounter domain problem of
entering the following documents
vim /etc/sysconfig/network-scripts/ifcfg-ens33
(The picture above is the name of ens33 corresponding Ethernet card, and some may be ifcfg-eth0)
will ONBOOT = no change ONBOOT = yes
After the success in the following figure

after re-installing the required components to solve
[root@localhost ~]# yum install -y virt-* libvirt bridge-utils qemu-img qemu-kvm
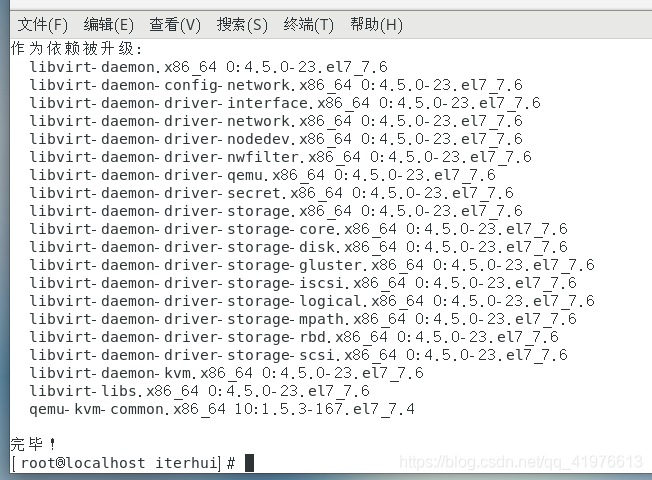
After the installation is complete, start libvirtd services:
[root@localhost ~]# service libvirtd start
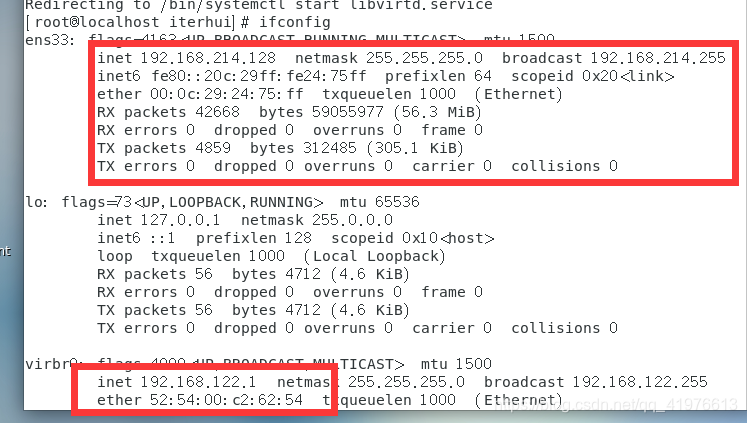
To see if the installation was successful
4) installation image using qemu
first install qemu
mount the shared folder
first to set up shared folders set up, and then follow the steps below
cloud for myself from the name, you can change yourself, but after the change, after you need to modify the corresponding path
vmware-hgfsclient

mkdir /mnt/cloud

/usr/bin/vmhgfs-fuse .host:/ /mnt/cloud -o subtype=vmhgfs-fuse,allow_other

Copy the unzipped to the desktop
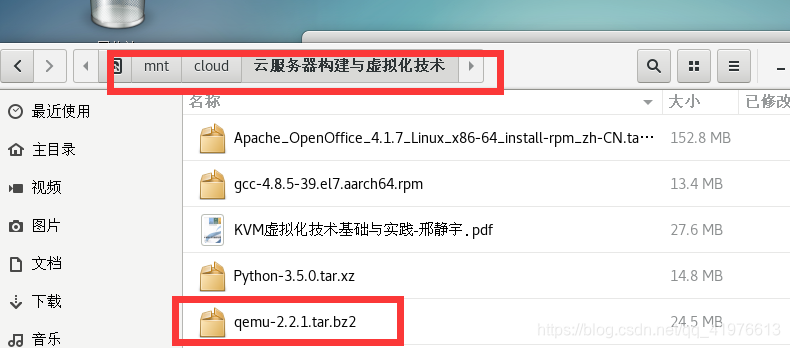
to create a folder, then install the required storage qemu
mkdir /root/qemu
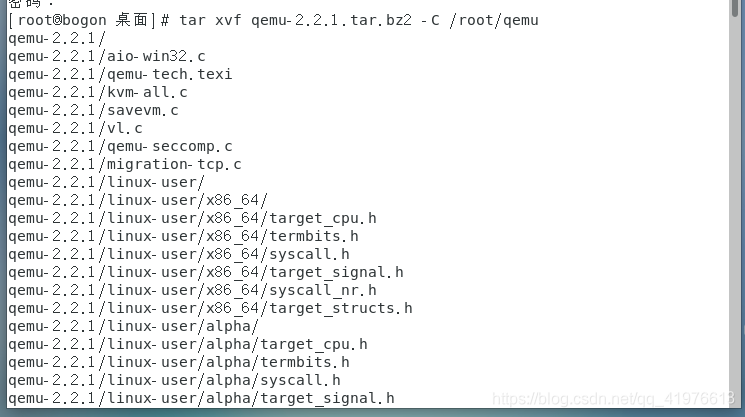
Decompression
[root@bogon 桌面]# tar xvf qemu-2.2.1.tar.bz2 -C /root/qemu
Enter the installation directory
[root@bogon 桌面]# cd /root/qemu/qemu-2.2.1
Installation of a series of required library files
[root@bogon qemu-2.2.1]# yum install zlib zlib-devel gilb2 gilb2-devel SDL SDL-devel gcc flex bison autoconf automake libtool pixman-devel gtk2-devel -y
Configuration
[root@bogon qemu-2.2.1]# ./configure
Compile
[root@bogon qemu-2.2.1]# make -j 10
这个过程较长耐心等待
installation
[root@bogon qemu-2.2.1]# make install
The final step can be carried out after completion of the installation image
Create a virtual machine image
-
Method one: create a mirror using qemu-img command
[root @ bogon qemu] # qemu -img create -f qcow2 redhat.img 6G -
ISO image file ready
-
Starting System: iso image according to the present embodiment is used in "rhel-server-6.0-x86_64-dvd.iso", located in the shared folder image
The method of installation image CentOS qemu
[root@bogon qemu]# qemu-system-x86_64 -enable-kvm -m 1024 -smp 1 -boot order=cd -hda redhat.img -cdrom /mnt/cloud/你的文件夹名字/rhel-server-6.0-x86_64-dvd.iso

If the run is unsuccessful, try to remove the -enable-kvm. This concludes all!
Please leave a message in question concerns a point not lost Ow!
