如果代码中有什么不清楚请查看以下基础知识
Shader基础知识
unity3d 中 七种坐标知识详解
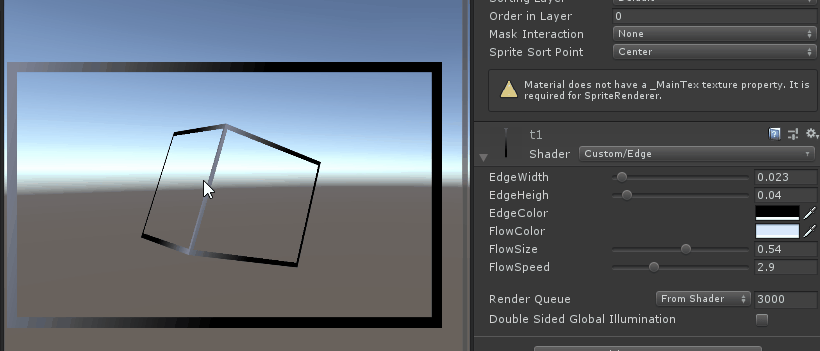
2d流光边框效果
可以自定义边框的高和宽,流光尺寸和速度以及中心点
笑狗图:
代码
Shader "Custom/Edge"
{
    Properties
    {
        //边宽,边高,边色,闪亮颜色,善良速度
        _EdgeWidth ("EdgeWidth", Range(0, 0.5)) = 0.02
        _EdgeHeight ("EdgeHeigh", Range(0, 0.5)) = 0.02
        _EdgeColor ("EdgeColor", Color) = (1, 1, 1, 1)
		_FlowColor ("FlowColor", Color) = (1, 1, 1, 1)
        _FlowSize ("FlowSize", Range(0, 1)) = 0.5
		_FlowSpeed ("FlowSpeed", Range(0, 10)) = 3
    }
    SubShader
    {
		Tags {
            //不透明队列,无视光线
            "Queue"="Transparent"
            "RenderType"="Transparent"
            "IgnoreProjector"="True"
        }

        Pass
        {
            //关闭深度
			ZWrite Off
            //常规透明
			Blend SrcAlpha OneMinusSrcAlpha

            CGPROGRAM
                #pragma vertex vert
                #pragma fragment frag
                #include "UnityCG.cginc"

                fixed _EdgeWidth;
                fixed _EdgeHeight;
                fixed4 _EdgeColor;
                fixed4 _FlowColor;
                float _FlowSize;
                float _FlowSpeed;
                //参数
                struct a2v
                {
                    float4 vertex : POSITION;
                    fixed2 uv : TEXCOORD0;
                };
                struct v2f
                {
                    float4 position : SV_POSITION;
                    fixed2 uv : TEXCOORD1;
                };
                //顶点着色器
                v2f vert (a2v v)
                {
                    v2f o;
                    //模型空间转为裁剪空间
                    o.position = UnityObjectToClipPos(v.vertex);
                    //uv
                    o.uv = v.uv;
                    return o;
                }
                //片元着色器
                fixed4 frag (v2f i) : COLOR
                {
                    //旋转的中心点
                    fixed2 uv_conter = (0.5, 0.5);
                    //获取uv 的x 和y 坐标
                    fixed uv_x = i.uv.x;
                    fixed uv_y = i.uv.y;
                    // 如果,当前像素的uv(0,1区间)在指定的宽度或高度(边厚)就显示像素,否则就不显示
                    if((uv_x < _EdgeWidth) || (1 - uv_x < _EdgeWidth) || (uv_y < _EdgeHeight) || (1 - uv_y < _EdgeHeight))
                    {
                        //闪烁速度 = 时间count * 倍数
                        float flowSpeed = _Time.y * _FlowSpeed;
                        //新的闪光坐标
                        float2 new_position;

                        uv_x -= uv_conter;
                        uv_y -= uv_conter;
                        new_position.x = uv_x * cos(flowSpeed) - uv_y * sin(flowSpeed) + 0.5;
                        new_position.y = uv_x * sin(flowSpeed) + uv_y * cos(flowSpeed) + 0.5;
                        //-0.5作用是调整流动颜色的比例
                        //saturate(x):如果x取值小于0,返回0。如果x取值大于1,返回1。若x在0到1之间,则直接返回x的值
                        fixed temp = saturate(new_position.y - (1 - _FlowSize));
                        return _EdgeColor * (1 - temp) + _FlowColor * temp;
                    }
                    else
                    {
                        return fixed4(1, 1, 1, 0);
                    }
                }
            ENDCG
        }
    }
}
