以下内容为学习下图这本书做的笔记,非原创。做笔记主要是为了实践一下看看结果加深记忆。
目录:
1. address 联系信息 2. time 显示时间 3. figure 跟 figcaption 流媒体 4. details 和 summary 详细内容 5. mark 记号文本 6. progress 进度条
7. meter 度量 8. dialog 模态对话框 9.bdi 隔离文本 10. wbr 换行断点 11. ruby、rt、rp 文本注释 12. command 菜单命令
①
语句:
1 <address>
2     <a href="#">文档作者名称</a>
3     <a href="#">电子邮箱</a>
4     <a href="#">真实地址</a>
5     <a href="#">电话号码</a>
6 </address>
页面表现:

②
语句:
 1 <footer>
 2     <section>
 3         <address>
 4         <a title="作者:MDN" href="#">HTML5 - Web 开发者指南</a>
 5         <p>发布于:
 6             <time datetime="2017-6-1">2017年6月1日</time>
 7         </p>
 8         </address>
 9     </section>
10 </footer>
页面表现:

time 元素的两个属性 :1.datetime 2.pubdate
datetime: 规定日期和时间的格式,否则,由元素的内容给定日期和时间。浏览器通过 datetime 属性获取 time 的时间。
pubdate: 定义 time 元素中的日期和时间是文档或 article 内容的发布日期。
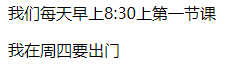
① 定义时间和日期
语句:
1 <p>我们每天早上<time>8:30</time>上第一节课</p>
2 <p>我在<time datetime="2020-01-16">周四</time>要出门</p>
页面表现:
② time 元素可以定义很多格式的日期和时间
语句:
1 <time datetime="2017-11-13">2017年11月13日</time>
2 <time datetime="2017-11-13">11月13日</time>
3 <!-- datetime 属性中日期与时间之间要用“ T ”文字分隔,“ T ”表示时间 -->
4 <time datetime="2017-11-13T20:00">我生日的晚上8点</time>
5 <time datetime="2017-11-13T20:00Z">我生日的晚上8点</time>
6 <time datetime="2017-11-13T20:00+09:00">我生日的晚上8点的美国时间</time>
页面表现:

figure 元素可以定义独立的流内容,如图像、图表、照片、代码等。
figcaption 元素表示 figure 元素的标题,一个 figure 元素内最多可以防止一个 figcaption 元素。
当 details 元素的状态从展开切换为收缩,或从收缩切换为展开时,均触发 toggle 事件。
① 设计一个不带标题的 figure 元素
语句:
1 <figure>
2     <img src="1.jpg" width="400" alt="menhera">
3 </figure>
页面表现:

② 带标题的 figure 元素
语句:
1 <figure>
2     <img src="1.jpg" width="400" alt="menhera">
3     <figcaption>menhera</figcaption>
4 </figure>
页面表现:

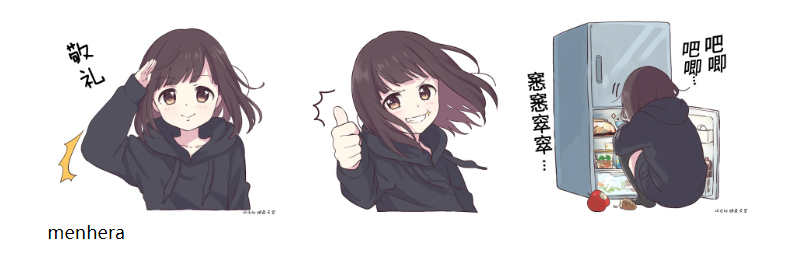
③ 设计为多幅图片设计使用同一个标题
语句:
1 <figure>
2     <img src="1.jpg" width="200" alt="menhera">
3     <img src="2.jpg" width="200" alt="menhera">
4     <img src="3.jpg" width="200" alt="menhera">
5     <figcaption>menhera</figcaption>
6 </figure>
页面表现:
① 使用 details 和 summary 元素设计折叠面板效果
语句:
1 <details>
2     <summary>menhera</summary>
3     <figure>
4         <img src="1.jpg" width="200" alt="menhera">
5     </figure>
6 </details>
页面表现:
收缩:

展开:
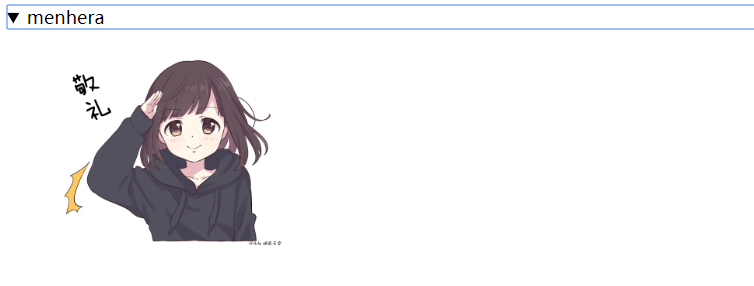
② 如果 details 元素没有 summary 元素, 浏览器会提供文字以供单击。
语句:
1 <details>
2     <figure>
3         <img src="1.jpg" width="200" alt="menhera">
4     </figure>
5 </details>
页面表现:
收缩:

展开:

③ 设计当用户切换 details 元素显示或隐藏显示时,取消 summary 元素轮廓效果,并给 details 元素包含的内容加一个边框。
语句:
 1 <details id="detail">
 2     <figure id="info">
 3         <img src="1.jpg" width="200" alt="menhera">
 4     </figure>
 5 </details>
 6 <script>
 7 var detail = document.getElementById('detail');
 8 var info = document.getElementById('info');
 9 var summary = detail.getElementsByTagName('summary')[0];
10 detail.ontoggle = function(){
11     if( this.open ){
12         info.style.border = "solid 10px red";
13         summary.style.outline = "none";
14     }else{
15         info.style.border = "solid 10px #fff";
16     }
17 }
18 </script>
页面表现:
收缩:
展开:

① 使用 mark 元素高亮显示“HTML5”关键字。
语句:
 1 <p>
 2     ..........html5..................................................
 3     ..........HTML..................................................
 4     ..........HTML5..................................................
 5     ..........HTML5555..................................................
 6 </p>
 7 <script>
 8     var ps = document.getElementsByTagName("p");
 9     Array.prototype.forEach.call(ps,function(p){    //使用forEach()方法迭代每个p元素
10         p.innerHTML = p.innerHTML.replace(/HTML5/g,function(html){  //通过整则表达式匹配到正文的“HTML5”关键字
11             return "<mark>"+html+"</mark>"      //将“HTML5”替换为"<mark>"+html+"</mark>"的HTML字符串进行显示
12         })
13     })
14 </script>
页面表现:

② mark 标签可用于标记引文
语句:
1 <article>
2     <h2>静夜思</h2>
3     <h3>李白</h3>
4     <p>床前明月<mark>光</mark>,疑是地上<mark>霜</mark>。</p>
5     <p>举头望明<mark>月</mark>,低头思故<mark>乡</mark>。</p>
6 </article>
页面表现:

动态显示任务的进度
progress元素包含2个属性:1.max 2. value
max : 规定任务一共需要多少工作
value : 规定已经完成多少任务
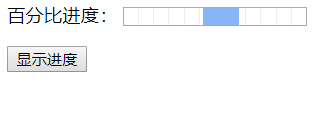
① 如何使用 progress 元素
语句:
 1 <section>
 2     <p>百分比进度:
 3         <progress id="progress" max="100">
 4             <span>0</span>%
 5         </progress>
 6     </p>
 7     <input type="button" onclick="click()" value="显示进度"/>
 8 </section>
 9 <script>
10     function click(){
11         var progress = document.getElementById('progress');
12         progress.getElementsByTagName('span')[0].textContent="0";
13         for( var i=0; i<=100; i++ ){
14             updateProgress(i);
15         }
16     }
17     function updateProgress(newValue){
18         var progress = document.getElementById('progress');
19         progress.value = newValue;
20         progress.getElementsByTagName('span')[0].textContent = newValue;
21     }
22 </script>
页面表现:
( 效果是蓝色的色块重复左右移动。我暂时还不清楚这是个什么效果。 )
7. meter 度量
meter 元素定义已知范围或分数值内的标量测量。
有 8 个属性:1. form 2. high 3. low 4.max 5. min 6.optimimum 7.value
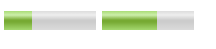
① 简单使用 meter 元素
语句:
1 <meter value="3" min="0" max="10">十分之三</meter>
2 <meter value="0.6">60%</meter>
页面表现:
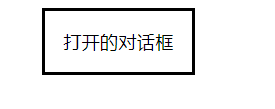
① 一个打开的对对话框
语句:
1 <dialog open>打开的对话框</dialog>
页面表现:
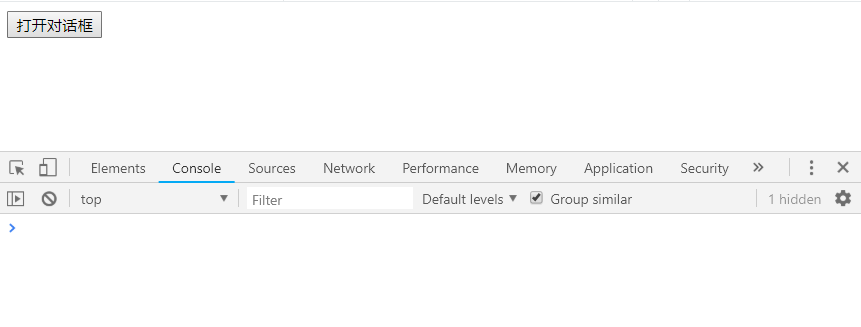
② 使用 JavaScript 脚本控制对话框的显示或隐藏
语句:
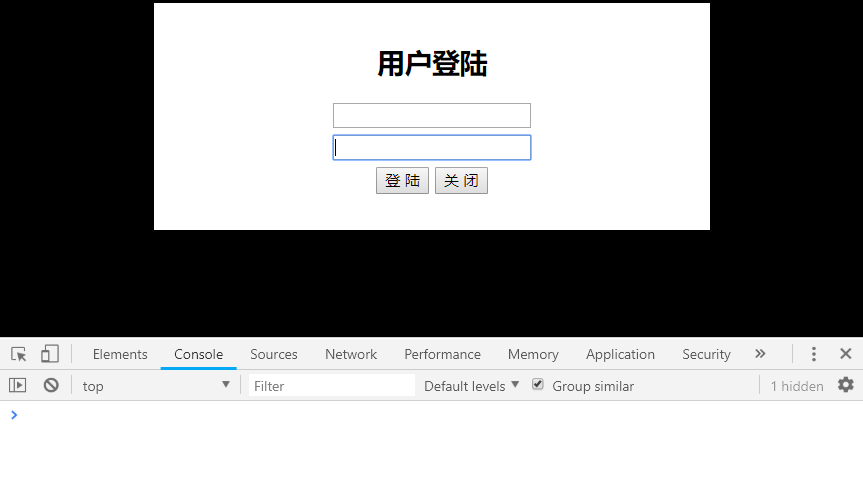
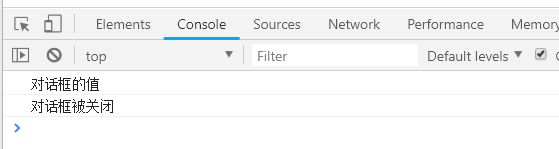
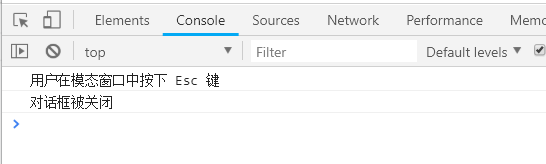
 1 <style>
 2 #dg { width:60%; text-align: center; }
 3 #dg label{display: block;margin: 6px;}
 4 ::backdrop { background-color: black; }
 5 </style>
 6 <input id="btn" type="button" value="打开对话框">
 7 <dialog id="dg">
 8     <h2>用户登陆</h2>
 9     <main>
10         <form>
11             <label for = "txtName" value="用户名:">
12                 <input type="text" id="txtName"/>
13             </label>
14             <label for = "txtPassword" value="密 码:">
15                 <input type="password" id="txtPassword" autofocus/>
16             </label>
17             <input type="button" value="登 陆"/>
18             <input id="cls" type="button" value="关 闭">
19         </form>
20     </main>
21 </dialog>
22 <script>
23     var  btn = document.getElementById("btn");
24     var dg = document.getElementById("dg");
25     var cls = document.getElementById("cls");
26     btn.onclick = function(){
27         dg.showModal();    // 以模式对话框的形式显示 dialog 元素
28         dg.returnValue='对话框的值';    // 使用returnValue 属性为对话框设置或返回一个返回值
29     }
30     cls.onclick = function(){
31         dg.close();
32         console.log( dg.returnValue );
33     }
34     dg.onclose = function(){
35         console.log('对话框被关闭');
36     }
37     dg.oncancel = function(){
38         console.log('用户在模态窗口中按下 Esc 键');
39     }
40 </script>
页面表现:
默认状态:
点击按钮之后:
点击关闭按钮出现:
按下Esc键出现:
bdi 元素允许设置一段文本,使其脱离其父元素的文本方向设置。在发布用户评论或者其它无法完全控制的内容时,该标签很有用。
① 将用户名从周围的文本方向设置中隔离出来。
语句:
1 <ul>
2     <li>用户<bdi>admin</bdi>:70分</li>
3     <li>用户<bdi>lisi</bdi>:80分</li>
4     <li>用户<bdi>zhangsan</bdi>:90分</li>
5 </ul>
页面表现:

使用 wbr 元素来添加单词换行点,可以避免浏览器随意换行。
① 为URL子字符串添加换行符标签,这样当窗口宽度变化时,浏览器回自动根据断点确定换行位置。
语句:
1 <p>本站旧地址为:https:<wbr>//<wbr>www.old_site.com/,新地址为:https:<wbr>//<wbr>www.new_site.com/。</p>
页面表现:

ruby元素可以定义 ruby 注释。 rt 元素定义字符( 中文注音或字符 )的解释或发音。rp元素定义备用内容。
ruby 需要与 rt 或 rp 元素配合使用。 rt 元素和 rp 元素必须位于 ruby 元素内。
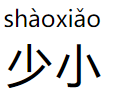
① 使用 ruby 和 rt 元素为唐诗诗句注音
语句:
1 <style type="text/css">
2 ruby { font-size:40px; }
3 </style>
4 <ruby>
5     少<rt>shào</rt>小<rt>xiǎo</rt>
6 </ruby>
页面表现:
目前只有 IE9 和 Firefox 支持 command 元素。
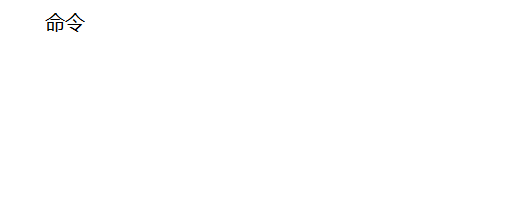
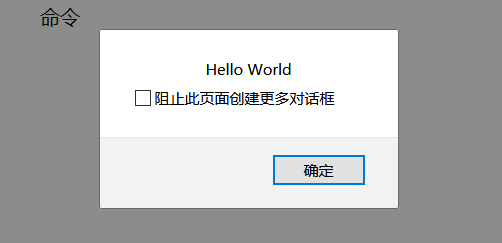
① 配合使用 menu 和 command 元素,定义一个命令,当单击该命令时,将弹出提示对话框。
语句:
1 <menu>
2     <command onclick="alert('Hello World')">命令</command>
3 </menu>
页面表现:
单击 “命令” 之后:
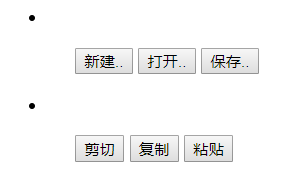
② 使用 type 属性定义两组工具条按钮
语句:
 1 <menu type="toolbar">
 2     <li>
 3         <menu label="File" type="toolbar">
 4             <button type="button" onclick="file_new()">新建..</button>
 5             <button type="button" onclick="file_open()">打开..</button>
 6             <button type="button" onclick="file_save()">保存..</button>
 7         </menu>
 8     </li>
 9     <li>
10         <menu label="Edit" type="toolbar">
11             <button type="button" onclick="edit_cut()">剪切</button>
12             <button type="button" onclick="edit_copy()">复制</button>
13             <button type="button" onclick="edit_paste()">粘贴</button>
14         </menu>
15     </li>
16 </menu>
页面表现: